
Irresistible Peanut Butter Granola: Your New Favorite Crunchy Treat!
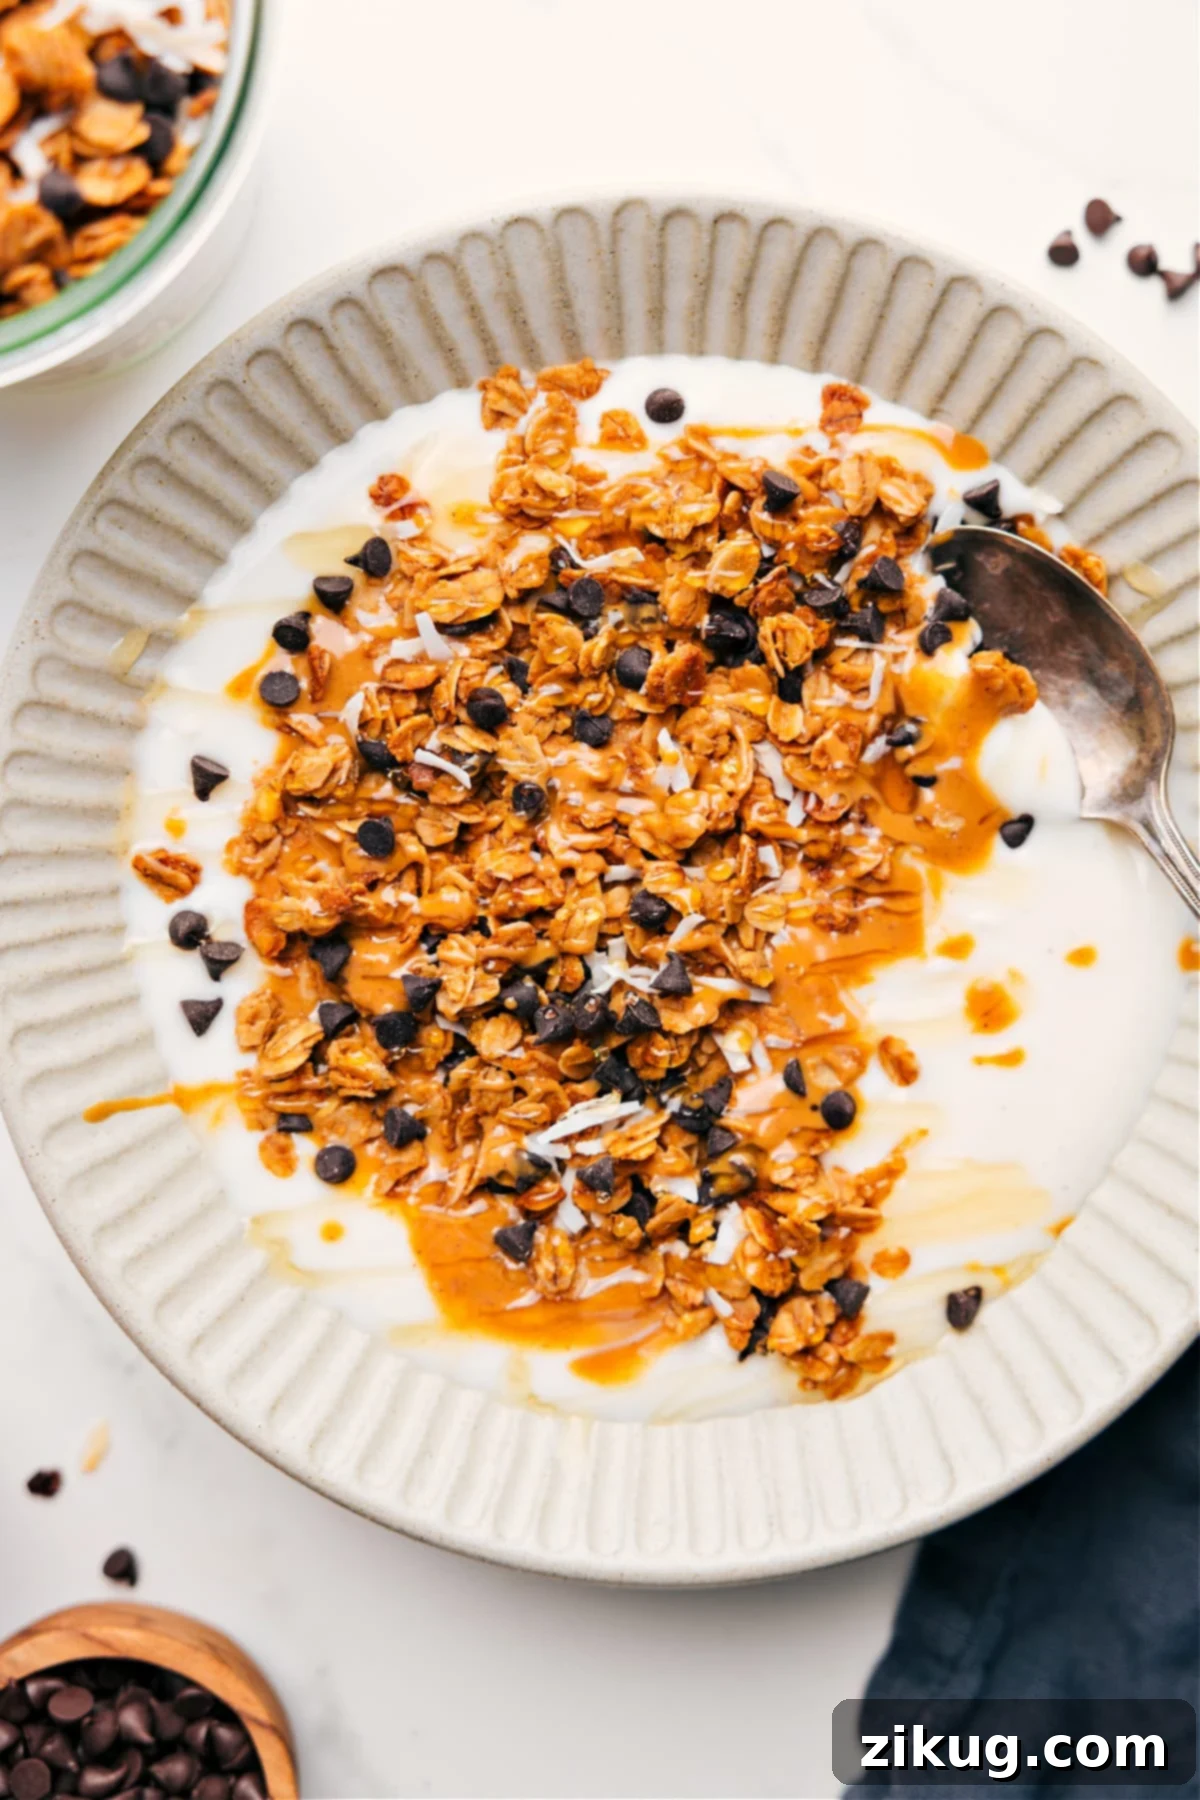
Prepare to fall in love with this incredible Peanut Butter Granola Recipe, meticulously crafted with rich peanut butter, natural honey, and wholesome coconut oil to create perfectly sweet, deeply flavorful, and delightfully crunchy clusters. This versatile homemade granola is not just a breakfast staple; it’s an energy-boosting snack, a delightful topping, and a surprisingly addictive treat. Feel free to customize your batch by tossing in chocolate chips, shredded coconut, or your favorite nuts for an extra layer of fun and texture!

From the Author’s Kitchen
My Secret for the Best Peanut Butter Granola Ever: And Why You’ll Love It!
I’m absolutely obsessed with granola! It’s one of those comforting, versatile foods that always hits the spot. As I’ve often shared, my dad and I can easily devour an entire batch in no time. There’s something truly special about surprising him with a fresh bag of homemade granola, especially when I switch up the flavors to keep things exciting for both of us.
Knowing our mutual love for anything in the chocolate and peanut butter realm, creating a dedicated peanut butter granola was a must. I spent quite some time fine-tuning the ratios, experimenting until I achieved that perfect balance of sweetness, chewiness, and crunch that makes this granola truly shine. And the result? He absolutely raved about it! He even declared it his favorite batch yet, which is high praise coming from my discerning dad.
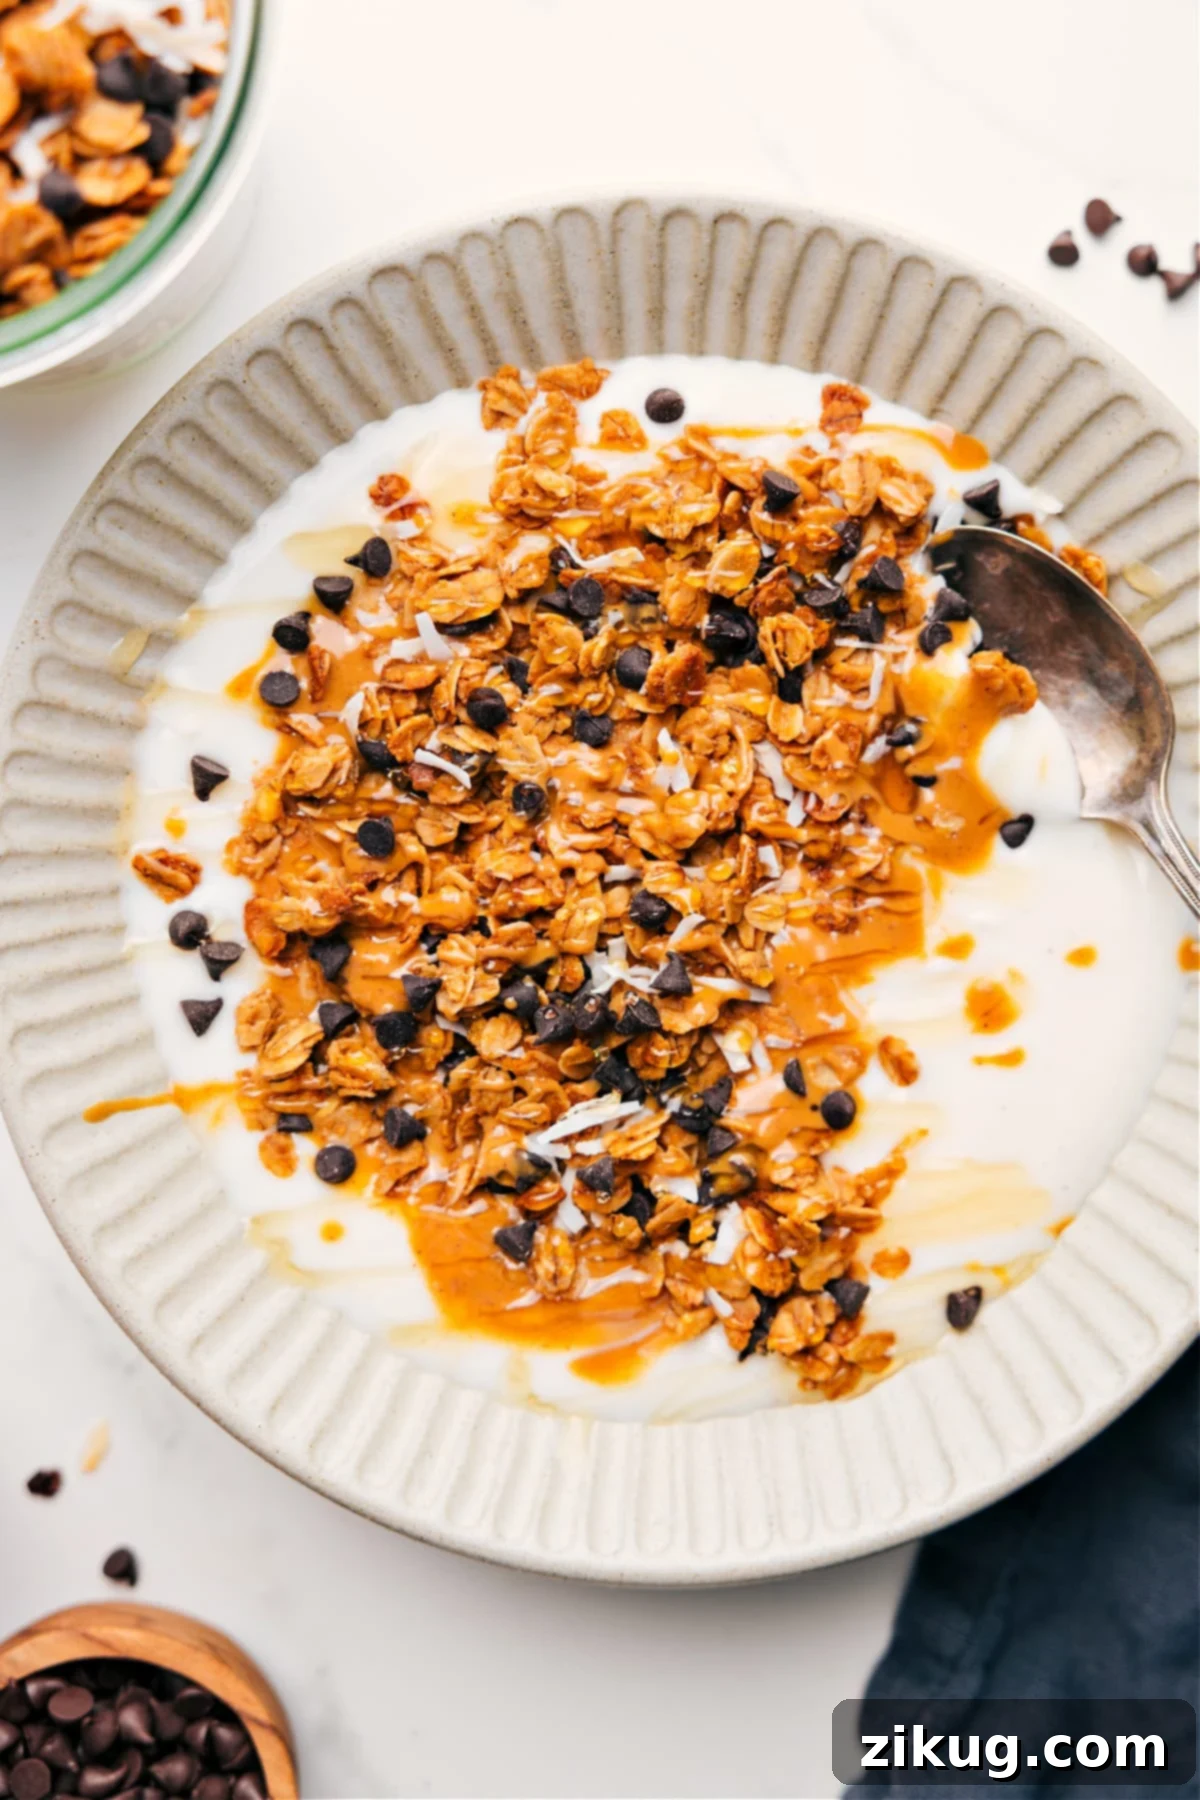
But here’s the game-changing secret for the best granola experience you’ll ever have: **freeze it!** Seriously, it might sound unconventional, but trust me on this. I toss the entire cooled batch into a large freezer-safe bag and enjoy it straight from the freezer. It transforms into these amazing, chewy-yet-crunchy, candy-like morsels that are unbelievably good. No thawing needed! It’s fantastic sprinkled over yogurt, as a topping for fresh fruit, or even in a bowl with a splash of milk. You simply have to try it this way; it’s a revelation that takes this already delicious peanut butter granola to an entirely new level!
The beauty of homemade granola lies in its simplicity and the ability to control every ingredient. Say goodbye to store-bought versions filled with excessive sugars and preservatives. With this easy-to-follow recipe, you’ll be creating a batch of wholesome, flavorful, and incredibly satisfying granola that rivals any gourmet option. It’s perfect for meal prep, ensuring you have a healthy and delicious option ready for busy mornings or afternoon slumps.
Essential Ingredients for Your Peanut Butter Granola
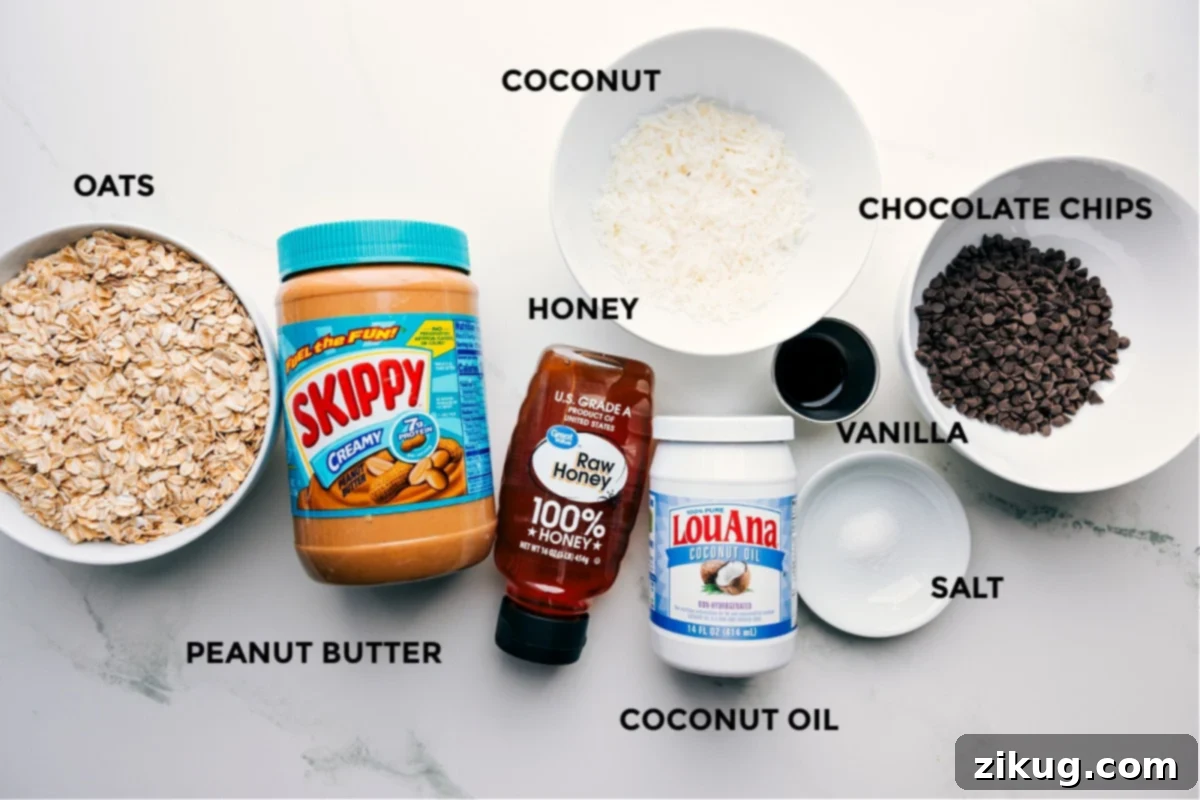
Crafting the perfect peanut butter granola requires just a handful of simple, wholesome ingredients. Each component plays a vital role in achieving that coveted crunchy texture and rich flavor. Here’s a detailed look at what you’ll need and why:
| Ingredient | Why It’s Important | Possible Substitutions & Notes |
|---|---|---|
| Old-fashioned rolled oats | These form the crunchy, hearty base of your granola. Their robust structure is key for developing clusters. | Stick with old-fashioned oats for the best results. Quick-cooking oats will turn mushy, and steel-cut oats won’t bake properly in this recipe. Ensure they are certified gluten-free if needed. |
| Creamy peanut butter | Delivers the signature nutty flavor and acts as a binder, helping to form those irresistible granola clusters. | For an alternative, use a high-quality, good-tasting roasted almond butter or cashew butter. Always choose natural, creamy peanut butter without added sugars or hydrogenated oils for the best flavor and texture. |
| Honey | A natural sweetener that also serves as a crucial “glue” to hold the oats and other ingredients together, promoting cluster formation. | Pure maple syrup is an excellent vegan-friendly alternative that works just as well to bind and sweeten. Adjust to your desired level of sweetness. |
| Coconut oil | Aids in toasting the oats to golden perfection and helps create that desirable crispy texture. | Melted unsalted butter can be used as a substitute, offering a slightly different flavor profile. Make sure it’s fully melted for even coating. |
| Vanilla extract & Ground Cinnamon | These warm spices add depth and a comforting, aromatic sweetness that beautifully complements the peanut butter. | Experiment with other warm spices! Try a dash of pumpkin pie spice or apple pie spice for a seasonal twist, or even a pinch of nutmeg or cardamom for an exotic touch. |
| Salt | Enhances all the other flavors, balancing the sweetness and making the peanut butter taste even richer. | Don’t skip the salt! A small amount makes a big difference in rounding out the flavor profile. Fine sea salt is recommended. |
Optional yet Highly Recommended Add-ins: Get creative and make this granola truly your own! Stir in 1/2 to 1 cup of unsweetened coconut flakes (toasted or untoasted), mini chocolate chips (milk, semi-sweet, or dark), chopped nuts (like peanuts, almonds, or pecans), dried fruit (such as cranberries, raisins, or chopped apricots), or even crispy banana chips for added texture and flavor. Add these after baking (or after cooling for chocolate chips) to prevent burning or melting.
Smart Kitchen Tip: Easy Honey Measurement
For effortless measuring and minimal mess when working with sticky ingredients like honey or maple syrup, lightly spray your measuring cup or spoon with a nonstick cooking spray or lightly coat it with a neutral oil before adding the honey. The viscous liquid will then slide right out without sticking, making cleanup a breeze.
Creative Ways to Enjoy Your Homemade Peanut Butter Granola
Once you’ve made a batch of this delicious peanut butter granola, the possibilities for enjoying it are endless! Its versatility makes it a perfect addition to countless meals and snacks. Here are some of my favorite ways to incorporate this crunchy goodness into my day:
- Elevated Yogurt Parfait: Layer vanilla or plain Greek yogurt with fresh seasonal berries (like blueberries, strawberries, or sliced bananas) and generous sprinkles of your homemade peanut butter granola for a satisfying and visually appealing breakfast or snack. It adds amazing texture!
- Smoothie Shake Crunch: Add a delightful crunch and extra flavor by sprinkling a handful of granola over your favorite peanut-butter protein shake or a refreshing banana smoothie. It transforms a drink into a more substantial treat.
- Homemade Trail Mix: Create your custom energy-boosting trail mix by combining this granola with roasted peanuts, plump raisins, dried cranberries, and a few mini chocolate chips. It’s perfect for hikes, road trips, or an afternoon pick-me-up.
- Classic Cereal Bowl: Revisit childhood joy! Pour a generous amount into a bowl and drown it in cold milk (dairy or non-dairy). It’s a simple, comforting, and incredibly satisfying way to enjoy granola.
- The “Freezer Candy” Secret: This is my absolute favorite! Stash a freezer-safe bag of cooled granola in the freezer and snack on it straight-up, cold and crunchy. The texture becomes intensely satisfying, almost like a candy bar. Seriously, it’s life-changing!
- Peanut Butter & Apple Delight: For a quick and nutritious snack, slice an apple, dip it in a dollop of creamy peanut butter, and then press the peanut butter-coated apple slices into a bowl of your homemade granola. It’s a textural dream.
- Açaí Bowl Topping: Enhance your vibrant açaí bowl or smoothie bowl by spooning a generous amount of this crunchy peanut butter granola right on top, alongside fresh fruit and a drizzle of honey.
- Salad Sprinkles (Savory Twist): While primarily sweet, a small sprinkle can add a surprising crunch to certain savory salads, especially those with fruit or cheese. Think outside the box!
Crucial Tip for Perfect Granola Clusters: Patience is Key!
A common mistake when making granola is expecting it to be crispy straight out of the oven. Your granola will still seem relatively soft and slightly chewy after baking, and that’s perfectly normal! The magic happens during the cooling process. It needs ample time, typically a few hours, to firm up and develop its signature crunchy texture. Resist the urge to cover or package the granola until it is completely cooled and fully hardened. This patient waiting period is essential for achieving those enviable, satisfying clusters.
Optimizing Granola Storage for Lasting Crunch
Proper storage is crucial for maintaining the irresistible crunch of your homemade peanut butter granola. Follow these guidelines to keep your granola fresh and delicious for weeks:
- Room Temperature Storage: Store your completely cooled granola in an airtight container at room temperature. A glass jar with a tight-fitting lid or a sturdy food storage container works best. Keep it away from direct sunlight and excessive heat. Stored this way, it will remain perfectly crunchy and fresh for 3–4 weeks.
- Freezer for Extended Freshness (Highly Recommended!): For longer storage and that amazing “freezer candy” experience, transfer the cooled granola to a freezer-safe bag or an airtight container. It will keep beautifully in the freezer for up to 3 months, and often even longer if tightly sealed. The best part? You can enjoy it straight from the freezer – no thawing needed! It develops a unique, satisfying chewiness that’s truly addictive.
- Avoid Refrigeration: It’s important to note that refrigerating granola is generally not recommended. The moisture content in the refrigerator can cause the granola to soften and lose its desired crispiness, resulting in a less enjoyable texture. Stick to room temperature or the freezer for the best results.
By following these simple storage tips, you can ensure every serving of your homemade peanut butter granola is as fresh and crunchy as the first.
Explore More Delicious & Healthy Snack Ideas:
Snacks
Wholesome Monster Energy Balls
Breakfast
Delicious Gluten-Free Breakfast Cookies
Breakfast
Easy & Refreshing Yogurt Parfait Recipe
Snacks
Refreshing Yogurt Bark
Print Recipe
Homemade Peanut Butter Granola
Chelsea Lords
15 minutes
21 minutes
36 minutes
12 servings
Recipe Video Guide
Equipment You’ll Need
-
Large rimmed baking sheet
-
Parchment paper or a high-quality silicone baking mat
-
Large mixing bowl
-
Medium microwave-safe bowl
-
Whisk and spatula
Ingredients
- 1/3 cup creamy peanut butter (natural, unsweetened recommended)
- 1/3 cup honey (or pure maple syrup for a vegan option)
- 3 tablespoons melted coconut oil (or melted unsalted butter)
- 1-1/2 teaspoons vanilla extract
- 1/4 teaspoon fine sea salt
- 1/2 teaspoon ground cinnamon (optional, but highly recommended for warmth)
- 3 cups old fashioned rolled oats (do not substitute with quick or steel-cut oats)
- 1/2 cup toasted coconut flakes (optional, for added flavor and texture)
- 1/2 cup chocolate chips (optional; use milk, semi-sweet, or dark, added after cooling)
Step-by-Step Instructions
-
Preheat your oven to 325°F (160°C). Prepare a large rimmed baking sheet by lining it with parchment paper or a silicone baking mat. This prevents sticking and makes for easy cleanup.
-
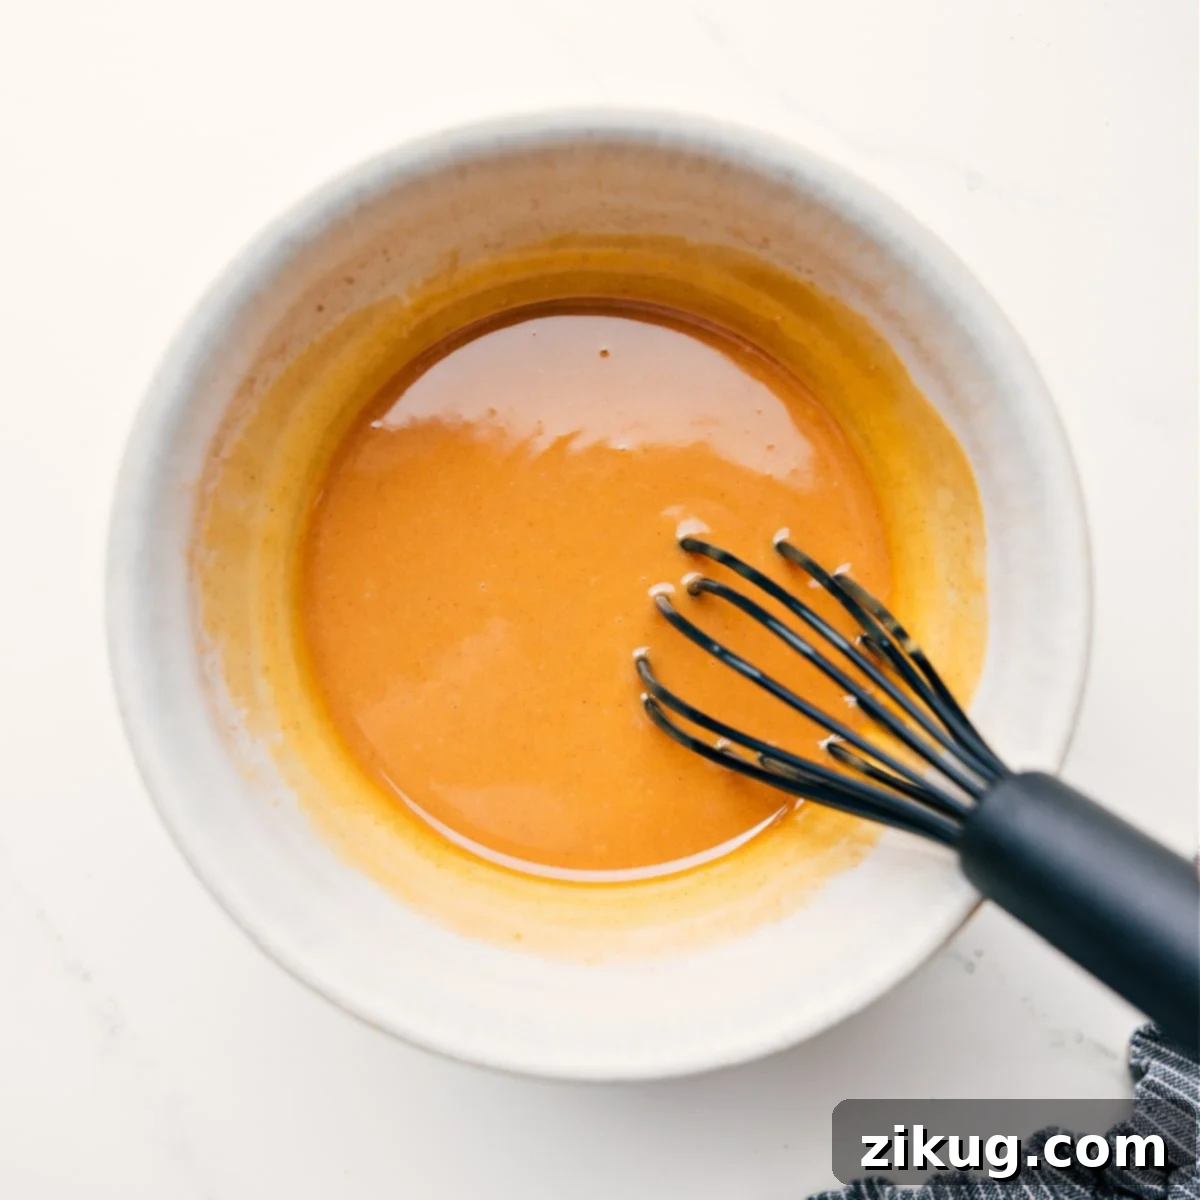
In a large mixing bowl, add your old-fashioned oats and set aside. In a separate medium microwave-safe bowl, combine the peanut butter, honey, melted coconut oil, vanilla extract, salt, and ground cinnamon (if using). Microwave this mixture for about 20 seconds. Whisk thoroughly until it’s smooth and well combined. If the mixture is still too thick to pour easily, microwave for another 10-20 seconds until it reaches a pourable consistency.
-
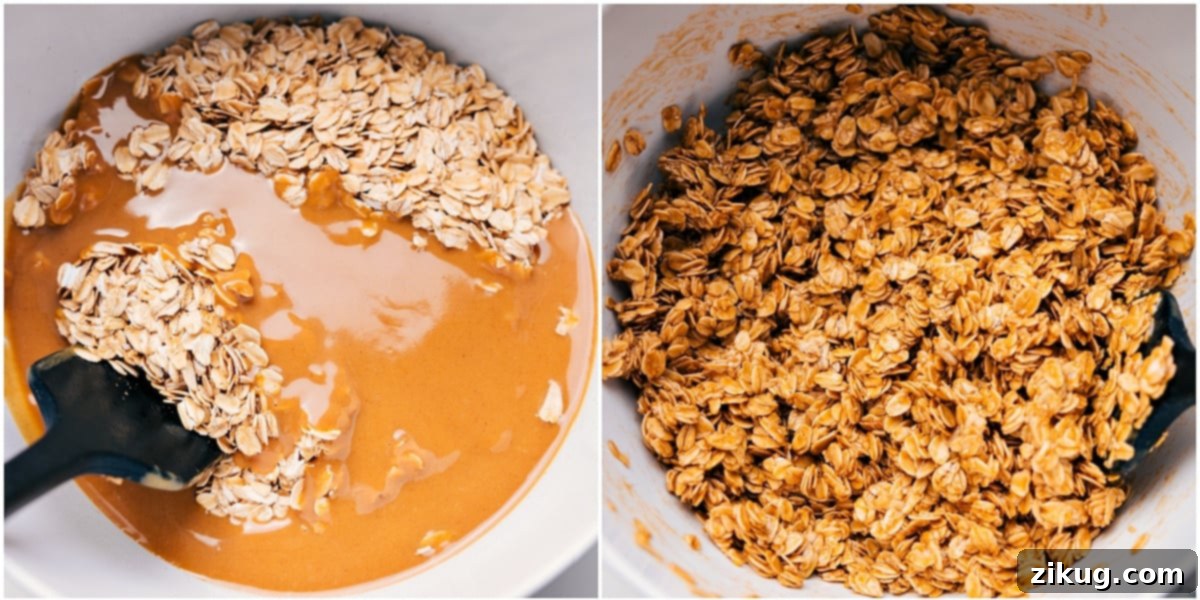
Using a sturdy spatula, scrape all of the warm, wet peanut butter mixture into the bowl with the oats. Mix diligently until all the oats are thoroughly coated and the ingredients are fully incorporated. Ensure there are no dry spots.
-
Spread the coated oats evenly onto your prepared baking sheet in a single, flat layer with as little overlap as possible (refer to Note 1 below for even baking). Bake for 7 minutes, then remove from the oven, stir gently, and spread the granola back into an even layer. Repeat this baking and stirring process two more times, for a total bake time of 21 minutes. This ensures uniform toasting and crispiness.
-
Once the granola has finished baking, remove it from the oven and immediately toss in any optional toasted coconut flakes. At this stage, the granola will still feel soft and pliable, which is completely normal. It firms up significantly as it cools. If you prefer your chocolate chips to melt slightly into the granola, sprinkle them over the warm granola after about 5 minutes of cooling on the pan, then let it set without stirring further. Otherwise, for intact chocolate chips, allow the granola to cool completely and harden on the baking sheet for 3–4 hours at room temperature, then stir in the chocolate chips once it’s fully crisp.
Helpful Recipe Notes
Storage Best Practices: For optimal freshness and to maintain that delicious crunch, store your completely cooled peanut butter granola in an airtight container at room temperature for up to 3-4 weeks. Always keep it away from direct sunlight and heat sources. We strongly advise against refrigerating granola, as the moisture can quickly make it soft and chewy. For longer-term storage and a delightful “freezer candy” experience, transfer any leftovers to a freezer-safe bag or container and freeze for up to 3 months (or even 6 months if sealed extra tightly). Enjoy straight from the freezer for a surprisingly amazing treat!
Nutritional Information (Approximate)
Serving:
1serving
|
Calories:
241kcal
|
Carbohydrates:
29.6g
|
Protein:
5g
|
Fat:
11.4g
|
Sodium:
31.7mg
|
Fiber:
3.4g
|
Sugar:
14g
Nutrition information provided is an estimate only and can vary based on specific ingredients and brands used. Please consult a qualified professional for precise dietary advice.
Loved this recipe? Share your thoughts and leave a comment below!
Top Tips for Perfect Peanut Butter Granola Clusters
Creating perfectly crunchy, flavor-packed peanut butter granola is simple when you know a few key tricks. Follow these expert tips to ensure your homemade batch turns out absolutely irresistible every time:
- Achieve Even Spreading: After combining your wet and dry ingredients, spread the granola mixture onto your prepared baking sheet in a thin, flat, and as even a layer as possible. Minimal overlap is key for allowing proper air circulation, which helps each oat and cluster crisp up beautifully.
- Stir for Uniform Baking: Don’t skip the stirring! Stirring the granola every 7 minutes during the baking process is crucial. This ensures that all sides of the oats are exposed to the heat, promoting even toasting and preventing any part from burning while other parts remain soft.
- Embrace the Cool-Down Period: It’s important to remember that granola will feel soft and slightly pliable when it first comes out of the oven. This is completely normal! The magic of crispiness happens as it cools. Allow your granola to cool undisturbed on the baking sheet at room temperature for at least 3-4 hours, or until it’s completely firm and crunchy. Patience here is truly rewarded.
- Customize Your Chocolate Experience: If you’re adding chocolate chips, consider how you want them to behave. For perfectly intact chocolate chips that provide a distinct bite, stir them into the granola only after it has fully cooled and hardened. If you prefer a more melty, fudgy texture where the chocolate slightly coats the clusters, sprinkle the chocolate chips over the warm granola about 5-10 minutes after it comes out of the oven, then let it cool without stirring.
- Quality Ingredients Matter: Since this recipe uses minimal ingredients, the quality of each one really shines through. Opt for natural, creamy peanut butter without added sugars or hydrogenated oils. Use good quality honey or maple syrup and fresh, old-fashioned rolled oats.
- Don’t Overcrowd the Pan: If you’re doubling the recipe, use two baking sheets. Overcrowding the pan will steam the oats instead of toasting them, resulting in a chewy rather than crispy granola.
With these tips, you’re well on your way to making the best homemade peanut butter granola your family and friends will rave about!