
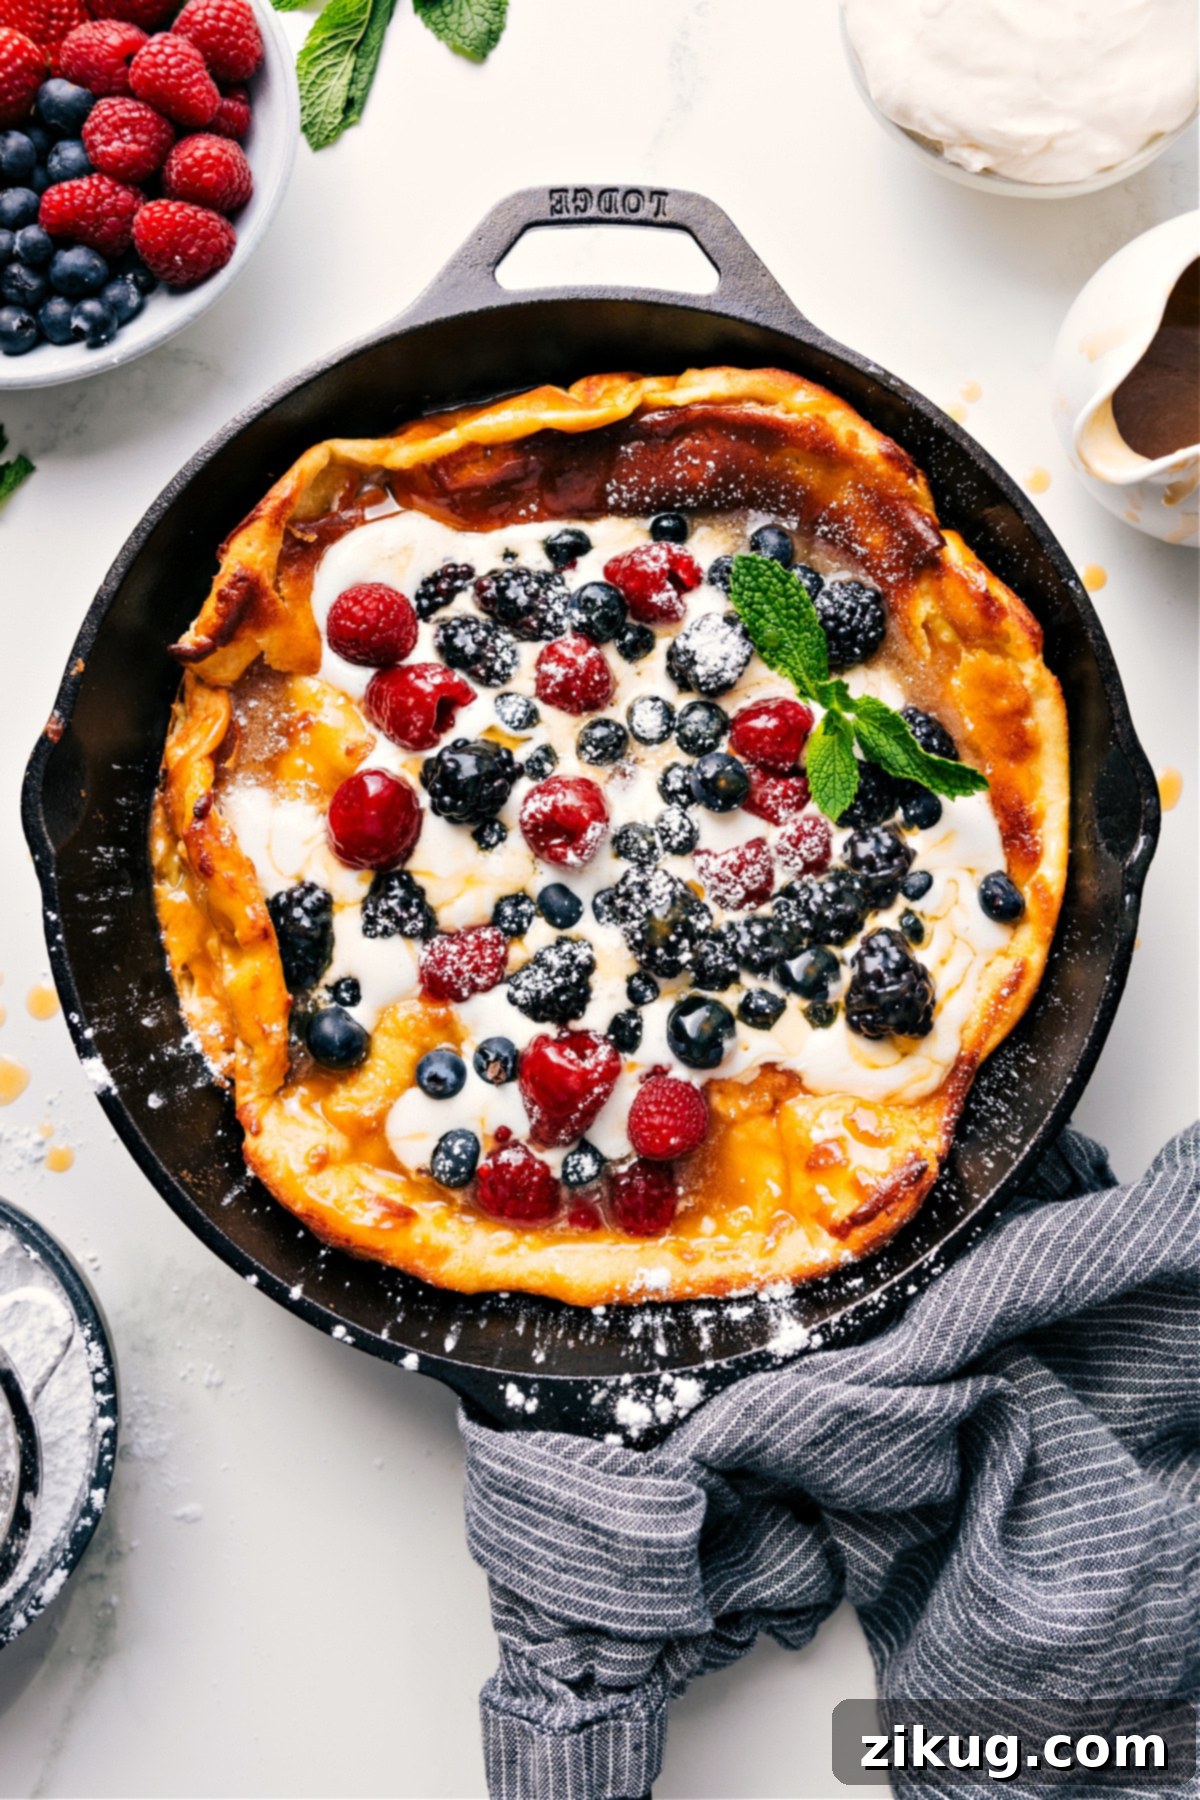
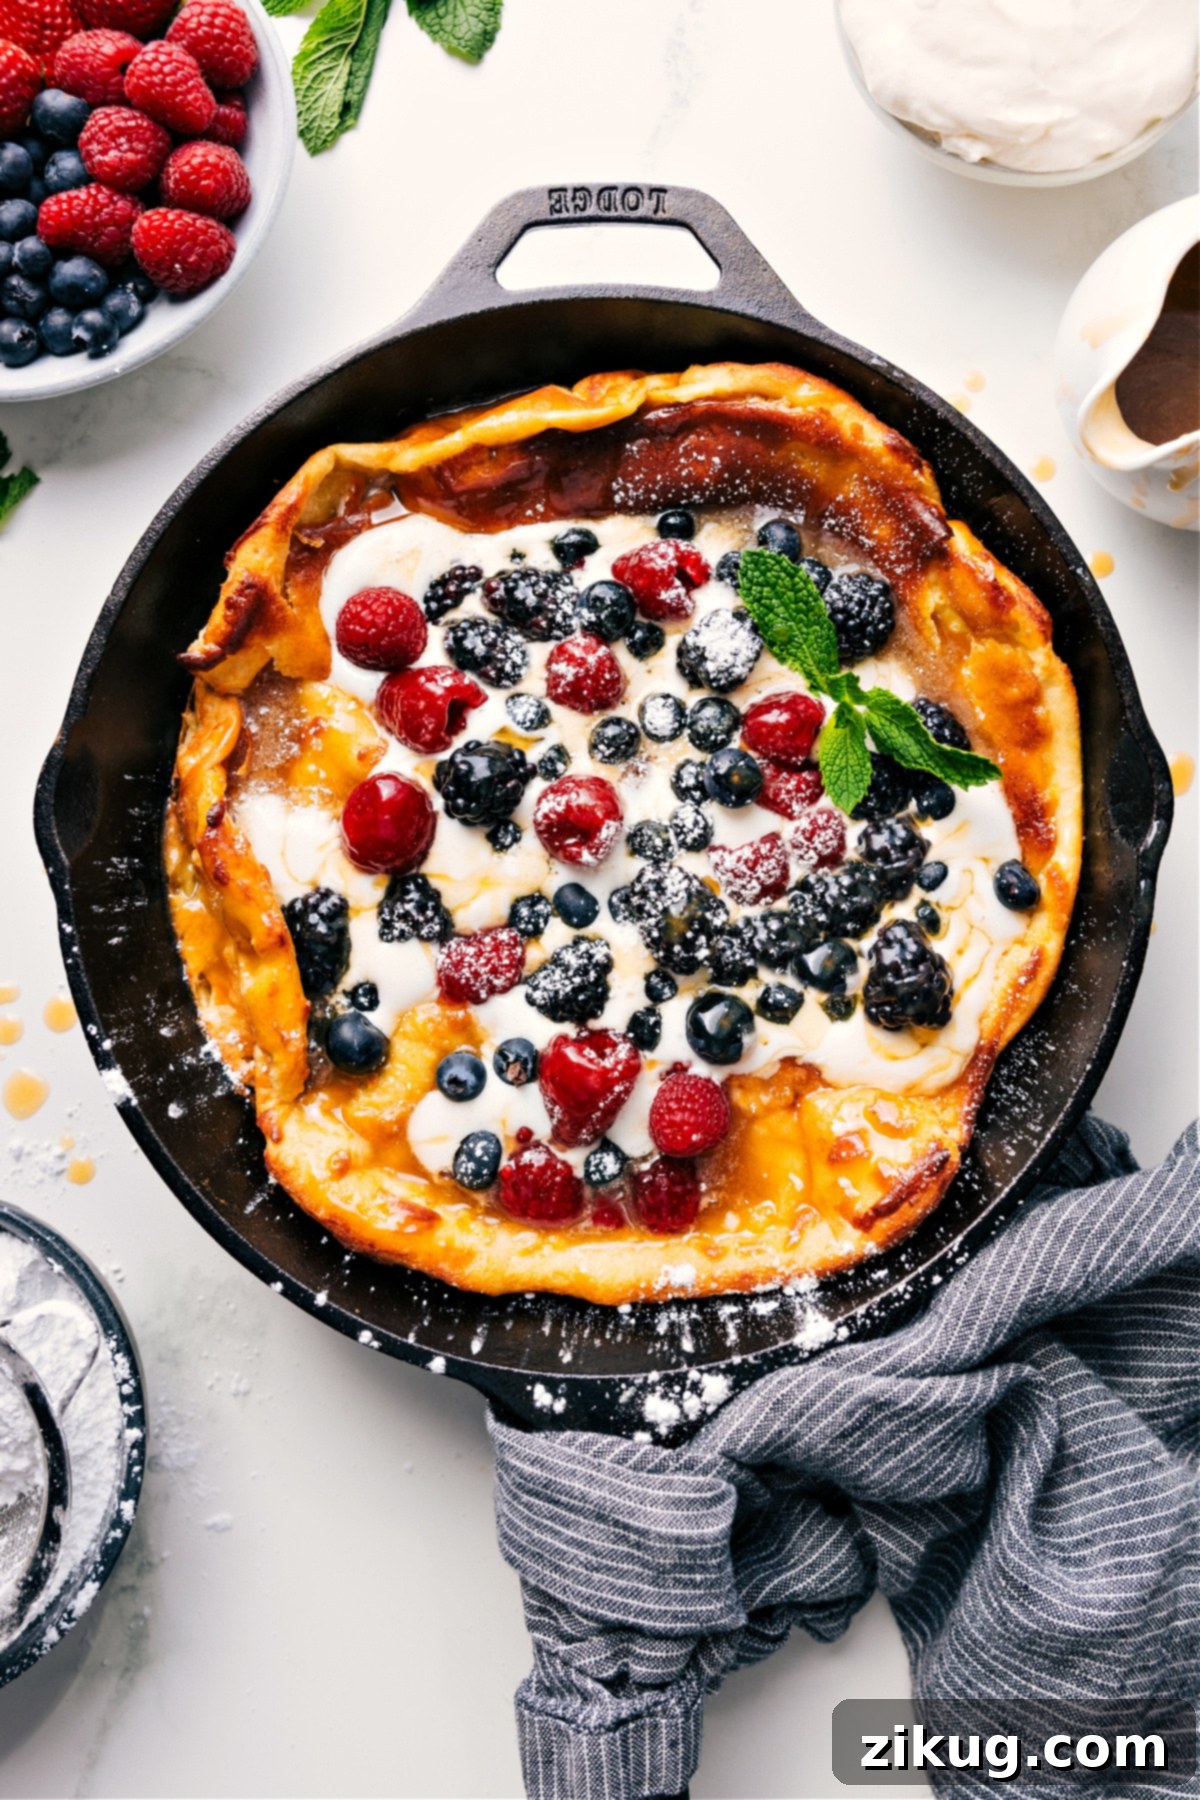
This Dutch Baby Recipe stands out, consistently delivering perfectly crispy edges, a remarkably soft and custardy middle, and an irresistible rich buttery flavor. It’s a breakfast masterpiece that will quickly become a favorite in your home.

Author’s Note
A Culinary Journey to the Perfect Custardy, Buttery, and Truly Hyped German Pancake
In our household, breakfast isn’t just a meal; it’s an event. My three kids and my husband wholeheartedly declare it their favorite part of the day. With busy mornings often allowing only for a quick protein shake as we dash out the door, we’ve wholeheartedly embraced the joy of “breakfast for dinner.” It’s a chance to slow down, connect, and indulge in comfort food.
Our usual evening breakfast lineup features a delightful spread: perfectly cooked eggs (whether scrambled to fluffy perfection or fried over medium), irresistibly crispy bacon, golden-brown toast, and a choice of classic delights like light and airy waffles, fluffy pancakes, delicate crepes—or this incredibly unique and satisfying German pancake recipe, affectionately known as a Dutch Baby.
Achieving this level of perfection wasn’t an overnight feat. It involved months of dedicated experimentation, tweaking ratios, and perfecting techniques. My goal was to craft a Dutch Baby that was truly buttery, wonderfully creamy, and boasted a distinct egg custard texture that melts in your mouth. Many Dutch Baby recipes I encountered missed this mark, often turning out overly eggy or too dry. This recipe, however, hits all the right notes, creating a light yet rich consistency that makes it utterly unforgettable.
And let’s not forget the grand finale: the syrup. We believe in generously drowning our Dutch Babies in a river of the good stuff. It’s the sweet, sticky counterpoint that elevates every bite, making this dish not just good, but truly *so* dang good. It’s a culinary experience that’s absolutely worth every bit of the hype.
Featured Comment
“I was a pastry chef and worked in French bakeries for 18 years and was very impressed with this formula…Perfect every time. Thanks for sharing this one.”
– Justin
Essential Ingredients for a Perfect Dutch Baby
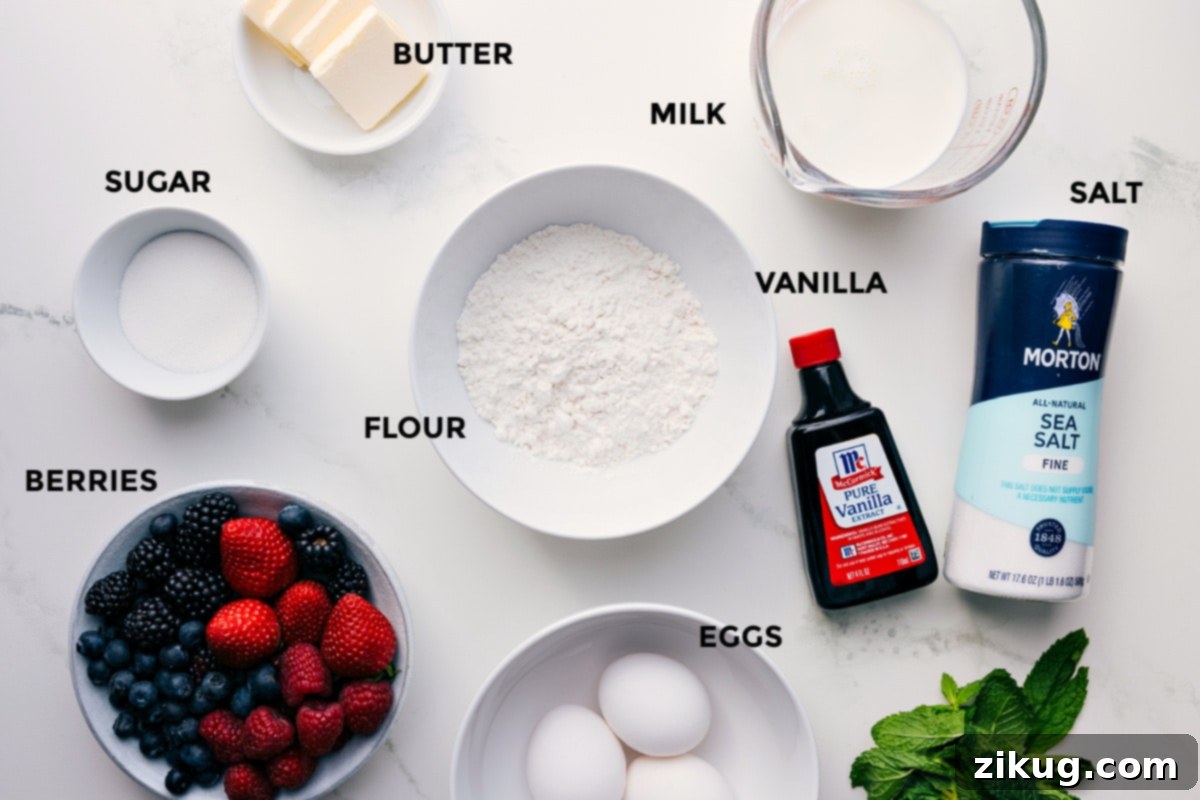
Crafting the perfect Dutch Baby requires just a few basic ingredients, but understanding their role and selecting the right quality can make all the difference. The full recipe with precise measurements is provided below, but here are some key tips and potential swaps to ensure your Dutch Baby turns out amazing every time.
- Butter: The foundation of flavor. Using good quality unsalted butter is paramount. For an elevated, nutty dimension, consider browning your butter before pouring in the batter. This simple step adds incredible depth and richness, transforming the flavor profile.
- Flour: Stick with classic white, all-purpose flour for the best results. Its protein content and texture are ideal for achieving the signature rise and delicate crumb of a Dutch Baby. Avoid self-rising flour or bread flour, as they will alter the structure.
- Milk: Whole milk is highly recommended for its richness and fat content, which contributes to the custardy texture. However, if you prefer, 1% or 2% milk will also work, though the final product might be slightly less decadent. Plant-based milks can be used, but may impact flavor and texture.
- Eggs: Eggs are the magic behind the dramatic puff of a Dutch Baby. As they expand in the hot oven, they create steam that inflates the pancake, resulting in those impressive, towering edges. The subsequent deflation upon removal from the oven is completely normal as the steam escapes. Using room temperature eggs also promotes a better, more consistent rise.
- Salt: A pinch of salt is crucial for balancing the sweetness and enhancing all the other flavors in the pancake. Don’t skip it!
- Vanilla Extract: Pure vanilla extract adds a warm, aromatic depth that complements the buttery richness beautifully.
- Sugar (Optional): A touch of granulated sugar in the batter is optional, especially if you plan to add sweet toppings. It can help with browning and provide a subtle sweetness to the pancake itself.
- Cinnamon (Optional): For a hint of warmth and spice, a quarter teaspoon of ground cinnamon can be added to the batter. This is particularly lovely during cooler months or when serving with apple or pear toppings.
Quick Tip: What Exactly Is A Dutch Baby?
Often referred to as a German pancake or a Dutch Baby Pancake, this culinary delight is essentially a large, puffy pancake that’s baked in the oven. Unlike traditional griddle pancakes, a Dutch Baby begins its life in a hot, buttered pan, typically cast iron, before being transferred to a blazing hot oven. The high heat causes the batter to rapidly expand and rise dramatically, creating tall, crispy, golden-brown edges while the center remains delightfully soft and custard-like. This impressive “puff” is similar to that of a popover, and it’s always a showstopper when pulled from the oven. As it cools, it gently deflates, forming a beautiful, bowl-like shape perfect for holding an array of toppings.
The beauty of the Dutch Baby lies in its incredible versatility. It serves as a fantastic canvas for both sweet and savory toppings, making it suitable for any meal of the day. Whether you load it with fresh fruit and syrup or opt for a more adventurous combination of eggs, cheese, and herbs, it’s guaranteed to be a hit!
Do I Have To Use A Cast Iron Skillet for a Dutch Baby?
While a cast iron skillet is often the traditional choice for baking a Dutch Baby, and certainly delivers fantastic results, it’s absolutely not a strict requirement! Don’t let the absence of one deter you from trying this amazing recipe.
A 9×13-inch metal or glass baking dish works wonderfully as an alternative. You’ll still achieve that gorgeous puff and those coveted crispy edges. The key is to ensure your chosen pan, regardless of material, is piping hot before you introduce the batter. Preheating the pan with the butter inside is a crucial step that helps the Dutch Baby rise beautifully and prevents sticking. The hot pan creates an immediate burst of steam, which is essential for that signature dramatic lift. So, feel free to use what you have on hand and get ready for a delicious Dutch Baby!
Mastering the Dutch Baby: Essential Tips for Success
Making a Dutch Baby is surprisingly simple, but a few expert tips can elevate your pancake from good to absolutely glorious. Follow these guidelines for a flawless, impressive result every time:
- Bring Eggs & Milk to Room Temperature: This is a secret weapon for an optimal rise. Room temperature ingredients emulsify better, creating a smoother batter and allowing the pancake to puff up more effectively and evenly in the oven. Plan ahead by taking them out of the fridge about 30 minutes before you start.
- Resist the Urge to Open the Oven Door: Patience is key! Opening the oven prematurely lets out precious heat and steam, which can cause your magnificent pancake to deflate too soon. Trust the process and keep that door closed until the recommended baking time is nearly complete.
- Blend for Approximately 50 Seconds: Achieving a smooth, homogenous batter is important, but over-blending can incorporate too much air. About 50 seconds in a high-powered blender is usually sufficient to combine everything without developing the gluten too much or creating an excessively airy batter that might collapse.
- Allow the Batter to Rest: For an even better texture and a deeper flavor, let your batter rest. A quick 10–15 minutes on the counter is beneficial, allowing the flour to fully hydrate. For a truly exceptional result, consider making the batter the night before and refrigerating it overnight. This rest period gives the flavors time to meld and the gluten to relax, resulting in a more tender and custardy pancake.
- Utilize a Metal Pan for Optimal Crispy Edges and Rise: While a glass dish works, metal pans, especially cast iron, conduct heat more efficiently and evenly. This translates to those coveted crispier edges and a more impressive, consistent rise around the perimeter of the Dutch Baby.
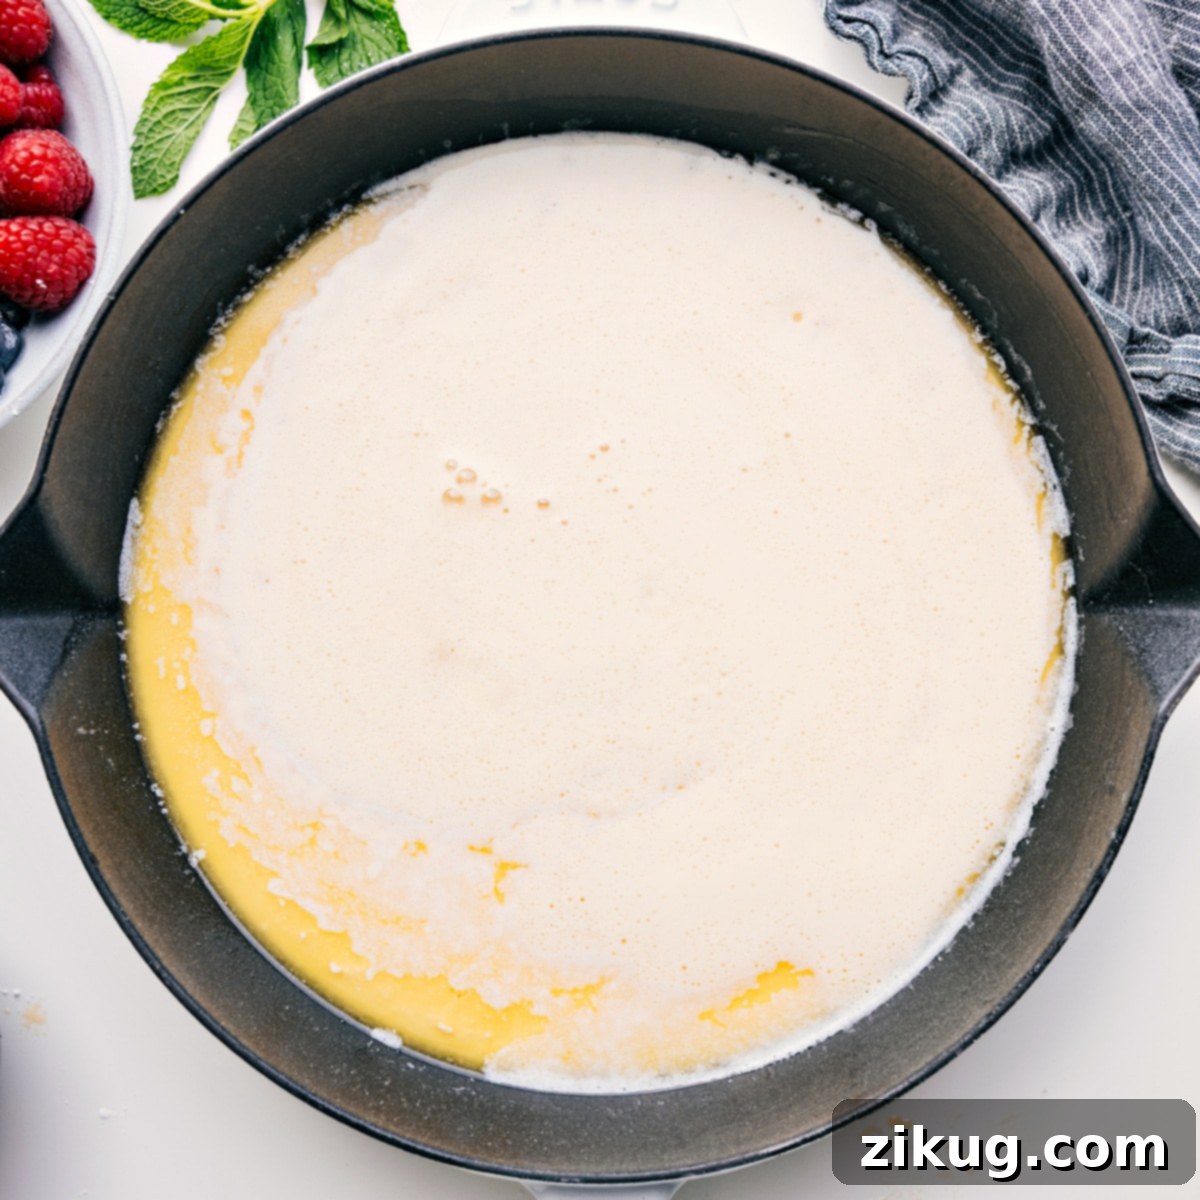
- Pour Batter in a Figure-8 Pattern: This technique helps distribute the batter more evenly across the hot pan. An even distribution encourages a more uniform puff, ensuring that all sides rise beautifully and none are left behind.
What to Serve With This Decadent Dutch Baby Recipe:
While the Dutch Baby itself is a star, pairing it with complementary dishes can turn a simple meal into a memorable feast. Here are some delightful accompaniments that perfectly match its rich flavor and unique texture:
Beverages
Refreshing Mango Smoothie Recipe
Eggs And Potatoes
The BEST Skillet Breakfast Potatoes
Breakfast
Hearty Country Breakfast Egg Skillet
Breakfast
Creative Breakfast Toast Combinations

Dutch Baby Recipe (German Pancakes)
Chelsea Lords
10 minutes
20 minutes
30 minutes
4
servings
Video
Equipment
-
9 x 13-inch baking pan
or 10.25-inch cast iron skillet (see note 1 below for adjustments) -
High-powered Blender
Ingredients
- Cooking spray
-
6
tablespoons
unsalted butter
cut into tablespoons -
1
cup
all-purpose flour -
1-1/3
cups
whole milk -
3
large
eggs -
1
large
egg yolk -
1/2
teaspoon
salt -
1
teaspoon
vanilla extract -
3
tablespoons
granulated sugar
optional -
1/4
teaspoon
ground cinnamon
optional -
Fresh berries
for serving, optional -
Whipped cream
for serving, optional
-
8
tablespoons
unsalted butter -
1
cup
light brown sugar -
1/2
cup
heavy cream -
1/8
teaspoon
salt -
2
teaspoons
vanilla extract
Instructions
-
Prepare Your Oven and Pan: Preheat your oven to a high 425°F (220°C). Lightly spray a 9×13-inch baking pan (or a 10.25-inch cast iron skillet; refer to note 1 below for skillet-specific adjustments) with cooking spray. Place the cold, cut-up pieces of unsalted butter directly into the prepared pan and set it aside.
-
Blend the Batter to Perfection: In a high-powered blender, combine the flour, whole milk, large eggs, extra egg yolk (for added richness and custard texture), salt, vanilla extract, and if you choose to include them, the granulated sugar and ground cinnamon. Blend the mixture until it is completely smooth and uniform, which typically takes about 50 seconds. Avoid over-blending, as this can incorporate too much air. At this stage, you have the option to refrigerate the batter for a few hours or even overnight; this rest can enhance the flavor and texture of your Dutch Baby, making it a perfect make-ahead option for busy mornings.
-
Heat the Pan and Butter: Carefully place the pan containing the cold butter into the preheated oven. Allow the butter to fully melt. Once melted, use a pastry brush to evenly coat the entire bottom and sides of the pan with the hot butter. For an extra layer of flavor and aroma, you can return the pan to the oven for a very brief period to brown the butter. Watch it meticulously; you want it to turn a golden-brown color and emit a nutty fragrance, but it can burn quickly, so do not leave it unattended.
-
Pour and Bake: As soon as the butter is perfectly melted or lightly browned, remove the scorching hot pan from the oven. Immediately pour the prepared batter into the hot pan, using a figure-8 pattern to help distribute it evenly. Return the pan to the oven and bake for 20–25 minutes. The Dutch Baby is ready when it has dramatically puffed up around the edges, turned a beautiful golden-brown, and the center is no longer glossy but set. Remember, resist the urge to open the oven door during baking to prevent deflation.
-
Serve Immediately: As soon as it comes out of the oven, your Dutch Baby will begin to deflate slightly, which is completely normal. Dust it generously with powdered sugar, slice it into large, delicious pieces, and serve immediately. It’s best enjoyed fresh and warm. Top with your choice of fresh berries, a dollop of whipped cream, or a drizzle of the optional homemade caramel syrup, as desired.
-
Optional Caramel Syrup Preparation: If you’re making the caramel syrup, combine the butter, light brown sugar, heavy cream, and a pinch of salt in a heavy-bottomed pot. Cook this mixture over medium heat, stirring occasionally to prevent burning. Continue cooking for about 5–8 minutes, or until the syrup has thickened and begins to bubble actively. Remove the pot from the heat and stir frequently as it cools slightly to prevent a skin from forming. Finally, stir in the vanilla extract until well combined. Drizzle this rich, warm caramel syrup generously over your freshly baked Dutch Baby for an extra indulgent treat.
Recipe Notes and Storage
- 3 large eggs
- 3/4 cup all-purpose flour
- 3/4 cup whole milk (or 1% or 2%)
- 2-1/2 tablespoons sugar (optional)
- 1/8 teaspoon salt
- 1 teaspoon vanilla extract
- 3-1/2 tablespoons butter, cut into tablespoons
Storage: A Dutch Baby is truly at its peak when enjoyed right out of the oven, hot and fresh. However, if you happen to have leftovers, they can be stored in an airtight container in the refrigerator for up to 2 days. To reheat, place slices in a skillet over low heat or in an oven preheated to 300°F (150°C) until warmed through and slightly crisped up again. While still tasty, the texture will be softer than freshly baked.
Nutrition Information (Approximate per serving)
Serving:
1
serving
|
Calories:
415
kcal
|
Carbohydrates:
36.7
g
|
Protein:
11.6
g
|
Fat:
24.3
g
|
Cholesterol:
237.9
mg
|
Sodium:
100.4
mg
|
Fiber:
0.8
g
|
Sugar:
12.9
g
Nutrition information is automatically calculated and should be used as an approximation only, as values can vary based on specific ingredients and preparation methods.
Love this recipe? Leave a comment and a rating below!
Your feedback helps others discover delicious recipes.
How to Enjoy Your Dutch Baby: Serving Suggestions
The beauty of a Dutch Baby lies not only in its impressive appearance and delightful texture but also in the myriad ways it can be customized and enjoyed. There truly is no wrong way to savor this versatile German pancake!
- Classic Fork and Knife: Our go-to method is simply cutting it into large, generous pieces and enjoying it with a fork and knife. This allows you to appreciate the crispy edges and soft, custardy center in every bite.
- Roll It Up: For a fun and interactive experience, especially with children, spread your favorite toppings evenly over the deflated pancake, then roll it up like a giant burrito or a crêpe. This makes for an easy-to-eat and delightful handheld treat.
- Creative Topping Ideas We Love: The possibilities are endless when it comes to Dutch Baby toppings. Here are some of our absolute favorites to inspire you:
- Fruit & Syrup Bliss: A simple yet utterly satisfying combination. Pile on fresh, seasonal berries (strawberries, blueberries, raspberries are fantastic), dust generously with powdered sugar, and finish with a rich drizzle of buttermilk or vibrant blueberry syrup. The warm pancake and cool fruit create a delightful contrast.
- Creamy & Light Indulgence: For a lighter, yet still decadent option, top your Dutch Baby with a cloud of freshly made whipped cream and a medley of colorful berries. The airiness of the cream perfectly complements the pancake’s texture.
- Rich & Gooey Delight: If you’re craving something more indulgent, sliced bananas paired with a generous dollop of warm caramel sauce, creamy Nutella, or luscious dulce de leche are pure heaven. A sprinkle of chopped nuts can add a lovely crunch.
- Savory Adventures: Don’t limit the Dutch Baby to sweet! It makes an excellent canvas for savory brunch or dinner options. Try adding thinly sliced ham and melted cheese, crumbled crispy bacon, sautéed mushrooms and onions, or fresh herbs. Consider a fried egg on top for a truly hearty meal.
- Seasonal Variations: In the fall, try roasted apples with a sprinkle of cinnamon and a scoop of vanilla ice cream. In the spring, fresh lemon zest and a light lemon glaze can be wonderfully refreshing.
No matter how you choose to customize and devour your Dutch Baby, its unique combination of textures and flavors promises a memorable meal. It’s a versatile dish that encourages creativity and brings joy to any table, proving that breakfast foods aren’t just for mornings.