
Honey Almond Granola: Your New Favorite Crunchy, Sweet, and Wholesome Snack
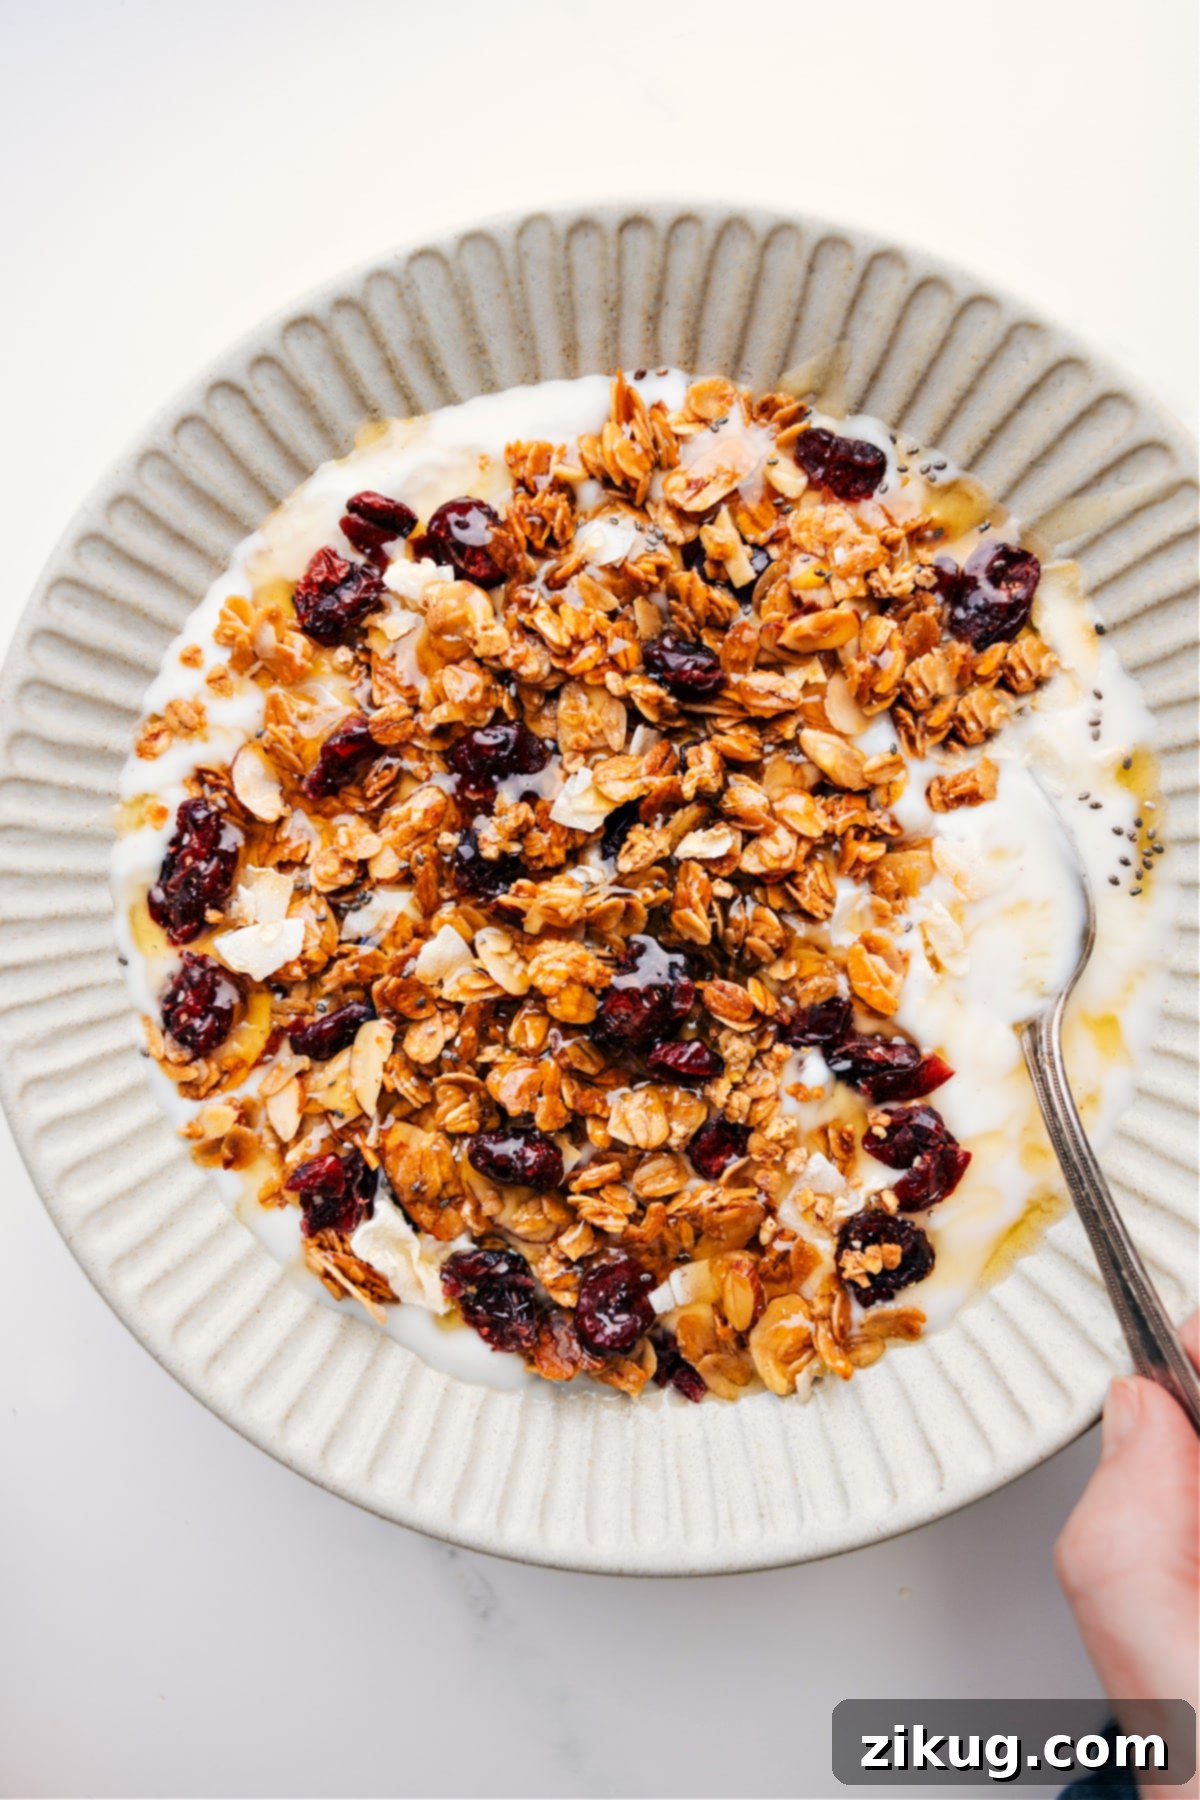
Welcome to the world of truly irresistible homemade granola! This **Honey Almond Granola** isn’t just another recipe; it’s a game-changer. Imagine perfectly toasted oats, crunchy almonds, and a delicate sweetness from golden honey, all baked to create clusters so satisfying you’ll want them on everything. Whether it’s enhancing your morning yogurt, adding texture to your cereal, or simply enjoyed by the handful straight from the pan, this granola promises a delightful experience. It’s incredibly versatile, surprisingly easy to make, and significantly more flavorful and wholesome than anything you’ll find pre-packaged. Get ready to elevate your snack game with this ultimate granola!

Author’s Notes
My Husband’s All-Time Favorite Granola!
This Honey Almond Granola holds a special place in my heart – and in my husband’s snack rotation! Back when we were living in Australia, his job required him to fly out every Monday morning and return on Friday evening. Knowing he faced long travel days and busy work weeks, I always wanted to ensure he had nourishing and delicious snacks to keep him going.
So, every Sunday night, before his Monday departure, my kitchen would be filled with the comforting aroma of this granola baking. Alongside a batch of my Healthy Blueberry Muffins, this granola became his go-to travel fuel. He absolutely adored it, and I often found myself doubling the recipe just to make sure he had enough to last him through the week.
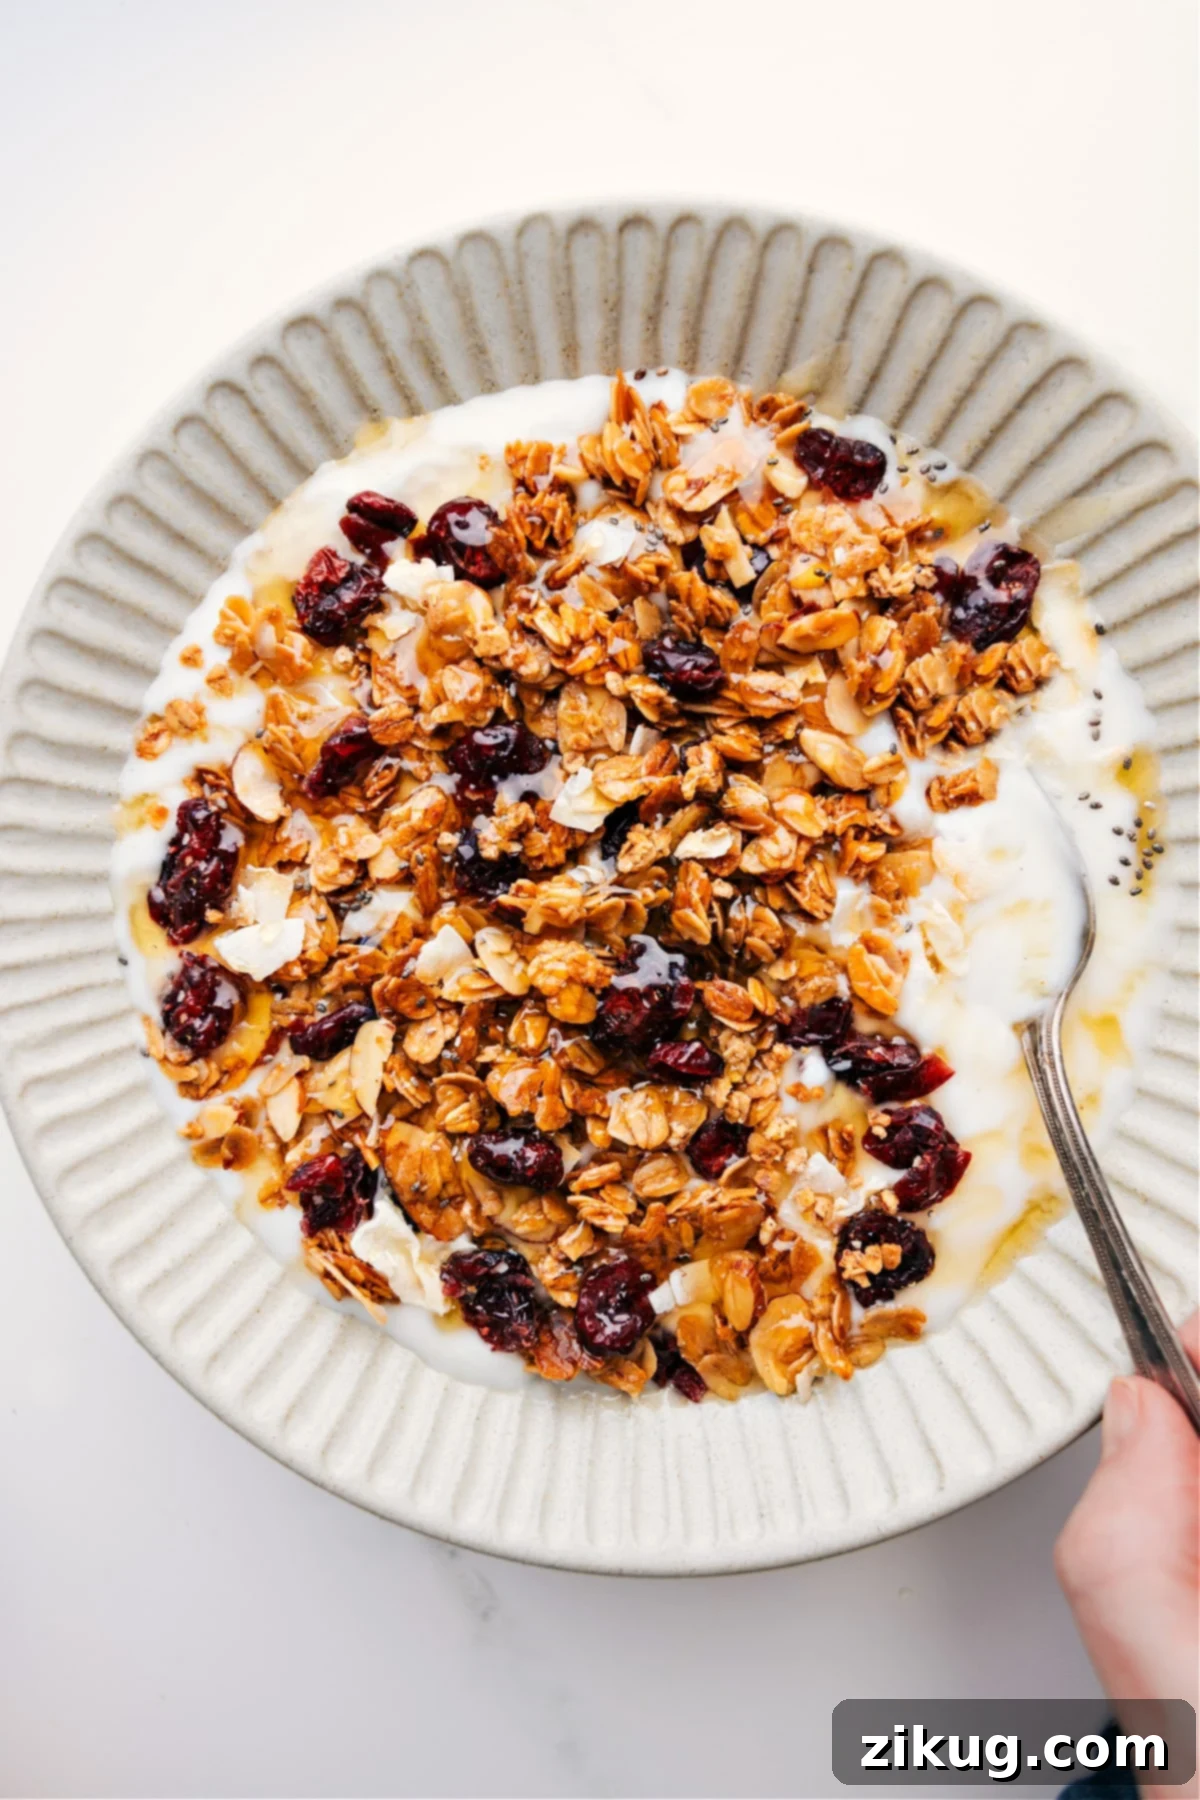
Even all these years later, his obsession with this granola hasn’t waned a bit! It’s still a staple in our home. He regularly prepares a large, satisfying yogurt parfait, layering creamy Greek yogurt with an abundance of fresh blueberries and, of course, a generous scoop (or two!) of this beloved honey almond granola. It’s not just a recipe; it’s a testament to how simple, homemade goodness can bring so much joy and comfort.
Why Make Your Own Honey Almond Granola? The Benefits Are Endless!
There’s something incredibly rewarding about homemade granola that simply can’t be replicated by store-bought versions. When you make your own Honey Almond Granola, you gain complete control over the ingredients, ensuring it’s free from undesirable additives, excessive sugars, and unhealthy fats often found in commercial products. Beyond the health benefits, the flavor profile of freshly baked granola is unparalleled – warm, deeply caramelized, and incredibly aromatic.
Making granola at home also allows for endless customization. You can adjust the sweetness, swap out nuts and seeds, or add dried fruits according to your personal preferences. It’s a cost-effective alternative, saving you money in the long run, and fills your kitchen with the most inviting, comforting scent. Plus, achieving those perfect, satisfying clusters becomes a reality with a homemade recipe like this one!
Essential Ingredient Notes & Easy Swaps for Perfect Granola
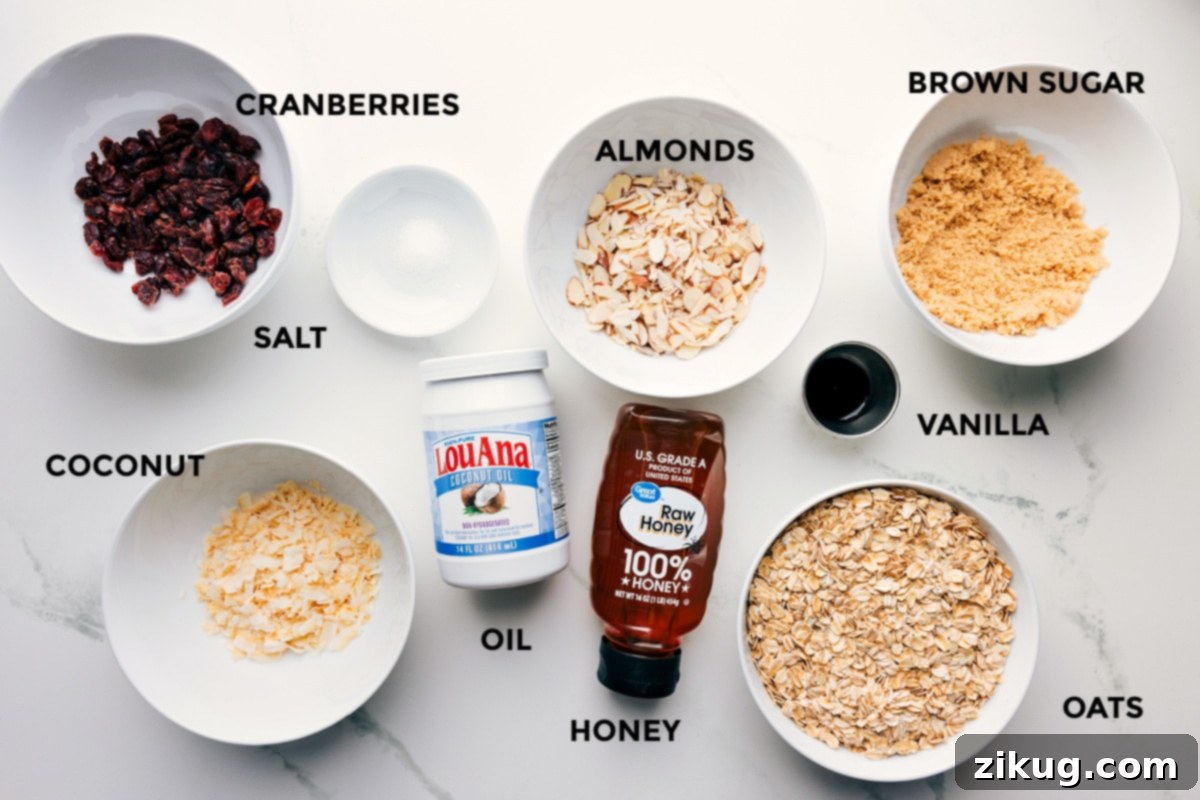
Crafting the perfect Honey Almond Granola starts with understanding your ingredients. Each component plays a crucial role in achieving that ideal balance of flavor and texture. Here’s a breakdown of what you need and how you can adapt it to your taste or dietary needs:
- Oats: Always opt for old-fashioned rolled oats. These oats retain their shape and provide the desired chewy texture and hearty structure in granola. Quick oats will become mushy, and steel-cut oats won’t cook properly, leading to a much different and less satisfying result.
- Almonds: Sliced almonds are fantastic for this recipe, offering a delicate crunch and nutty flavor. For variation or if you have dietary restrictions, you can easily swap them with other nuts like pecans, walnuts, or cashews. If you need a completely **nut-free version**, pepitas (pumpkin seeds) or sunflower seeds make excellent substitutes, providing a similar satisfying crunch and earthy flavor.
- Honey: This is the star sweetener, giving the granola its signature flavor and helping to create those coveted clusters. If you’re aiming for a **vegan version**, pure maple syrup is an excellent 1:1 substitute, offering a similar stickiness and sweet profile.
- Coconut Oil: Essential for crispness and flavor, coconut oil provides a subtle richness. Remember to **melt it before measuring** to ensure accuracy. Using solidified coconut oil will lead to incorrect measurements and affect the overall texture of your granola.
- Brown Sugar: Light brown sugar adds a deep, molasses-like sweetness and contributes to the granola’s beautiful caramelization. For the best results, use **soft, fresh brown sugar** that’s lightly packed. This ensures it mixes evenly and melts beautifully during baking.
- Vanilla Extract and Salt: These might seem like minor additions, but they are flavor powerhouses! **Don’t skip them!** Vanilla extract enhances the warm, sweet notes, while a touch of salt perfectly balances the sweetness and brings out the nutty flavors of the almonds and oats. They truly boost and round out the overall taste.
- Optional Add-ins: This is where you can truly personalize your granola! I absolutely adore adding **toasted coconut flakes** for extra tropical crunch and a rich aroma, along with **dried cranberries** for a touch of tartness and chewy texture. Other fantastic additions include dried blueberries, chopped dried apricots, chocolate chips (add after cooling!), or even a pinch of cinnamon or nutmeg for a spiced version. Feel free to use your favorites and get creative!
What Makes This Honey Almond Granola So Special?
This recipe stands out for several reasons, making it a beloved staple. Firstly, it consistently delivers that perfect, sought-after crunch that often eludes homemade granola. The combination of ingredients and specific baking technique ensures golden, crisp clusters every time. Secondly, the flavor profile is incredibly balanced – not overly sweet, with the natural richness of honey and almonds shining through, complemented by a hint of vanilla and a touch of salt.
Furthermore, it’s remarkably versatile. While delicious on its own, it transforms any meal, from a simple breakfast to a decadent dessert. It’s also incredibly easy to prepare, requiring minimal hands-on time, making it ideal for meal prepping healthy snacks for the entire week. Plus, knowing exactly what goes into your food brings peace of mind, making this a healthier and more satisfying choice for the whole family.
Featured Comment
“Hi Chelsea! I just wanted to say you’re an absolute legend.
This is my all time favourite recipe for granola. I’ve made it every week since finding it. Thank you so much for sharing, it’s a winner! ❤️”– Rachel
Creative Ways to Serve Your Delicious Honey Almond Granola
Once you’ve baked a batch of this golden, crunchy Honey Almond Granola, you’ll find countless ways to enjoy it. Its versatility makes it a fantastic addition to almost any meal or snack:
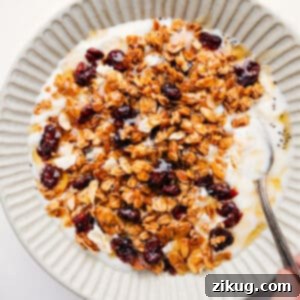
- On a yogurt bowl with fresh berries: This is a classic for a reason! The creaminess of yogurt perfectly complements the crunch of granola and the freshness of seasonal fruits.
- Sprinkled on top of smoothie or açaí bowls: Add texture and a boost of flavor to your favorite blended breakfast.
- Paired with milk (like cereal): For a quick and satisfying breakfast, treat it like your favorite cereal.
- As a gourmet topping for vanilla ice cream: Transform a simple dessert into something special with a sprinkle of crunchy granola.
- I eat this and peanut butter granola by the handful for a quick snack: Sometimes, the simplest way is the best way! Keep a jar on your desk for an energizing pick-me-up.
- Mixed into baked goods: Fold it into muffin batter or sprinkle on top of fruit crisps before baking for an extra layer of flavor and crunch.
- As a base for fruit tarts: Crumble it and press into a pan for a delicious and easy no-bake crust.
Storage Tips for Long-Lasting Freshness
Keeping Your Granola Perfectly Crunchy
- Room Temperature: For optimal crunch and flavor, store your Honey Almond Granola in an **airtight container** in a cool, dry place away from direct sunlight. It will maintain its delicious freshness and crisp texture for up to 3–4 weeks. Mason jars or sealed plastic containers work wonderfully.
- Freezer: If you’ve made a large batch or want to extend its shelf life, granola freezes beautifully! Transfer the completely cooled granola to a **freezer-safe bag**, making sure to press out as much air as possible before sealing. It can be stored in the freezer for 3–6 months. The best part? You can enjoy it straight from the freezer – no thawing needed, and it becomes even crunchier!
- Don’t Refrigerate: This is a common mistake that can ruin your granola! **Avoid refrigerating** it at all costs. The humidity in the refrigerator will cause the granola to absorb moisture, leading to a soft, chewy, and less appealing texture, completely destroying its signature crunch.
Explore More Delicious & Healthy Snack Recipes:
Breakfast
No-Bake Protein Breakfast Cookies
Desserts
Wholesome Applesauce Bread
Healthy
Nutrient-Packed Oatmeal Energy Balls
Breakfast
Copycat Blueberry Oatmeal Bars
Print Recipe
Honey Almond Granola
Chelsea Lords
20
20
40
6 servings
Video
Equipment
-
Rimmed sheet pan
Ingredients
- 3 cups old-fashioned oats
- 3/4 cup sliced almonds
- 1/4 cup + 2 tablespoons honey
- 1/3 cup melted coconut oil
- 1/4 cup + 2 tablespoons light brown sugar lightly packed
- 1 teaspoon vanilla extract
- 1/4 teaspoon salt
- 1/2 cup toasted coconut flakes
- 1/2 cup dried cranberries
Instructions
-
Step 1: Prepare Your Baking Sheet and Oven. Preheat your oven to 325°F (160°C). Line a large, rimmed sheet pan with parchment paper or a silicone baking mat. This crucial step prevents sticking and ensures easy cleanup.
-
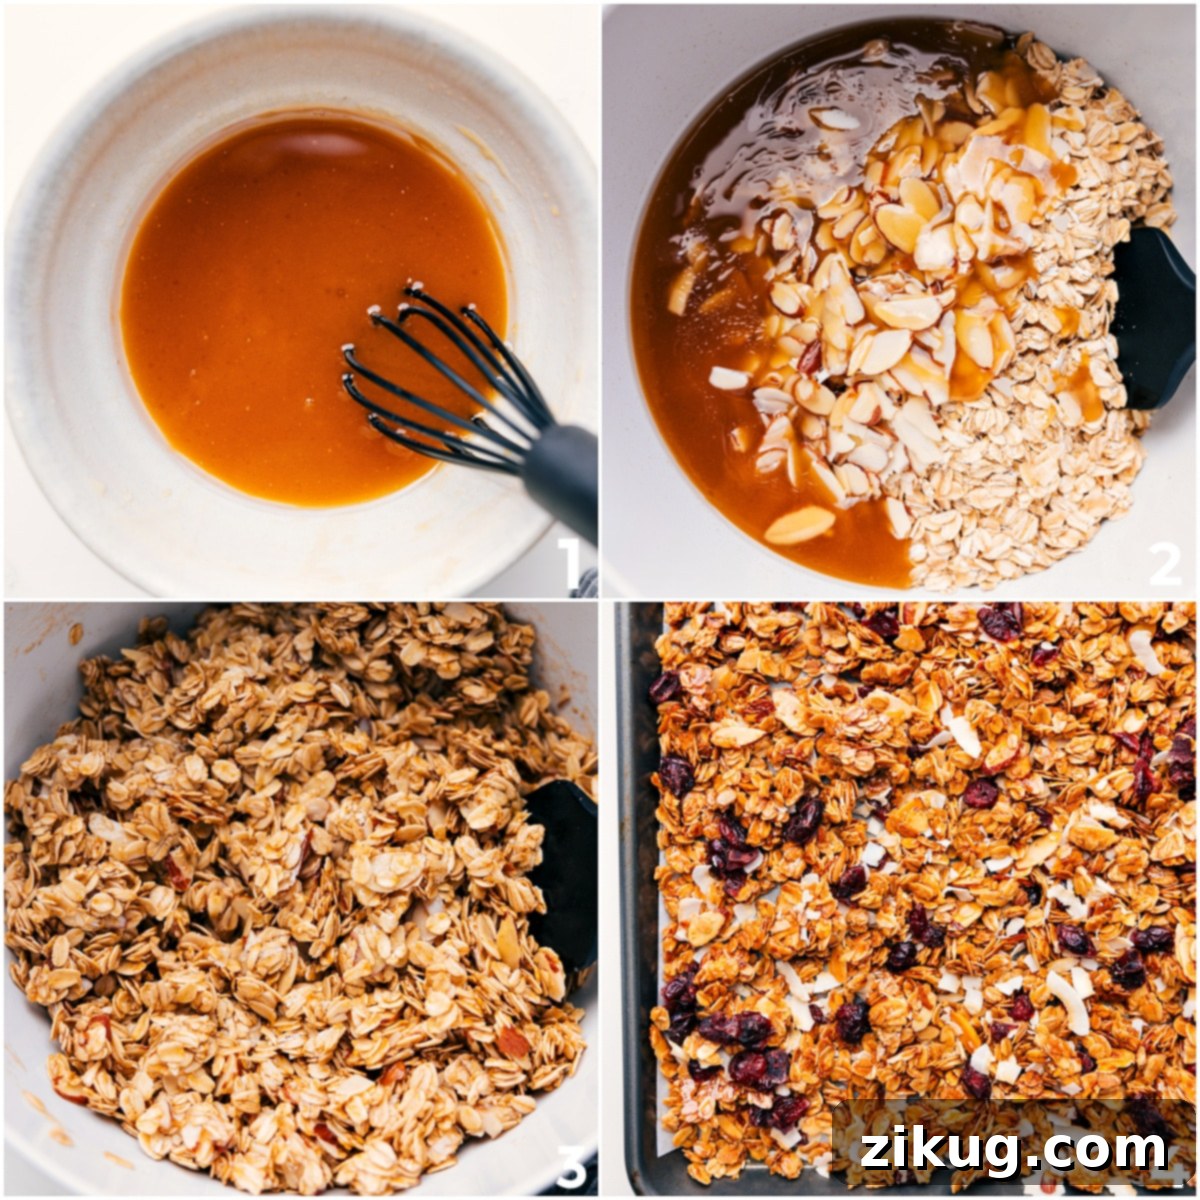
Step 2: Combine Dry Ingredients. In a spacious large bowl, combine the old-fashioned oats and sliced almonds. Give them a quick toss to ensure they are well mixed.
-
Step 3: Prepare the Wet Mixture. In a separate, microwave-safe bowl, add the honey, melted coconut oil, light brown sugar, vanilla extract, and salt. Microwave the mixture in 20-second increments, stirring after each, until it’s smooth and easy to whisk. This ensures all the ingredients are fully incorporated and warm.
-
Step 4: Combine Wet and Dry Ingredients. Pour the warm honey mixture over the oat and almond mixture in the large bowl. Using a sturdy wooden spoon or spatula, stir thoroughly until the oats and almonds are completely and evenly coated with the sweet liquid. Ensure no dry spots remain for consistent flavor and texture.
-
Step 5: Bake to Golden Perfection. Spread the granola mixture in a single, flat, and even layer across the prepared sheet pan. Avoid piling it up too high, as this helps with even baking and crispness. Bake for a total of 21 minutes, **stirring and re-spreading the granola every 7 minutes.** This constant attention ensures even toasting and prevents burning.
-
Step 6: Cool Completely for Clusters. Once baking is complete, remove the sheet pan from the oven. The granola might still feel a bit soft, but don’t worry – it will firm up and become delightfully crunchy as it cools. **Crucially, let the granola cool completely at room temperature on the sheet pan without stirring for at least 2–3 hours.** This undisturbed cooling period is the secret to forming those irresistible big clusters. Once fully cooled, stir in the toasted coconut flakes and dried cranberries.
-
Step 7: (Optional) The Secret to Extra Crunch and Storage. Here’s a tip I swear by for ultimate crunch: Transfer the cooled granola to a large freezer bag. Press out all the air, seal it tightly, and then freeze. You can enjoy this granola straight from the freezer – there’s absolutely no need to thaw it, and it tastes incredibly good and extra crunchy this way!
Recipe Notes
Nutrition Information
Nutrition information is automatically calculated, so should only be used as an approximation.
Love this recipe? Share your thoughts below!
Mastering Honey Almond Granola: Top Tips for Success
Achieving perfectly crunchy, clustered granola is an art, but with these simple tips, you’ll be a master in no time:
- Spread Evenly for Consistent Crunch: It’s vital to spread the granola mixture in a thin, flat, and even layer on your baking sheet. Avoid any thick piles or excessive overlapping. This ensures that every piece of oat and almond gets adequate heat exposure, leading to uniform toasting and crispness throughout the batch. An uneven layer will result in some parts burning while others remain soft.
- Watch Closely Towards the End: Granola can go from perfectly golden to burnt in a matter of minutes, especially during the last few minutes of baking. Keep a very close eye on it, particularly after the final stir. If you notice edges browning too quickly, you can gently push them inward or reduce the oven temperature slightly. Trust your nose – a nutty, toasted aroma is good; a burning smell is a sign to act fast!
- The Secret to Big Clusters: Don’t Stir After Baking! This is perhaps the most crucial tip for achieving those large, satisfying granola clusters everyone loves. Once you remove the granola from the oven, resist the urge to stir it. Let it cool down completely and undisturbed on the sheet pan at room temperature. As it cools, the honey and sugar mixture will harden and bind the oats and nuts together, forming glorious, crunchy clumps. Stirring too soon will break these bonds.
- Mix Wet Ingredients Thoroughly: Before combining with the dry oats and almonds, ensure your wet ingredients (honey, coconut oil, brown sugar, vanilla, and salt) are thoroughly whisked until smooth and uniform. This step ensures that the sweetener and oil are evenly distributed throughout the dry mixture, leading to consistent flavor, color, and texture in every bite of your baked granola. If it’s not well mixed, you might end up with overly sweet spots or dry, bland patches.
Honey Almond Granola FAQs: Your Questions Answered
The key to achieving those coveted big clusters lies in two main steps: first, spread the granola mixture in a very even, flat layer on your baking sheet and gently press it down before baking. Second, and most importantly, **do not stir the granola after its final bake!** Let it cool completely and undisturbed on the sheet pan. As it cools, the sugary mixture hardens, cementing the oats and nuts into delightful clumps. Break it up only once it’s fully crisp.
This recipe can easily be made gluten-free! The primary ingredient, oats, is naturally gluten-free. However, oats are often processed in facilities that also handle wheat, barley, and rye, leading to cross-contamination. To ensure your granola is truly gluten-free, simply use **certified gluten-free old-fashioned oats**. All other ingredients in this recipe are typically gluten-free, making it a safe and delicious option for those with sensitivities.
While you technically can reduce the amount of brown sugar and honey, it’s not highly recommended if you’re looking for that signature crunchy and caramelized texture. Both the honey and brown sugar play a crucial role not only in sweetening but also in binding the ingredients together and creating the desirable crispness and golden-brown finish. Cutting back significantly will likely result in a much less crunchy, less caramelized, and potentially crumbly granola.
There are a few common reasons why granola might not get crunchy. The most frequent culprit is that it either **didn’t bake long enough** or **wasn’t cooled fully and undisturbed**. Granola crisps up significantly as it cools. If you break it apart while it’s still warm, it will remain soft. Ensure it’s spread in an even layer during baking, baked until golden brown (not just lightly toasted), and then allowed to cool completely – ideally for 2-3 hours – before touching it. Overcrowding the pan can also hinder crunchiness, as it creates steam rather than allowing ingredients to toast.
Unlock Endless Possibilities: Flavor Variations for Your Granola
Exciting Flavor Variations to Make This Granola Your Own
One of the joys of making homemade granola is the freedom to customize it! This Honey Almond Granola recipe is a fantastic base for countless delicious variations. Here are some ideas to inspire you:
- Cherry Almond Granola: For a sweet and tart twist, simply swap the dried cranberries with an equal amount of plump, dried cherries. The rich flavor of cherries pairs beautifully with almonds and honey.
- Coconut Chocolate Chip Granola: If you’re a chocolate lover, this variation is a must-try. Keep the toasted coconut flakes, and once the granola has completely cooled, stir in 1/2 to 3/4 cup of mini chocolate chips. Adding them when the granola is warm will cause them to melt.
- Other Nut Variations: Don’t limit yourself to just almonds! Feel free to swap almonds for other nuts you love. Chopped walnuts, pecans, or pistachios (chopped first for even distribution) would be excellent. Each nut brings its unique flavor and texture profile.
- No Coconut Flakes? No Problem! If coconut isn’t your preference, you can simply omit the toasted coconut flakes entirely. No other changes to the recipe are needed, and your granola will still be incredibly delicious.
- Add Seeds for Extra Nutrients: Boost the nutritional value and add more texture by replacing a portion (e.g., 1/4 cup) of the almonds with nutrient-rich seeds. Sunflower seeds, pumpkin seeds (pepitas), or even chia seeds can be fantastic additions.
- Sweet & Salty Crunch: For those who appreciate a contrasting flavor profile, sprinkle a generous pinch of flaky sea salt over the granola immediately after taking it out of the oven. The warmth will help the salt adhere, creating a delightful sweet and salty experience.
- Spiced Apple Granola: Add 1 teaspoon of ground cinnamon and 1/2 teaspoon of ground nutmeg to the dry ingredients. Once cooled, stir in 1/2 cup of finely diced dried apples for a cozy, autumnal twist.
- Tropical Granola: After the granola cools, mix in 1/4 cup each of dried mango pieces (chopped), dried pineapple bits, and more toasted coconut for an exotic flavor adventure.
Ready to Make the Best Granola Ever?
We hope you’re excited to try this incredibly delicious and satisfying Honey Almond Granola recipe. It’s truly a staple in our home, and we believe it will become one in yours too! Whether you’re enjoying it for a quick breakfast, a healthy snack, or a delightful topping, its sweet crunch is simply unbeatable. Don’t forget to experiment with the variations to find your ultimate favorite!
If you loved this recipe, please consider leaving a comment and a star rating below. Your feedback helps other home cooks discover and enjoy these wholesome creations. Happy baking!