
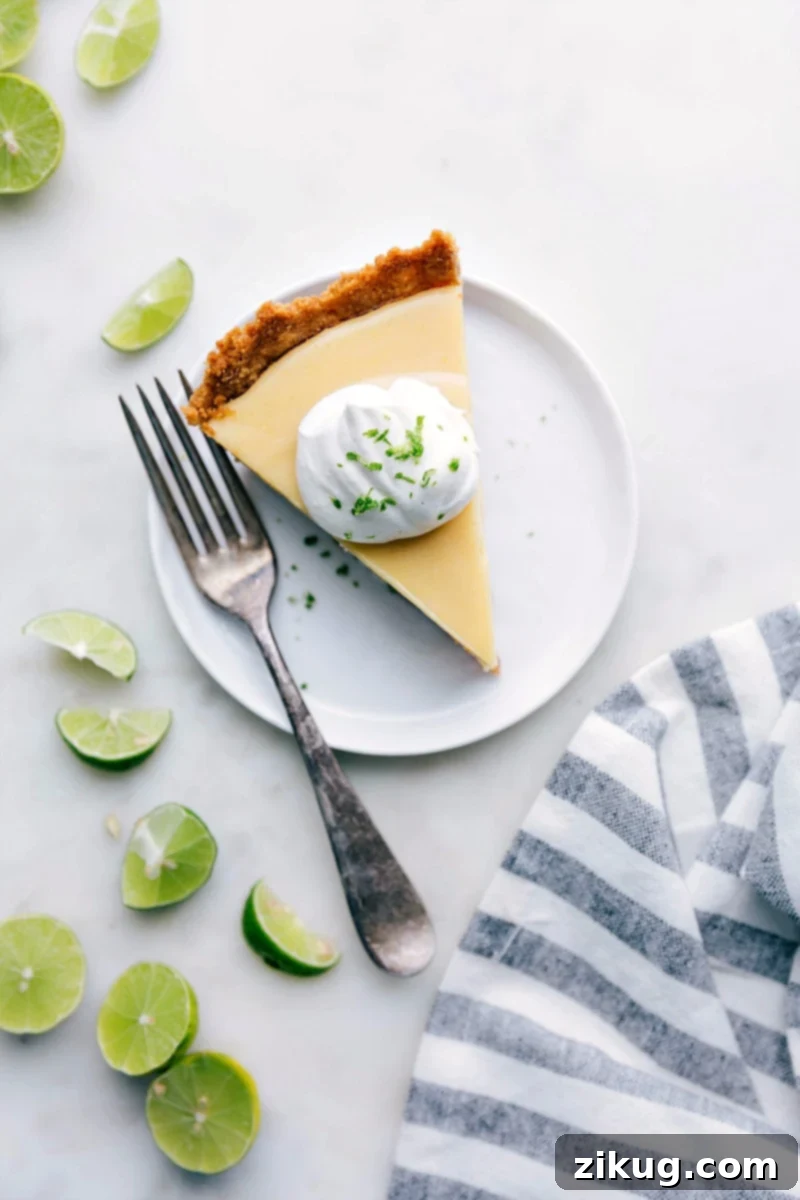
Key Lime Pie is an iconic dessert celebrated for its vibrant, zesty flavor and irresistible creamy texture. This beloved pie begins with a perfectly golden, buttery graham cracker crust, which provides a delightful crunch to complement the smooth, tangy Key lime filling. Crowned with a cloud of fluffy, homemade whipped cream, it’s a culinary masterpiece that promises to delight your taste buds with every forkful. Whether you’re a seasoned baker or a beginner, this recipe is designed to be straightforward and rewarding, delivering a truly authentic taste of the Florida Keys.
If you’re a fan of bright, citrusy desserts, you’re in for a treat! After mastering this Key Lime Pie, be sure to explore these other fantastic recipes: refreshing lemon bars, a luxurious lemon pie, or delightfully chewy lemon cookies. Each offers its own unique twist on citrus-infused sweetness.
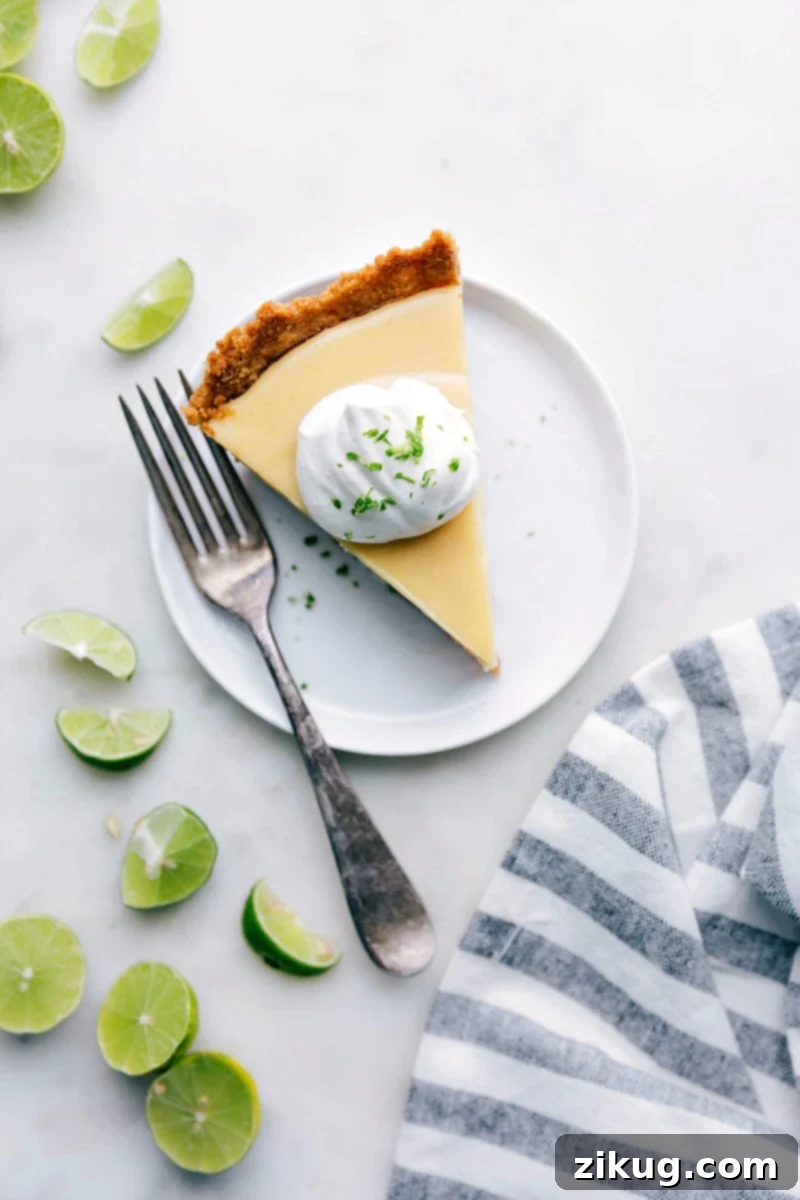
Crafting The Best Key Lime Pie at Home
My journey to perfecting this Key Lime Pie recipe began earlier this summer during a memorable trip to Maryland with friends. One evening, we indulged in a Key Lime Pie milkshake that was simply unforgettable – a rich, creamy, and wonderfully tangy treat that instantly became one of my trip’s culinary highlights, alongside the homemade Spumoni I later recreated.
Despite my love for citrus, Key lime-flavored content has been a rarity on my website, with the exception of these vibrant Lime Cookies. It became clear that it was time to change that. I was determined to bring the magic of that milkshake into a pie format, and I can confidently say this Key Lime Pie not only captures its essence but arguably surpasses it!
This recipe is a thoughtful adaptation of a beloved lemon pie, fine-tuned to highlight the unique pucker and sweetness of Key limes. It’s the quintessential dessert to make before summer fades, or anytime you crave a taste of sunshine. Its vibrant flavor and refreshing profile make it perfect for gatherings, holidays, or simply a sweet escape during a busy week. You’ll find that making your own Key Lime Pie is not only incredibly satisfying but also yields a flavor far superior to any store-bought version.
Why This Key Lime Pie Stands Out
- Perfectly Balanced Flavor: This recipe achieves an ideal harmony between tartness and sweetness, ensuring that refreshing lime kick without being overly sour or sugary.
- Silky Smooth Texture: The filling is incredibly smooth and creamy, a testament to careful preparation and quality ingredients. It melts in your mouth, leaving a delightful lingering citrus note.
- Crisp & Buttery Crust: The graham cracker crust is not just a base; it’s an integral part of the pie’s appeal. It’s perfectly buttery, holds together beautifully, and adds a satisfying crunch.
- Effortlessly Elegant: While simple to make, this Key Lime Pie presents itself beautifully, making it an ideal showstopper for any occasion. The homemade whipped cream topping adds a touch of elegance and extra indulgence.
Once you try this recipe, it will undoubtedly become a staple in your dessert repertoire. It’s truly a must-make!
Essential Ingredients for Your Key Lime Pie
Creating an exceptional Key Lime Pie starts with selecting the right ingredients. Each component plays a vital role in achieving that perfect balance of flavor and texture:
- Graham Cracker Crust: This sweet, crunchy foundation is critical. It’s typically made by combining crushed graham crackers with melted butter and a touch of sugar, then pressed into a pie dish. The crust offers a delightful textural contrast to the creamy filling and adds a nuanced flavor that’s impossible to resist. For best results, use fine crumbs to ensure a solid, even base.
- Sweetened Condensed Milk: This ingredient is the heart of the pie’s creamy texture and sweetness. It reacts with the acidic Key lime juice to thicken the filling without the need for traditional baking, creating that iconic silky consistency and rich, sweet flavor. Make sure to use full-fat sweetened condensed milk for the best results.
- Egg Yolks: Egg yolks are essential for thickening the Key lime filling and adding a luxurious richness and a beautiful pale yellow hue. They contribute to the pie’s smooth, custard-like consistency and help it set perfectly.
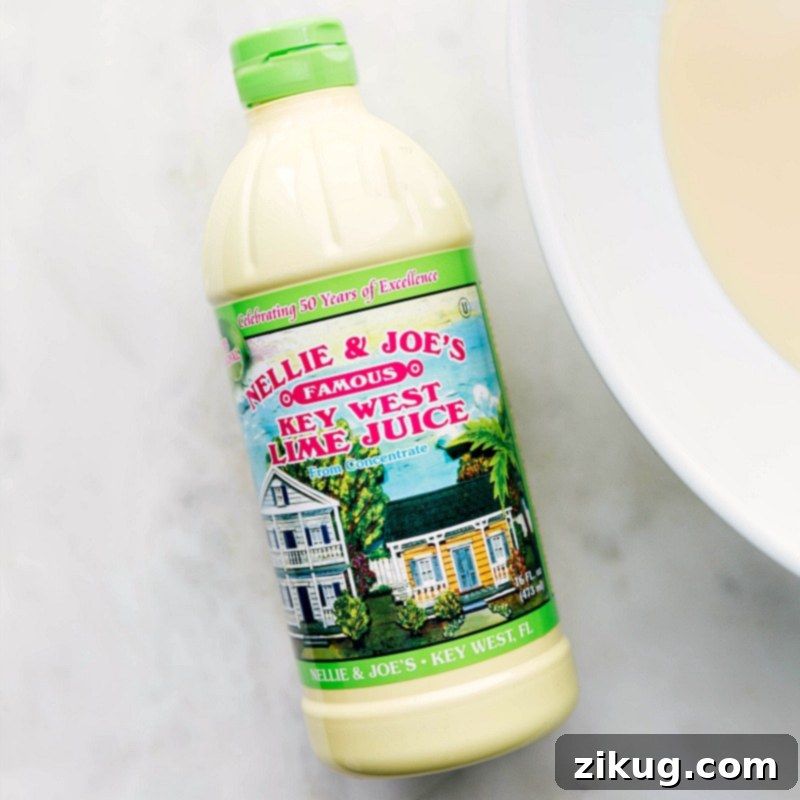
- Key Lime Juice: The star of the show! Key lime juice is what gives this pie its signature tart, floral, and intensely refreshing flavor. While fresh Key lime juice is preferred for its superior taste, bottled Key lime juice is a convenient and excellent alternative. Here’s the brand I often use, known for its consistent quality. Don’t substitute with regular lime juice, as Key limes offer a distinct aromatic zing that is irreplaceable.
- Salt: A tiny pinch of salt in both the crust and the filling might seem insignificant, but it makes a world of difference. It enhances the overall flavor profile, balances the sweetness, and brightens the citrus notes, preventing the pie from tasting flat.
- Whipped Cream: The perfect crown for your Key Lime Pie! While store-bought whipped cream can work in a pinch, homemade whipped cream is truly superior. It’s light, airy, and can be customized with a touch of powdered sugar and vanilla for a richer flavor. It provides a cool, creamy contrast to the tangy filling.
Key Limes vs. Regular Limes: What’s the Difference?
While both are citrus, Key limes (Citrus aurantifolia) are distinctly different from regular Persian limes (Citrus latifolia) that you typically find in supermarkets. Key limes are smaller, more yellowish-green, and have a thinner rind. Their juice is more aromatic, tarter, and has a unique floral, almost spicy undertone that is characteristic of classic Key Lime Pie. Persian limes are larger, darker green, and less acidic, with a milder, less complex flavor. For an authentic Key Lime Pie, opting for Key lime juice is crucial to achieve that signature taste that makes this dessert so special.
Quick Tip for Garnish
A citrus zester is an invaluable tool for creating beautiful garnishes. Fine zest adds a burst of fresh lime aroma and a professional touch to your pie slices. If you’re new to zesting, it’s quite simple: gently scrape only the colored part of the rind, avoiding the bitter white pith underneath. You can also achieve fine zest using a microplane, a grater, a vegetable peeler (to get wider strips which you can then finely chop), or a sharp knife for careful shaving of the outer skin.
Step-by-Step Guide: How To Make Key Lime Pie
Making this Key Lime Pie is surprisingly simple, and with these detailed steps, you’ll achieve a perfect dessert every time. Follow along for a smooth baking experience:
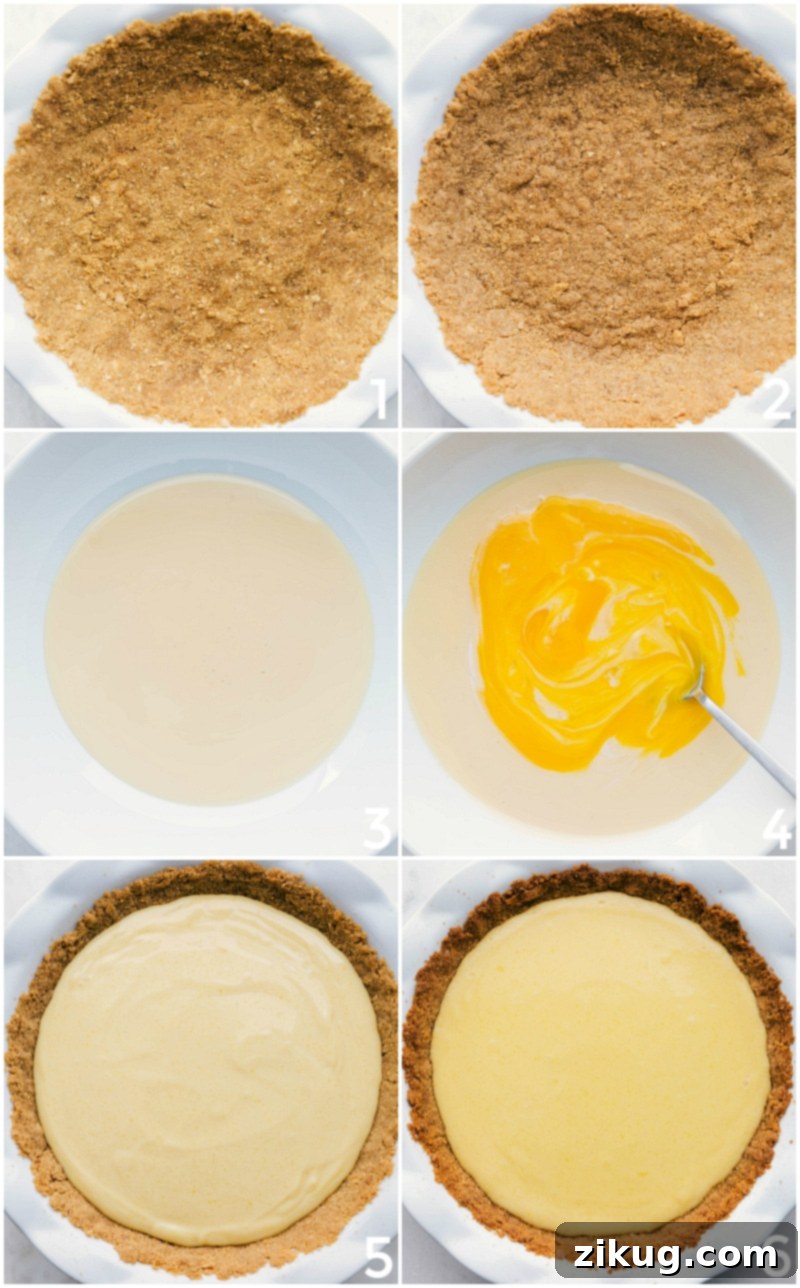
- Preheat Oven & Prepare Dish: Begin by preheating your oven to 350°F (176°C). Lightly spray a 9-inch pie dish with cooking spray. This ensures your crust won’t stick and makes for easy serving.
- Prepare the Graham Cracker Crust: In a medium bowl, combine your graham cracker crumbs, brown sugar, granulated sugar, a pinch of salt, and the melted butter. Mix these ingredients thoroughly until the crumbs are evenly moistened and resemble wet sand. Press this mixture firmly and evenly into the bottom and up the sides of your prepared pie dish. A flat-bottomed glass or measuring cup can help achieve a compact and even crust. Bake the crust for 8 minutes, then remove it from the oven and set it aside to cool slightly while you prepare the filling.
- Whip Up the Creamy Filling: In a large mixing bowl, combine the sweetened condensed milk, egg yolks, Key lime juice, and a tiny pinch of salt. Using an electric mixer, beat these ingredients on medium speed for 4–5 minutes. Continue mixing until the mixture is smooth, well combined, and slightly thickened. The acidity of the lime juice will begin to “cook” and thicken the condensed milk and egg yolks, creating that signature Key lime pie texture.
- Bake the Pie to Perfection: Carefully pour the luscious Key lime filling into your pre-baked and cooled graham cracker crust. Place the pie back into the 350°F (176°C) oven and bake for 10–15 minutes. Watch for small bubbles to appear on the surface, indicating it’s setting. If your crust edges start to brown too quickly, you can loosely cover them with aluminum foil. The pie is done when the edges are set, and the center has a slight, delicate jiggle. Overbaking can lead to a rubbery texture, so keep a close eye on it!
- Cool and Chill Thoroughly: Once baked, remove the pie from the oven and let it cool completely at room temperature for about 30 minutes. This allows the pie to continue setting. After cooling, transfer the pie to the refrigerator and chill for at least 1 hour. For the absolute best texture and flavor, I highly recommend chilling it for 8–10 hours, or even overnight. This extended chilling time ensures the pie is perfectly firm, cold, and incredibly refreshing.
- Prepare and Add Whipped Cream Topping: In a clean stand mixer bowl with a whisk attachment (or using a hand mixer), combine cold heavy cream, powdered sugar, and vanilla bean paste. Start whisking on low speed to prevent splattering, then gradually increase to medium-high speed. Whip until the cream is fluffy and holds soft to medium peaks, usually 1–3 minutes. Be careful not to over-whip, or it will turn grainy. Spread the whipped cream evenly over the entire cooled pie just before serving, or add it to individual slices for ultimate freshness. Garnish with fresh Key lime zest if desired for an extra pop of color and aroma. Enjoy your perfectly chilled Key Lime Pie straight from the fridge!
Tips for Success
- Use Fresh Key Lime Juice When Possible: While bottled juice is convenient, freshly squeezed Key lime juice provides an unparalleled vibrant flavor.
- Don’t Overbake: Key Lime Pie relies on the reaction between citrus and condensed milk for thickening. The baking time is short, primarily to set the egg yolks. An overbaked pie will lose its creamy texture.
- Chill Adequately: Patience is key! A well-chilled pie is easier to slice and has the best consistency.
- Prevent Crust Burning: If your graham cracker crust starts to brown too much during baking, gently tent the edges with aluminum foil.
- Separate Eggs Carefully: Ensure no egg white mixes with the yolks, as this can affect the filling’s texture.
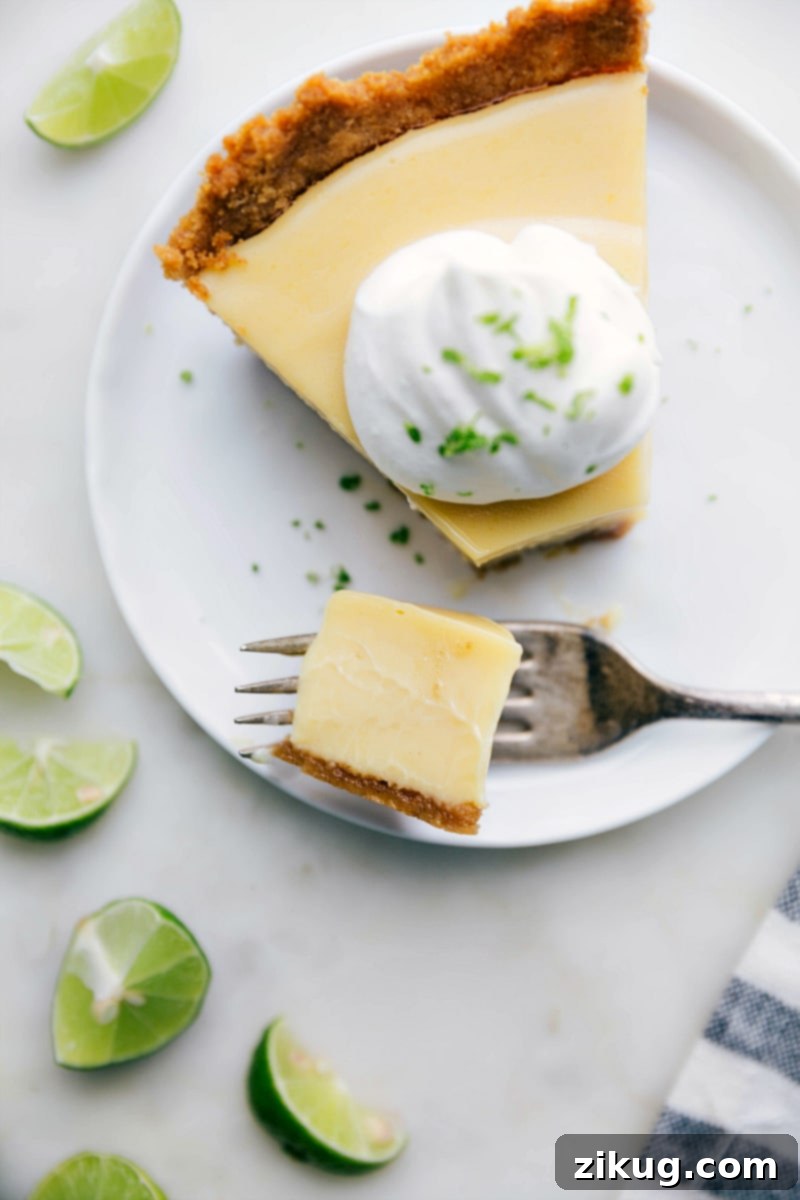
Storage Tips for Key Lime Pie
Handling Leftovers:
- Refrigerate: To maintain its freshness and delightful texture, store any leftover Key Lime Pie in the fridge. Ensure it’s tightly covered with plastic wrap or in an airtight container. It will remain delicious for up to 3 days.
- Freezing Without Whipped Cream: If you anticipate having leftovers or wish to prepare the pie ahead of time, you can freeze the pie (without the whipped cream topping) for up to 1 month. To do so, wrap the pie tightly in several layers of plastic wrap, then an additional layer of aluminum foil. When ready to serve, thaw it overnight in the refrigerator.
- Add Whipped Cream Just Before Serving: This is a crucial step! Whipped cream tends to become watery and lose its fluffy texture when stored for extended periods, especially when exposed to moisture from the pie. Always apply fresh whipped cream topping just before you’re about to serve the pie for the best presentation and taste.
Following these storage guidelines will ensure that every slice of your homemade Key Lime Pie is as perfect as the first.
More Delicious Dessert Recipes to Try
If you’ve enjoyed making this Key Lime Pie, you’re sure to love exploring other indulgent dessert creations. Here are a few more recipes to satisfy your sweet tooth:
- Easiest Triple Layer Chocolate Pudding Pie: A rich and decadent chocolate lover’s dream.
- Cinnamon Roll Apple Pie: A creative twist on classic apple pie, featuring a delightful cinnamon roll crust.
- Refreshing Ice Cream Pie: Perfect for hot days, this is a customizable and easy-to-make frozen treat.
- Pecan Streusel Pumpkin Pie: A comforting fall favorite with an added crunchy pecan streusel topping.
- Classic Pumpkin Pie Recipe: The ultimate Thanksgiving dessert, simple and perfectly spiced.
Key Lime Pie
Equipment
-
Pie pan 9-inch
-
Blender or food processor, optional (for crushing graham crackers)
-
Stand mixer or hand mixer (for filling and whipped cream)
Ingredients
- Cooking spray
- 1-1/2 cups graham cracker crumbs about 10 full sheets, finely crushed
- 1 tablespoon brown sugar light or dark, firmly packed for depth of flavor
- 2 tablespoons granulated sugar
- 1/8 teaspoon salt
- 7 tablespoons unsalted butter melted, to bind the crust
- 2 (14-ounce) cans sweetened condensed milk full-fat, for richness and creaminess
- 4 large egg yolks adds richness and helps thicken the filling
- 3/4 cup key lime juice freshly squeezed or good quality bottled for authentic flavor
- 1/8 teaspoon salt enhances flavor and balances sweetness
- 1 cup heavy cream chilled, for best whipping results
- 1/3 cup powdered sugar
- 1 teaspoon vanilla bean paste or pure vanilla extract for flavor
- Limes or key limes, optional, to zest as garnish
Instructions
-
Preheat Oven & Prepare Dish: Preheat your oven to 350°F (176°C). Lightly spray a 9-inch pie dish with cooking spray to ensure easy removal and set it aside.
Crust
-
Prepare the Graham Cracker Crust: Crush graham crackers into fine crumbs using a blender, food processor, or by placing them in a sealed bag and crushing with a rolling pin. In a large bowl, combine the graham cracker crumbs, brown sugar, granulated sugar, salt, and melted butter. Stir vigorously until all ingredients are thoroughly incorporated and the mixture is uniformly moist. Pour the mixture into the prepared pie pan and press it firmly and evenly into the bottom and up the sides of the dish to form a compact crust. Bake for 8 minutes; then remove from the oven and set aside on a wire rack to cool while you prepare the filling.
Pie Filling
-
Mix the Filling: In a large mixing bowl, combine both cans of sweetened condensed milk, the four large egg yolks, the key lime juice, and just a tiny pinch of salt (this helps to enhance and balance the sweetness of the pie). Using an electric mixer, beat these ingredients on medium speed for 4–5 minutes until the mixture is completely smooth, well combined, and slightly thickened. The acidity of the lime juice will begin to react with the condensed milk, initiating the thickening process.
-
Bake and Chill the Pie: Carefully pour the prepared key lime filling into the cooled, baked pie crust. Return the pie to the preheated 350°F oven and bake for 10–15 minutes. You’ll notice little bubbles starting to surface, indicating it’s setting. If the crust edges begin to brown too much during this short baking time, lightly cover them with aluminum foil. The pie should only slightly jiggle in the center when gently nudged. Remove the pie from the oven and let it stand at room temperature for 30 minutes to cool further. After this initial cooling, transfer the pie to the refrigerator and chill for at least 1 hour before serving. For the best possible set and flavor, I personally prefer to chill it for 8–10 hours, or even overnight.
Whipped Cream
-
Prepare and Serve with Whipped Cream: In the bowl of a stand mixer fitted with a whisk attachment (or using a hand mixer), combine the cold heavy cream, powdered sugar, and vanilla bean paste. Start whisking on slow speed initially to combine the ingredients, then gradually increase the speed and whip until the cream is fluffy and holds soft peaks, typically within 1–3 minutes. Be careful not to over-whip, as it can quickly turn buttery. You can either spread the whipped cream over the entire cooled pie if you plan for it to be consumed completely on the same day, or, for optimal freshness and to avoid sogginess, add it to individual pie servings just before plating. Whipped cream tends to get watery when stored on the pie for too long. Refrigerate any leftover pie. If desired, garnish individual slices with fresh lime zest for an extra pop of color and aroma. Enjoy this refreshing pie right out of the fridge!
Recipe Notes
Nutrition Information
Nutrition information is automatically calculated and should be used as an approximation only. Actual values may vary based on specific ingredients and preparation methods.