
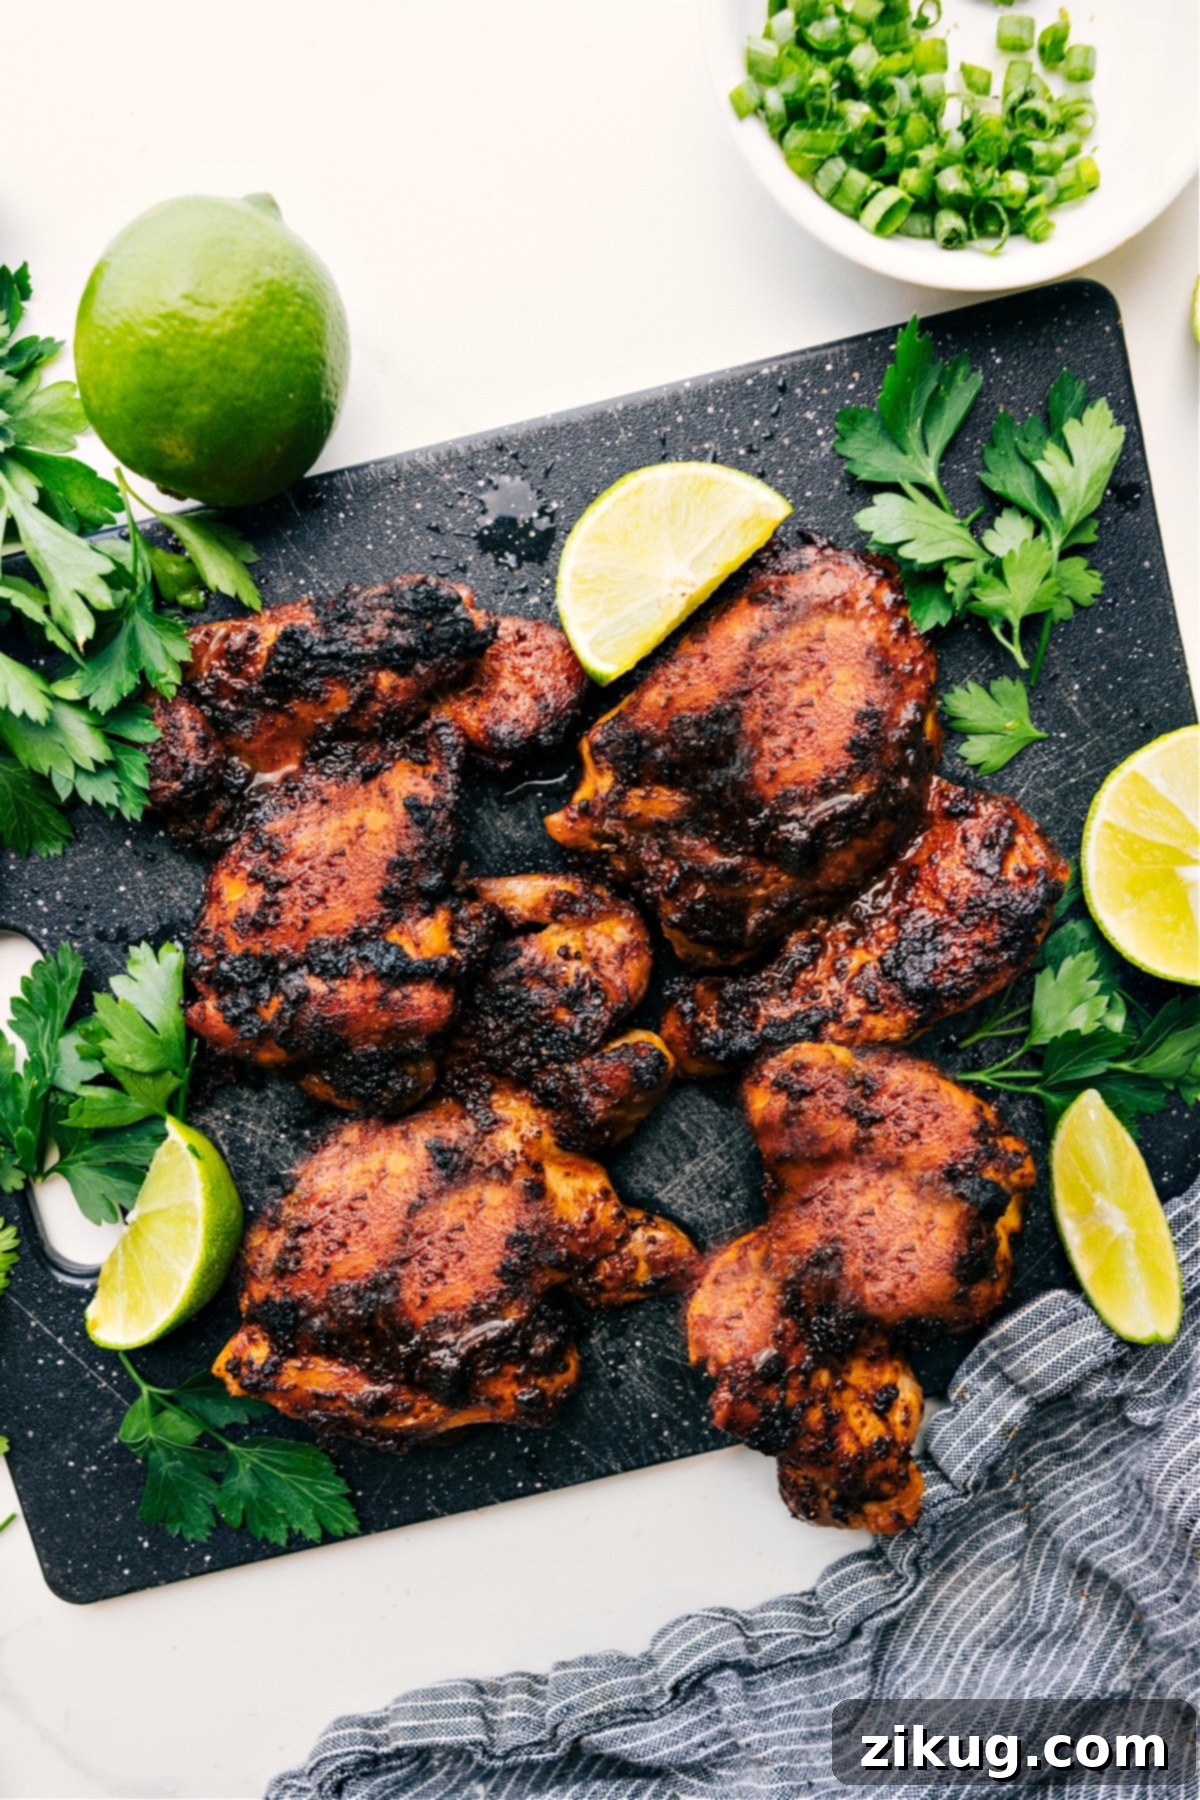
Prepare for a culinary revelation! These are, without a doubt, the absolute best baked boneless chicken thighs you’ll ever make. This incredibly simple recipe transforms humble chicken thighs into a juicy, flavorful masterpiece with minimal effort. It all comes down to a quick, yet potent, seasoning blend, a touch of olive oil, and our secret weapon: balsamic vinegar. Trust the process – this ingredient works wonders!
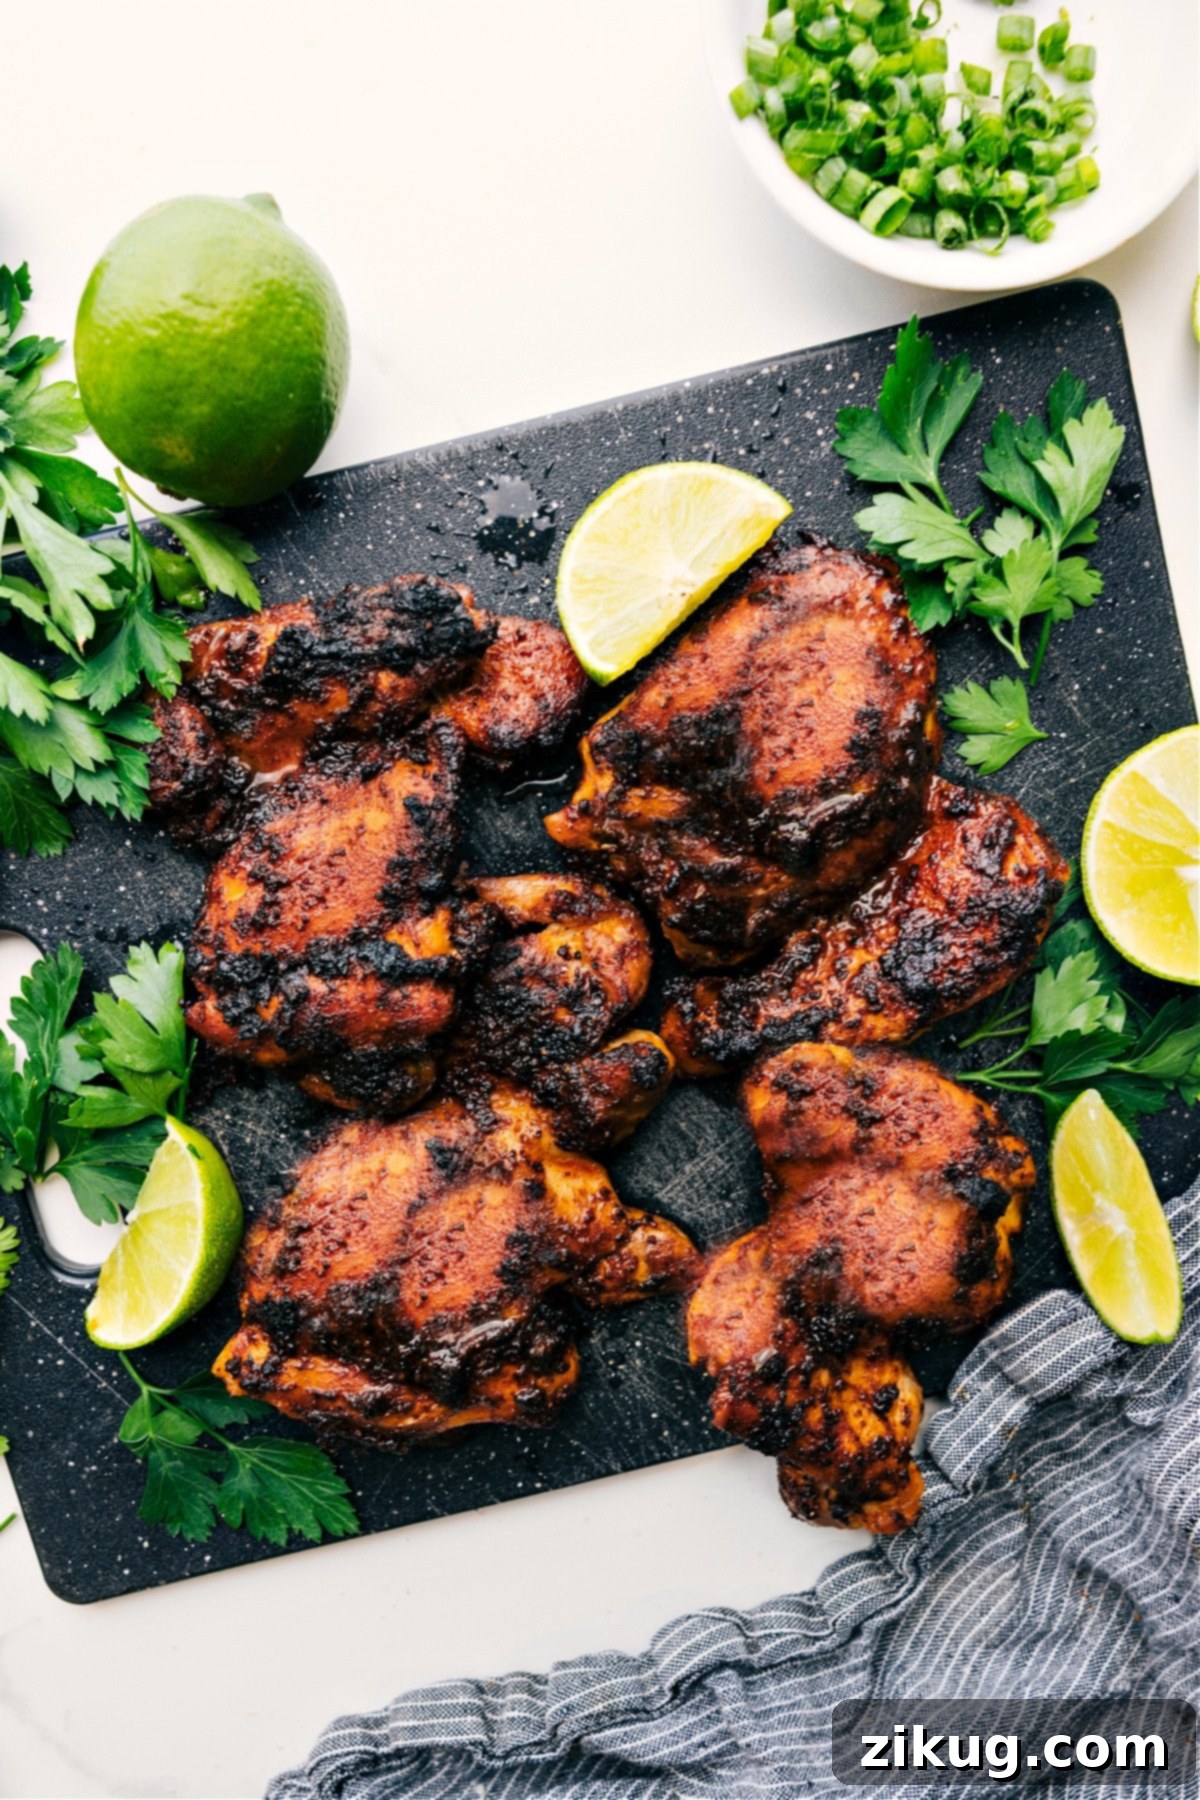

A Beloved Family Favorite
The Ultimate Baked Boneless Chicken Thighs: Seriously, These Are the Best.
I am genuinely thrilled to share this recipe because I’m absolutely convinced these are the most exceptional baked boneless chicken thighs you will find. The depth of flavor is truly next-level, and the preparation couldn’t be simpler. With just a handful of everyday ingredients, you’ll be well on your way to a dish that consistently impresses.
I frequently bake a generous batch of these chicken thighs at the beginning of the week. They’re perfect for dinner, whether served in wholesome grain bowls or alongside a vibrant cilantro-lime sauce. The magic truly happens with the leftovers; I simply chop them up and incorporate them into nearly every meal. Any recipe that calls for rotisserie chicken can be elevated by using these flavorful thighs instead. They are incredibly versatile and work beautifully in wraps, fresh salads, hearty sandwiches, satisfying pasta dishes, and so much more. This recipe truly is a game-changer for quick, delicious, and adaptable meals.
Essential Ingredients for Exceptionally Flavorful Baked Boneless Chicken Thighs
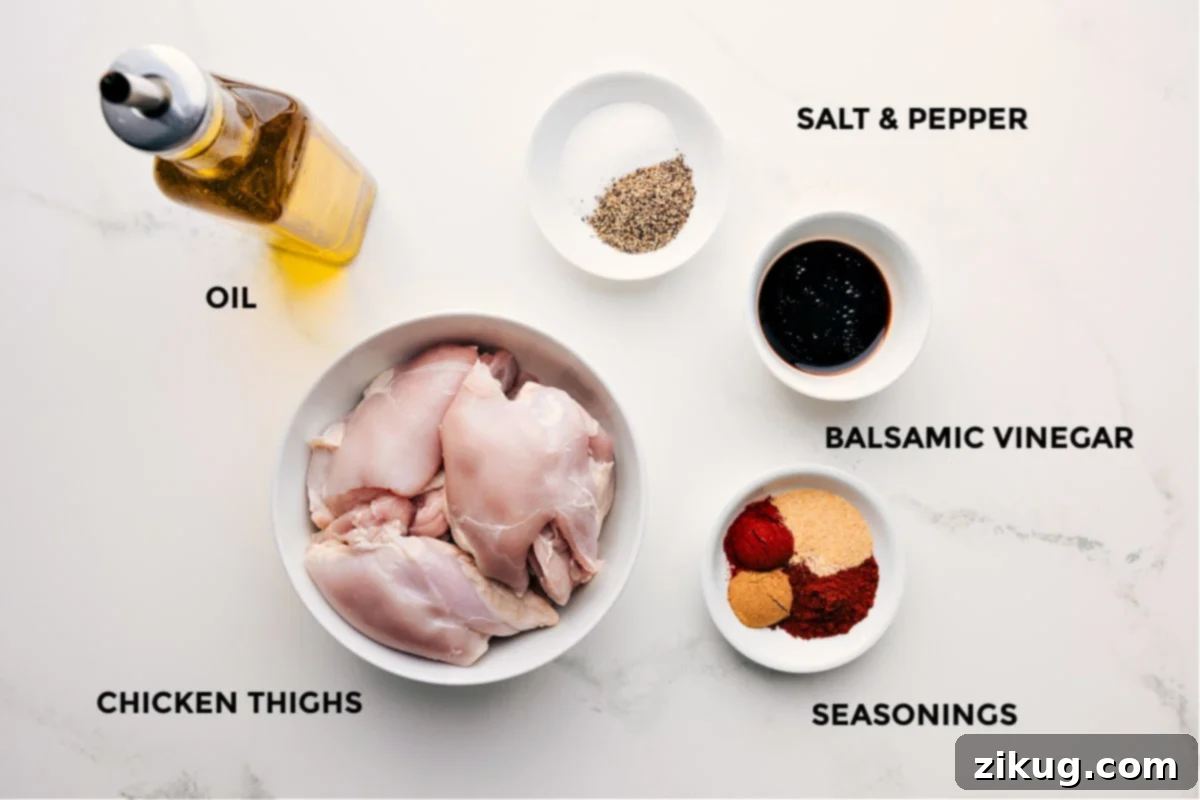
Crafting these delectable chicken thighs requires a careful selection of ingredients that work in harmony to deliver maximum flavor and tenderness. Here’s a closer look at what makes this recipe stand out:
| Chicken | Boneless, Skinless Chicken Thighs: We specifically recommend using boneless, skinless chicken thighs for this recipe. Their higher fat content compared to chicken breasts ensures they remain incredibly juicy and succulent throughout the baking process, preventing them from drying out in the oven. This choice is crucial for achieving that melt-in-your-mouth texture. |
| Oil + Acid | Olive Oil & Balsamic Vinegar: This dynamic duo is key to both richness and those irresistible caramelized edges. Olive oil provides a luxurious base for the seasonings, while balsamic vinegar acts as a secret ingredient. It might sound unconventional for chicken thighs, but as my 13-year-old always reminds me: “trust the process!” The balsamic vinegar not only adds a unique tang and depth but also helps create a beautiful, slightly sweet crust when broiled, enhancing the overall flavor profile. |
| Seasonings | Chili Powder, Garlic Powder, Cumin, Paprika, Salt, Pepper: This carefully balanced blend of spices creates a robust and aromatic rub. The chili powder offers a mild warmth, complemented by the earthy notes of cumin, the savory depth of garlic powder, and the subtle sweetness and color from paprika. For the salt, we opt for fine sea salt rather than kosher salt. This is important for measurement accuracy; the specified amount is precisely right for fine salt, ensuring perfect seasoning without over-salting. Freshly ground black pepper adds a final touch of pungent spice to round out the blend. |
Achieving Perfection: Expert Tips for Your Baked Boneless Chicken Thighs
To ensure your baked boneless chicken thighs turn out perfectly juicy, tender, and beautifully caramelized every single time, follow these essential tips:
- Select Uniform Thighs: When choosing your chicken, grab a pack of thighs that are all similar in size and thickness. This ensures they cook evenly, so no piece is undercooked or overcooked. Consistency is key for uniform doneness and texture.
- Pat the Chicken Dry: Before applying any seasoning, it’s crucial to thoroughly pat the chicken dry with paper towels. Excess moisture on the surface can lead to steaming instead of roasting, preventing that desirable golden-brown crust from forming. A dry surface allows for better caramelization and a crispier exterior.
- Use a Large Sheet Pan: Always opt for a large sheet pan and avoid overcrowding the chicken. Giving the thighs enough space to breathe on the pan allows the hot air in the oven to circulate properly around each piece. This promotes even roasting and helps achieve that beautiful browning, rather than steaming the chicken in its own juices.
- Allow the Chicken to Rest: Once the chicken is out of the oven, tent it loosely with foil and let it rest for 5-10 minutes before slicing. This crucial step allows the juices to redistribute throughout the meat, resulting in incredibly moist and flavorful chicken. Skipping this step can lead to dry chicken.
- Line Your Baking Sheet: For significantly faster cleanup and to protect your baking sheet from sticky caramelized bits, line it with aluminum foil (heavy-duty if possible). This simple trick makes post-cooking tidying a breeze.
- Preheat Oven Fully: Always wait for your oven to be fully heated to the specified temperature before placing the chicken inside. Putting chicken into a cold or warming oven can affect cooking times and the texture, leading to uneven cooking and less desirable results.
Featured Comment
“Oooommmgggeeee!! This is THE BEST chicken I have ever made!! The flavor is delicious!! This recipe will be part of my weekly menu!! Well done!!!”
– Michelle
Versatile Meal Ideas: How to Incorporate These Baked Chicken Thighs
Dinner
Chicken Rice Bowl Recipe
Dinner
BBQ Chicken Pizza
Dinner
Chicken Burrito Bowls
Dinner
Hot Honey Chicken Bowl

Print Recipe
Baked Boneless Chicken Thighs
While these thighs have a subtle kick from the spices (my kids still enjoy them!), the heat is very mild and balances beautifully when paired with a side dish or a cooling sauce. They’re perfect for weeknight dinners and meal prep!
Recipe Video
Click here to watch the full recipe video!
Equipment
-
Large sheet pan (a 15×21-inch pan is ideal), plus foil (heavy duty if possible, for easy cleanup)
Ingredients
- 2 pounds boneless, skinless chicken thighs (approximately 6 thighs, please see note 1)
- 2 tablespoons plus 2 teaspoons olive oil
- 1 tablespoon plus 1 teaspoon balsamic vinegar
- 2-1/2 teaspoons chili powder
- 1 teaspoon ground cumin
- 1 teaspoon garlic powder
- 1 teaspoon paprika
- Salt and pepper (we recommend 2 tsp fine salt; 1-1/2 tsp black pepper)
Instructions
-
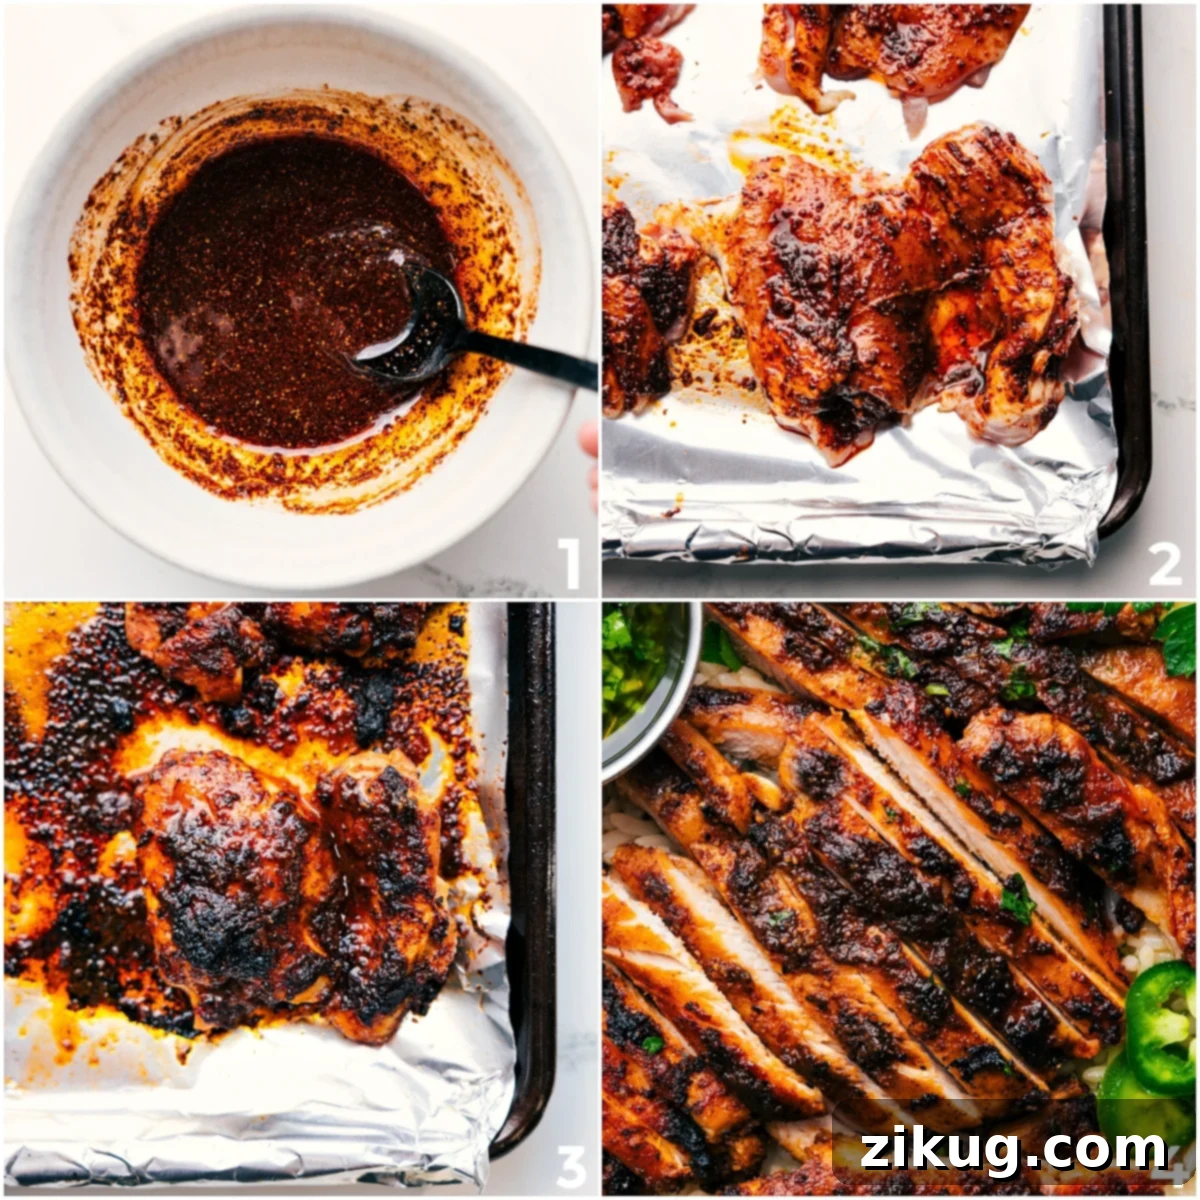
1. Preheat your oven to 425°F (218°C). Line a large sheet pan with aluminum foil for easier cleanup. Take your chicken thighs and thoroughly pat them dry with paper towels. There’s no need to trim any excess fat; it will render beautifully as the chicken cooks, contributing to its juiciness and flavor.
-
2. In a small bowl, whisk together the olive oil, balsamic vinegar, chili powder, ground cumin, garlic powder, and paprika until well combined. Season this mixture to your taste (I typically add 2 teaspoons of fine salt and 1-1/2 teaspoons of freshly ground black pepper). Rub or brush the entire seasoning mixture evenly over both the back and front of each chicken thigh. Ensure every piece is thoroughly coated; you should use all of the spice mixture.
-
3. Arrange the seasoned chicken thighs flat on the prepared sheet pan, ensuring they are well-spaced. Adequate spacing is crucial for proper roasting and browning. Place the sheet pan in the center of your preheated oven and bake for 15 minutes.
-
4. After 15 minutes, carefully move the oven rack so that the chicken is approximately 8 inches from the heat source. Switch your oven setting to broil (high heat). Continue to cook for an additional 7–10 minutes, or until the tops of the chicken thighs are beautifully browned, slightly blackened, and caramelized. Watch the chicken closely during this stage to prevent burning, as broilers can vary in intensity.
-
5. Once done, remove the chicken from the oven. Tent the pan loosely with foil and let the chicken rest for 5–10 minutes. This resting period allows the juices to redistribute, ensuring maximum tenderness and flavor. Before serving, brush any accumulated pan juices over the chicken. Slice or chop the chicken as desired for your meal.
Recipe Notes
Storage: Leftover baked chicken thighs are fantastic for meal prep! Store them in an airtight container in the refrigerator for up to 5 days. For longer storage, you can freeze them for up to 2 months. See detailed storage and meal prep tips below.
Nutrition Information
Nutrition information is automatically calculated, so should only be used as an approximation.
Serving Suggestions: Creative Ways to Enjoy Your Baked Boneless Chicken Thighs
One of the greatest advantages of these baked boneless chicken thighs is their incredible versatility. Once cooked, they become a delicious and convenient protein source that can elevate countless meals. Here are some of our favorite ways to enjoy them:
- Build a Dynamic Grain Bowl: Start with a base of fluffy rice, quinoa, or farro. Top with sliced baked chicken, your favorite roasted vegetables (like broccoli, sweet potatoes, or bell peppers), and drizzle generously with a zesty sauce or dressing for a complete and satisfying meal.
- Craft Irresistible Tacos: Shred or slice the chicken and tuck it into warm tortillas. Add your go-to taco toppings such as fresh salsa, avocado, shredded lettuce, a dollop of sour cream or Greek yogurt, and a sprinkle of cheese for a quick and flavorful taco night.
- Elevate Your Pasta Dishes: Transform a simple pasta meal by tossing in chunks of the flavorful chicken. It’s fantastic in light, olive oil-based pasta dishes, or you can add it to a creamy mac and cheese for an extra protein boost and depth of flavor.
- Top a Fresh Salad: For a healthy and hearty lunch or dinner, arrange sliced or shredded chicken over a bed of leafy greens. Complement with crumbled feta cheese, cherry tomatoes, cucumber, and a bright, tangy vinaigrette.
- Create Gourmet Sandwiches: Layer the tender chicken onto toasted rolls or artisan bread. Add slices of provolone or Swiss cheese, your favorite spread (like pesto mayo or honey mustard), and some crisp lettuce for a delicious and substantial sandwich.
- Mix it into Other Favorite Meals: These chicken thighs are a perfect addition to many other recipes. Stir them into comforting soups, add them to quick stir-fries with fresh veggies, or fold them into savory fried rice for a convenient and flavorful protein boost any day of the week.
Smart Storage & Meal Prep Tips for Your Baked Boneless Chicken Thighs
Maximize the convenience of this recipe with these effective storage and meal prep strategies:
- Refrigerate Promptly: Store any leftover baked boneless chicken thighs in an airtight container in the refrigerator. They will remain fresh and delicious for up to 5 days, making them perfect for grabbing throughout the week.
- Freeze for Longer Storage: For extended freshness, chop or shred the cooked chicken and store it in a freezer-safe bag or container. It can be kept in the freezer for up to 2 months. Thaw overnight in the refrigerator before using.
- Effortless Reheating: To reheat, you can use a skillet over medium heat until warmed through, a microwave for a quick zap, or an air fryer to crisp up the edges beautifully. Adjust heating times based on the amount of chicken.
- Enjoy Cold: Don’t underestimate the deliciousness of this chicken served cold! It’s fantastic in wraps, sandwiches, or salads, especially when you’re packing lunch for work or school, or need a quick meal on the go.
- Double Batch for Meal Prep: To truly harness the power of meal prepping, consider making a double batch of these baked boneless chicken thighs. This ensures you have a versatile protein ready to use in various meals all week long, saving you precious time and effort during busy days.
Frequently Asked Questions About Baked Boneless Chicken Thighs
While marinating can be beneficial for some recipes, it’s not necessary for these baked boneless chicken thighs. The unique combination of balsamic vinegar and olive oil, along with the spice blend, works quickly to infuse flavor into the chicken as it bakes. This “quick seasoning” method delivers fantastic taste without the need for extended marination time, making it perfect for last-minute meal preparation.
Unfortunately, chicken breasts are not an ideal substitute for chicken thighs in this specific recipe. Chicken breasts are much leaner and tend to dry out quickly when baked using this method. Boneless, skinless chicken thighs are chosen precisely for their higher fat content, which keeps them incredibly juicy and flavorful under high heat and broiling, yielding the best results for this recipe.
The most accurate and safest way to determine if your chicken is fully cooked and perfectly done is to use a reliable meat thermometer. Insert the thermometer into the thickest part of the chicken thigh, avoiding the bone, and look for an internal temperature of 165°F (74°C). This method ensures the chicken is safe to eat while preventing overcooking, which can lead to dry meat.
No, there’s no need to flip the chicken while it bakes. This recipe is designed to create a beautifully caramelized and slightly blackened top simply by baking and then finishing under the broiler. The key is to arrange the chicken thighs with enough space between each piece on the sheet pan, allowing them to roast evenly without steaming. Flipping is unnecessary and might disrupt the formation of that delicious crust.
Balsamic vinegar is our secret ingredient, and for good reason! It adds a wonderful depth of flavor, a subtle tang, and a hint of sweetness that perfectly complements the savory spices. More importantly, its natural sugars help the chicken caramelize beautifully when exposed to the high heat of the broiler, creating those irresistible crispy, slightly charred edges. It might seem unusual for chicken thighs, but its transformative effect on flavor and texture makes it indispensable in this recipe.