
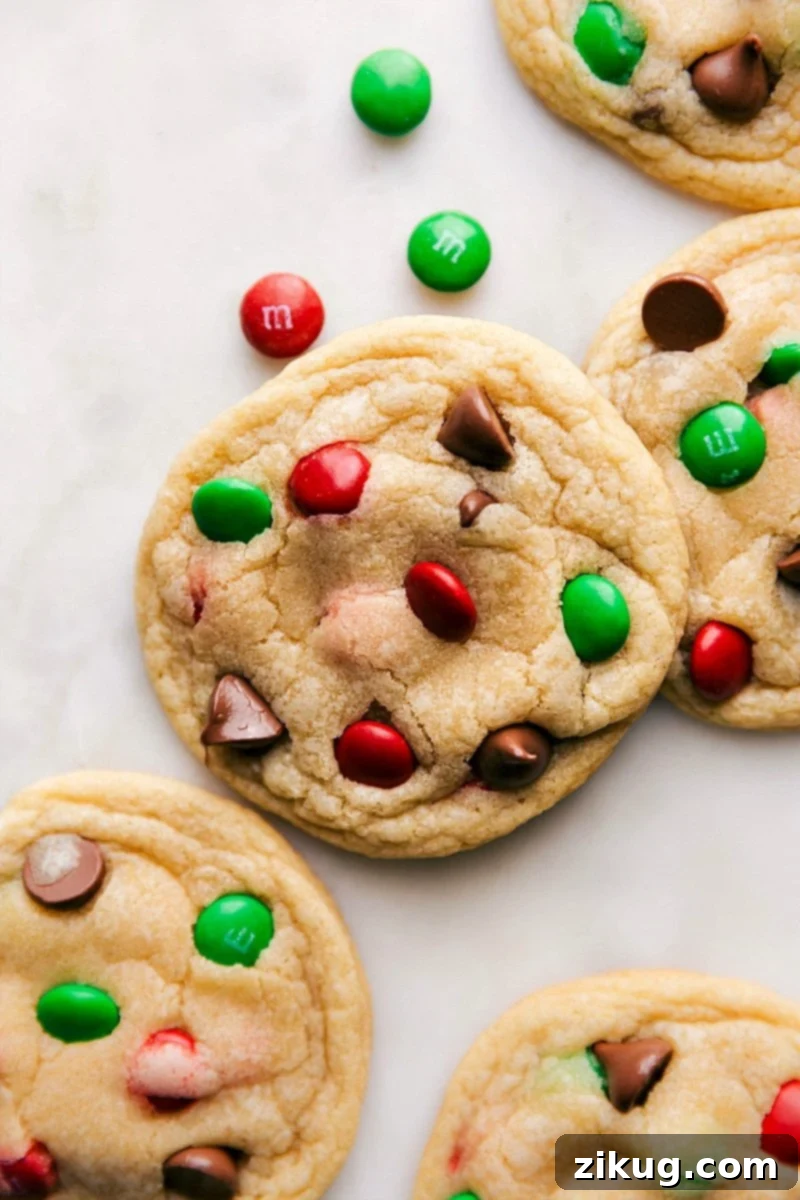
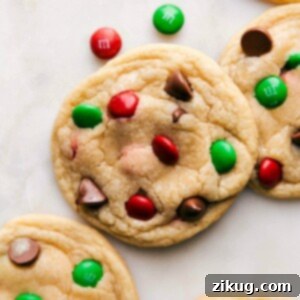
Santa Cookies are more than just a treat; they’re a cherished holiday tradition, bringing joy and a touch of magic to Christmas Eve celebrations. This year, delight the big guy with a batch of perfectly baked cookies that are soft, chewy, and irresistibly sweet, with just the right amount of festive crispness. Our easy-to-follow recipe ensures you’ll have plenty of time for all your holiday preparations, creating delicious memories without the stress.
This delightful recipe is specifically designed for Christmas Eve, offering a manageable small batch perfect for Santa’s plate. If you’re looking for more convenient small-batch baking, be sure to explore our Single Serve Chocolate Cookies or our comforting Oatmeal Cookies. These recipes are perfect for satisfying cravings without over-baking, making your holiday baking even more enjoyable.
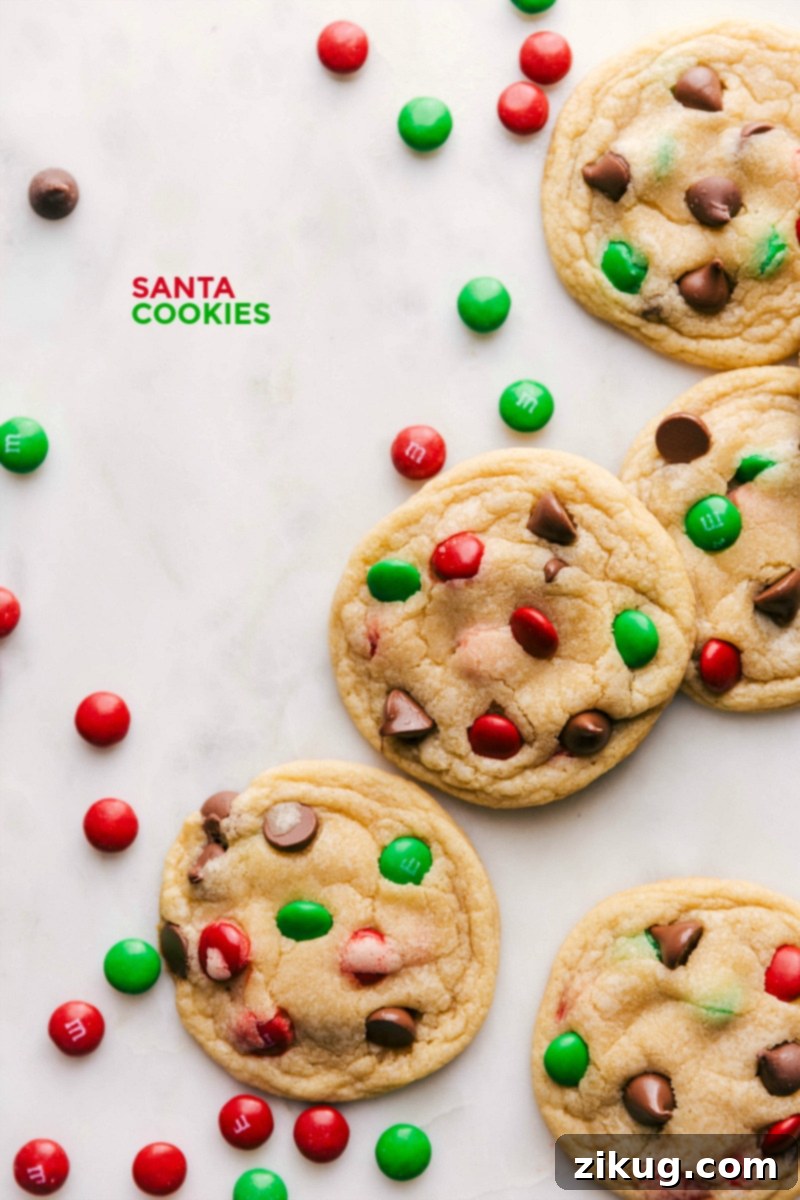
Creating the Perfect Cookies for Santa Plate
In our home, the ritual of preparing the Santa cookie plate is a highlight of Christmas Eve. It’s a treasured tradition that signifies the start of holiday magic, a moment when the children eagerly participate in baking these special treats. Every year, we dedicate special time to not only bake these delightful Santa Cookies but also to prepare Reindeer Chow, ensuring Santa’s trusty team is well-fed for their long journey around the world.
Of course, it’s not just the children who look forward to these festive treats. My husband and I (or, as the kids say, “Santa”) certainly appreciate some extra fuel for those late-night tasks like wrapping last-minute presents and meticulously prepping for the joyous Christmas morning. These delicious cookies are soft, perfectly sweet, and incredibly satisfying, making them the ultimate indulgence for anyone needing a little extra holiday cheer. Treat Santa right this year by whipping up a batch of these truly unforgettable Christmas cookies. They’re sure to become a cherished part of your family’s holiday traditions for years to come.
Baking for Santa is more than just making cookies; it’s about fostering belief, creating lasting memories, and instilling the spirit of generosity. Imagine the excitement in your children’s eyes as they carefully select each cookie for Santa’s plate, perhaps even leaving a thoughtful note. This simple act can transform an ordinary evening into an extraordinary one, reinforcing the wonder and magic that defines the holiday season. These cookies are designed to be easy enough for little hands to help with, ensuring everyone can be part of the Christmas Eve culinary adventure.
Essential Ingredients for Irresistible Santa Cookies
Crafting the perfect Santa cookie begins with a thoughtful selection of ingredients, each playing a crucial role in achieving that ideal balance of texture and flavor. Our recipe uses common pantry staples to create an extraordinary holiday treat that’s both simple to make and incredibly delicious. Understanding the purpose of each component will help you bake with confidence and achieve consistent results every time.
- Unsalted Butter: This is the foundation of our cookies, providing rich flavor and contributing to their tender crumb. Using unsalted butter allows you to control the exact amount of salt in the recipe, preventing an overly greasy texture.
- Brown and White Sugar: The combination of sugars is key to the cookie’s signature texture. Brown sugar adds moisture, contributing to a wonderfully soft and chewy interior, while granulated white sugar ensures those delightful crispy edges. Together, they create a perfectly balanced sweetness.
- Egg: A large egg acts as a vital binder, bringing all the ingredients together and adding structure to the cookies. It also contributes to the richness and helps achieve a desirable chewy texture.
- Vanilla Extract & Maple Syrup: These liquid flavor enhancers are what give Santa Cookies their heartwarming taste. Vanilla extract offers a classic, aromatic sweetness, while maple syrup adds a subtle depth and a touch of caramel-like warmth, making these cookies truly stand out.
- Cornstarch, Baking Soda, & Baking Powder: This powerful trio works wonders for the cookie’s texture. Cornstarch ensures an extra-soft chewiness, while baking soda and baking powder provide the necessary lift, resulting in fluffy, perfectly risen cookies that aren’t dense.
- Sea Salt: A pinch of fine sea salt is essential for balancing the sweetness of the sugars and chocolates. It enhances all the other flavors, making them pop and preventing the cookies from tasting one-dimensional.
- All-Purpose Flour: The backbone of the cookie, all-purpose flour provides the main structure. Proper measurement is crucial here to ensure the right consistency – not too dense, not too crumbly.
- Chocolate Chips & M&Ms: These beloved mix-ins add bursts of chocolatey goodness and, most importantly, a vibrant, festive look. Milk chocolate chips melt beautifully, while red and green M&Ms bring that iconic Christmas sparkle, making them visually appealing for Santa’s plate.
Quick Tip: Customize Your Festive Cookies!
While Santa Cookies adorned with classic red and green M&M’s are undeniably perfect for Christmas, don’t limit your creativity to just one holiday! This versatile recipe allows you to easily adapt the colors for any festive occasion. Imagine vibrant green M&M’s for St. Patrick’s Day, pastel shades for Easter, or patriotic red, white, and blue for July 4th celebrations. You can also experiment with different types of chocolate chips, like white chocolate or dark chocolate, or even add nuts for extra crunch. And for everyday treats, simply use a mix of your favorite M&M’s or sprinkles to brighten any day. The possibilities for customization are endless, making this a go-to recipe all year round!
How To Make Perfectly Soft and Chewy Santa Cookies
Baking these Santa Cookies is a wonderfully straightforward process, making it an ideal activity for holiday fun. With just one bowl and a spoon, you can create a batch of delightful cookies that are sure to impress. Follow these simple steps for perfect results every time, ensuring your Christmas Eve treats are a huge success.
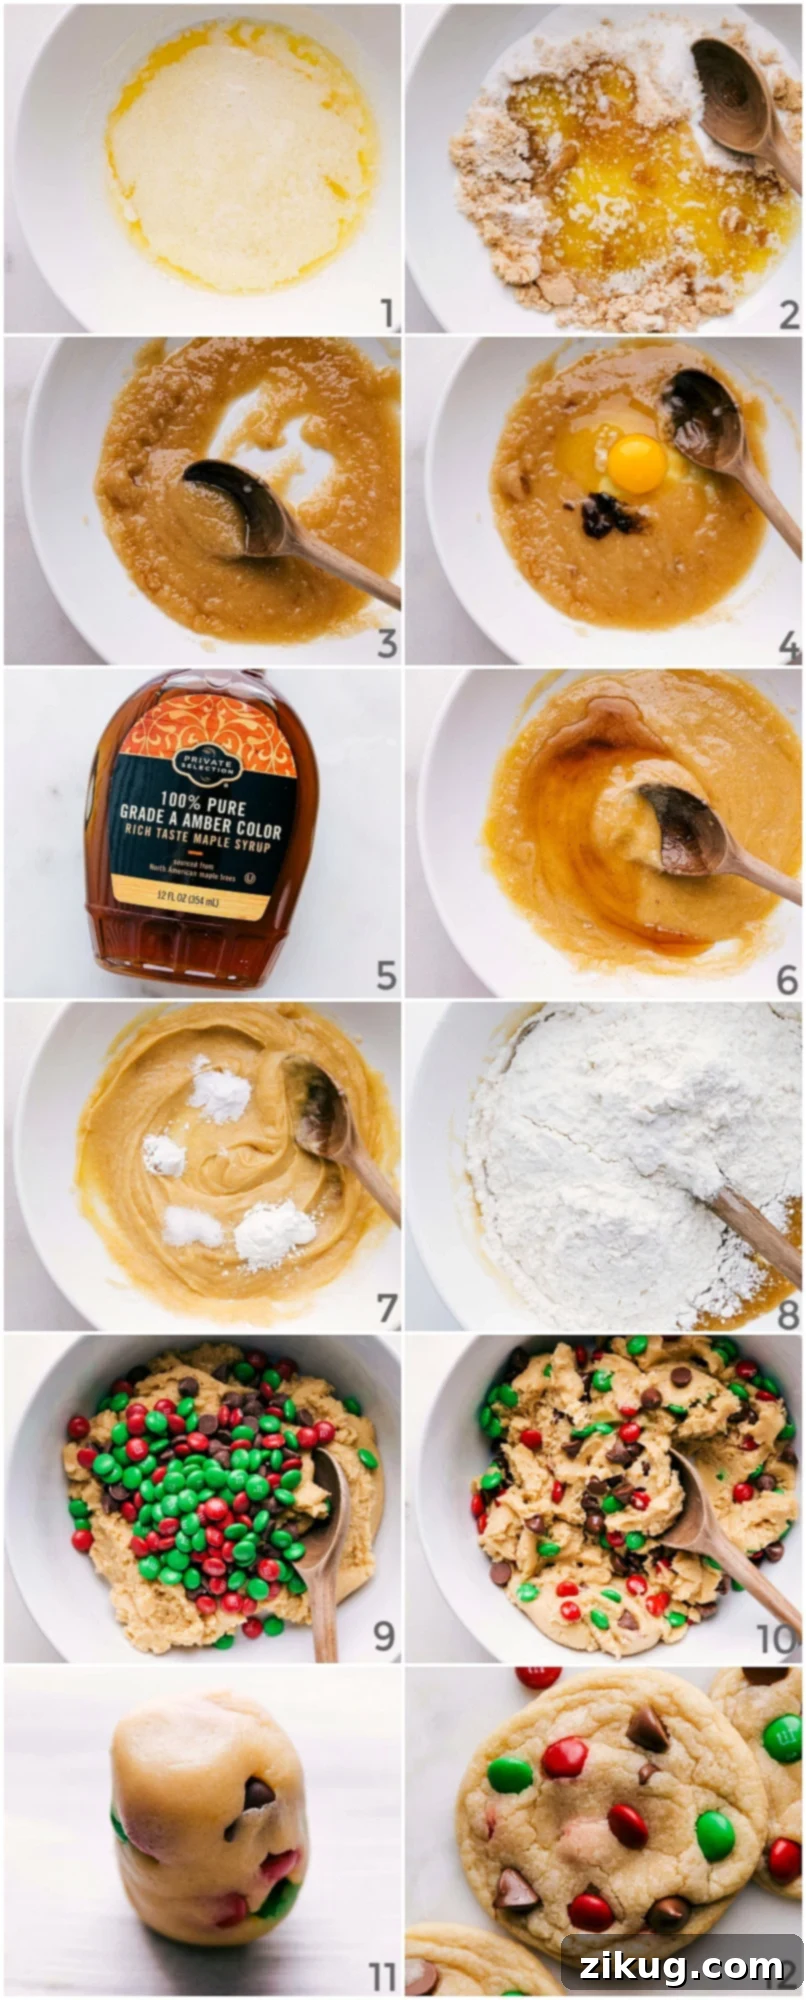
- Melt and Cool Butter: Begin by melting your unsalted butter in a microwave-safe bowl. This step is crucial for achieving the desired texture. Once melted, it’s vital to allow the butter to cool completely to room temperature. If the butter is still warm when combined with the sugars, it can melt them prematurely, leading to a greasy cookie with an undesirable texture. Patience here will pay off!
- Combine Wet Ingredients: Once the butter has cooled, thoroughly mix it with both the brown and granulated sugars until the mixture is smooth and well-combined. Next, beat in the large egg, ensuring it’s at room temperature for better emulsion, along with the vanilla extract and maple syrup. Stir until everything is perfectly incorporated and smooth, creating a luscious base for your cookies.
- Incorporate Dry Ingredients: In the same bowl, add the cornstarch, baking soda, baking powder, and sea salt. Stir these dry ingredients into the wet mixture until they are just combined. Then, gently fold in the all-purpose flour, being careful not to overmix the dough. Overmixing can develop the gluten too much, resulting in tougher cookies. Mix until no streaks of flour remain, but stop as soon as it comes together.
- Add Festive Chocolates: Now comes the fun part! Gently fold in your chosen chocolate chips and the festive Christmas M&M’s. Distribute them evenly throughout the dough, ensuring every bite will be packed with delicious flavor and holiday cheer.
- Chill the Dough: This step is non-negotiable for perfectly structured Santa Cookies. Tightly cover the bowl containing your dough and refrigerate it for at least one hour. Chilling allows the butter to re-solidify, preventing the cookies from spreading too much in the oven and helping them maintain their shape and chewiness.
- Prepare for Baking: While your dough chills, preheat your oven to 350°F (175°C). Line a sturdy baking sheet with parchment paper or a silicone baking mat. This prevents sticking and ensures even baking and easy cleanup.
- Shape and Bake: Once chilled, retrieve your dough. Roll portions of the dough into tall, cylindrical shapes, rather than flat balls. This unique shaping technique helps create cookies that are soft in the center with slightly crispy edges. Place 6-8 cookie dough cylinders on your prepared baking sheet, leaving ample space between them to allow for spreading. For consistency, each dough ball should be approximately 1.7 ounces if you’re using a food scale, yielding about 16 large cookies per batch. Bake for 8-12 minutes.
- Cool and Enjoy: Aim to slightly underbake the cookies, removing them from the oven as soon as the edges begin to lightly brown and the centers are no longer wet-looking. They will continue to firm up as they cool, ensuring a wonderfully soft and chewy interior. For an extra touch of beauty, immediately press a few extra chocolate chips or M&M’s onto the tops of the warm cookies. Allow the cookies to cool on the baking sheet for 5 minutes before carefully transferring them to a wire rack to cool completely.
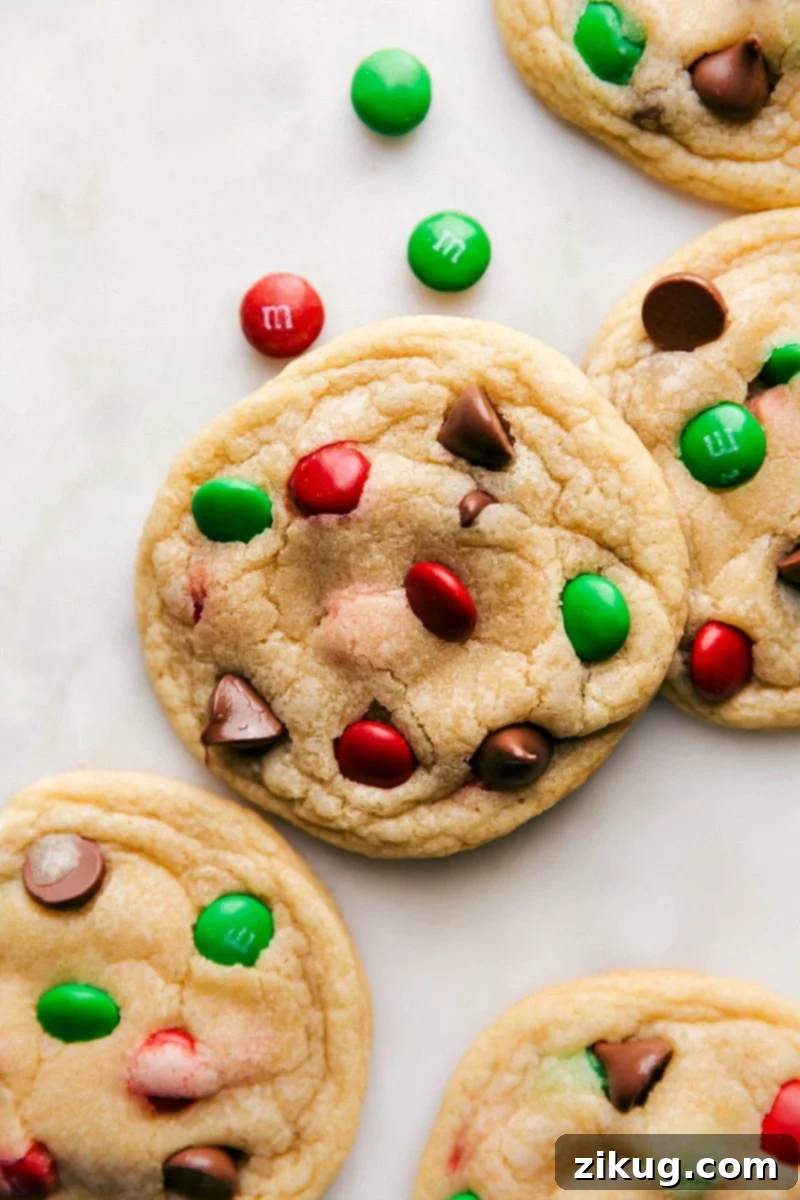
Storage and Make-Ahead Tips
Proper storage is key to enjoying your Santa Cookies for as long as possible. Whether you’re making them ahead of time or simply want to savor the leftovers, these tips will help maintain their deliciousness.
For Baked Santa Cookies: These cookies are at their absolute best on days 1 and 2. Their texture is perfectly soft and chewy, and the flavors are at their peak. While they can last up to one week, they will gradually begin to lose some of their desirable texture and flavor quality after a few days. To store baked cookies, ensure they are completely cooled before placing them in an airtight container. Keep the container at room temperature away from direct sunlight or heat. This method will keep them fresh and delicious for your family and any unexpected visitors.
To Freeze Santa Cookie Dough: Freezing cookie dough is a fantastic way to prepare ahead for the busy holiday season or to have fresh-baked cookies on demand. Simply roll your cookie dough into individual balls (or the cylindrical shapes as instructed) and place them on a tray lined with parchment paper. Freeze until the dough balls are firm, typically 1-2 hours. Once solid, transfer the frozen dough balls to a sealed freezer-safe container or a heavy-duty freezer bag. They can be stored in the freezer for up to 3 months.
Baking from Frozen Dough: You have two options when baking frozen dough. You can bake them straight from frozen, adding approximately 1-3 minutes to the original baking time, or you can let them thaw in the refrigerator overnight or at room temperature for about 30 minutes before baking as usual. This make-ahead option ensures you always have warm, fresh Santa Cookies ready to delight during the holidays or whenever a craving strikes!
More Festive Christmas Treats to Explore
The holiday season is a wonderful time for baking and sharing delicious treats. If you’ve enjoyed making these Santa Cookies, you’ll love exploring some of our other festive recipes perfect for gatherings, gifting, or simply indulging in the spirit of Christmas. From quick and easy options to classic holiday delights, there’s something for everyone to enjoy.
- Effortless Christmas Cookies with only 3 simple ingredients, perfect for last-minute baking!
- Delicate Mexican Wedding Cookies, beautifully coated in a dusting of powdered sugar for a melt-in-your-mouth experience.
- Discover creative DIY Christmas Gifts, complete with free printable gift tags to make your presents extra special.
- Whip up a batch of our delicious Christmas Snack Mix, an ideal savory and sweet combination perfect for holiday hosting or cozy nights in.
- Charm your guests with adorable Reindeer Cookies, cleverly decorated to resemble Rudolph and his friends.
Print Recipe
Santa Cookies
Equipment
-
Sheet pan (15″ x 10″)
-
Parchment paper or a silicone baking mat
Ingredients
- 8 tablespoons unsalted butter
- 1/2 cup light brown sugar firmly packed
- 1/3 cup granulated sugar
- 1 large egg at room temperature
- 1/2 tablespoon vanilla extract
- 2 tablespoons maple syrup
- 2 teaspoons cornstarch
- 1/2 teaspoon baking soda
- 1/2 teaspoon baking powder
- 3/4 teaspoon fine sea salt reduce if using table salt or if sensitive to salt
- 1-3/4 cups all-purpose flour
- 1/2 cup milk chocolate chips or semi-sweet or dark chocolate—whichever is your favorite
- 1/2 cup holiday M&M’s
Instructions
-
Melt the butter in a very large, microwave-safe bowl. Once melted, refrigerate it for 3–5 minutes or until at room temperature. The butter can’t be hot when you add in the sugars or it will melt the sugar and make the cookies greasy.
-
Once butter is cooled to room temperature, stir in brown sugar and granulated sugar until smooth. Add egg, vanilla extract, and maple syrup. Stir again until smooth.
-
Add cornstarch, baking soda, baking powder, and salt. Again, stir until smooth. Add in the correctly measured (see note 1) flour and mix until just combined. Don’t overmix. Add chocolate chips and M&M’s. Gently stir until combined.
-
Tightly cover the bowl and chill for 1 hour.
-
Preheat oven to 350°F. Line a sheet pan with parchment paper or silicone baking mat.
-
Roll dough balls into tall cylinders (see picture #11 above for shape and size). Place 6–8 cookie balls on a sheet, allowing plenty of room to spread. Dough balls should be about 1.7 ounces if you have a food scale (the batch should make about 16 total cookies).
-
Bake 8–12 minutes, erring on the side of underbaking to keep them soft and chewy. The cookies will firm up a little more out of the oven, so take them out as soon as the edges start to lightly brown and the top is no longer wet looking.
-
Optional: Press a few extra chocolate chips or M&M’s onto the tops of the cookies as soon as you remove from the oven. Allow cookies to cool on the sheet pan for 5 minutes before transferring them to a cooling rack.
Recipe Notes
Storage: We like these cookies best on day 1 and 2 of being made. They do last up to 1 week, but they begin to lose texture and flavor quality. To store, place completely cooled cookies in an airtight container and keep at room temperature.
Nutrition
Nutrition information is automatically calculated, so should only be used as an approximation.