
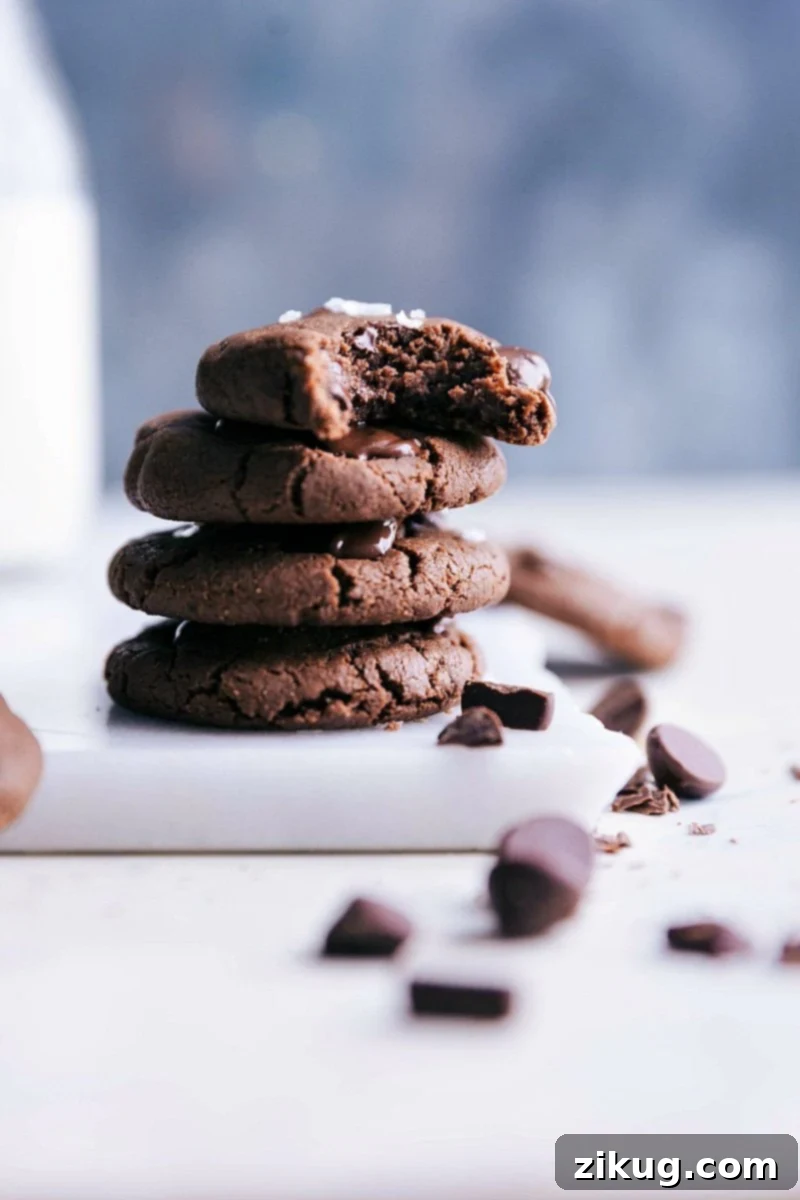
Healthy Chocolate Cookies with no butter, white sugar, oil, or flour! These cookies are thick, chewy, and filled with good-for-you ingredients, making them the perfect guilt-free treat.
Looking for more wholesome delights? Explore some of our other favorite healthy recipes: Healthy Sugar Cookies, Healthy No-Bake Cookies, or our incredibly moist Healthy Pumpkin Bread.
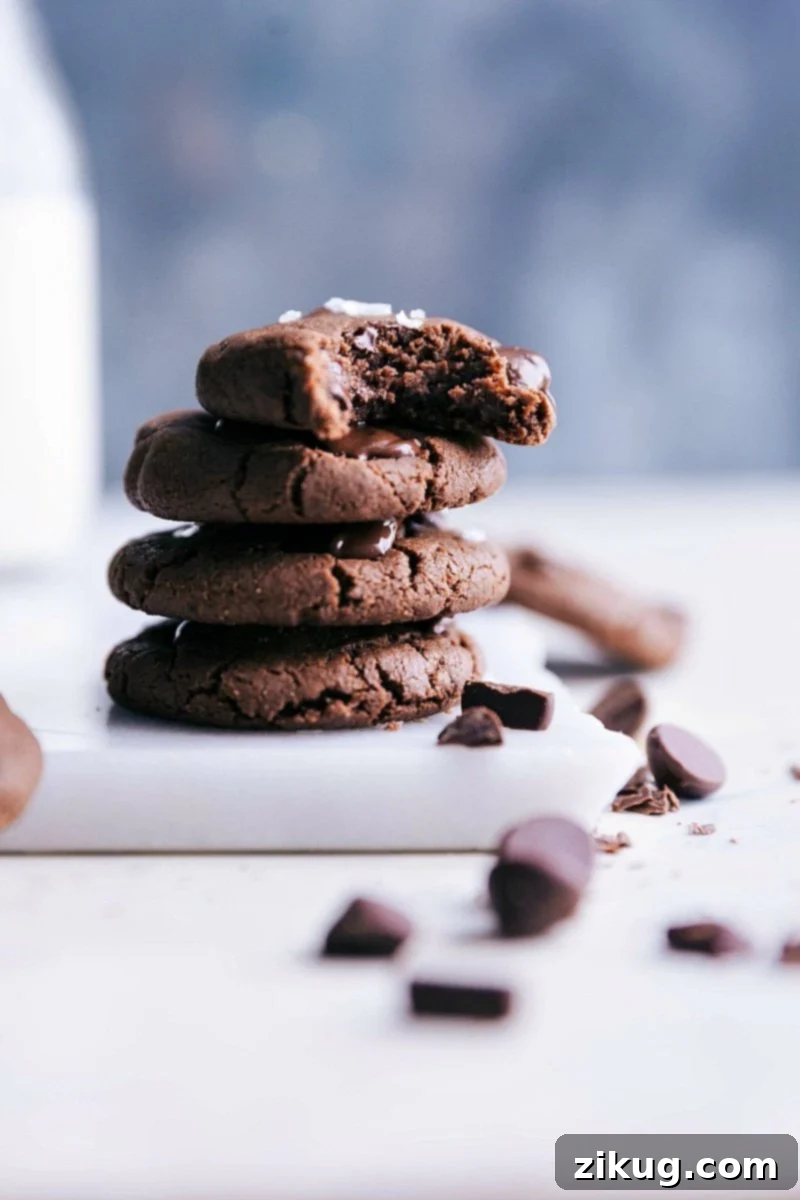
Indulge Guilt-Free: The Ultimate Healthy Chocolate Cookies Recipe
In a world where delicious treats often come with a side of guilt, finding a recipe that satisfies your sweet tooth while nourishing your body feels like striking gold. That’s exactly what these Healthy Chocolate Cookies offer! Forget everything you thought about indulgent baking; these cookies defy expectations by delivering a rich, chewy, and deeply satisfying chocolate experience without a single drop of butter, white sugar, added oil, or traditional flour.
We believe that healthy eating doesn’t mean sacrificing flavor or pleasure, especially when it comes to cookies. At our house, cookies are a staple, and while the allure of a full batch of Caramel Snickerdoodles is undeniable, these wholesome chocolate cookies ensure you feel fantastic after every bite. Crafted with natural ingredients and sweetened purely by nature, they’re designed to be a substantial, filling snack or dessert thanks to the inclusion of protein-packed peanut butter and healthy fats. This makes them a smarter choice for those seeking a balance between enjoyment and well-being.
Why These Healthy Chocolate Cookies Are Your New Favorite Treat
Beyond their incredible taste, these Healthy Chocolate Cookies offer a multitude of benefits that set them apart from conventional recipes. Their unique composition makes them an ideal choice for health-conscious individuals and families alike. Here’s why they stand out:
- Wholesome Ingredients: We’ve carefully selected ingredients that are not only natural but also provide nutritional value. From the creamy peanut butter to the unrefined coconut sugar and antioxidant-rich dark chocolate chips, every component contributes to a healthier cookie.
- Naturally Sweetened: By using coconut sugar, we reduce reliance on heavily processed white sugars, offering a sweetener with a lower glycemic index and a touch of natural caramel notes that complement the chocolate beautifully.
- Rich in Protein & Healthy Fats: Peanut butter isn’t just for flavor; it’s a powerhouse of protein and healthy monounsaturated fats. These essential nutrients help keep you feeling full and satisfied, making these cookies more substantial than typical sugary treats.
- Gluten-Free & Flourless: By entirely omitting traditional flour, these cookies are naturally gluten-free, making them suitable for those with gluten sensitivities or simply looking to reduce their grain intake.
- Dairy-Free: With no butter or dairy products in the recipe, these cookies are also dairy-free, catering to another common dietary restriction without compromising on taste or texture.
- Quick & Easy: Despite their sophisticated flavor and texture, these cookies are incredibly simple to make, coming together in under 30 minutes from start to finish.
These cookies are not just “less bad”; they are genuinely good for you, proving that healthy and decadent can coexist harmoniously in one delicious bite.
Essential Ingredients for Your Wholesome Chocolate Cookies
The magic of these healthy chocolate cookies lies in their carefully selected, nutrient-dense ingredients. Each plays a crucial role in achieving that perfect thick, chewy texture and rich, deep chocolate flavor. Here’s a closer look at what you’ll need and why each component is important:
- Peanut Butter: The Foundation of Flavor and Texture
Creamy peanut butter forms the backbone of these cookies, acting as both a binder and a primary flavor enhancer. It’s essential for achieving that distinct chewiness and moist interior without needing butter or oil. Furthermore, peanut butter is an excellent source of plant-based protein and healthy monounsaturated fats, which contribute to satiety and provide sustained energy. Opt for natural, unsweetened peanut butter with minimal ingredients (just peanuts and perhaps a touch of salt) for the healthiest outcome. - Coconut Sugar: Nature’s Sweetener
If you’re new to coconut sugar, it’s a natural palm sugar derived from the sap of the coconut palm tree. Unlike refined white sugar, coconut sugar retains more minerals and has a slightly lower glycemic index, meaning it causes a slower rise in blood sugar levels. It lends a subtle caramel-like depth to the cookies without imparting any strong coconut flavor. If coconut sugar isn’t available, light brown sugar can be used as a substitute, though it will make the cookies slightly less “healthy” in terms of glycemic impact. - Pure Vanilla Extract: A Flavor Enhancer
A small dash of high-quality vanilla extract goes a long way in enhancing the overall flavor profile of these cookies. It beautifully complements the chocolate and peanut butter, adding a warm, aromatic note that elevates the taste from good to truly exceptional. Don’t skimp on good vanilla; it makes a noticeable difference. - Dutch-Process Cocoa Powder: For Intense Chocolate Bliss
This is a critical ingredient for achieving a rich, dark color and a deep, mellow chocolate flavor. Dutch-process cocoa powder has been treated with an alkalizing agent that reduces its acidity. This process makes the cocoa less bitter, darker in color, and allows for a more robust chocolate taste compared to natural cocoa powder. Using regular (natural) cocoa powder will result in a drier cookie with a sharper, less intense chocolate flavor, and may also affect how the baking soda reacts. We highly recommend using a quality Dutch-process cocoa for the best results, such as Ghirardelli Majestic Dutch-Processed Cocoa Powder. - One Large Egg: The Essential Binder
The egg plays a vital role in binding all the ingredients together, providing structure and moisture to the cookies. It also contributes a small amount of extra protein, further boosting the nutritional value of your wholesome treat. Ensure your egg is at room temperature for better incorporation into the dough. - Pinch of Salt and Baking Soda: Balancing Act for Perfection
These two baking agents are crucial for both flavor and texture. Salt balances the sweetness and enhances the chocolate notes, while baking soda acts as a leavening agent, helping the cookies achieve a slight lift and a tender, chewy crumb. When working with Dutch-process cocoa, baking soda is typically preferred as it doesn’t require an acidic component to activate, unlike baking powder. - Dark Chocolate Chips: Antioxidant-Rich Indulgence
While any chocolate chips will work, dark chocolate chips are recommended for their added health benefits, including a higher concentration of antioxidants. They melt into pockets of rich, intense chocolate throughout the cookie, offering delightful bursts of flavor. Choose chips with a cacao percentage of 60% or higher for optimal health benefits and a deeper chocolate taste.
Understanding Dutch-Process Cocoa: A Quick Guide
Many bakers wonder about the fuss over Dutch-process cocoa. Here’s the straightforward explanation: Dutch-process cocoa powder is washed with an alkaline solution that neutralizes its acidity. This process results in a cocoa powder that is darker in color, mellower in flavor, and less bitter than natural cocoa. Because its acidity has been reduced, Dutch-process cocoa reacts differently with leavening agents. While natural cocoa typically reacts with baking soda (which is alkaline) to create lift, Dutch-process cocoa often requires baking powder (which contains its own acidic component) or is paired with an acidic ingredient in recipes. However, in this specific recipe, baking soda works perfectly to achieve the desired texture and spread, while the Dutch-process cocoa delivers a deep, rich chocolate flavor without any bitterness. It’s essential not to interchange Dutch-process and natural cocoa in recipes unless specified, as it can significantly impact both flavor and texture.
Crafting Your Healthy Chocolate Cookies: Step-by-Step Guide
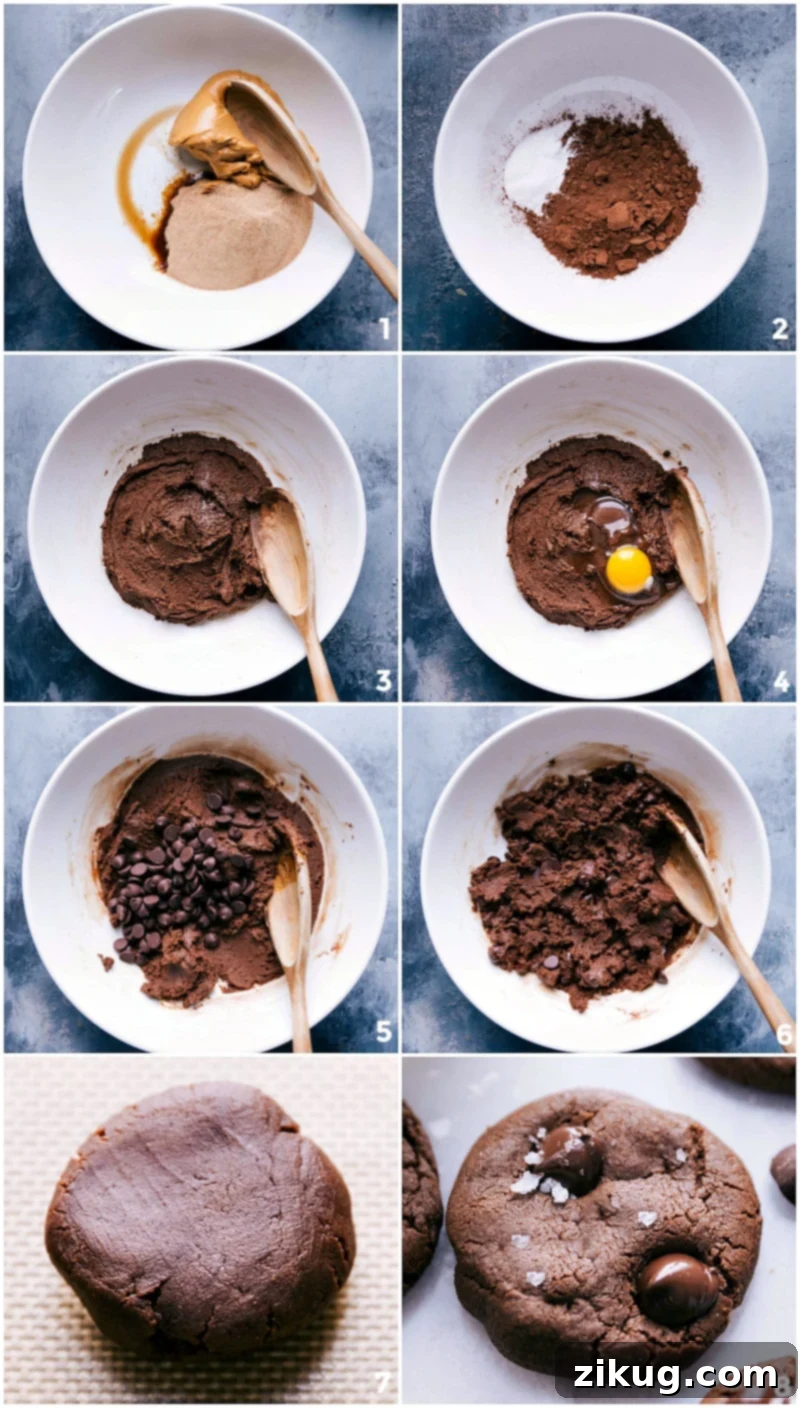
Making these healthy chocolate cookies is a straightforward process that yields incredibly rewarding results. Follow these simple steps, keeping in mind the visual cues from the photo collage above, to create your own batch of wholesome indulgence:
- Prepare Your Workspace: Begin by preheating your oven to 350°F (175°C). Line a large sheet pan with parchment paper or a nonstick silicone baking mat. This crucial step prevents sticking and ensures even baking, making cleanup a breeze.
- Combine Wet Ingredients: In a medium-sized mixing bowl, add the creamy peanut butter, coconut sugar, and vanilla extract. Using a hand mixer, beat these ingredients together until the mixture is completely smooth and creamy. It’s important not to heat the peanut butter beforehand, even if it’s a bit stiff; a hand mixer will handle it perfectly.
- Whisk Dry Ingredients: In a separate, smaller bowl, combine the Dutch-process cocoa powder, salt, and baking soda. Use a whisk or a fork to stir them together thoroughly, ensuring all the dry ingredients are evenly distributed. This prevents pockets of unmixed leavening agent or salt in your cookies.
- Integrate Wet and Dry: Gradually add the whisked dry ingredients to the bowl containing the wet ingredients. Mix until they are just combined, being careful not to overmix. Overmixing can lead to tougher cookies.
- Add the Egg: Crack in the large egg and continue to beat with the hand mixer until it is fully incorporated into the dough. The egg provides essential binding and moisture, contributing to the cookie’s final texture.
- Stir in Chocolate Chips: Finally, fold in the dark chocolate chips using a spatula or a sturdy spoon. Distribute them evenly throughout the dough.
- Portion and Flatten: Using a tablespoon measuring spoon for consistency, scoop out precise portions of dough. Roll each portion into a smooth ball between your palms, then gently flatten it slightly with your hands. These cookies don’t spread much during baking, so flattening them ensures a uniform shape and even cooking. For an extra aesthetic touch, press 3-4 additional chocolate chips onto the top of each cookie dough ball.
- Bake to Perfection: Arrange the flattened cookie dough balls on your prepared baking sheet, leaving some space between them. Bake for 6-8 minutes. Keep a very close eye on them, as the coconut sugar can cause them to go from perfectly baked to slightly burnt very quickly. Immediately after removing them from the oven, if desired, press a few more chocolate chips onto the tops of the hot cookies. The residual heat will slightly melt them, making them look beautifully gooey. Finish with a sprinkle of flaky sea salt for a gourmet touch.
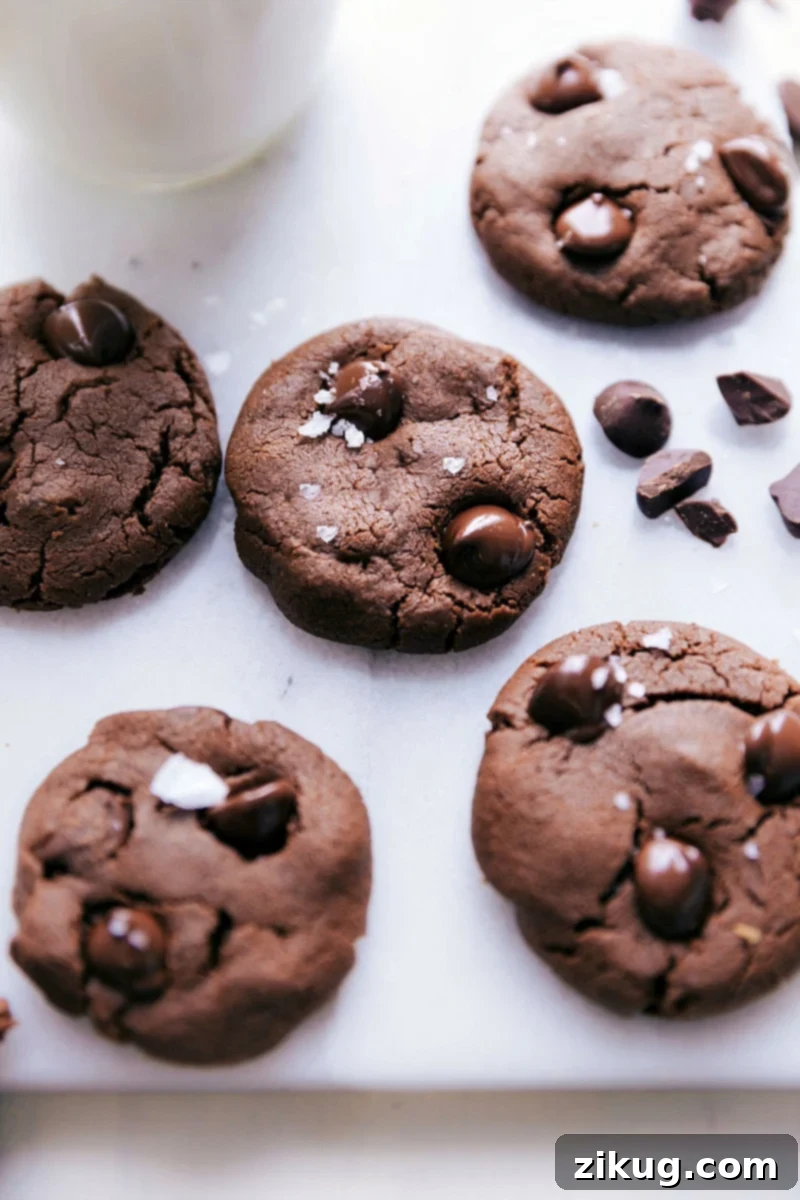
Expert Baking Tips for Flawless Healthy Chocolate Cookies
Achieving the perfect healthy chocolate cookie is an art, but with these expert tips, you’ll master it every time. These pointers will help you navigate common baking challenges and ensure your cookies are nothing short of delicious.
- Pre-Baking Flattening: The Key to Perfect Shape
Unlike many traditional cookie recipes that spread considerably in the oven, these healthy chocolate cookies tend to hold their shape. This is largely due to the high peanut butter content and absence of traditional leavening enhancers like extra butter or oil. Therefore, it is absolutely crucial to flatten each cookie dough ball slightly before baking. Gently press them down with your palm or the bottom of a glass. This step ensures that your cookies bake evenly, develop a consistent texture, and achieve that appealing classic cookie disc shape rather than remaining as round balls. Don’t skip this! - Monitoring Bake Time: Don’t Walk Away!
The unique composition of these cookies, especially the coconut sugar, means they bake quickly and can go from perfectly cooked to overly crispy or even burnt in a very short amount of time. Set a timer for the lower end of the baking range (around 6 minutes) and keep a vigilant eye on them. You’re looking for cookies that appear just set around the edges but may still look slightly soft in the center. They will firm up considerably as they cool. Trust your instincts and pull them out of the oven once they reach this stage to prevent overbaking. - The Magic of Cooling: Achieving the Ideal Texture
Patience is a virtue, especially when it comes to these cookies right out of the oven. While tempting to devour immediately, they will be quite gooey and crumbly when hot. Allowing them to cool completely on the baking sheet for at least 10-15 minutes, and then transferring them to a wire rack, is essential. This cooling period allows them to firm up, develop their signature chewy texture, and become sturdy enough to handle. If you try to move them too soon, they might fall apart. - Room Temperature Ingredients: A Foundation for Success
For optimal mixing and a smooth, uniform dough, ensure your egg and peanut butter are at room temperature. Room temperature ingredients emulsify more easily, leading to a more consistent dough and a better final texture for your cookies. If your peanut butter is particularly stiff, you can warm it slightly in the microwave for a few seconds (about 10-15 seconds) to make it more pliable, but avoid making it hot or runny.
Beyond the Recipe: Customizing Your Healthy Chocolate Cookies
While this recipe for Healthy Chocolate Cookies is perfect as is, it also serves as an excellent canvas for customization. Feel free to experiment and make them your own!
- Flavor Enhancements & Add-ins:
- Nuts: Fold in a handful of chopped walnuts, pecans, or almonds for added crunch and healthy fats.
- Dried Fruit: For a touch of fruity sweetness, add dried cranberries, cherries, or finely chopped dates.
- Espresso Powder: A teaspoon of instant espresso powder or coffee powder can deepen the chocolate flavor without adding a coffee taste.
- Spices: A pinch of cinnamon, nutmeg, or even a tiny dash of cayenne pepper can add warmth and a subtle kick to your chocolate cookies.
- Extracts: Experiment with a few drops of peppermint extract for a festive twist, or almond extract for a nutty aroma.
- Dietary Adaptations (e.g., Vegan Options):
- Vegan: To make these cookies entirely vegan, substitute the egg with a “flax egg” (1 tablespoon ground flaxseed meal mixed with 3 tablespoons water, let sit for 5 minutes to thicken) or a commercial egg replacer suitable for baking. Ensure your chocolate chips are dairy-free as well.
- Nut-Free: If you have a peanut allergy, almond butter or cashew butter can be substituted, though the flavor profile will change. For a completely nut-free option, use sunflower seed butter, keeping in mind it may react with baking soda to create a green hue (harmless, but visually different).
Storing and Serving Your Delicious Healthy Treats
Once your Healthy Chocolate Cookies have cooled and firmed up, they are ready to be enjoyed! They make an excellent snack, a guilt-free dessert, or even a wholesome breakfast treat with a cup of coffee or milk.
- Storage: Store the cooled cookies in an airtight container at room temperature for up to 2-3 days. To maintain their freshness for longer, you can refrigerate them for up to a week. For extended storage, these cookies freeze beautifully. Place them in a single layer on a baking sheet to freeze solid, then transfer them to a freezer-safe bag or container for up to 2-3 months. Thaw at room temperature or warm gently in the microwave for a minute.
- Serving Suggestions:
- Enjoy them as is for a quick and satisfying bite.
- Pair them with a glass of almond milk or a hot cup of tea or coffee.
- Crumble them over a bowl of Greek yogurt or a smoothie bowl for added texture and flavor.
- They also make a thoughtful homemade gift for friends and family.
More Wholesome & Delicious Cookie Recipes to Explore
If you loved these healthy chocolate cookies, you’ll surely enjoy exploring our other cookie creations that balance indulgence with wholesome ingredients. Each recipe is crafted to bring joy to your kitchen and your taste buds:
- Healthy Oatmeal Cookies with delicious chocolate chips
- Shortbread Cookies with a decadent chocolate drizzle
- For those occasional traditional treats, try our Brown Butter Chocolate Chip Cookies
- Or our classic Chewy Chocolate Chip Cookies that are always a crowd-pleaser
- And for a fun, colorful option, our popular M&M Cookies

Print Recipe
Healthy Chocolate Cookies
Equipment
-
Large sheet pan (15″ x 21″)
-
Parchment paper or a silicone baking mat
-
Hand mixer
Ingredients
- 1 cup creamy peanut butter
- 2/3 cup coconut sugar
- 1/2 teaspoon vanilla extract
- 1/4 cup Dutch process cocoa powder see note 1
- 1/8 teaspoon salt
- 1 teaspoon baking soda
- 1 large egg
- 1/2 cup dark chocolate chips plus extra for topping
- Flaky sea salt optional
Instructions
-
Preheat oven to 350°F. Line a large sheet pan with parchment paper or a nonstick liner.
-
In a medium bowl, beat together the peanut butter, coconut sugar, and vanilla extract. Don’t heat the peanut butter at all, even if it’s a little stiff and hard to work with. Beat together with a hand mixer until smooth.
-
In a separate bowl, combine Dutch-process cocoa powder, salt, and baking soda. Stir to combine.
-
Add dry ingredients to the wet ingredients and mix until just combined. Add the egg and beat until just combined. Stir in the dark chocolate chips.
-
Use a tablespoon measuring spoon to measure exact amounts of dough. Roll the tablespoon of dough into a ball and flatten slightly with your hands. Press 3–4 chocolate chips into the tops of the cookie dough balls.
-
Bake for 6–8 minutes. Watch them carefully because they go from perfectly baked to burned very quickly (because of the coconut sugar). If desired, add a few more chocolate chips on top, let melt slightly from residual heat, and add a sprinkle of sea salt.
-
These cookies are crumbly while hot. Let them cool completely to firm up and harden (or enjoy some deliciously hot but crumbly cookies right out of the oven).
Recipe Notes
Storage: Store cookies in an airtight container at room temperature. Cookies are best eaten within 2–3 days.
Nutrition
Calories: 130kcal |
Carbohydrates: 14.6g |
Protein: 3.3g |
Fat: 7.5g |
Cholesterol: 8.1mg |
Sodium: 57.3mg |
Fiber: 1.2g |
Sugar: 12.3g
Nutrition information is automatically calculated, so should only be used as an approximation.