
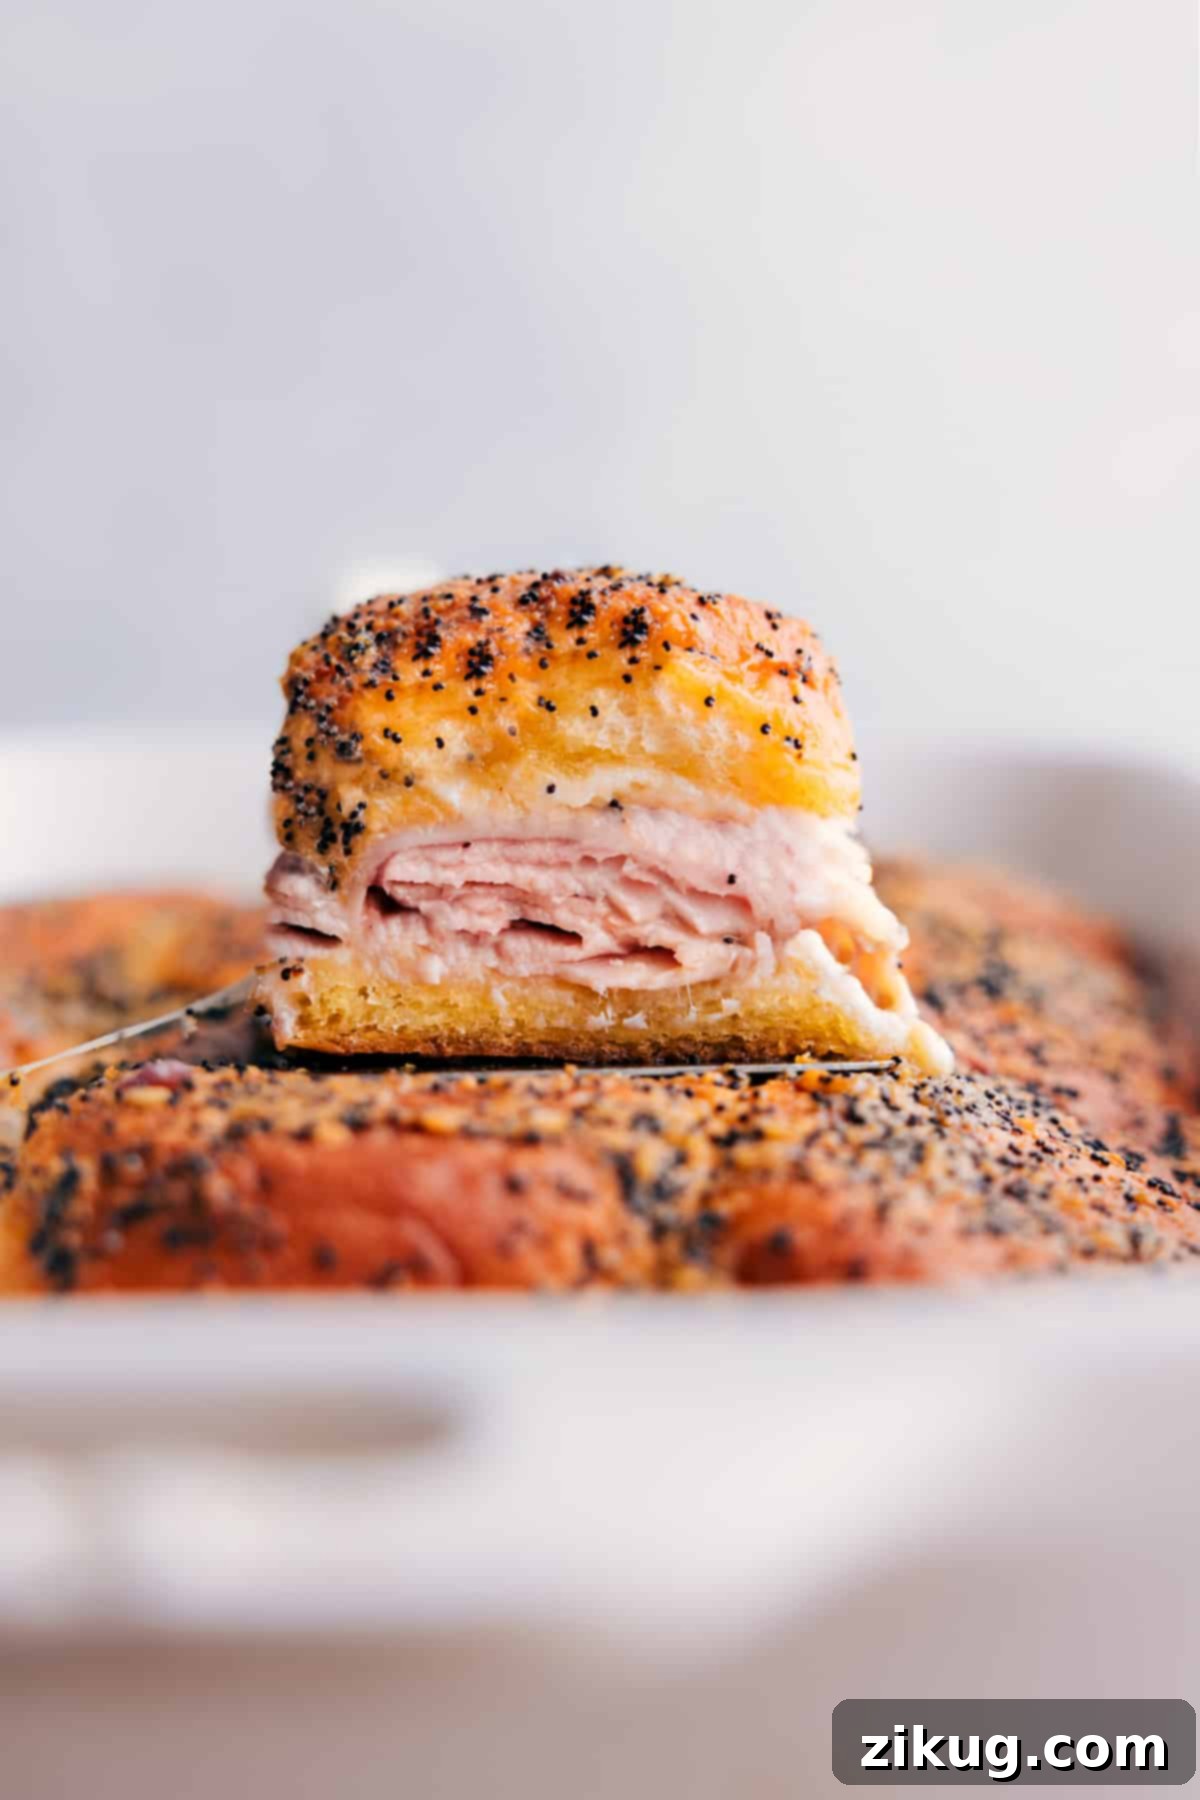
This **Ultimate Turkey Sliders Recipe** is a true crowd-pleaser, featuring soft, sweet rolls generously layered with tender deli turkey and perfectly melted cheese. Baked until golden brown and topped with an aromatic buttery herb glaze, these savory mini sandwiches are designed to delight at any gathering or make a busy weeknight meal effortlessly delicious.

author’s note
Hot, Cheesy Turkey Sliders: Your Secret Weapon for Instant Crowd Control!
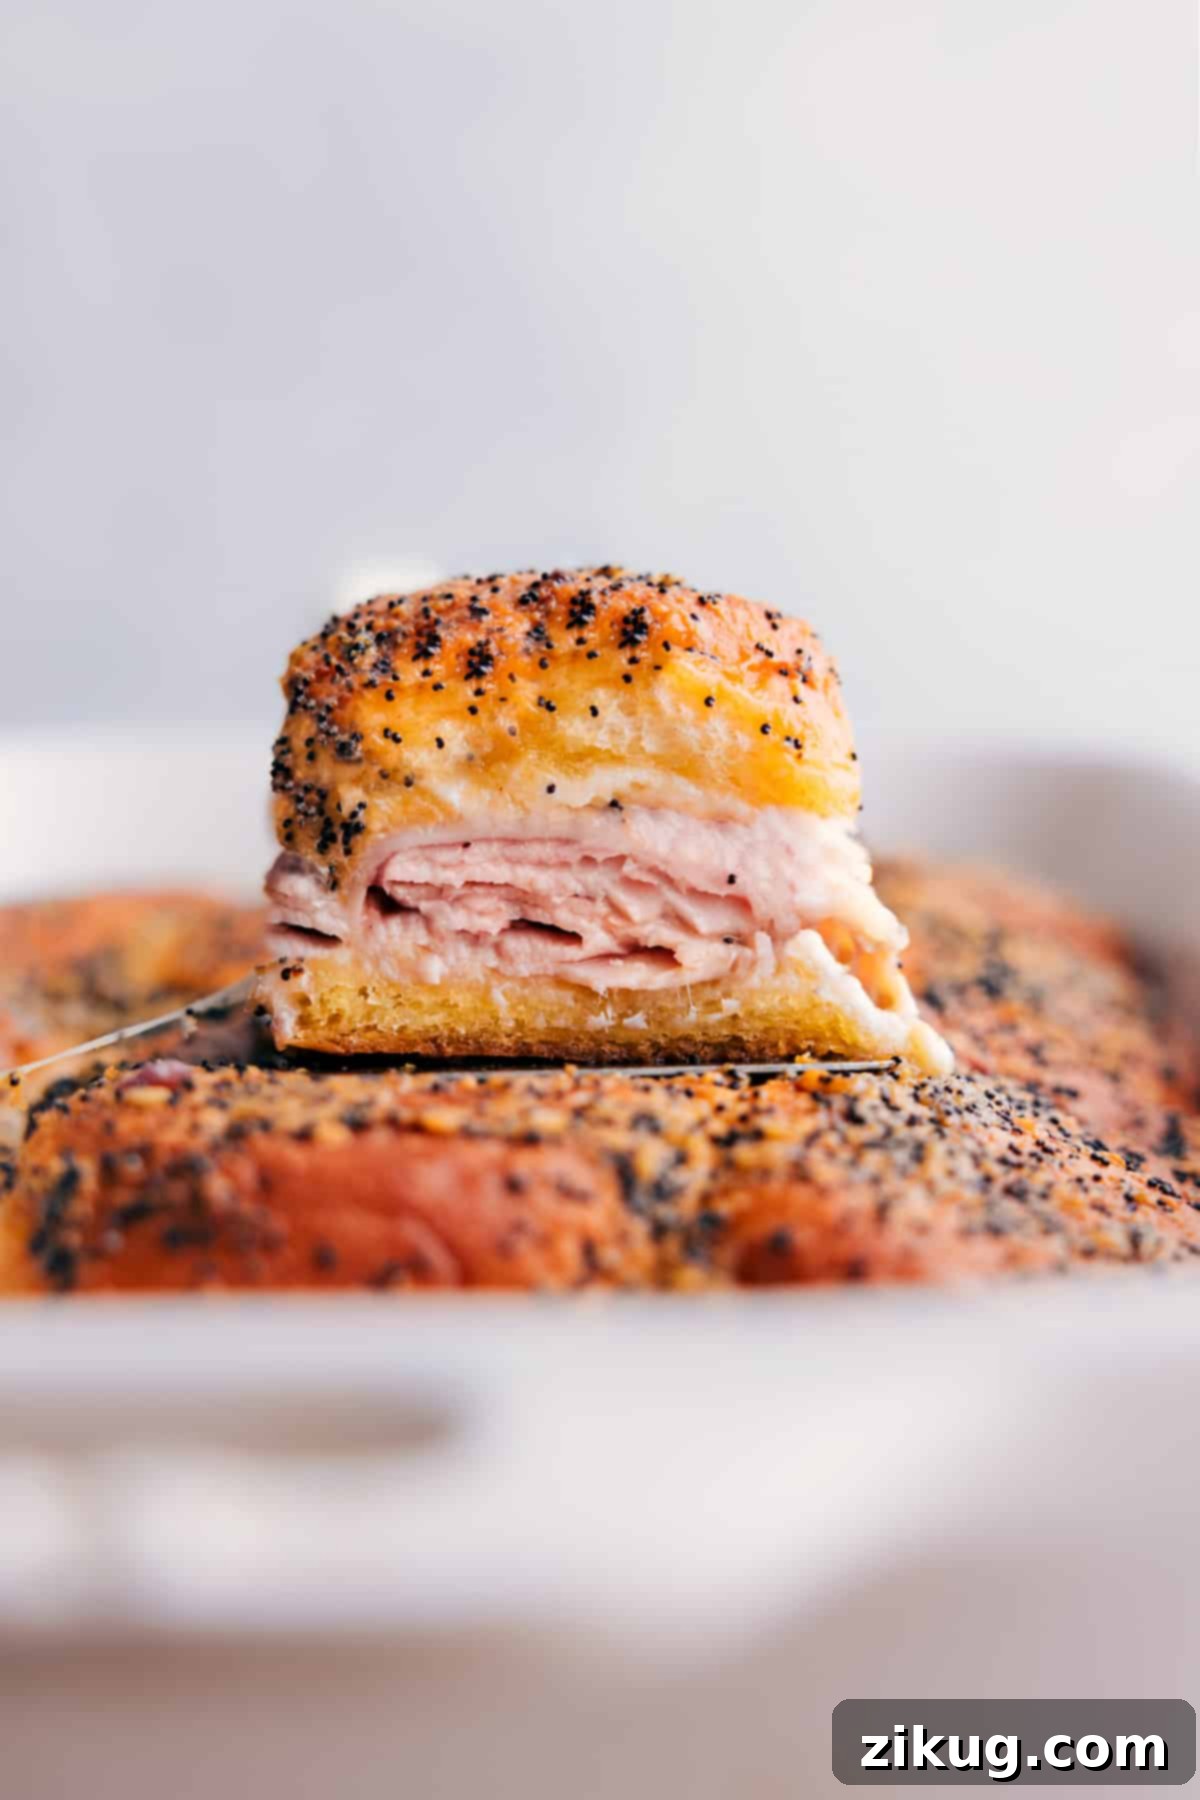
I honestly can’t count the number of times these incredible Turkey Sliders have saved the day – whether it’s for a last-minute party, a chaotic busy weeknight, or simply when my kids are craving something fun and satisfying. The very first time I whipped them up, I used leftover Thanksgiving turkey, and they were such an immediate hit that they quickly earned a permanent spot in my recipe rotation. Now, I make them year-round with convenient deli turkey, and the results are consistently spectacular.
There’s something magical about these sliders; the pan is practically empty before I even have a chance to sit down at the table! What I truly adore is how simple they are to prepare. With just a few minutes of prep, I can pop them into the oven and have a warm, bubbling, cheesy dinner ready without any stress. The secret, undoubtedly, lies in that glorious buttery glaze that seeps into the rolls while baking. It’s the magical touch that transforms humble turkey and cheese into an utterly crave-worthy, unforgettable dish. Trust me, these sliders are more than just a meal; they’re an experience everyone will ask for again and again!
Essential Turkey Sliders Recipe Ingredients
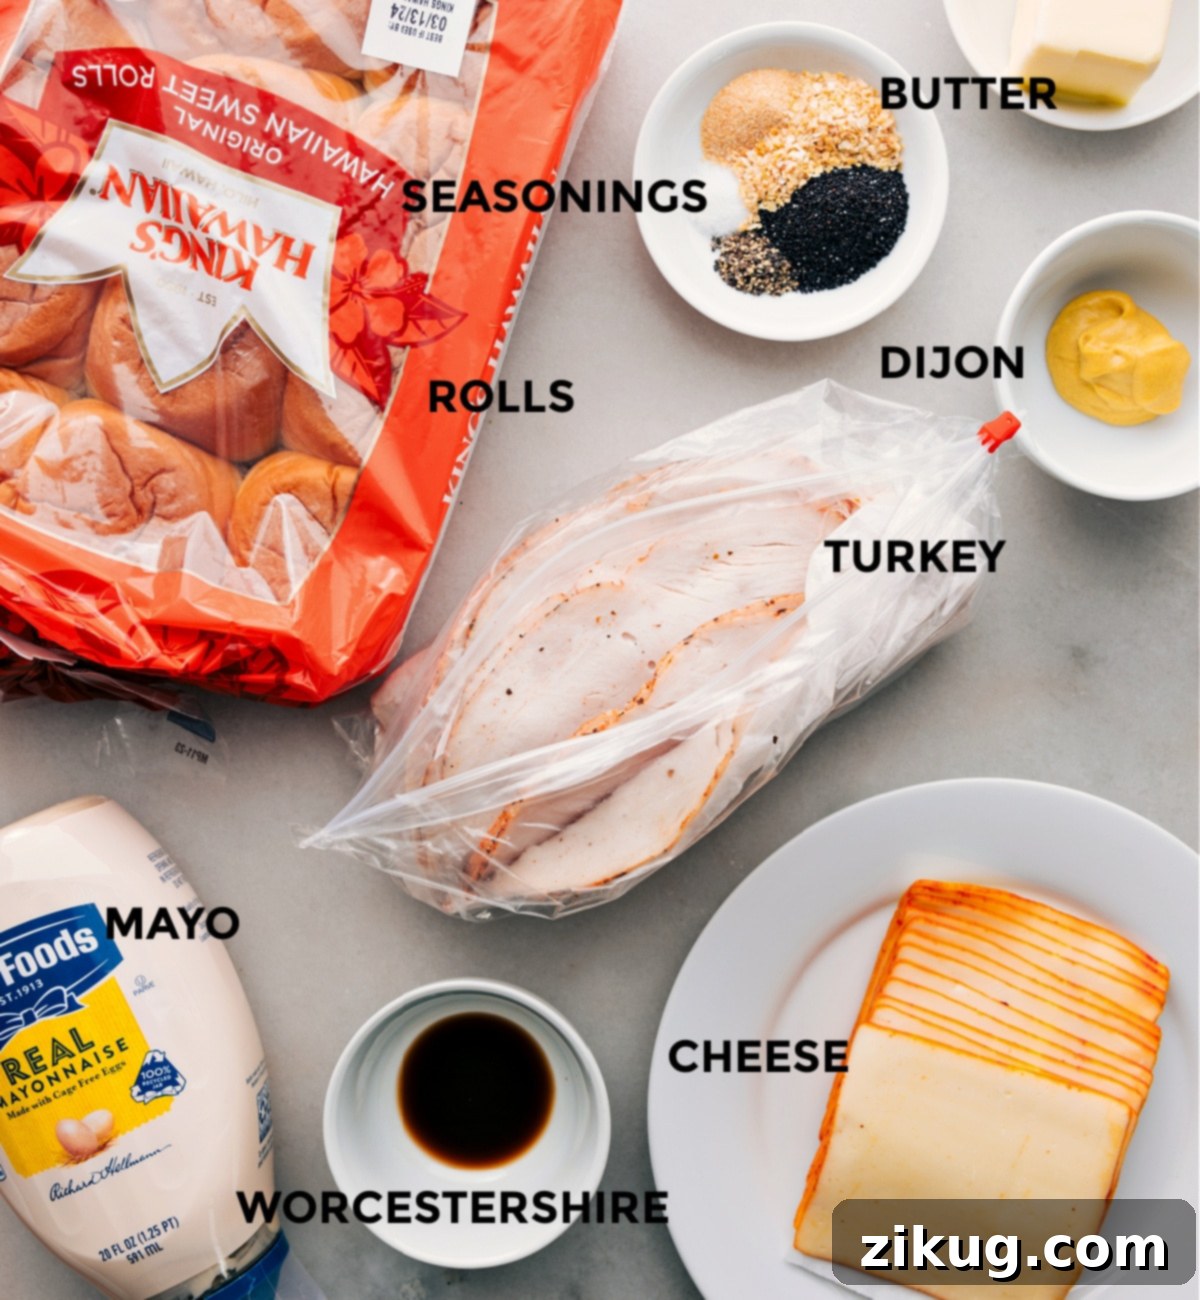
Crafting the perfect turkey slider starts with selecting the right ingredients. Here’s a detailed look at what you’ll need and some fantastic substitution ideas to customize your sliders.
| Ingredient | Swap or Tip for Best Results |
|---|---|
| Hawaiian Rolls | These sweet and soft rolls are ideal for their fluffy texture and slight sweetness, which perfectly complements the savory fillings. Any soft dinner roll works wonderfully, or for an extra touch of richness, opt for brioche buns. Ensure the rolls are connected for easier slicing and layering. |
| Turkey | Premium quality deli turkey, especially oven-roasted varieties, offers convenience and great flavor. If you have leftover roasted turkey from Thanksgiving or even shredded chicken, they make excellent alternatives, adding a homemade touch. |
| Cheese | Muenster cheese is my top pick for its incredible melt and mild, buttery flavor. Other excellent melting cheeses include Gouda, Swiss, or Provolone. Each offers a slightly different flavor profile, so feel free to experiment to find your favorite gooey layer. |
| Mayo | Mayonnaise provides a creamy base and helps bind the ingredients. For an extra kick, try garlic aioli or a touch of coarse-grain mustard mixed into the mayo for added depth. |
| Unsalted Butter | Using unsalted butter gives you complete control over the seasoning of the delicious herb glaze. It’s crucial for achieving that golden-brown crust and infusing flavor into the rolls. |
| Dijon Mustard | Dijon adds a sophisticated, tangy depth to the butter glaze. For a milder flavor, traditional yellow mustard can be used, which offers a classic American diner feel. |
| Poppy Seeds | Poppy seeds provide a fantastic textural contrast and a subtle nutty flavor to the top of the sliders. If unavailable, sesame seeds or a sprinkle of “everything bagel” seasoning work beautifully for a similar aesthetic and flavor boost. |
| Worcestershire Sauce | This ingredient adds a layer of umami and complexity to the butter glaze. In a pinch, a small amount of soy sauce or balsamic vinegar can mimic its rich, savory notes, though the flavor will be slightly different. |
| Dried Minced Onion & Garlic Powder | These pantry staples are essential for building a robust savory flavor in the butter glaze. They infuse the rolls with an irresistible aroma and taste as they bake. |
| Salt & Pepper | Basic seasoning is key. Adjust to your taste, remembering that deli turkey and cheese already contribute some sodium. |
How To Make Easy Turkey Sliders: Step-by-Step Guide
Making these turkey sliders is incredibly straightforward. Follow these simple steps for perfectly baked, flavorful results every time.
- Prepare Your Baking Dish: Begin by preheating your oven to 350°F (175°C). Lightly grease a 9×13-inch baking pan, then line it with parchment paper for easy cleanup and to prevent sticking. This preparation ensures your sliders bake evenly and lift out beautifully.
- Craft the Buttery Glaze: In a microwave-safe bowl, melt the unsalted butter. Allow it to cool slightly while you gather the remaining glaze ingredients. Whisk in the Dijon mustard, poppy seeds, dried minced onion, garlic powder, Worcestershire sauce, salt, and pepper until well combined. This flavorful mixture is the key to those golden, savory tops.
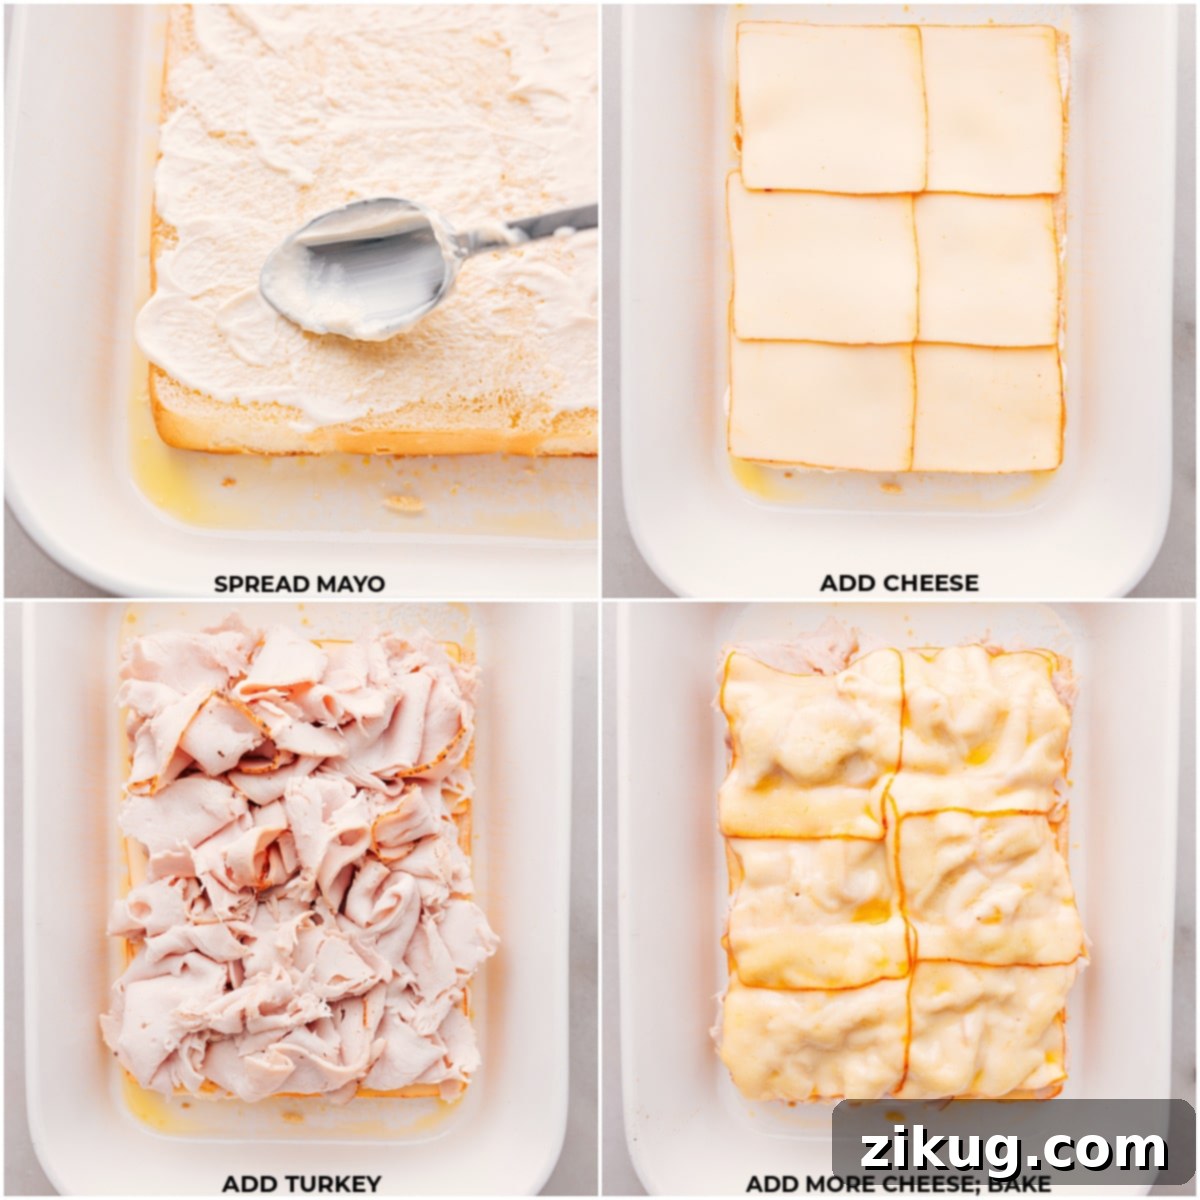
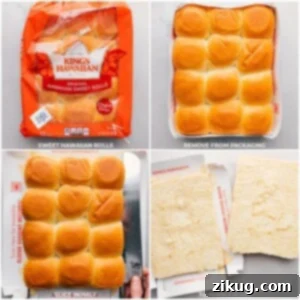
- Slice and Spread the Rolls: Using a serrated bread knife, carefully slice the entire block of Hawaiian rolls in half horizontally. The goal is to keep the individual rolls connected, allowing them to open like a book. Evenly spread 1/4 cup of mayonnaise on the cut side of both the top and bottom halves of the rolls. This adds moisture and a creamy layer. Place the bottom half of the rolls into your prepared baking pan.
- Layer the Fillings: Now, it’s time to build your sliders! Place six slices of Muenster cheese over the bottom half of the rolls. Next, evenly distribute the pound of deli turkey over the cheese. Finish with the remaining six slices of Muenster cheese on top of the turkey. *Do not add the top slab of rolls yet.* Bake this bottom layer, uncovered, for 10 minutes. This pre-baking step helps the cheese start melting and sets the foundation.
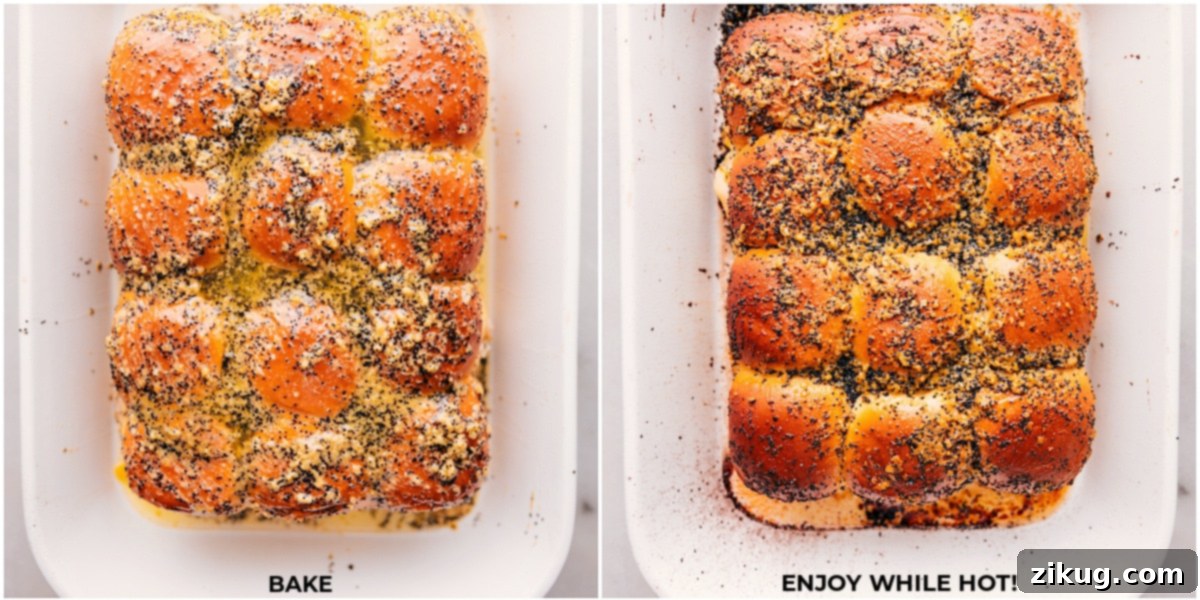
- Glaze and Bake to Perfection: Remove the pan from the oven and carefully place the top half of the rolls onto your layered sliders. Generously pour and brush the prepared buttery herb mixture over the entire top and sides of the rolls. Don’t worry if some of the glaze pools at the bottom of the pan; this will soak into the roll bottoms, making them wonderfully buttery and slightly crispy. Cover the pan tightly with aluminum foil and bake for 20 minutes. Then, remove the foil and bake for an additional 10 minutes, or until the tops are golden brown and the cheese is gloriously melted and bubbly.
- Serve and Enjoy: Allow the sliders to cool for just a few minutes before slicing them into individual portions. Serve hot and watch them disappear!
Tips for Making the Best Turkey Sliders
- Even Slicing: A long serrated knife is your best friend for slicing the entire slab of rolls in half. Work slowly and steadily to ensure an even cut.
- Don’t Skimp on the Glaze: The buttery herb glaze is what truly elevates these sliders. Make sure to brush it generously over the tops and sides, allowing it to seep into every crevice.
- Pre-bake for Melted Cheese: The initial 10-minute bake of the bottom layer helps the cheese begin to melt and get gooey before the top buns are added.
- Cover and Uncover: Covering with foil for the first part of baking ensures the rolls stay soft and the cheese melts thoroughly without the tops burning. Uncovering allows for that beautiful golden-brown crust.
- Customize Your Fillings: Don’t be afraid to experiment with different types of deli meat (ham, roast beef), cheeses, or even a thin layer of cooked bacon for added flavor.
Storage & Reheating
Leftovers? Don’t Waste a Single Slider!
While this Turkey Sliders recipe is truly best enjoyed fresh and hot right out of the oven, any leftovers can be stored and reheated to be almost as delicious!
- Cool: Always allow any leftover sliders to cool completely to room temperature before storing. This prevents condensation and keeps them from becoming soggy.
- Store: Place the cooled sliders in an airtight container. They can be refrigerated for up to three days, maintaining their flavor and texture. For longer storage, you can freeze them for up to three months. Wrap individual sliders tightly in plastic wrap, then place them in a freezer-safe bag or container to prevent freezer burn.
- Reheat: If frozen, thaw the sliders overnight in the refrigerator. To reheat, arrange them on a baking sheet and warm in a preheated oven at 350°F (175°C) until they are thoroughly hot and the cheese is re-melted, usually 10-15 minutes. Covering them loosely with foil during reheating can help keep the rolls from drying out. Avoid microwaving, as it can make the rolls tough.
Delicious Side Dishes: What To Serve With Turkey Sliders
Turkey sliders are versatile and pair wonderfully with a variety of sides. Here are some of our favorite complementary dishes that turn these humble sliders into a complete meal:
Salads
Copycat Olive Garden Salad: Light & Refreshing
A crisp, tangy salad provides a perfect fresh contrast to the rich, cheesy sliders.
Side Dishes
Roasted Sweet Potatoes: Sweet & Savory
These naturally sweet and tender potatoes offer a comforting and delicious pairing.
Fruit Salads
Tropical Fruit Salad (with 3-Ingredient Dressing!): Fresh & Fruity
A light and exotic fruit salad cuts through the richness, offering a refreshing contrast.
Soups And Stews
Roasted Tomato Basil Soup: Warm & Cozy
A classic, comforting soup makes for a hearty and satisfying pairing, especially on cooler days.
Ultimate Cheesy Turkey Sliders Recipe
Chelsea Lords
15
40
55
12
sliders
Equipment
-
9 x 13-inch ceramic baking pan
-
Parchment paper
-
Aluminum foil
-
Serrated bread knife
-
Pastry brush
Ingredients
- 12 count Hawaiian sweet dinner rolls (see note 1 for slicing instructions)
- 12 slices Muenster cheese
- 1 pound deli turkey (thinly sliced oven-roasted preferred)
- 1/2 cup mayonnaise
- 7 tablespoons unsalted butter (melted and slightly cooled)
- 1 tablespoon Dijon-style mustard
- 1 tablespoon Poppy seeds
- 1-1/2 teaspoons dried minced onion
- 1 teaspoon garlic powder
- 1 teaspoon Worcestershire sauce
- 1/4 teaspoon salt
- 1/4 teaspoon black pepper
Instructions
-
Preheat oven to 350°F (175°C). Generously grease a 9×13-inch baking pan and line it with parchment paper for easy removal.
-
In a medium microwave-safe bowl, melt the unsalted butter. Allow it to cool slightly, then whisk in the Dijon mustard, poppy seeds, dried minced onion, garlic powder, Worcestershire sauce, salt, and pepper until all ingredients are well combined. Set aside.
-
Using a long serrated bread knife, carefully slice the entire block of Hawaiian rolls in half horizontally, keeping the individual rolls attached (refer to Note 1 for a visual guide). Spread 1/4 cup of mayonnaise evenly on each cut side of the rolls. Place the bottom half of the rolls into the prepared baking pan.
-
Arrange six slices of Muenster cheese over the bottom layer of rolls. Next, evenly layer the pound of deli turkey over the cheese. Top the turkey with the remaining six slices of Muenster cheese. At this point, do not add the top slab of rolls. Bake, uncovered, for 10 minutes to allow the cheese to start melting.
-
Remove the pan from the oven and carefully place the top half of the rolls onto the sliders. Generously pour and brush the prepared buttery herb mixture over the top and sides of the rolls. It’s perfectly fine if some of the glaze pools at the bottom of the pan; this will create a deliciously buttery and slightly crispy base for the rolls! Cover the pan tightly with aluminum foil and bake for 20 minutes. After 20 minutes, remove the foil and bake for an additional 10 minutes, or until the top of the rolls is beautifully golden brown and the cheese is fully melted and bubbly.
-
Remove from the oven and let cool for a few minutes before slicing into individual sliders. Serve hot and enjoy!
Recipe Notes
Note 1: When slicing the Hawaiian rolls, keep the entire block intact and slice horizontally through the middle, allowing them to open like a book. This makes layering much easier.
Storage & Reheating: These Turkey Sliders are best savored fresh. However, cooled leftovers can be stored in an airtight container in the refrigerator for up to 3 days, or frozen for up to 3 months. To reheat, thaw if frozen, then warm at 350°F (175°C) until hot and cheese is re-melted (approximately 10–15 minutes). Covering loosely with foil during reheating can prevent drying.
Nutrition Information
Serving:
1 slider
Calories:
348kcal
Carbohydrates:
17g
Protein:
15g
Fat:
24g
Saturated Fat:
12g
Polyunsaturated Fat:
5g
Monounsaturated Fat:
6g
Trans Fat:
0.3g
Cholesterol:
70mg
Sodium:
771mg
Potassium:
129mg
Fiber:
0.1g
Sugar:
5g
Vitamin A:
494IU
Vitamin C:
0.5mg
Calcium:
209mg
Iron:
1mg
Nutrition information is automatically calculated, so should only be used as an approximation.
Why You’ll Adore This Turkey Sliders Recipe
There are countless reasons why these Turkey Sliders have become a household favorite and a go-to recipe for so many. They’re more than just a quick meal; they offer a delightful combination of convenience, flavor, and versatility:
- Effortlessly Easy: With minimal prep and hands-on time, these sliders are perfect for even the busiest of days. Just assemble, glaze, and bake!
- Irresistibly Delicious: The combination of soft, sweet rolls, savory turkey, gooey melted cheese, and that special buttery herb glaze creates a flavor explosion that’s hard to resist.
- Ultimate Crowd-Pleaser: Whether you’re hosting a game day, a family gathering, or a kids’ party, these mini sandwiches are universally loved and disappear quickly.
- Highly Versatile: Easily customizable with different meats, cheeses, or even added veggies, you can adapt this recipe to suit any taste or dietary preference.
- Perfect for Any Occasion: From casual weeknight dinners to impressive party appetizers, these sliders fit seamlessly into any menu.
- Comfort Food at Its Best: Warm, cheesy, and satisfying, they deliver that comforting feeling we all crave, especially on a chilly evening.
Frequently Asked Questions About Turkey Sliders
Got questions? We’ve got answers to help you master these delicious turkey sliders!
- Can I prepare these sliders ahead of time?
- Absolutely! You can assemble the sliders (layers of mayo, turkey, and cheese) in the pan, cover them tightly with plastic wrap, and refrigerate for up to 24 hours. Prepare the buttery glaze separately and store it in the fridge. Just before baking, pour the glaze over the assembled sliders and bake as directed. This makes them fantastic for meal prep or party planning.
- What other types of cheese work well?
- Beyond Muenster, great choices include Swiss (for a classic deli sandwich feel), Provolone, or even a mild Cheddar. For a bit more zest, try Pepper Jack! The key is to choose a good melting cheese that complements turkey.
- Can I use a different type of meat?
- Yes, these sliders are incredibly adaptable! Ham sliders are a very popular variation, using thinly sliced deli ham. Roast beef, thinly sliced chicken breast, or even leftover pulled pork could also be delicious.
- What if I don’t have Hawaiian rolls?
- While Hawaiian rolls are preferred for their sweetness and soft texture, any soft dinner roll or even small brioche buns will work. Just ensure they are connected in a slab for easier preparation.
- How do I prevent the rolls from getting soggy?
- Ensure you don’t overdo the mayonnaise; a thin, even layer is perfect. Also, allowing the butter glaze to cool slightly before pouring helps. The initial 10-minute bake of the bottom layer helps to set the base before the top buns are added, further preventing sogginess.
- Can I add vegetables to the sliders?
- For sure! Thinly sliced red onion, pickled jalapeños, or even a layer of spinach could be added for extra flavor and texture. Just be mindful not to overfill the sliders.
- What’s the best way to serve them for a party?
- Serve them warm directly from the oven. You can place the whole pan on a trivet for guests to help themselves, or pre-slice them and arrange them on a platter. They are best when the cheese is still warm and gooey!
Love this recipe? Share your thoughts and leave a comment below!