
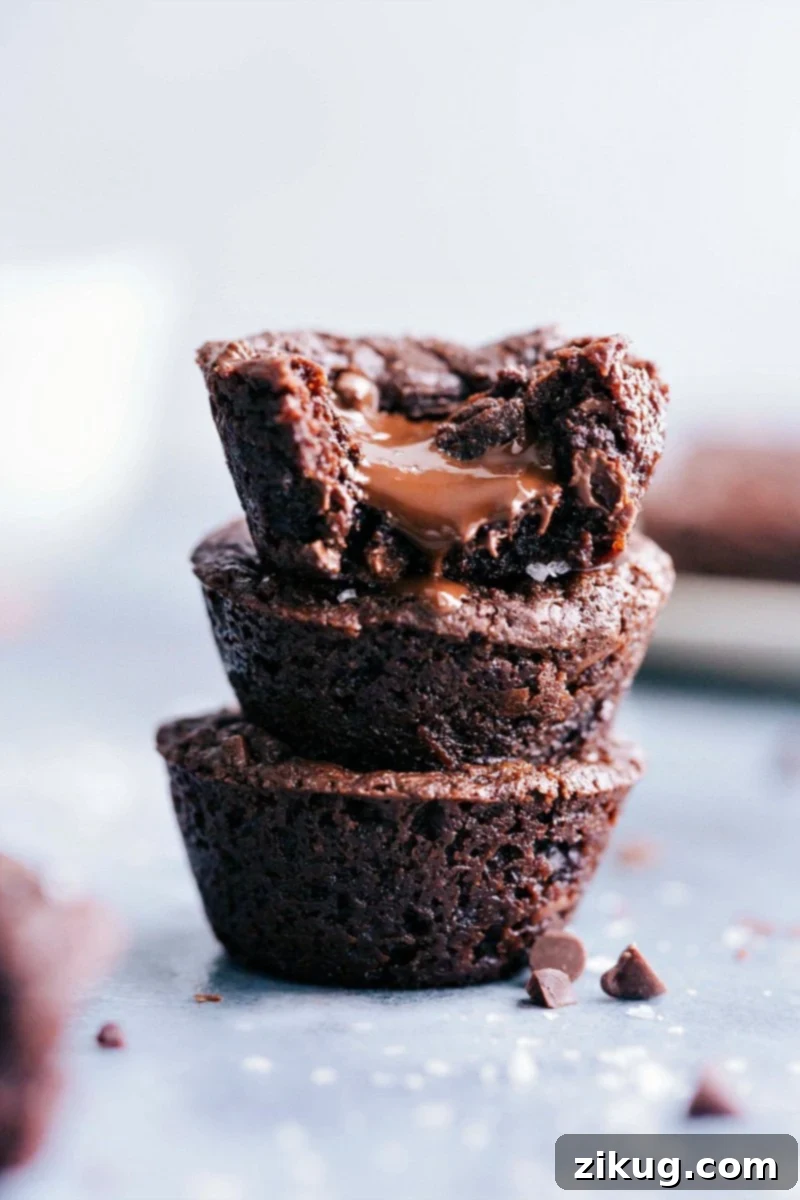
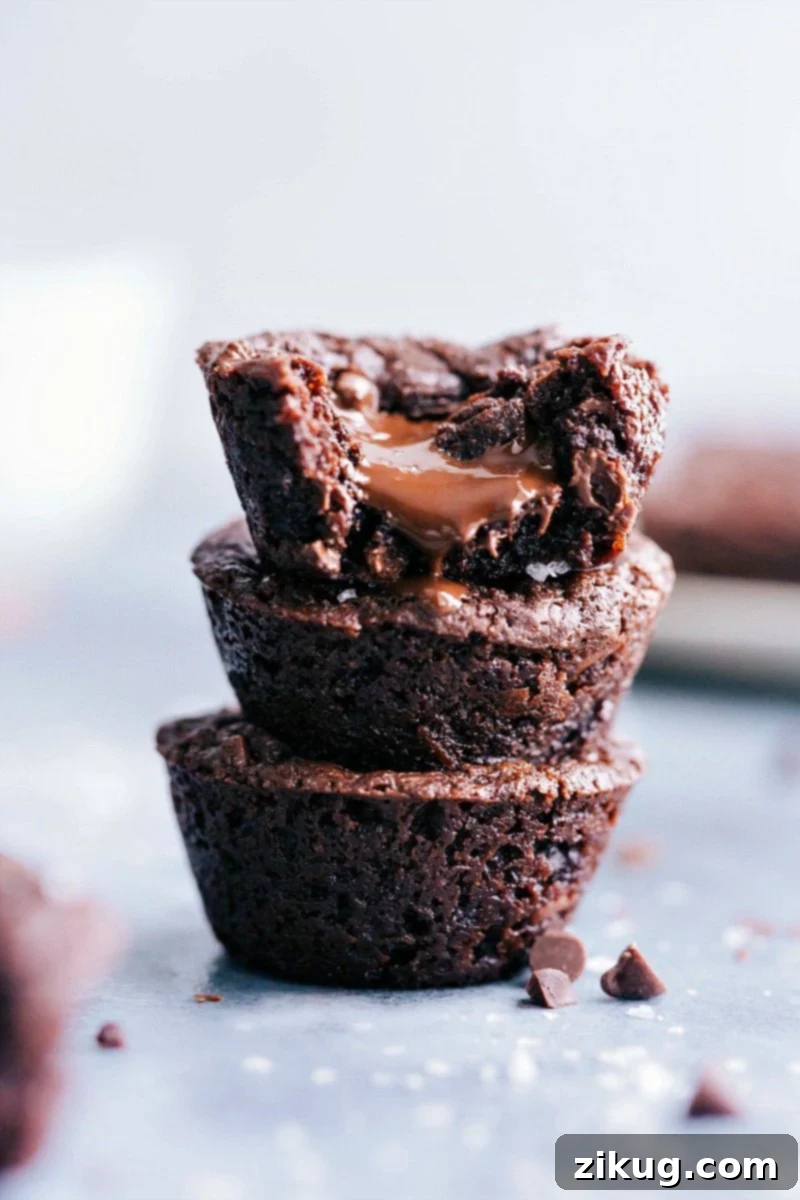
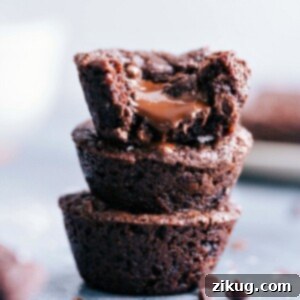
Indulge in the ultimate chocolate experience with these fudgy Brownie Bites. Crafted from scratch, each miniature treat boasts a delectably gooey molten center that remains luxuriously soft, reminiscent of a lava cake but in a convenient, bite-sized cookie form. Perfect for satisfying any chocolate craving, these easy-to-make delights are destined to become your new favorite dessert.
Fudgy Molten Chocolate Brownie Bites: The Ultimate Easy Recipe

Why You’ll Fall in Love with These Gooey Brownie Bites
As a devoted fan of both classic brownies and chewy chocolate chip cookies, I’ve always dreamed of combining their best qualities into one extraordinary dessert. These brownie bites are the delicious result! Picture this: the rich, dense chewiness of a perfect brownie, elevated by an exquisite molten chocolate center that flows like lava. It’s like a miniature molten lava cake, but with the delightful portability of a cookie.
I created this recipe during a serious chocolate craving, wanting something quick, satisfying, and utterly indulgent without committing to a huge batch. These brownie bites truly delivered. They’re incredibly simple to whip up from scratch, meaning you’re only minutes away from a warm, chocolatey fix. Get ready to experience what might just become your new favorite dessert obsession.
Essential Ingredients for Perfect Brownie Bites
Crafting these heavenly brownie bites requires a few key ingredients, each playing a vital role in achieving their signature fudgy texture and molten core. Using quality ingredients ensures the best flavor and results.
- Unsalted Butter: Start with softened butter for easy creaming and a smoother batter. Unsalted butter allows you to control the overall saltiness of your baked goods.
- Granulated & Brown Sugar: This dynamic duo provides the ideal balance of sweetness and moisture. Granulated sugar offers structure, while brown sugar contributes to the characteristic chewy texture and depth of flavor.
- Large Egg: The egg binds the ingredients together, adding richness and helping to create that soft, fudgy consistency. Be careful not to overmix after adding the egg to prevent a cakey texture.
- All-Purpose Flour: Proper measurement is crucial here! Always scoop your flour into a measuring cup and level it off with a straight edge to avoid adding too much, which can lead to dry brownies.
- Dutch-Process Cocoa Powder: This is the secret to an intensely dark and rich chocolate flavor. Dutch-process cocoa has been treated to reduce its acidity, resulting in a smoother, less bitter chocolate taste compared to natural cocoa. (See Note 1 for more details).
- Mini Chocolate Chips: These little gems are folded into the batter, ensuring pockets of melted chocolate throughout each bite. Don’t hold back—more chocolate is always a good idea!
- Baking Powder: A small amount of baking powder helps the brownie bites rise slightly, giving them just enough lift to achieve that perfect chewy-on-the-edges, soft-in-the-middle texture.
- Fine Sea Salt: A pinch of salt balances the sweetness and enhances all the chocolate flavors.
- Dark or Milk Chocolate Bar (e.g., Lindt): This is the star for our molten center! Unlike standard chocolate chips which hold their shape, a good quality chocolate bar melts beautifully into a luscious, flowing lava-like core. Lindt bars are highly recommended for their smooth melt.
- Flaky Sea Salt (Optional): A sprinkle of flaky sea salt on top after baking creates a delightful contrast, highlighting the sweet and salty notes of the chocolate.
Quick Tip: Microwave Chocolate with Care!
Why is microwaving chocolate in short intervals so important? Zapping chocolate continuously in the microwave can easily scorch it, which compromises its delicate flavor and smooth texture, turning it grainy or seizing it. By microwaving in short 15-second bursts and stirring thoroughly after each, you allow the residual heat to evenly melt the chocolate. This prevents hot spots and ensures a silky, glossy melted chocolate every time. Trust me, this small step makes a huge difference in the final quality of your brownie batter!
How to Make Delicious Molten Chocolate Brownie Bites
Making these fudgy brownie bites is surprisingly straightforward. Follow these simple steps for a batch of warm, gooey, chocolate-filled delights.
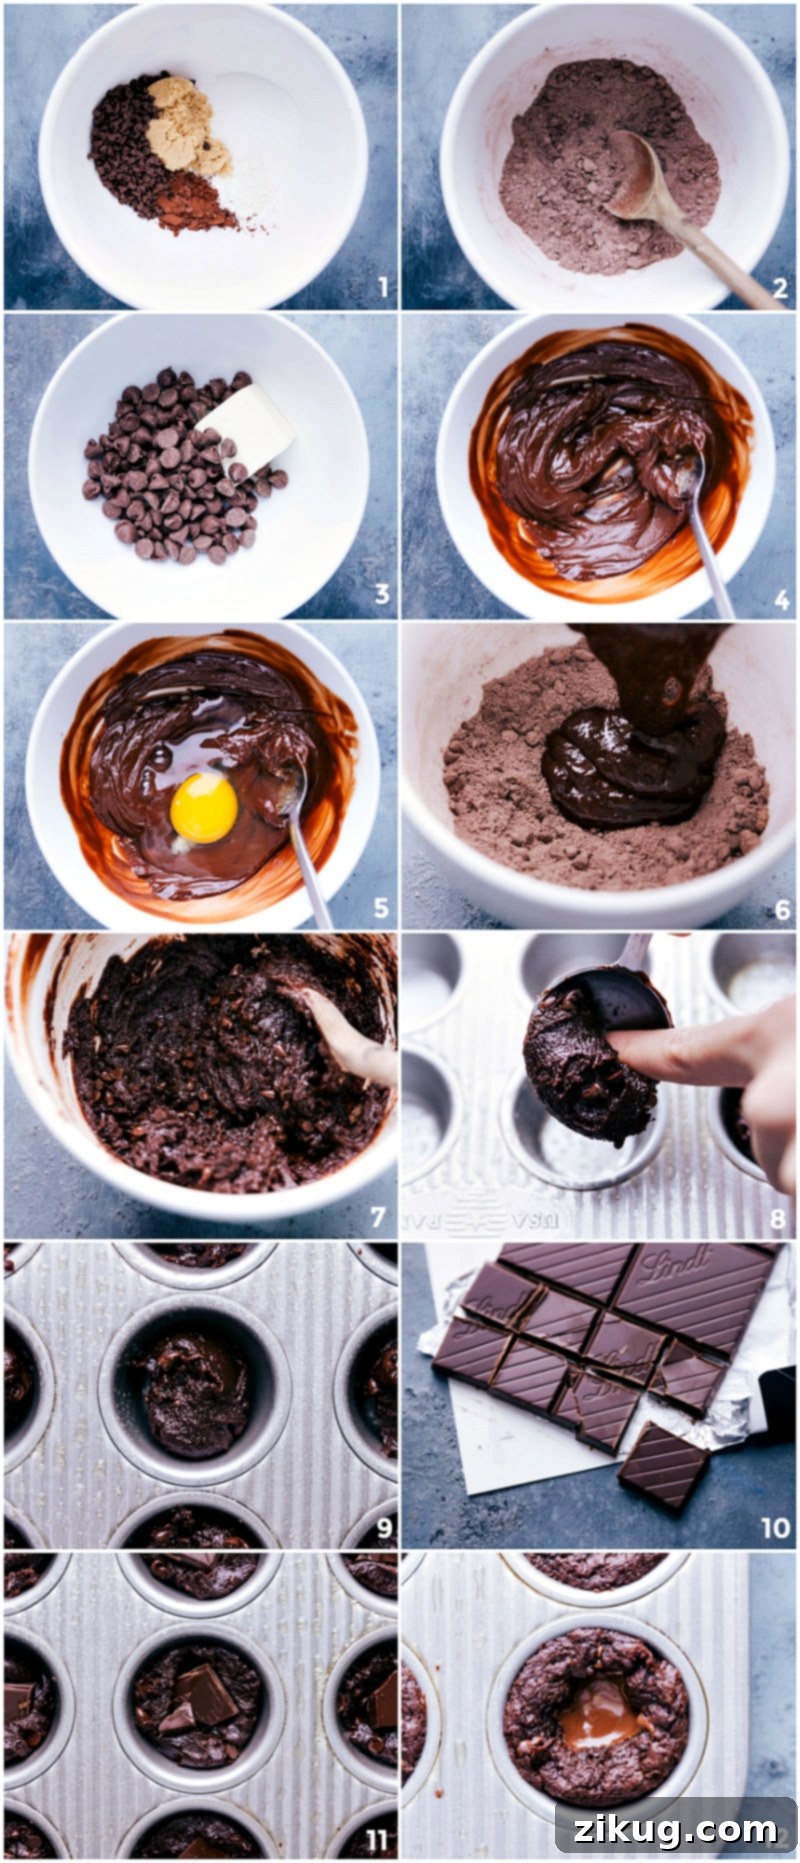
- Prepare Your Pan: Preheat your oven to 350°F (175°C). Liberally grease a mini muffin pan with cooking spray. It’s crucial to use a *mini* muffin pan, as regular-sized tins will not yield the same “bite-sized” result or molten center. If your pan tends to stick, you can lightly dust it with a bit of cocoa powder or flour after spraying.
- Combine Dry Ingredients: In a medium bowl, whisk together the flour, Dutch-process cocoa powder, light brown sugar (firmly packed), granulated sugar, baking powder, and salt. Stir in the mini chocolate chips until evenly distributed. Set this mixture aside.
- Melt Chocolate & Butter: In a separate small, microwave-safe bowl, combine the semi-sweet chocolate chips with the unsalted butter. Microwave for 25 seconds, then remove and stir vigorously for 15 seconds. Return to the microwave for another 15 seconds, then stir again until completely smooth. If needed, microwave for additional 10-15 second intervals, stirring well after each, until the mixture is fully melted and glossy. The mixture will be quite thick. Allow it to cool slightly to room temperature before proceeding.
- Add the Egg: Once the chocolate and butter mixture has cooled to room temperature, crack in the large egg. Stir until thoroughly combined and the mixture is smooth again. This step is important to prevent the egg from cooking prematurely when it hits hot chocolate.
- Combine Wet and Dry Mixtures: Pour the melted chocolate and egg mixture into the bowl with the dry ingredients. Using a spatula, mix until just combined. Continue stirring gently until a thick, uniform brownie dough forms. Be careful not to overmix, as this can lead to a tougher brownie texture. Scrape down the sides of the bowl as needed to ensure everything is incorporated.
- Fill Muffin Tins: Using a tablespoon measuring spoon or a small cookie scoop, portion out the brownie dough into each cavity of your prepared mini muffin pan. You should get approximately 15 perfect brownie bites.
- Add the Molten Core: Take your chosen chocolate bar (dark or milk chocolate works well; Lindt is a great option). Break or cut each large chocolate square into 4 smaller squares. Gently place one small square of chocolate on top of the dough in each muffin cavity. There’s no need to press it down deeply; it will melt beautifully into the center as it bakes.
- Bake to Perfection: Bake for 10-12 minutes. Watch them carefully to avoid overbaking. The edges should look set, but the centers might still appear slightly soft. This ensures the ultimate fudgy texture.
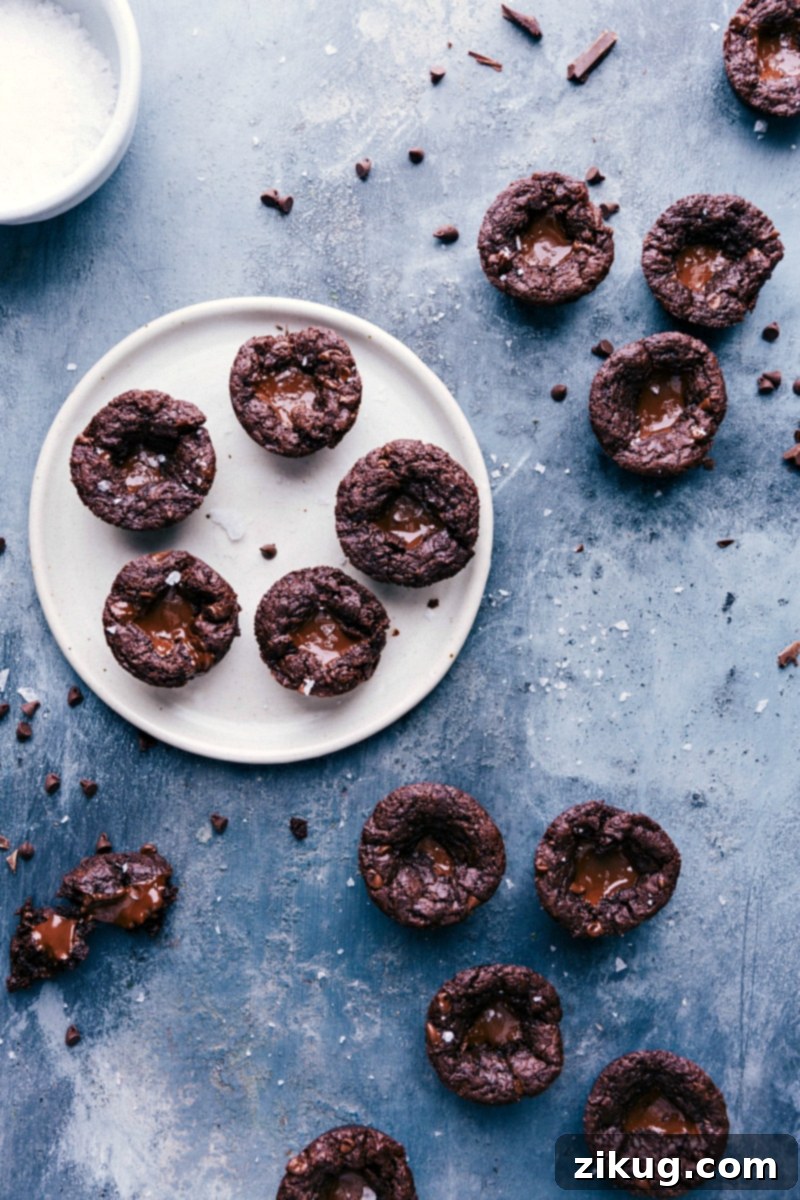
- Cool & Enjoy: Remove the pan from the oven and let the brownie bites stand in the pan for 10-15 minutes. This cooling time allows them to firm up slightly, making them easier to remove from the pan without breaking. I often use a small spoon or fork to gently coax them out. Don’t worry if the middle sinks a little – that’s just the molten core doing its job! Because we used a chocolate bar, the centers will remain wonderfully soft and gooey for about 45 minutes after baking. For gooey leftovers, a quick 5-10 second microwave reheat will restore their molten magic. For an extra touch of gourmet flavor, sprinkle a tiny bit of flaky sea salt on top before serving warm.
Tips for Achieving Brownie Bite Perfection
Making these brownie bites is simple, but a few expert tips can elevate your baking from good to absolutely phenomenal.
- Perfect Pan Prep is Key: Ensure your mini muffin pan is thoroughly greased. If you often experience sticking, try spraying with cooking spray and then lightly dusting with a thin layer of cocoa powder instead of flour. This not only helps with release but also reinforces the chocolate flavor.
- Choose the Right Cocoa: For a truly deep, rich, and intense chocolate flavor, opt for Dutch-process cocoa powder. This type of cocoa is less acidic and darker in color, contributing to the fudgy texture and robust taste of these brownie bites. Brands like Ghirardelli Majestic or Hershey’s® Special Dark are excellent choices.
- Don’t Overbake: Brownie bites bake quickly! To achieve that signature gooey center and fudgy texture, it’s crucial not to overbake them. The edges should be set, but the centers should still look slightly soft and even a bit wobbly when you gently shake the pan. They will continue to set as they cool.
- Embrace the Cooling Time: Resist the urge to pop them out immediately. Letting the brownie bites cool in the pan for 10-15 minutes allows them to firm up enough to be easily removed without falling apart. More importantly, the chocolate bar in the center needs this time to transform into that wonderfully soft, molten core that stays gooey longer.
- Quality Chocolate for the Core: The type of chocolate bar you use for the molten center makes a significant difference. High-quality dark or milk chocolate bars (like Lindt, Ghirardelli, or similar) melt more smoothly and stay molten longer than standard chocolate chips, which are designed to hold their shape during baking.
- The Power of Salt: Don’t skip the salt in the batter, and consider a sprinkle of flaky sea salt on top after baking. Salt balances the sweetness and intensifies the chocolate flavor, adding a gourmet touch to each bite.
More Irresistible Chocolate Desserts to Explore:
If you’re a chocolate lover, these brownie bites are just the beginning! Dive into more decadent chocolate recipes perfect for any occasion:
Indulge Your Chocolate Cravings
Desserts
Bakery Style Chocolate Cookies
Desserts
Decadent Chocolate Muffin Recipe
Desserts
The Best Homemade Chocolate Cake Recipe
Desserts
Easiest Chocolate Pudding Pie
Fudgy Molten Chocolate Brownie Bites
By Chelsea Lords
Fudgy, chocolate-packed Brownie Bites with a gooey molten center! These easy, from-scratch treats are like mini molten-lava cakes in bite-size form, perfect for any chocolate craving.
Prep Time: 20 minutes
Cook Time: 10 minutes
Standing time (in pan): 15 minutes
Total Time: 45 minutes
Yields: 15 brownie bites
Equipment
- Mini muffin pan (not a regular muffin pan)
Ingredients
- Cooking spray
- 1/3 cup all-purpose flour
- 1-1/2 tablespoons Dutch process cocoa powder (see Note 1 below)
- 1/4 cup light brown sugar, firmly packed
- 2 tablespoons granulated sugar
- 1/4 teaspoon baking powder
- 1/4 teaspoon fine sea salt
- 1/4 cup mini chocolate chips
- 1/2 cup semi-sweet chocolate chips
- 2 tablespoons unsalted butter
- 1 large egg
- 1 (4 ounce) dark chocolate bar or a milk chocolate bar (I like Lindt bars)
- Flaky sea salt (optional, for garnish)
Instructions
- Preheat oven to 350°F (175°C). Generously grease a mini muffin pan with cooking spray. Ensure you are using a mini muffin pan, as this recipe does not work effectively in regular-sized muffin tins.
- In a medium bowl, combine the flour, Dutch-process cocoa powder, brown sugar, granulated sugar, baking powder, salt, and mini chocolate chips. Whisk these dry ingredients together until well combined, then set aside.
- In a separate, small microwave-safe bowl, combine the semi-sweet chocolate chips with the unsalted butter. Microwave for 25 seconds, then remove and stir for 15 seconds. Return to the microwave for another 15 seconds. Remove and stir until the mixture is completely smooth and melted. If needed, microwave in additional 15-second bursts, stirring after each, until the chocolate is fully melted and smooth. The mixture will be thick. Allow it to cool to room temperature.
- Once the melted chocolate mixture is at room temperature, add the large egg and stir until smooth and fully incorporated.
- Using a spatula, scrape all of the chocolate-egg mixture into the bowl containing the dry ingredients. Mix until just combined, stirring gently until a thick dough forms. Avoid overmixing to keep the brownies fudgy. Scrape down the edges of the bowl as necessary.
- Using a tablespoon measuring spoon, scoop the dough and place it into each cavity of the mini muffin pan. You should yield approximately 15 brownie bites.
- Open your chosen chocolate bar (e.g., Lindt). Each large chocolate square should be cut into 4 smaller squares. Gently place one small chocolate square on top of the dough in each muffin cavity. There’s no need to press it down forcefully; it will melt into a gooey center during baking.
- Bake for 10–12 minutes. It is crucial not to overbake these brownie bites; the edges should be set, but the centers should remain soft for that perfect fudgy and molten texture.
- Remove the pan from the oven and let the brownie bites stand in the pan for 10–15 minutes, or until they are firm enough to be easily removed from the muffin pan. I find a small spoon and fork helpful for gently coaxing them out. It’s perfectly normal if the middle sinks a little – that’s the molten chocolate! Because we use a chocolate bar, the centers will stay wonderfully soft and gooey for about 45 minutes after baking. If you have leftovers and desire a molten center, simply microwave them for 5–10 seconds. For a delightful salty-sweet contrast, sprinkle a pinch of flaky sea salt on top before serving warm. Enjoy!
Recipe Notes
Note 1: Dutch-Process Cocoa Powder. For these Brownie Bites, using Dutch-process cocoa powder is essential for the desired deep chocolate color and flavor profile. Unlike natural cocoa, Dutch-process cocoa has been alkalized, resulting in a less acidic and darker chocolate. If you can’t find it, Hershey’s® Special Dark cocoa powder is a good alternative. Using natural cocoa powder will produce a lighter color and different flavor. You can read more about cocoa types in the main article’s tips section.
Storage Instructions: Store any leftover brownie bites in an airtight container at room temperature for up to 3 days. For longer storage, they can be kept in the refrigerator for up to a week. For the best texture and to revive that molten center, warm them slightly in the microwave for a few seconds before serving.
Nutrition Information (Approximate)
Serving: 15 servings
Calories: 170 kcal
Carbohydrates: 20g
Protein: 2g
Fat: 9g
Saturated Fat: 5g
Polyunsaturated Fat: 1g
Monounsaturated Fat: 2g
Trans Fat: 1g
Cholesterol: 18mg
Sodium: 11mg
Potassium: 122mg
Fiber: 2g
Sugar: 13g
Vitamin A: 80 IU
Vitamin C: 1mg
Calcium: 22mg
Iron: 2mg
Nutrition information is automatically calculated and should only be used as an approximation. Individual results may vary based on exact ingredients and portion sizes.
Enjoyed this recipe? Share your thoughts and creations!
Leave a comment below and let us know what you think!