
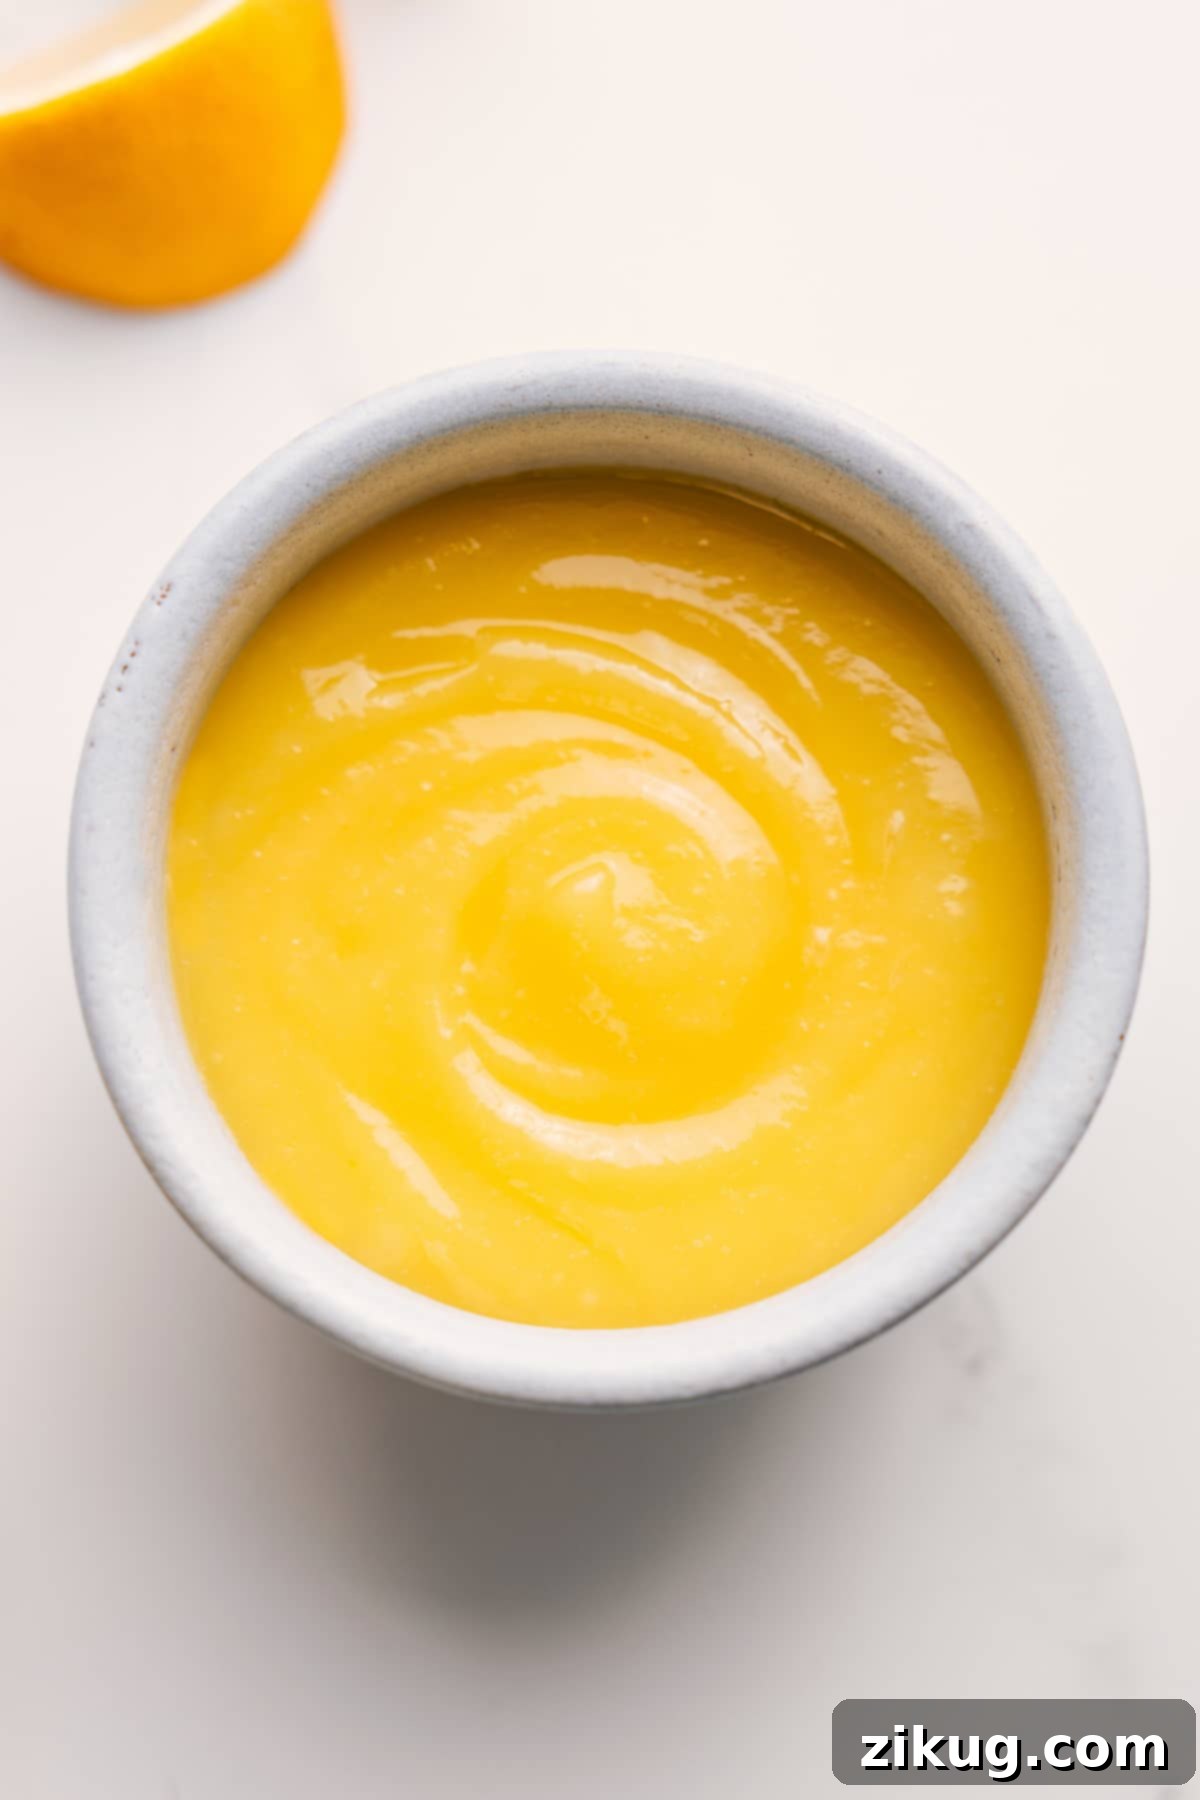
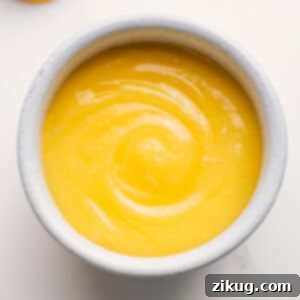
This Homemade Lemon Curd Recipe is a lusciously rich, vibrant, and tangy spread crafted from fresh lemons, creamy butter, fine sugar, and farm-fresh eggs. Far superior to any store-bought alternative, its bright, zesty flavor and silky-smooth texture make it an exquisite topping for scones, warm biscuits, elegant desserts, fluffy pancakes, or delicate crepes. Elevate your culinary creations with this simple yet sophisticated condiment.

Author’s Note
Ditch the Jar: Why Homemade Lemon Curd is a Game Changer!
I am a firm believer in finding simple ways to elevate everyday dishes into something extraordinary. While I appreciate convenience, there’s one indulgence I absolutely refuse to compromise on: lemon curd. Seriously, nothing from a jar can ever come close to the bright, intense, and utterly satisfying flavor of homemade lemon curd. It’s not just a condiment; it’s a revelation, and easily my favorite dessert sauce of all time.
I find countless ways to incorporate this liquid sunshine into my meals. Imagine a spoonful delicately draped over light, airy crepes or a stack of fluffy pancakes for a truly decadent breakfast. For a refreshing treat, I love swirling it into creamy yogurt with a sprinkle of crushed meringue cookies. And for a classic comfort, there’s nothing quite like spreading it generously over a warm, tender biscuit, letting it melt slightly into the cracks.
Because of my deep affection for this zesty spread, I was determined to perfect this particular lemon curd recipe. I wasn’t willing to settle for anything less than the absolute best lemon curd I had ever tasted – a curd that balanced sweetness with tartness, and boasted an impossibly smooth, luxurious texture.
After countless batches and meticulous adjustments, I discovered the ultimate secret to achieving consistently perfect results: a reliable candy thermometer. This simple tool eliminates all the guesswork, ensuring the curd reaches the precise temperature required for proper thickening. The outcome? A consistently silky, exquisitely textured, and perfectly balanced lemon curd, every single time. This attention to detail guarantees a truly exceptional experience, transforming simple ingredients into a gourmet delight.
Essential Ingredients for the Best Lemon Curd
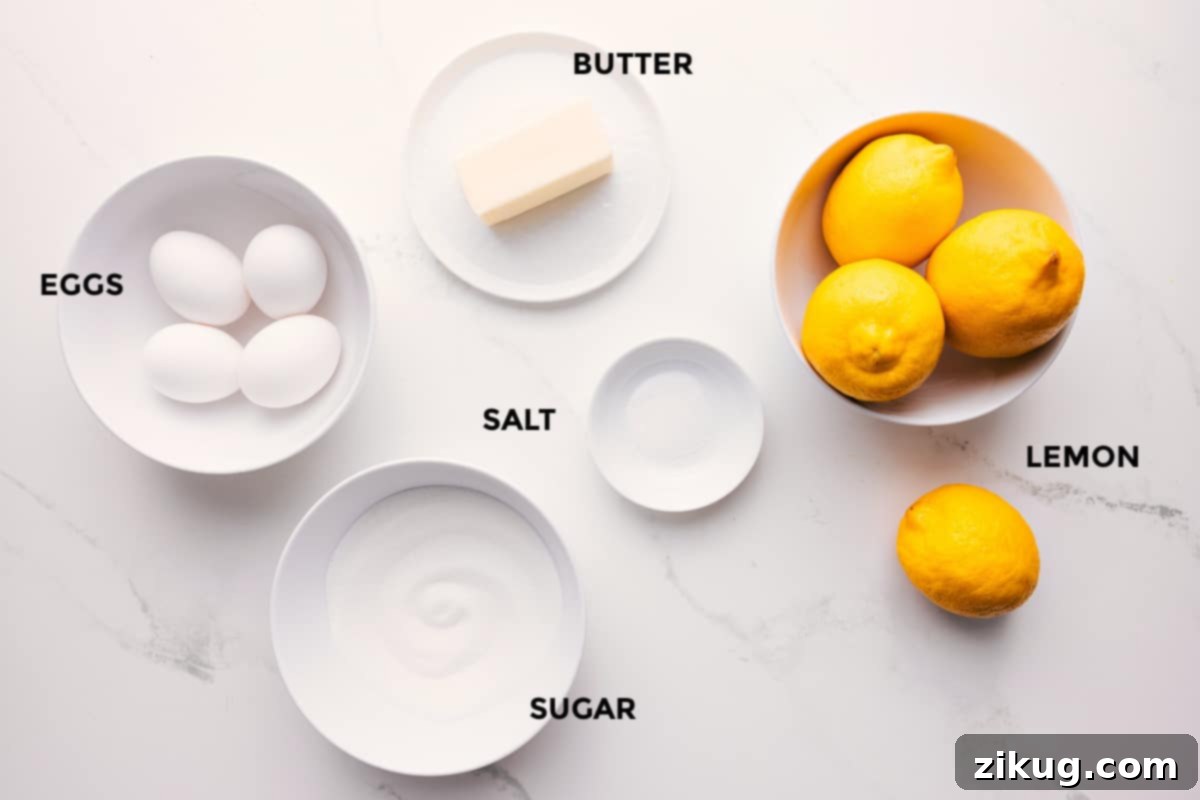
Crafting this exquisite lemon curd requires just five fundamental ingredients. Each plays a crucial role in achieving its signature rich flavor and silky texture. Opting for quality and freshness is key!
| Ingredient | Tips & Swaps for Perfection |
|---|---|
| Fresh Lemons | The star of the show! You’ll need both the vibrant zest and the tart juice. Always, and I mean *always*, use fresh lemons. Bottled lemon juice simply cannot replicate the bright, authentic citrus punch essential for a truly outstanding lemon curd. Its flavor is flat and can even taste artificial. |
| Granulated Sugar | Beyond just sweetness, sugar works with the lemon zest to create a deeper flavor profile. For an intensified lemon aroma and taste, pulse the granulated sugar with the lemon zest in a food processor first. This technique helps release the natural citrus oils from the zest, infusing the sugar with more flavor. |
| Eggs | Unlike some recipes that rely solely on egg yolks for richness, this recipe utilizes whole eggs. The egg whites contribute to the curd’s thickening power, creating a lighter yet still wonderfully creamy consistency. Ensure your eggs are at room temperature for optimal emulsification. |
| Unsalted Butter | Butter adds incredible richness and a luxurious mouthfeel. Using unsalted butter is critical because it allows you to precisely control the overall salt level in your curd, ensuring a balanced flavor without unwanted salinity. Make sure it’s at room temperature for smooth incorporation. |
| Salt | Even a tiny pinch of salt can make a huge difference. It’s not just about adding saltiness; it’s about balance. Salt helps to beautifully contrast and enhance the sweetness of the sugar and the tartness of the lemon, rounding out the flavor profile and preventing it from being one-dimensional. |
Pro Tip: Don’t Skip the Candy Thermometer!
Achieve consistently perfect lemon curd every single time by using a reliable candy thermometer. This essential tool eliminates all guesswork, ensuring your curd reaches the ideal temperature (170°F) for proper thickening and a luscious, smooth texture. It’s also incredibly useful for other delicate confections like homemade buttercrunch candy and rich toffee.
Crafting Your Own Luscious Lemon Curd: A Step-by-Step Guide
Making homemade lemon curd might sound intimidating, but with these clear steps and a few helpful tips, you’ll achieve a perfectly smooth and tangy spread that will impress everyone.
- Preparation is Key: Begin by ensuring your eggs and unsalted butter are at room temperature. This is crucial for proper emulsification and a smooth curd. While they warm up, carefully zest your lemons, aiming for about 3 tablespoons of bright yellow zest, being careful to avoid the bitter white pith beneath. Then, juice your lemons until you have ½ cup of fresh lemon juice.
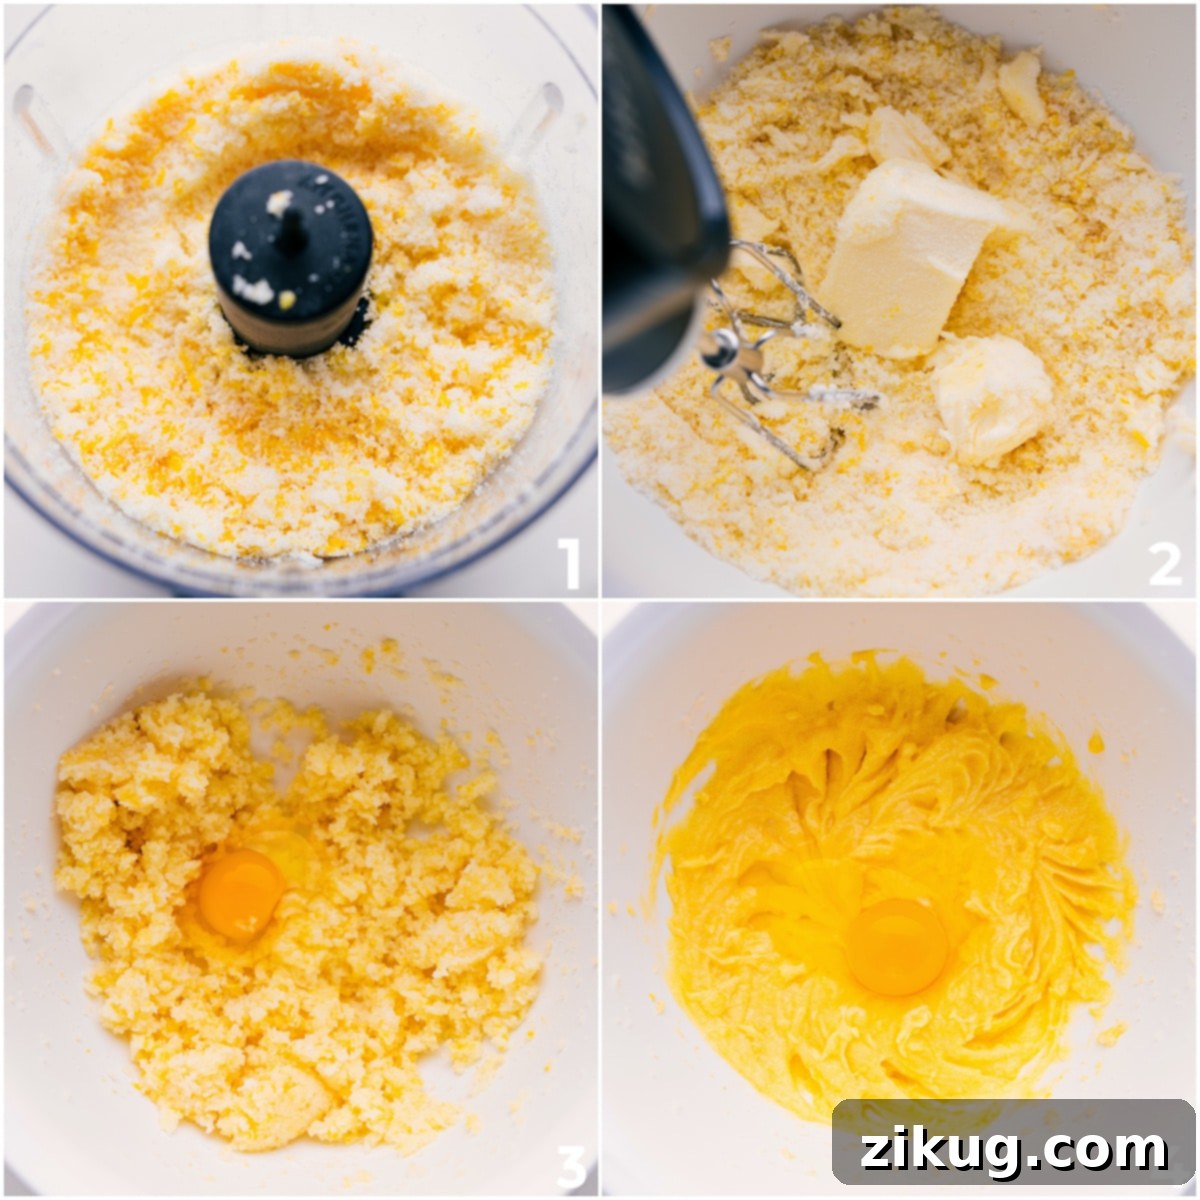
- Infuse the Sugar: In a food processor, combine the granulated sugar and lemon zest. Pulse this mixture 15-20 times until the zest is finely broken down and thoroughly incorporated into the sugar. This step is vital for extracting the maximum lemon flavor and infusing it throughout the curd.
- Cream the Butter: Transfer the lemon-infused sugar to a large mixing bowl or the bowl of a stand mixer. Add the room-temperature butter (it should be soft, but not melted). Using a hand mixer or the whisk attachment of a stand mixer, beat the mixture until it becomes light, fluffy, and creamy, which typically takes about 2-4 minutes. Remember to scrape down the sides of the bowl as needed to ensure everything is well combined.
- Incorporate Eggs and Juice: Beat in the large eggs one at a time, mixing just briefly after each addition until incorporated. Overmixing at this stage can introduce too much air. Finally, mix in the salt and the ½ cup of freshly squeezed lemon juice. Mix briefly again, just enough to combine all ingredients thoroughly.
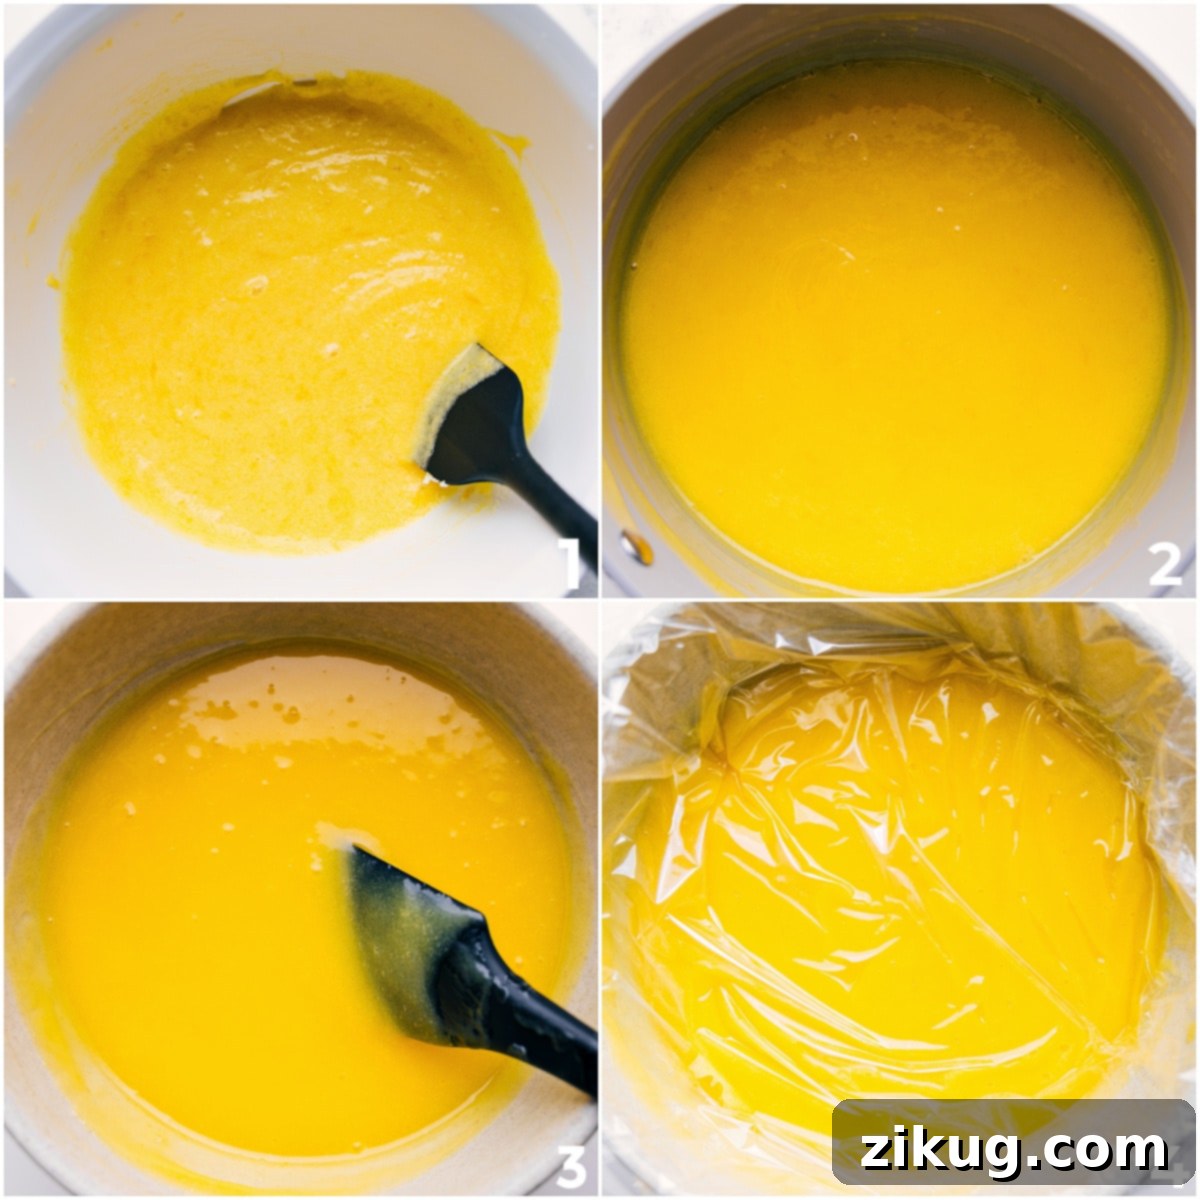
- Cook to Perfection: Pour the entire mixture into a medium saucepan. Place the saucepan over low heat and stir constantly with a rubber spatula. This continuous stirring is essential to prevent the eggs from scrambling and to ensure even cooking. Continue stirring for about 10-15 minutes, or until the curd visibly thickens. The most critical part here is monitoring the temperature: the curd should reach 170°F (77°C) on a candy thermometer. If it doesn’t reach this precise temperature, it will not set properly.
- Strain for Silky Smoothness: Once thickened, immediately pour the hot curd through a fine-mesh sieve into an airtight container or bowl. Use your spatula to press the curd through the sieve, ensuring any tiny pieces of cooked egg or zest are removed, leaving you with an incredibly silky-smooth consistency.
- Chill & Set: To prevent a film from forming on the surface during chilling, press a piece of plastic wrap directly onto the surface of the warm lemon curd. Refrigerate for at least an hour, but ideally for 8 hours or overnight, to allow the curd to fully chill and thicken to its perfect, spreadable consistency.
Quick Consistency Check
To know if your lemon curd is ready while it’s still hot on the stove, perform the “spoon test.” Dip a clean spoon into the curd, then lift it. The curd should coat the back of the spoon. Run your finger across the coated spoon; if the line you draw stays clear without the curd running back into it, it’s ready! At this stage, it should have the consistency of a pourable pudding. Once chilled, it will thicken further to a delightful snack-pudding-like texture.
Chelsea’s Recipe Tip
Creative Ways to Enjoy Your Homemade Lemon Curd:
- Elevate Your Breakfast & Brunch: Spoon generous dollops onto fluffy crepes, classic French toast, stacks of homemade pancakes, or crispy waffles for a burst of citrusy goodness.
- Perfect with Baked Goods: Serve it alongside warm, flaky biscuits or tender homemade scones for a sophisticated afternoon tea experience.
- Decadent Dessert Topping: Transform simple store-bought or homemade cheesecake bars by spooning a vibrant layer of lemon curd over the top. It adds a delightful tart counterpoint to the rich creaminess.
- Inspired Baking: Incorporate this tangy curd into your baking! It makes an incredible filling for these irresistible lemon curd cookies, adding a bright surprise to every bite.
- Whipped Cream with a Twist: For an easy yet impressive treat, gently fold a few spoonfuls of chilled lemon curd into freshly whipped cream. The result is an irresistible lemon-infused whipped cream, perfect for topping berries or cakes.
- Unforgettable Cake Filling: Take a cue from my former restaurant’s secret! They were renowned for adding a layer of lemon curd between the layers of carrot cake, nestled between generous amounts of cream cheese frosting. It’s an unexpected yet absolutely delicious pairing that adds moisture and a tangy zest to a classic dessert.
- Yogurt Parfaits: Layer lemon curd with Greek yogurt, granola, and fresh berries for a refreshing and satisfying breakfast or snack.
- Tart Filling: Use it as the star filling for a classic lemon meringue pie or small tartlets.
Storage Guidelines
- Refrigerate: Once your homemade lemon curd has cooled completely, transfer it to a clean, airtight container or a sealed glass jar. Store it in the refrigerator for optimal freshness, where it will last for up to 2 weeks.
- Freeze: For extended enjoyment, lemon curd freezes beautifully. Transfer the cooled curd to a freezer-safe container or a heavy-duty zip-top bag, ensuring minimal air exposure. It can be stored in the freezer for up to 3 months without significant loss of quality or flavor.
- Thaw: When you’re ready to use your frozen lemon curd, simply let it thaw gradually in the refrigerator overnight. Stir gently before serving to restore its smooth texture.
Explore More Zesty Lemon Delights:
Desserts
The BEST Lemon Bars Recipe
Desserts
Dreamy Lemon Pie Recipe
Beverages
Sweet Peach Lemonade
Breakfast
Lemon Blueberry Sweet Rolls
The Ultimate Homemade Lemon Curd Recipe
Chelsea Lords
20 minutes
15 minutes
8 hours
8 hours 35 minutes
16 servings
Equipment
-
Candy Thermometer (essential for accurate thickening)
-
Food processor
-
Hand mixer or stand mixer
-
Medium saucepan
-
Fine mesh sieve
Ingredients
- 1-1/2 cups granulated sugar
- 4 large lemons (for 3 tbsp zest and 1/2 cup juice)
- 8 tablespoons unsalted butter (1/2 cup, at room temperature)
- 4 large eggs (at room temperature)
- 1/8 teaspoon salt
Instructions
-
Bring eggs and butter to room temperature. Zest lemons to get 3 tablespoons of zest (only the yellow part, avoid bitter white pith). Juice lemons to yield 1/2 cup of fresh lemon juice.
-
Combine sugar and lemon zest in a food processor. Pulse 15–20 times until the zest is fine and evenly mixed with the sugar. Transfer to a large bowl or a stand mixer bowl.
-
Add the room-temperature butter to the sugar-zest mixture. Using a hand mixer (or stand mixer with whisk attachment), beat until the mixture is light and creamy, about 2–4 minutes. Scrape down the sides of the bowl as needed.
-
Beat in the eggs, one at a time, mixing just enough to incorporate each egg. Finally, add the salt and 1/2 cup freshly squeezed lemon juice. Mix briefly to combine.
-
Pour the entire mixture into a medium saucepan and place over low heat. Stir constantly with a rubber spatula for about 10–15 minutes, or until it has nicely thickened and reaches 170°F (77°C) on a candy thermometer.
-
Immediately pour the hot curd through a fine-mesh sieve, using a spatula to press it through into an airtight container or bowl.
-
Cover the container with plastic wrap, pressing the plastic directly onto the surface of the lemon curd to prevent a skin from forming. Store in the fridge for at least an hour, and preferably 8 hours or overnight, before serving to allow it to fully set and chill.
Recipe Notes
Note 2 (Room Temperature Ingredients): The success of your lemon curd heavily relies on all cold ingredients – butter, lemon juice, and eggs – being at the same room temperature. If cold eggs are added to room temperature butter, the mixture can curdle or turn grainy, preventing proper emulsification and a smooth texture.
Note 3 (Achieving the Right Thickness): While still hot on the stove, the curd should be thick enough to generously coat the back of a spoon. A quick test: draw a line across the back of the spoon with your fingertip; if the line holds a clear track, it’s ready. It should resemble a pourable pudding. Upon chilling in the refrigerator, it will continue to thicken to a luscious, snack-pudding-cup consistency.
Nutrition Note: The provided nutrition information is an estimate for a 2-tablespoon serving size.
Storage: Store leftover lemon curd in an airtight container in the fridge for up to 2 weeks. For longer storage, freeze in a freezer-safe container for up to 3 months. Thaw overnight in the fridge before use.
Nutrition Information (Estimated)
Serving Size: 1 serving (2 tablespoons) |
Calories: 151kcal |
Carbohydrates: 21g |
Protein: 2g |
Fat: 7g |
Saturated Fat: 4g |
Polyunsaturated Fat: 0.5g |
Monounsaturated Fat: 2g |
Trans Fat: 0.2g |
Cholesterol: 62mg |
Sodium: 37mg |
Potassium: 57mg |
Fiber: 1g |
Sugar: 19g |
Vitamin A: 258IU |
Vitamin C: 14mg |
Calcium: 16mg |
Iron: 0.4mg
Nutrition information is automatically calculated and should only be used as an approximation. Actual values may vary.