
Chili’s Lava Cake: Indulge in a Homemade Decadent Delight
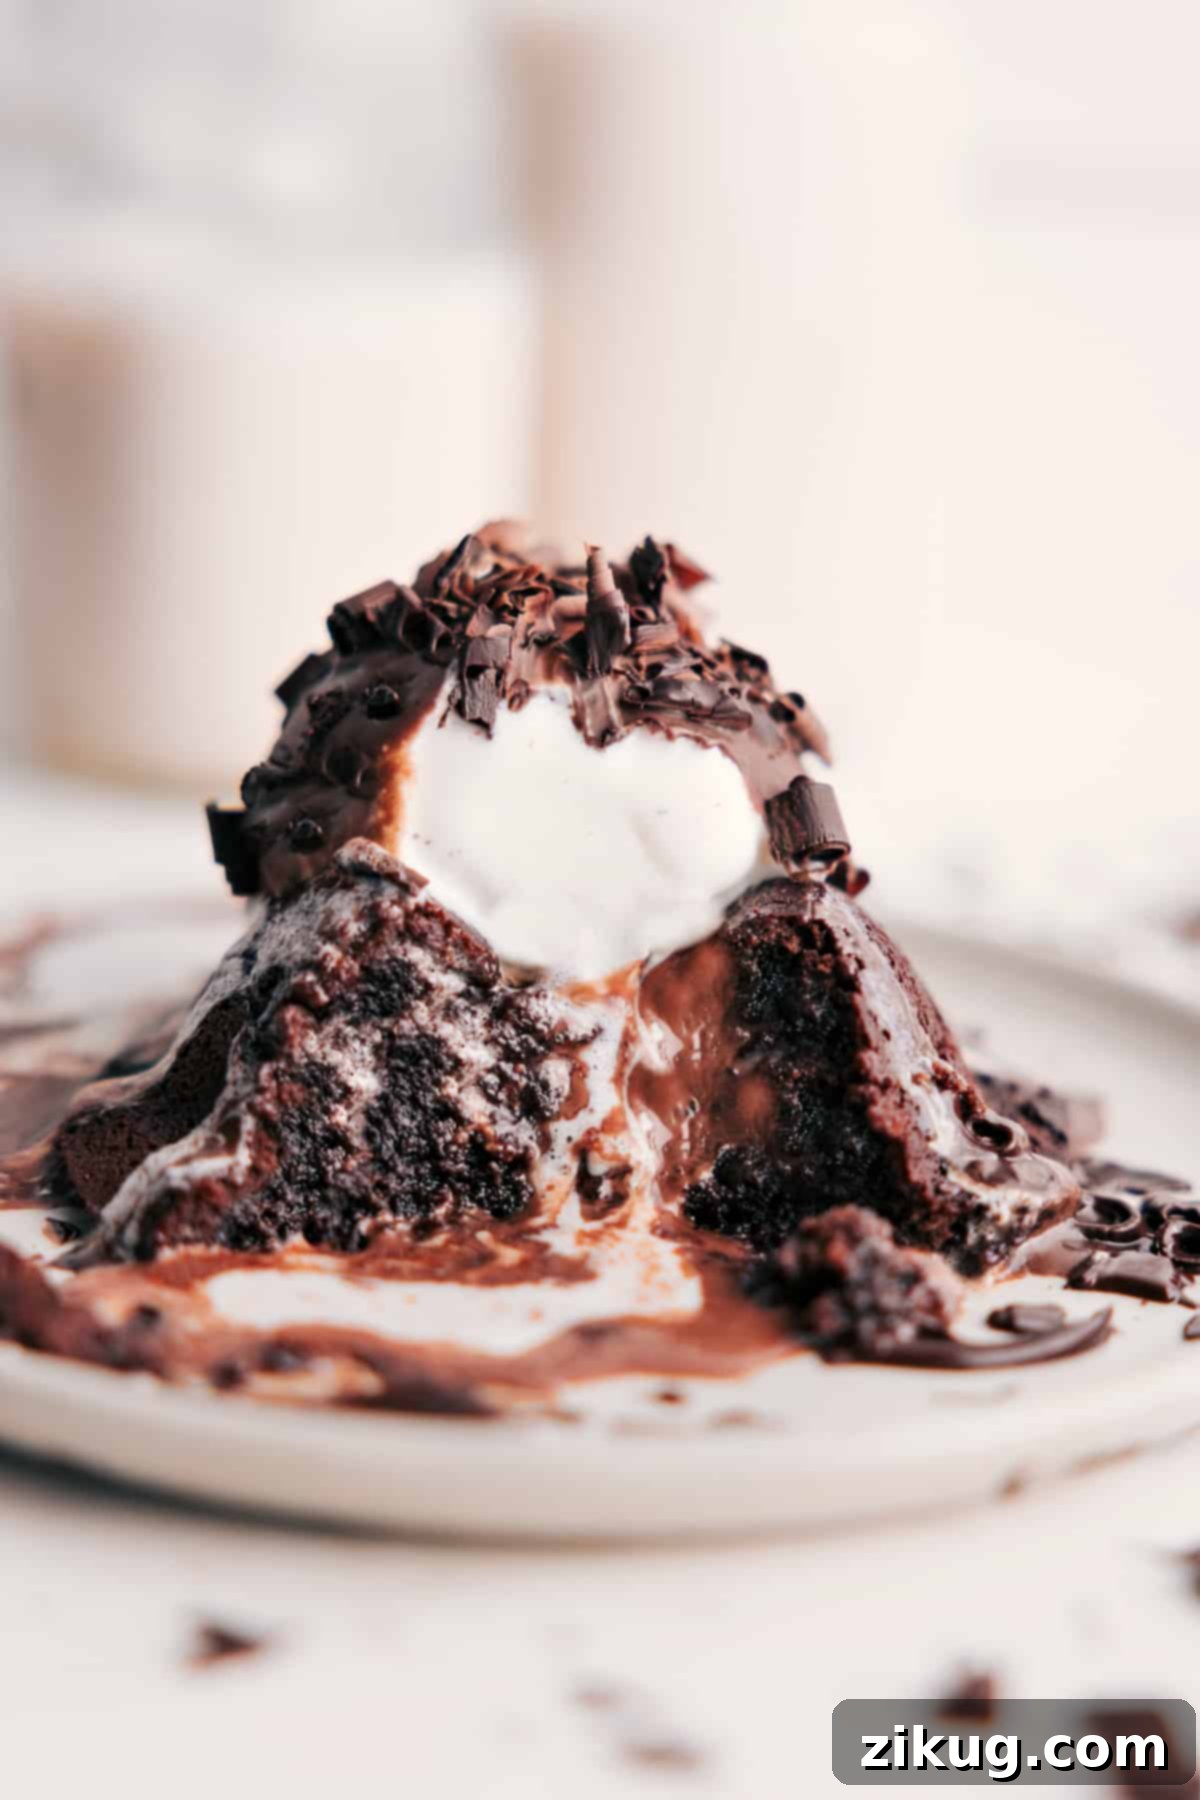
The Chili’s Lava Cake. Just the name conjures up images of warm, rich chocolate, a molten center oozing with goodness, and the satisfying crunch of a chocolate shell. It’s a classic dessert that’s captivated taste buds for years. Now, you can experience that same decadent pleasure in the comfort of your own home. This guide provides you with a detailed recipe and all the tips you need to create a copycat Chili’s Lava Cake that’s even better than the original!
The Story Behind This Irresistible Lava Cake Recipe
This recipe has become a favorite in my home, sparked by a simple Christmas request from my husband: a homemade version of Chili’s iconic lava cake. That single wish ignited a culinary quest to replicate, and ultimately surpass, the original.
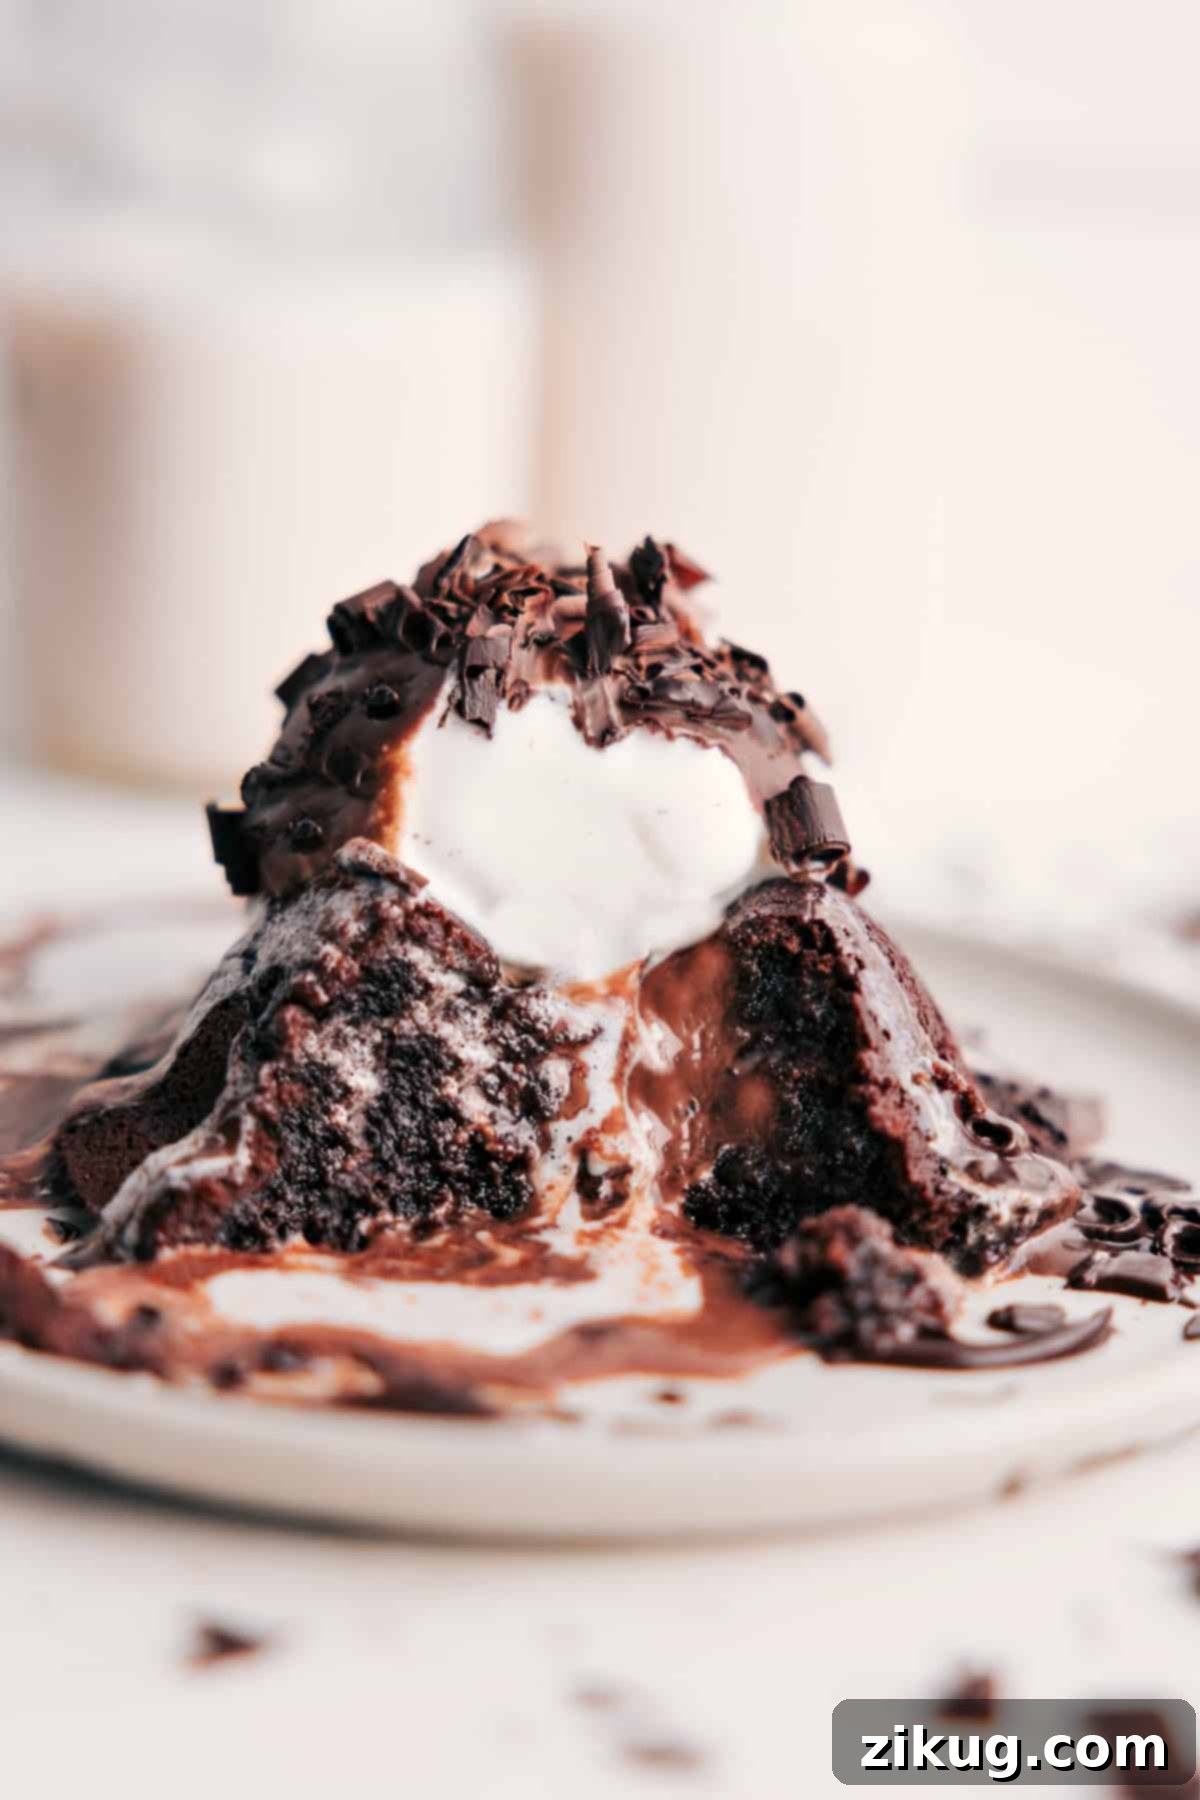
After numerous trials and adjustments, the recipe was perfected just in time for Christmas Eve. The lava cakes were a hit with our guests, earning rave reviews, including being declared the “best thing ever” by my eldest child. This positive reaction spread like wildfire through his school, turning into a mini lava cake making operation for his friends. One photo shared with a baseball team later, and I was making batches upon batches of this chocolatey treat. According to my husband, these homemade versions are even better than Chili’s!
Essential Ingredients for Your Homemade Chili’s Lava Cake
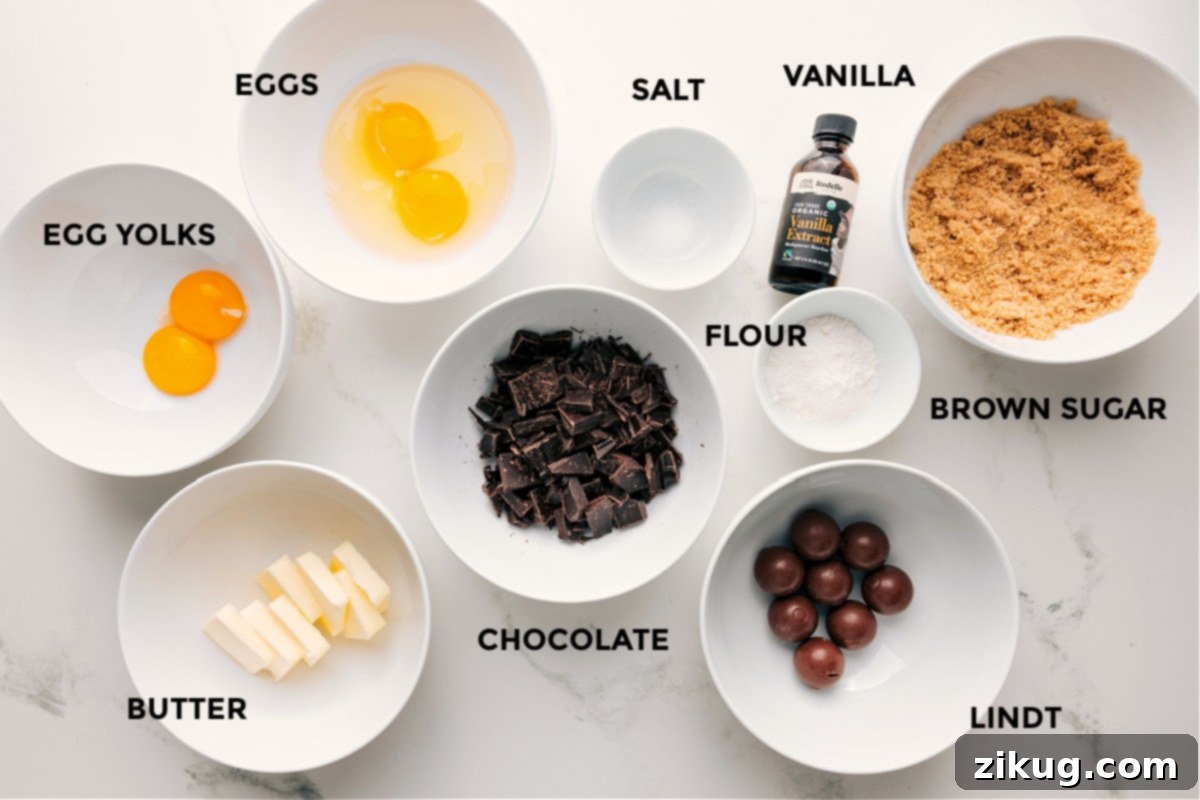
The key to an exceptional lava cake lies in the quality of the ingredients. Choosing the right chocolate, butter, and other components will significantly impact the final taste and texture. Let’s break down the essential ingredients:
| Ingredient Group | Helpful Tip |
|---|---|
| Semi-sweet chocolate | Use high-quality chocolate bars for the best flavor. The chocolate is the star of the show! |
| Butter | Melt most of the butter with the chocolate to create a smooth, rich batter. Use the remaining butter to grease your muffin tin for easy cake release. |
| Eggs & egg yolks | Allow your eggs and egg yolks to come to room temperature. This helps them create a silky, smooth batter. |
| Brown sugar & vanilla | Use fresh, soft light brown sugar and whisk it well to ensure it fully dissolves into the batter. If your brown sugar is hard or clumpy, substitute white sugar instead. |
| Flour & salt | Whisk the flour and salt into the batter until just combined. Overmixing can result in tough cakes. Salt balances the sweetness of the chocolate. |
Pro Tip: For an extra gooey center, try using Lindt chocolate balls. They melt beautifully and provide the perfect molten core for these lava cakes.
Step-by-Step Guide: Crafting the Perfect Chili’s Lava Cake
Now that you have all your ingredients prepared, let’s dive into the step-by-step process of creating these decadent lava cakes. Follow these instructions carefully for the best results:
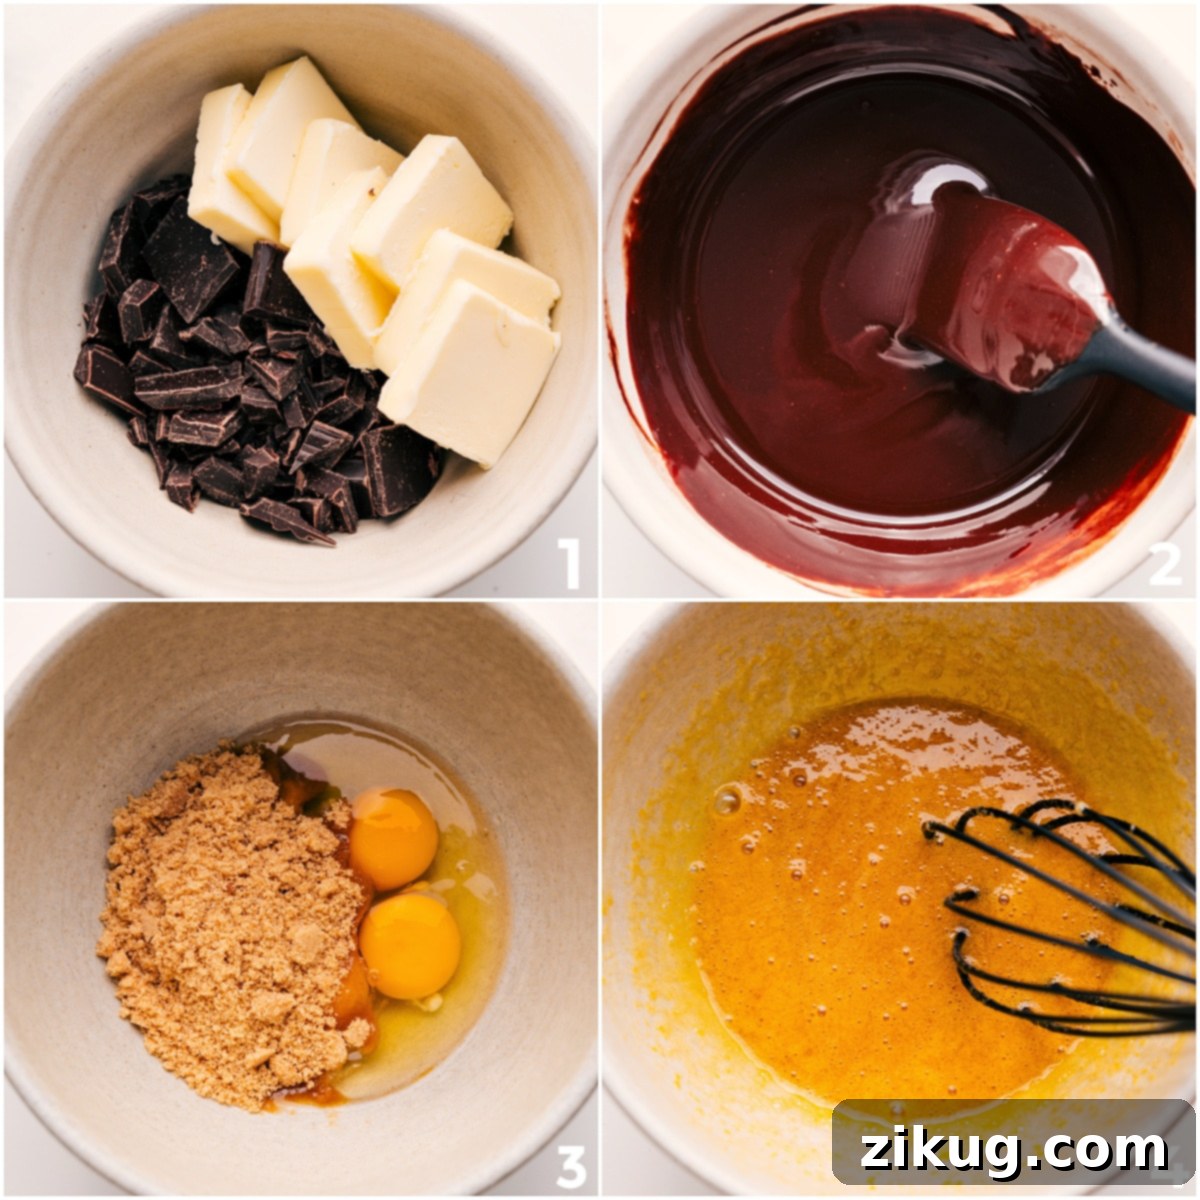
- Melt & cool: In a microwave-safe bowl, melt the chocolate and butter together until smooth. Allow the mixture to cool slightly before proceeding to the next step.
- Whisk base: In a separate bowl, whisk together the eggs, egg yolks, and sugar until the mixture is smooth and slightly thickened. This usually takes about a minute.
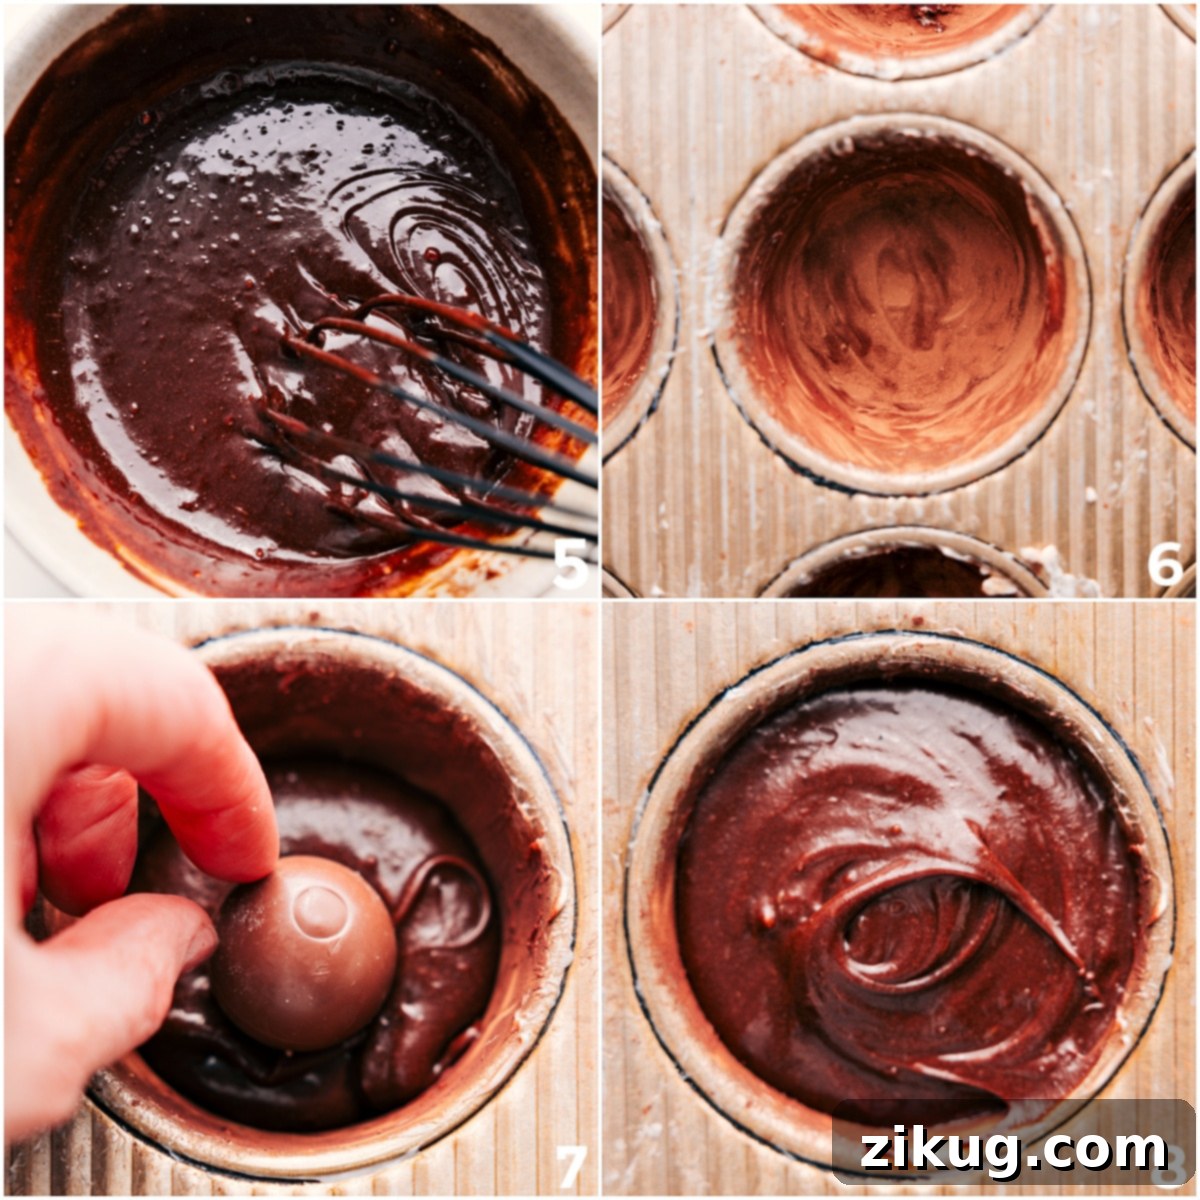
- Finish batter: Gently whisk the cooled chocolate mixture into the egg mixture until well combined. Then, add the flour and whisk until just combined. Be careful not to overmix the batter.
- Prep & fill: Generously grease your muffin tin with butter and dust it with cocoa powder. Fill each muffin cup about halfway with the batter. If using, gently press a Lindt chocolate ball into the center of each cup. Top with the remaining batter, ensuring each cup is evenly filled.
- Bake & serve: Bake the lava cakes in a preheated oven until the tops are set and spring back slightly when touched. Let them cool for a few minutes before inverting them onto a plate and serving warm.
Elevate Your Lava Cake: Delicious Topping Ideas
Chili’s is known for topping their lava cake with vanilla ice cream, a crackly chocolate shell, and a drizzle of caramel. Feel free to get creative with your own toppings! Here are some of my favorite ways to enhance these homemade Chili’s Lava Cakes:
- Vanilla bean ice cream: The classic pairing that creates a delightful hot and cold contrast.
- Magic shell or chocolate sauce: Adds that satisfying crackly texture and extra chocolate flavor.
- Fresh strawberries or raspberries: These berries offer a refreshing counterpoint to the richness of the cake and make for a beautiful presentation.
- Whipped cream: A lighter alternative to ice cream for a less intense topping.
- Salted caramel sauce: Creates a sweet and salty flavor balance that is simply irresistible.
Essential Tools for a Perfect Lava Cake
Having the right tools can make a significant difference in the outcome of your lava cakes. Here are some kitchen essentials that I highly recommend:
- High-Quality Muffin Tin: I’ve tried many different brands and this one consistently delivers clean releases every time.
- Mixing Bowls: You’ll need at least two mixing bowls, one for melting the chocolate and butter, and another for the egg mixture.
- Whisk: A good whisk is essential for creating a smooth and well-combined batter.
- Measuring Cups and Spoons: Accurate measurements are crucial for baking success.
Tips for Storage and Reheating
Chili Lava Cakes are best enjoyed fresh and warm. However, if you have leftovers, you can store them for later enjoyment. Let the cakes cool completely, then wrap them tightly in plastic wrap and store them in an airtight container in the refrigerator for up to 2 days. To reheat, gently warm them in the microwave until heated through. Keep in mind that the molten center may not be as gooey after reheating, but the taste will still be delicious.
More Chocolate Desserts to Satisfy Your Cravings
If you’re a chocolate lover like me, here are some other delicious chocolate dessert recipes that you might enjoy:
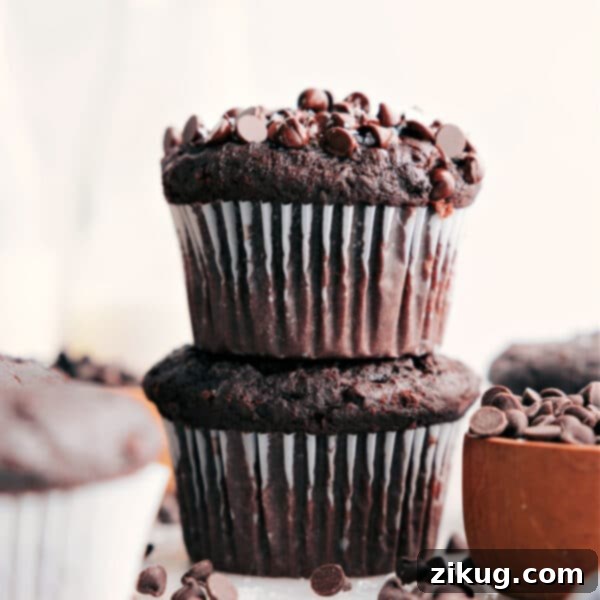
Chocolate Muffin Recipe
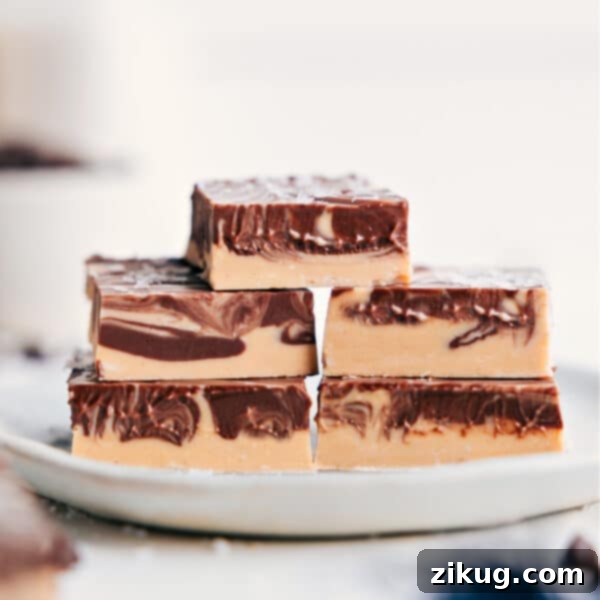
Tiger Butter Fudge
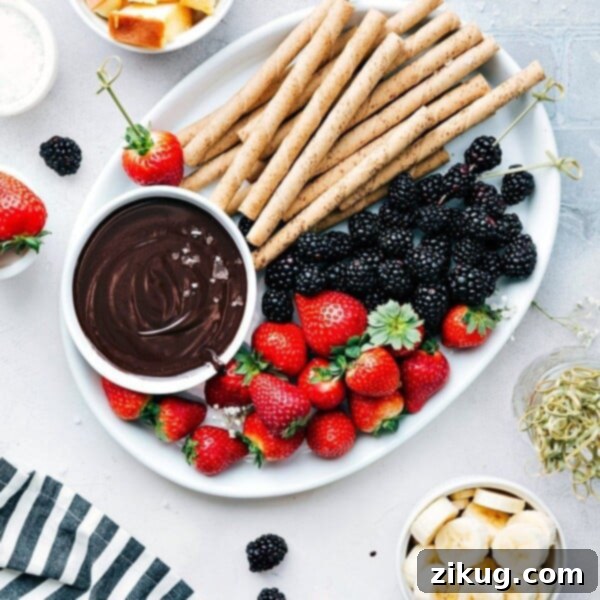
Easy Chocolate Fondue Recipe
Detailed Chili’s Lava Cake Recipe
Ingredients:
- 7 Lindt chocolates
- 5 ounces chopped semi-sweet chocolate
- 8 tablespoons unsalted butter
- 2 large eggs
- 2 large egg yolks
- 1/2 cup light brown sugar
- 1/2 teaspoon vanilla extract
- 1/4 teaspoon salt
- 2 tablespoons all-purpose flour
- Vanilla bean ice cream
- Magic shell
Instructions:
- Chop chocolate coarsely.
- Preheat the oven to 400°F. Cut butter into 8 tablespoons. Set aside 1 tablespoon and add the remaining 7 tablespoons to a large microwave-safe bowl with the chocolate. Microwave for 45 seconds then stir until smooth, about 1 minute of stirring. Set aside to cool.
- In a large bowl add eggs and egg yolks. Let stand to get to room temperature. Add in brown sugar and whisk vigorously until smooth and slightly thickened, about 1 minute. Add in salt, vanilla, and cooled chocolate mixture. Whisk until smooth and combined. Add in flour and whisk until just combined. Do not over mix here, just about 30 seconds.
- Rub the remaining 1 tablespoon butter across 7 cavities of the muffin tin. I stick my hand in a plastic sandwich bag and rub the butter to really well coat the muffin tin. You should use all the butter and be sure to get the base of each cavitiy well. Sprinkle lightly with cocoa powder and then shake around to coat all of the muffin tin. Tap the muffin tin upside down over the sink to release any extra cocoa powder.
- Spoon batter into each of the 7 muffin cavities until about 1/3 full. Place an unwrapped Lindt ball into the center of each cavity. Top with more batter, dividing the rest evenly among the 7 cavities. Smooth the top with the back of a spoon or your finger.
- Bake for 16 to 17 minutes, or until the tops spring back when lightly pressed.
- Remove and let muffin tin stand for only 2 minutes. Then place a tray (larger than the muffin tin) on top of the cakes and flip over. Let stand for about 30 seconds then careflly pull up the muffin tin. The cakes should have all released nicely. Use a metal spatula to remove one cake at a time onto a plate. Immediately top with a scoop of vanilla ice cream and then some chocolate shell. Dig in while they’re hot and gooey!
Nutrition Facts
- Serving: 1serving
- Calories: 396kcal
- Carbohydrates: 36g
- Protein: 4g
- Fat: 26g
- Saturated Fat: 15g
- Polyunsaturated Fat: 1g
- Monounsaturated Fat: 7g
- Trans Fat: 0.6g
- Cholesterol: 144mg
- Sodium: 137mg
- Potassium: 197mg
- Fiber: 1g
- Sugar: 31g
- Vitamin A: 274IU
- Calcium: 64mg
- Iron: 1mg
Disclaimer: Nutrition information is approximate.