
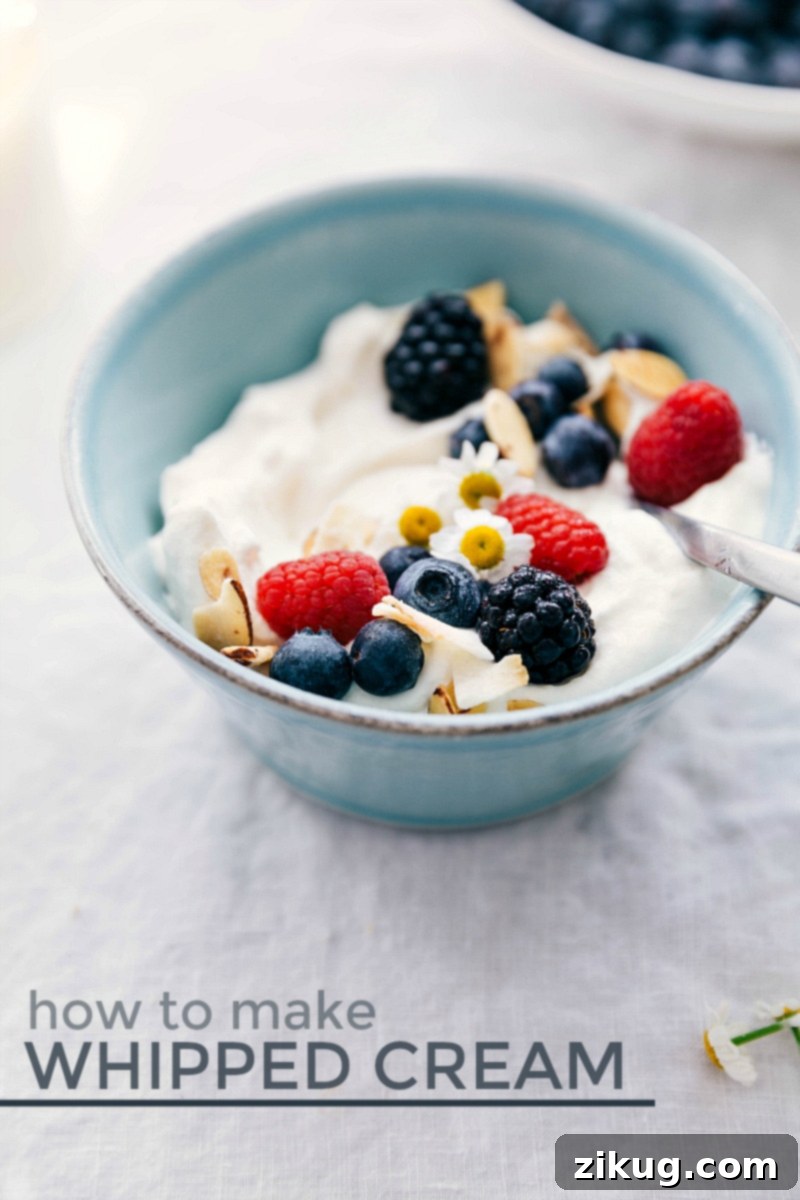
Mastering how to make whipped cream from scratch is an absolute game-changer for any home cook or dessert enthusiast! This ultimate guide provides a foolproof recipe, alongside invaluable tips and tricks, ensuring you achieve perfect, fluffy results every single time.
Homemade whipped cream is the quintessential topping that elevates countless desserts, transforming them from good to truly extraordinary. It’s the ideal accompaniment for light and airy crepes, layered trifles, decadent pies, elegant cakes, fresh fruit bowls, and so much more! Forget store-bought alternatives once you experience the superior taste and texture of homemade.
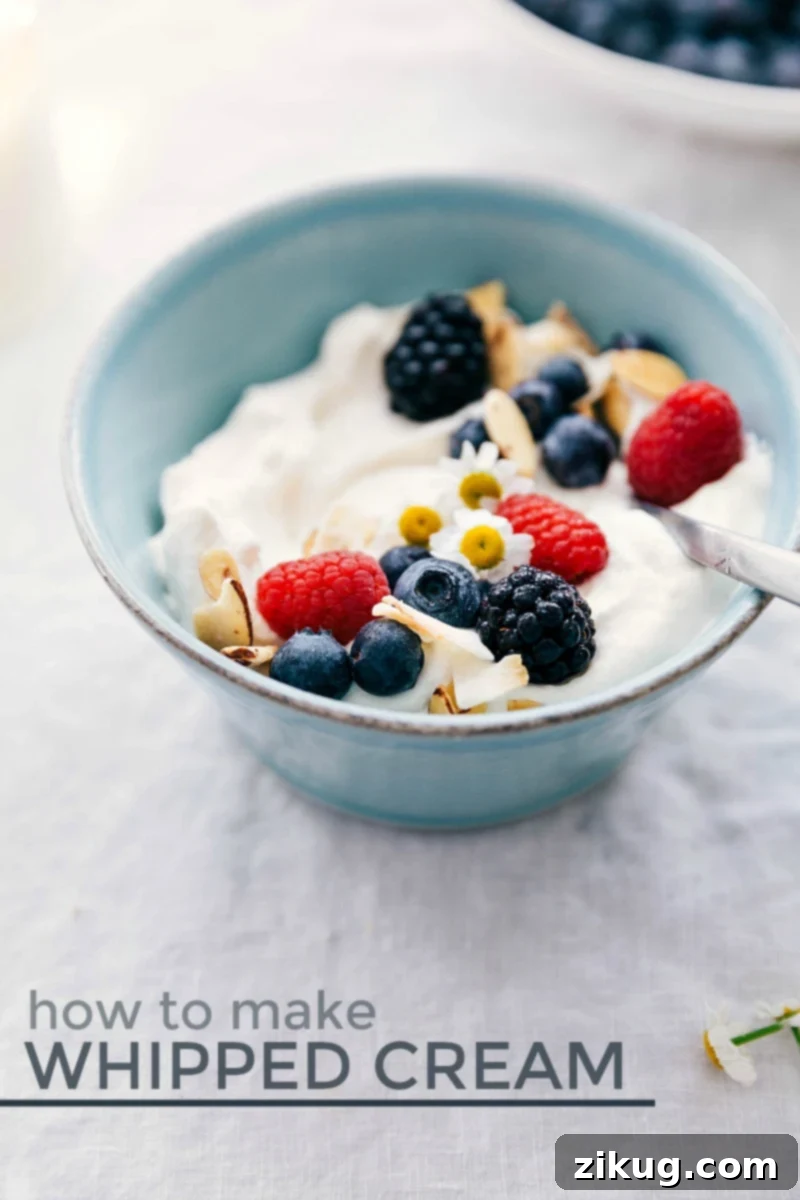
Why Homemade Whipped Cream is Always Best
There’s a special kind of magic that comes with homemade whipped cream that simply can’t be replicated by a can of spray cream. While convenient, the artificial taste and fleeting texture of store-bought versions pale in comparison to the rich, creamy, and truly fresh flavor of whipped cream made in your own kitchen. It’s an indulgence that’s surprisingly simple to create, requiring just a few basic ingredients and minimal effort.
I recall a recent trip to Italy with my husband, where my mother, ever the doting grandma, introduced my boys to Reddi-Wip®. Every night before bed, they’d get a playful spray – quite ironic, considering she never bought it for us growing up! While the boys loved the novelty, I knew deep down nothing beats the real deal. Today, I’m excited to share not only how to make basic homemade whipped cream but also essential tips for ensuring consistent perfection and even how to stabilize it for longer-lasting treats.
How To Make Perfect Whipped Cream: A Step-by-Step Guide
Creating luscious whipped cream is a straightforward process when you follow these simple steps. The key to success lies in proper chilling and attention to detail during the whipping phase.
- Prepare Your Equipment by Chilling: This is a crucial first step for the best results. The colder your equipment, the better your cream will whip and hold its shape. Place your mixing bowl (preferably metal or glass) and whisk attachment (for a stand mixer) or beaters (for a hand mixer) into the freezer for 15 to 20 minutes. Ensure your heavy cream has also been thoroughly chilled in the refrigerator for at least an hour, or ideally, overnight. Warm cream simply won’t whip effectively.
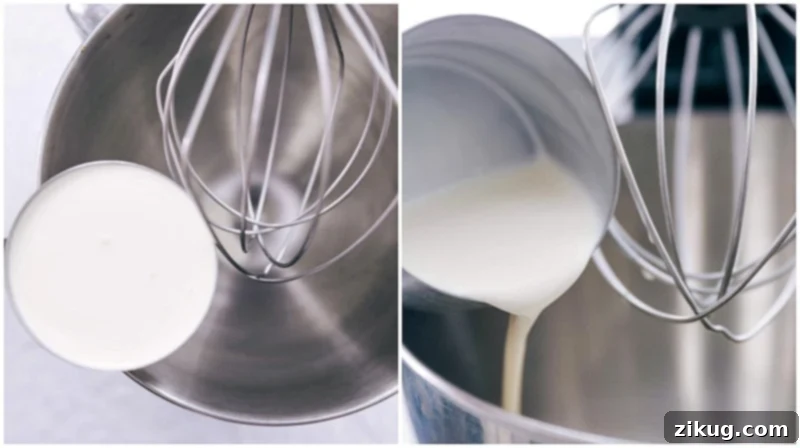
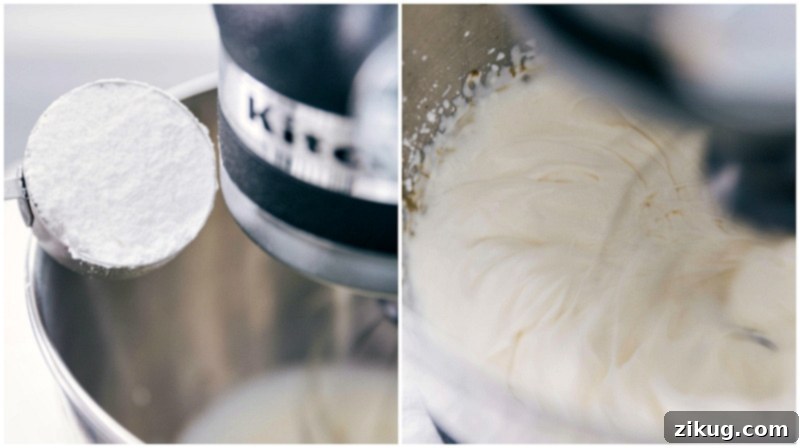
- Combine Ingredients in the Chilled Bowl: Once your bowl and whisk are adequately chilled, remove them from the freezer. Pour all your cold ingredients – heavy cream, powdered sugar, vanilla extract, and a pinch of salt – into the mixing bowl. Begin whisking on a low speed to gently combine everything. This prevents splashing and helps the sugar dissolve evenly.
- Increase Speed and Watch Closely: Gradually increase the mixer speed to high. You’ll notice the cream start to thicken. Initially, it will form soft peaks – meaning when you lift the whisk, the peaks will hold their shape briefly before softly flopping over. Continue whipping, observing the mixture carefully. If you’ve used a larger quantity of liquid or your cream isn’t exceptionally cold, it might take a bit longer than the typical 1-3 minutes.
- Achieve Medium to Stiff Peaks: The critical moment is transitioning from soft peaks to medium or stiff peaks. Medium peaks will hold their shape firmly with a slight curl at the tip, while stiff peaks will stand straight up without flopping. This stage can happen very quickly! One moment you have beautiful, fluffy cream, the next it can become overwhipped, stiff, and grainy, resembling butter. Stop your mixer frequently to check the consistency by lifting the whisk. Near the end of the whipping time, taste the cream and adjust the sugar if you prefer a sweeter topping.
- Serve Immediately or Refrigerate: For optimal freshness and texture, serve your homemade whipped cream right after it’s made. If you need to prepare it ahead of time, or have leftovers, follow the storage instructions below.
Can Whipped Cream Be Made Ahead? (And How to Store It)
Yes, homemade whipped cream can absolutely be made ahead of time, which is perfect for party prep or busy holidays! While it’s always best fresh, you can prepare it up to 1 day (approximately 10-12 hours) in advance with excellent results. However, it’s important to understand that whipped cream, by its nature, will slowly lose some of its aeration and firm texture over time. The air bubbles that give it its volume will eventually collapse, leading to a slightly softer consistency. For prolonged stability, consider making a stabilized version (see below).
To prepare it ahead of time and keep it at its best:
- Whip to a Slightly Softer Consistency: Mix your heavy cream (with vanilla, powdered sugar, and salt) until it reaches a consistency that is slightly softer than your desired final result. Aim for firm soft peaks, where the cream holds its shape but the peaks gently curl over. This leaves a little room for re-whipping before serving.
- Cover and Refrigerate Properly: Transfer the whipped cream to an airtight container immediately. Place a piece of plastic wrap directly onto the surface of the whipped cream before sealing the container. This prevents a skin from forming and minimizes exposure to air, which can cause deflation. Store it in the coldest part of your refrigerator.
- Refresh Before Serving: Before you’re ready to serve, retrieve the whipped cream from the refrigerator. Using a very cold whisk (you can chill it in the freezer for 5-10 minutes), briskly whisk the cream by hand or with an electric mixer on low speed for just 10-15 seconds. This short re-whisking will reintroduce air and thicken the cream to its desired fluffy consistency, making it ready for your dessert.
How to Make Stabilized Whipped Cream: For Lasting Fluffiness
For whipped cream that needs to hold its shape for extended periods, resists deflating, and prevents “weeping” (separating liquid), you’ll need to stabilize it. Stabilized whipped cream is perfect for piping intricate designs onto cakes, filling pastries, or for desserts that will be sitting out for a while. The good news is, the stabilization process is still incredibly simple and only requires a few extra ingredients.
Common stabilizing agents include:
- **Unflavored Gelatin:** This is a classic method. You’ll dissolve a small amount of gelatin in a tablespoon or two of cold water, then warm it gently until clear. Let it cool slightly before slowly streaming it into your almost-whipped cream while the mixer is running.
- **Cornstarch:** A readily available option. Simply sift a teaspoon or two of cornstarch along with your powdered sugar into the heavy cream before whipping. The cornstarch helps absorb moisture and adds structure.
- **Cream of Tartar:** A pinch of cream of tartar (about 1/4 teaspoon per cup of cream) can enhance the stability and volume of your whipped cream, similar to how it works in meringues.
- **Powdered Milk:** Adding a tablespoon or two of powdered milk (full fat for richest flavor) can help stabilize whipped cream by increasing solids and absorbing moisture.
For a detailed, step-by-step recipe and specific ratios for different stabilizing methods, you might explore dedicated resources on stabilized whipped cream. The general idea is to add the chosen agent at the beginning with the sugar, or incorporate it carefully towards the end of the whipping process.
Expert Tips for Flawless Whipped Cream Every Time
Achieving perfect whipped cream consistently is easy when you keep these expert tips in mind:
- Always Use High-Quality Heavy Cream: The foundation of great whipped cream is great cream. Look for heavy cream (also sometimes labeled “heavy whipping cream”) that contains no additives or thickeners – just “cream” as the sole ingredient. Higher fat content generally leads to richer flavor and better stability.
- Ensure All Ingredients and Equipment Are Cold: This cannot be stressed enough! Cold cream whips faster and achieves better volume and stability. Chilled bowls and whisks help maintain the cream’s low temperature, preventing it from warming up too quickly during the whipping process.
- Adjust Sugar to Your Preference: The amount of sugar is a matter of personal taste. Remember that whipped cream will taste less sweet once it’s airy and fluffy, so always taste and add more powdered sugar a little at a time if needed. Powdered sugar is preferred over granulated sugar because its fine texture dissolves easily and helps prevent a grainy mouthfeel.
- Don’t Overbeat!: This is perhaps the most common mistake. Whipped cream goes from perfect to overwhipped (grainy, clumpy, on its way to butter) in a matter of seconds. Keep a close eye on it, stopping often to check the consistency. Stop whipping as soon as you reach your desired peak stiffness.
- Use a Large Mixing Bowl: When whipping cream, it significantly increases in volume. Using a bowl that is larger than you think you need will provide ample space for aeration and prevent splattering.
- Scrape Down the Sides: Periodically stop your mixer and use a rubber spatula to scrape down any cream clinging to the sides of the bowl. This ensures that all the cream is evenly incorporated and whipped to the same consistency.
- Vanilla Extract Quality Matters: A good quality vanilla extract can make a noticeable difference in flavor. Feel free to experiment with other extracts like almond or peppermint for different flavor profiles.
Quick Tip: Heavy Cream vs. Heavy Whipping Cream
While often used interchangeably, there’s a subtle difference between heavy cream and heavy whipping cream, primarily in fat content. Whipping cream typically contains 30-36% milkfat, whereas heavy cream and heavy whipping cream contain 36-40% milkfat. For the most stable and luxurious whipped cream, opt for heavy cream or heavy whipping cream due to its higher fat content.

Delightful Ways to Enjoy Homemade Whipped Cream
The versatility of homemade whipped cream knows no bounds! Here are some beloved desserts and dishes where this fluffy topping truly shines:
- Pies: A classic pairing! Especially with fruit pies like Lemon Pie, cherry, or apple, or rich chocolate pies.
- Cakes & Cheesecakes: A light, airy counterpoint to rich cakes and creamy cheesecakes, such as Chocolate Cheesecake.
- Breakfast & Brunch: Elevate your morning! Spoon it generously onto French Toast (a reader favorite!), pancakes, waffles, or fresh fruit salads.
- Hot Beverages: A dollop of whipped cream on Hot Chocolate or coffee is pure bliss. Consider a Hot Chocolate Bar for an extra festive touch.
- Puddings & Mousses: Lighten up rich puddings, parfaits, or chocolate mousses with a layer of homemade whipped cream.
- Fruit Desserts: Simple bowls of fresh berries, peaches, or grilled pineapple are transformed with a generous swirl of whipped cream.
- Cookies & Bars: Serve alongside dessert bars or even with treats like Sugar Cookie Turtle Pudding Bites for an extra layer of indulgence.
- Fruit Tarts & Pavlovas: Essential for filling delicate fruit tarts and as a soft, cloud-like bed for berries on a pavlova.

Classic Homemade Whipped Cream
Chelsea Lords
5 minutes
15 minutes
20 minutes
12
servings
Equipment
-
Stand mixer (or hand mixer with a large bowl)
-
Large mixing bowl
-
Whisk attachment or beaters
Ingredients
-
1
cup
heavy cream
(very cold, ideally refrigerated for at least 1 hour) -
1/4
cup
powdered sugar
(also known as confectioners’ sugar; adjust to taste) -
1/2
teaspoon
vanilla extract -
1/8
teaspoon
salt
(enhances flavor)
Instructions
-
Chill Equipment & Cream: Place your stand mixer bowl and whisk attachment (or a large glass/metal bowl and hand mixer beaters) in the freezer for 15-20 minutes. Ensure your heavy cream is very cold; it should have been chilling in the fridge for at least an hour, or ideally, overnight. This step is critical for optimal whipping.
-
Whip Ingredients: Remove the chilled bowl and whisk from the freezer. Pour the very cold heavy cream, powdered sugar, vanilla extract, and salt into the bowl. Attach the bowl to your stand mixer (or use a hand mixer). Begin whisking on low speed to gently combine the ingredients. Gradually increase the speed to high.
-
Watch for Peaks: Continue to whip on high speed. The cream will start to thicken and develop volume. Within 1 to 3 minutes, it will transition from soft peaks (where peaks hold their shape but curl over) to medium or stiff peaks (where peaks hold their shape firmly or stand straight up). It’s crucial to watch carefully during this stage, as overbeating can quickly turn your whipped cream grainy and buttery. Stop the mixer periodically to check the consistency with your whisk. Near the end of the whipping time, taste and adjust the sugar to your preference if a sweeter cream is desired.
-
Serve & Store: Serve your freshly made whipped cream immediately for the best texture and taste. If you have any leftovers, or if you prepared it ahead of time, refer to the storage notes below.
Recipe Notes
Sweetness: The amount of powdered sugar can be adjusted based on your preference and the sweetness of the dessert it will accompany. Start with 1/4 cup and add more to taste.
Nutrition
Serving:
1
serving
|
Calories:
79
kcal
|
Carbohydrates:
3
g
|
Protein:
1
g
|
Fat:
7
g
|
Saturated Fat:
5
g
|
Cholesterol:
27
mg
|
Sodium:
8
mg
|
Potassium:
15
mg
|
Sugar:
2
g
|
Vitamin A:
292
IU
|
Vitamin C:
1
mg
|
Calcium:
13
mg
|
Iron:
1
mg
Nutrition information is automatically calculated and is an approximation. Values may vary based on specific ingredients and preparation methods.
Love this recipe? Leave a comment below and share your experience!