
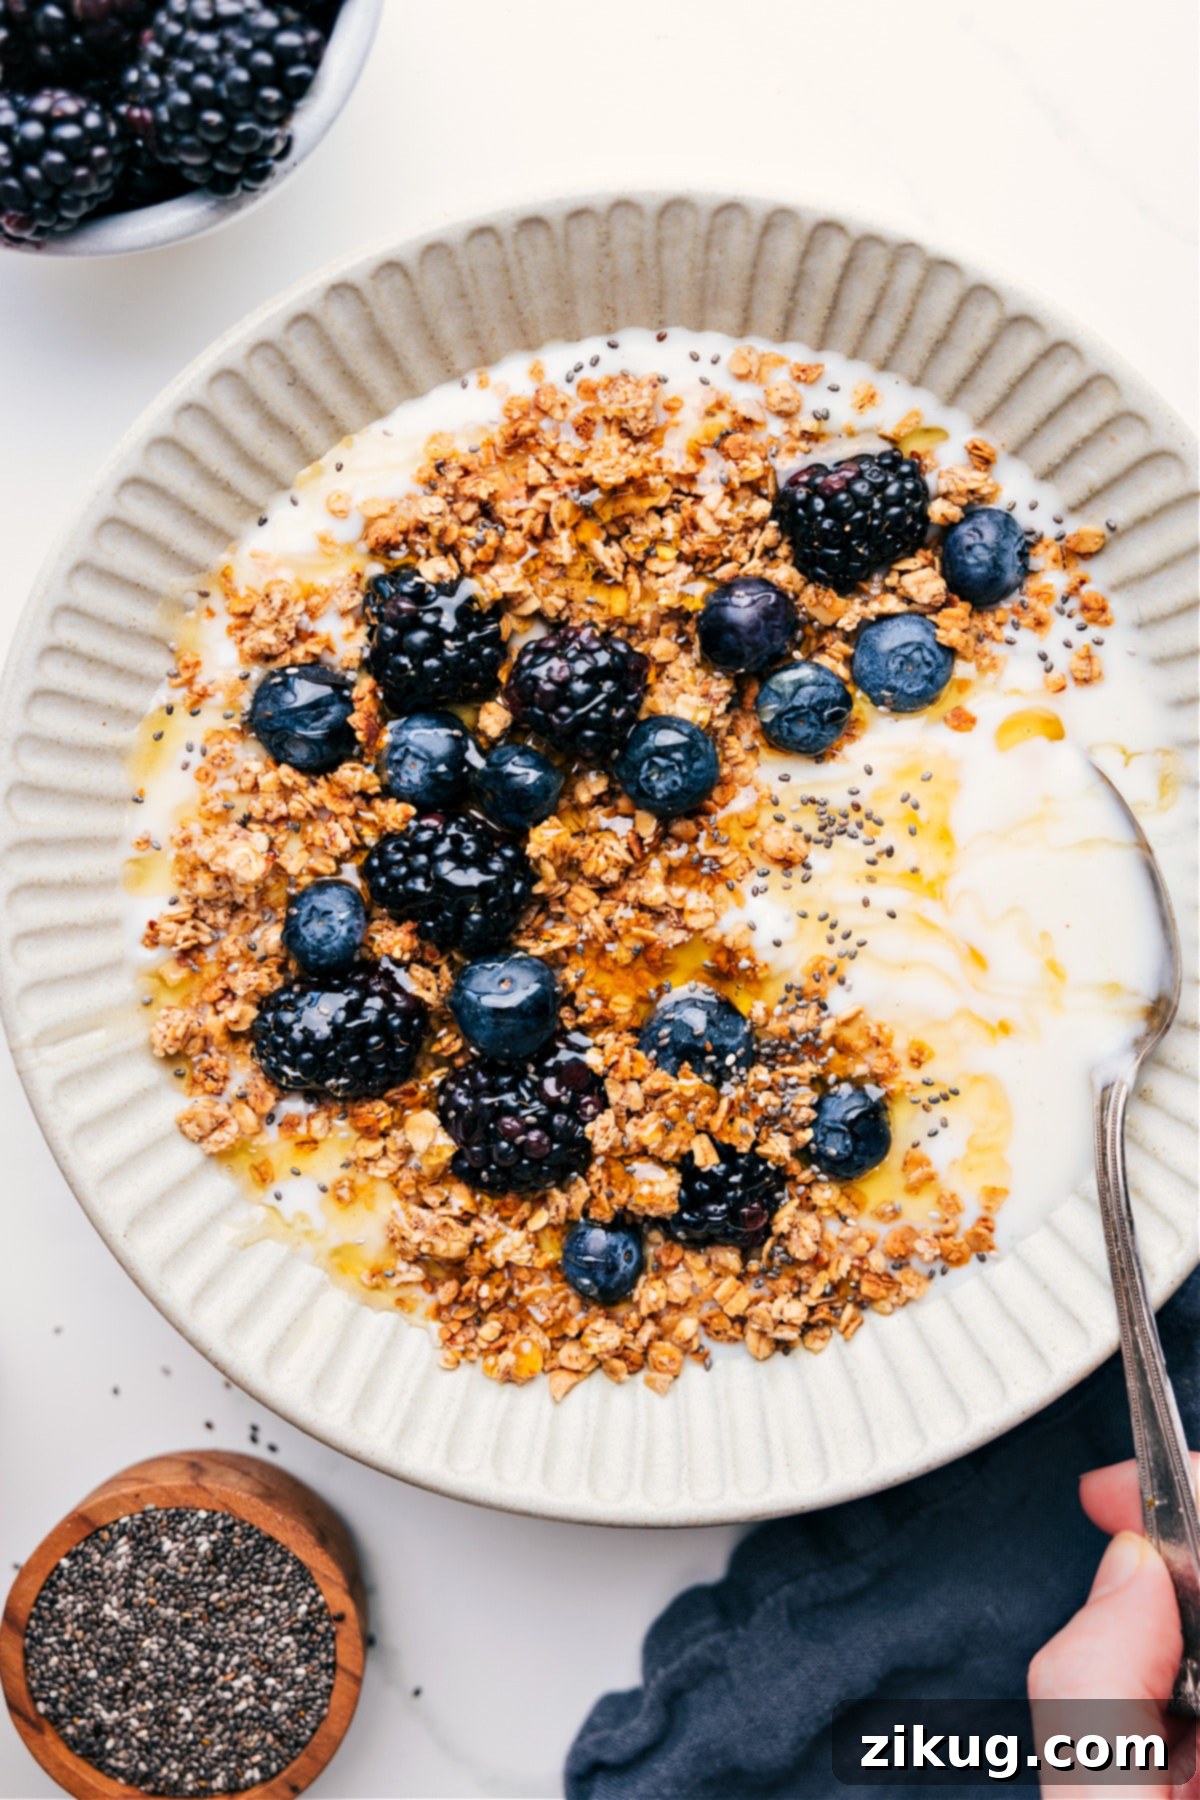
Transform your mornings with this incredibly Easy Homemade Granola Recipe. Requiring just six core ingredients and minimal effort, it bakes up into a delightfully crunchy, perfectly sweet, and subtly vanilla-flavored granola that you’ll find utterly irresistible. Say goodbye to store-bought varieties loaded with refined sugars and hello to a wholesome, customizable breakfast staple.

A Family Favorite & Morning Savior
The Ultimate Hectic Morning Lifesaver!
As anyone with a busy household knows, back-to-school mornings can often feel like a whirlwind. That’s where this incredible homemade granola recipe truly shines. It has become an absolute lifesaver in my kitchen, streamlining breakfast and snack times for our entire family. Its quick prep time, straightforward baking process, and excellent storage capabilities mean that healthy, delicious meals are always within reach.
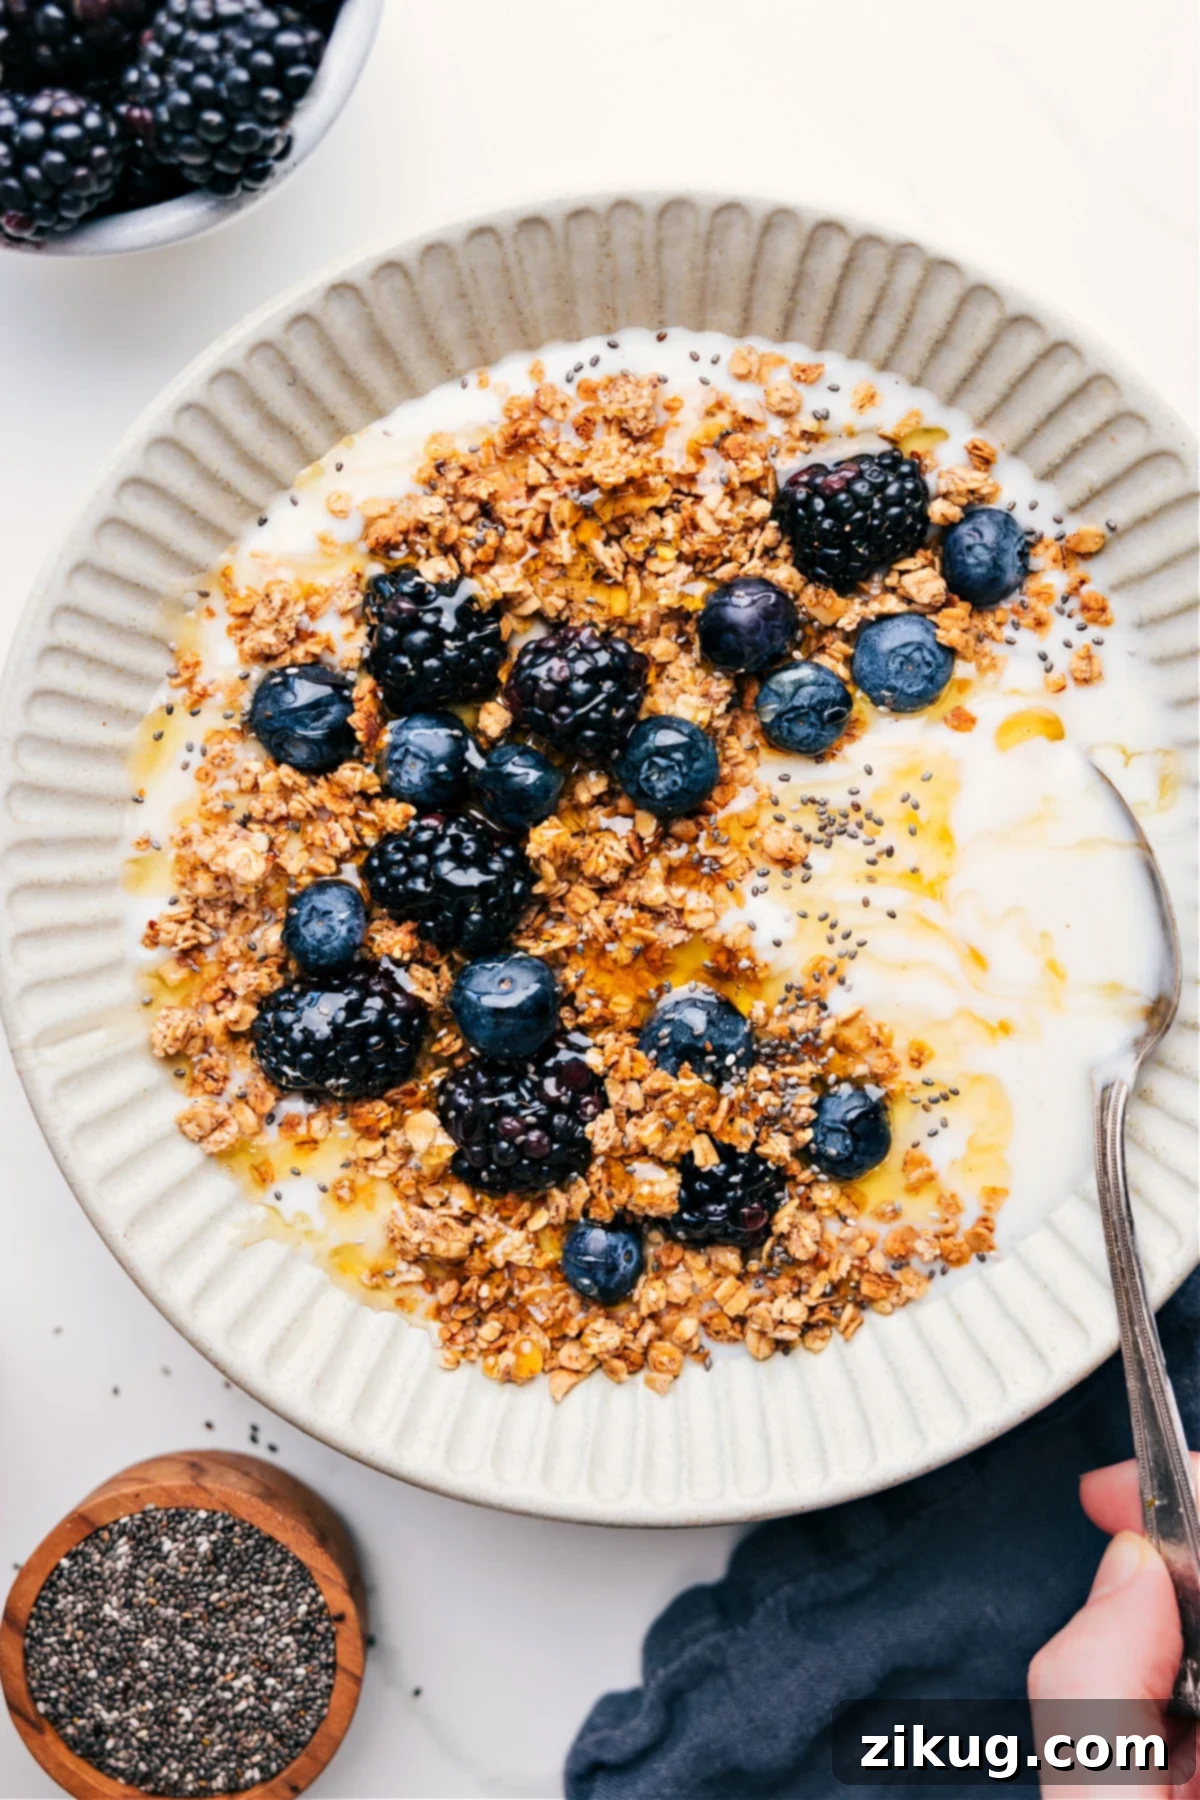
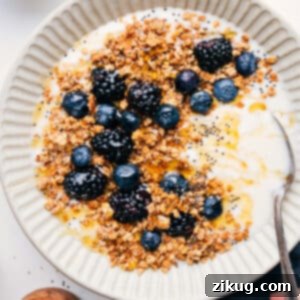
One of my kids’ most requested breakfasts is a colorful yogurt bowl. They love piling it high with their favorite fresh berries, a sprinkle of chia seeds, and a generous scoop of this crunchy homemade granola. The demand for it is constant, and honestly, I love it just as much! It’s simple, incredibly fast to prepare for the week ahead, and keeps everyone happy and energized. Beyond breakfast, it’s also a fantastic, wholesome option for after-school snacks, curbing those hunger pangs until dinner.
Why Choose Homemade Granola?
There are countless reasons to make your own granola, beyond just saving money. When you prepare granola at home, you have complete control over the ingredients. This means you can avoid excessive refined sugars, unhealthy oils, and artificial additives often found in commercial granolas. Our recipe focuses on natural sweeteners like maple syrup and uses wholesome oats and nuts, providing sustained energy and essential nutrients. It’s also incredibly satisfying to customize your granola to your family’s preferences, experimenting with different nuts, seeds, and dried fruits for endless flavor combinations. Plus, the aroma of freshly baked granola filling your kitchen is simply unparalleled!
Essential Ingredients for this Easy Granola
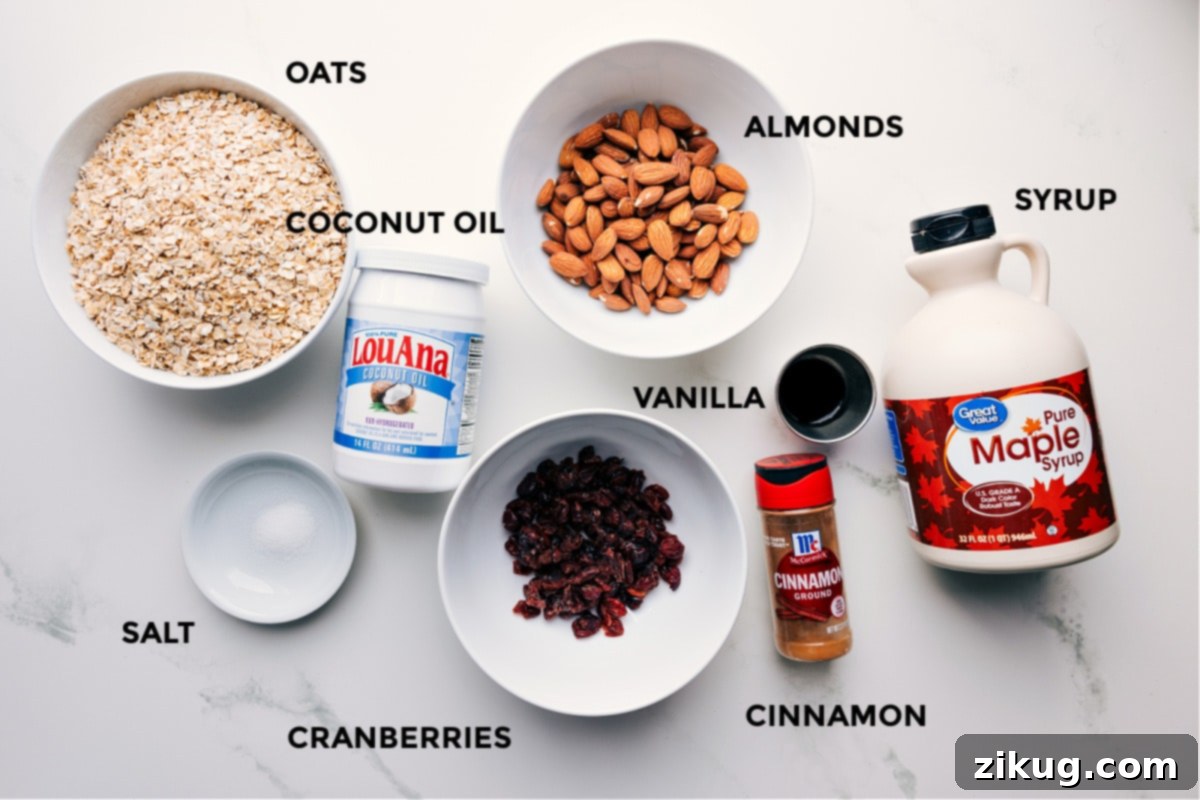
This simple homemade granola recipe relies on a few key ingredients to deliver its exceptional flavor and texture. Each component plays an important role, but we also offer fantastic substitution options to make it adaptable to your pantry and preferences.
| Ingredient | Swaps & Expert Tips for Best Granola |
|---|---|
| Almonds | For an extra layer of flavor without extra effort, we highly recommend using dry roasted, lightly salted almonds. The roasting process intensifies their nutty taste. If you’re using unsalted almonds, consider adding an additional 1/4 teaspoon of salt to the recipe to achieve a balanced flavor profile. Feel free to swap almonds with other favorite nuts like cashews, walnuts, or pecans for a different twist. |
| Oats | Quick oats are preferred for this recipe as they crisp up beautifully, giving the granola that desired crunch. However, if you enjoy a chewier texture, old-fashioned rolled oats can also be used; just be aware the final texture will be slightly different. Avoid instant oats, as they tend to become mushy. |
| Coconut Oil | Melted coconut oil helps bind the granola together and contributes to its crispiness. For a neutral flavor, refined coconut oil is ideal, or you can use unrefined for a subtle coconut aroma. A neutral-flavored oil like avocado oil or melted unsalted butter can be used as alternatives, though butter will add a richer, slightly different flavor. |
| Pure Maple Syrup | Our choice for natural sweetness is pure maple syrup, which offers a lovely depth of flavor without refined sugars. Honey can be used as a swap, but note that it behaves differently during baking. Honey tends to brown more quickly, so keep a closer eye on your granola to prevent over-browning. Adjust baking time as needed if using honey. |
| Vanilla Extract | Always opt for pure vanilla extract over imitation for the best, most authentic flavor. It adds a warm, aromatic note that elevates the entire granola experience. Don’t skip it! |
| Salt | A touch of salt is crucial for balancing the sweetness and enhancing all the other flavors. If your chosen nuts are already salted, you may want to slightly reduce the amount of added salt, then taste and adjust. |
| Ground Cinnamon (Optional) | Adding a hint of ground cinnamon introduces a cozy, warm spice that perfectly complements the vanilla and maple. It’s optional but highly recommended for an extra layer of deliciousness. |
| Dried Blueberries (Optional) | While this recipe is fantastic on its own, adding dried fruit like blueberries, cranberries, or even chopped apricots after baking offers a delightful chewiness and bursts of fruity flavor. Remember to add them *after* the granola has cooled to prevent them from becoming hard or burning. |
How to Make the Best Homemade Granola
Making your own granola is surprisingly simple and much more rewarding than you might imagine. This section guides you through the process, ensuring you achieve that perfect golden crunch every time.
Tips for Granola Success
- Don’t Over-Process Nuts: When blending the almonds, pulse just until they form coarse crumbs. Over-blending will release too much oil and turn them into almond butter, which will alter the granola’s texture.
- Even Layer is Key: Spreading the granola mixture in an even layer on the baking sheet ensures uniform baking and crispiness. Overcrowding the pan can lead to steaming instead of baking, resulting in soft granola.
- Low and Slow Baking: Baking at a lower temperature (300°F) for a longer period prevents burning while allowing the granola to slowly toast and become deeply golden and crunchy.
- The Importance of Cooling: This is perhaps the most crucial step for achieving that signature crunch. Granola will feel soft when it comes out of the oven, but it crisps up significantly as it cools completely on the pan. Resist the urge to touch or move it until it’s fully cool!
- Add-ins After Baking: Dried fruits, chocolate chips, or delicate spices should always be added after the granola has cooled. This prevents fruits from hardening or burning, and chocolate from melting prematurely.
Granola Customization Ideas
One of the joys of making homemade granola is the ability to customize it to your heart’s content. Here are some ideas to inspire your next batch:
- Nutty Variations: Beyond almonds, try a mix of walnuts, pecans, cashews, or even macadamia nuts. Each adds a unique flavor and texture.
- Seed Power: Boost the nutritional value and crunch with seeds! Pumpkin seeds (pepitas), sunflower seeds, flax seeds, chia seeds, or hemp hearts are all excellent additions. Add them along with the oats.
- Spice It Up: Experiment with different spices like a pinch of nutmeg, cardamom, or a touch of ginger for a warming, exotic flavor. Pumpkin pie spice or apple pie spice blends are also delicious options.
- Sweetener Alternatives: While maple syrup is fantastic, you could also try brown rice syrup for a slightly different flavor and crispier texture. Adjust quantities to your desired sweetness.
- Dried Fruit Galore: After cooling, stir in your favorite dried fruits. Think golden raisins, chopped dates, dried cherries, apricots, or a tropical mix of mango and pineapple.
- Chocolate Lover’s Delight: For a decadent treat, fold in chocolate chips or chunks once the granola is completely cool. The residual heat from warm granola would melt the chocolate.
Easy Homemade Granola Recipe: Delicious Serving Suggestions
Once you have a batch of this fantastic homemade granola, the possibilities for enjoying it are endless. It’s incredibly versatile and elevates any meal or snack.
- As a Quick & Healthy Snack: Simply grab a handful (or two!) of this crunchy granola. It’s perfect for on-the-go energy, a mid-morning pick-me-up, or to satisfy those afternoon cravings in a wholesome way.
- In a Layered Parfait: Create an elegant and delicious breakfast or dessert by layering your favorite creamy yogurt with generous scoops of this easy granola recipe and a vibrant layer of fresh seasonal berries. For an extra touch of sweetness and indulgence, drizzle a little honey or maple syrup on top.
- As a Wholesome Cereal: For a classic breakfast, pour a bowl of this satisfying granola and add your milk of choice—dairy, almond, oat, or soy. It’s a filling and flavorful start to your day that keeps you energized longer.
- Sprinkle Over Yogurt or Smoothies: Elevate a simple container of yogurt or a freshly blended smoothie by sprinkling a crunchy layer of granola on top. It adds texture, flavor, and makes for a more substantial and satisfying snack.
- On Apple Slices for a Crunchy Treat: Take your apple slices to the next level! Drizzle them with a bit of your favorite nut butter (peanut, almond, or cashew), then sprinkle a generous amount of this homemade granola right on top. It’s like a deconstructed apple crisp, or as we like to call them, Apple Nachos!
- Enhance Your Açaí Bowl or Smoothie Bowl: For an added boost of crunch and flavor, sprinkle a few tablespoons of this delightful granola over your homemade Açaí bowl or any other smoothie bowl creation. It provides a wonderful textural contrast to the smooth base.
- Topping for Baked Goods: Use this granola as a crumbly topping for muffins, quick breads, or fruit crumbles before baking. It adds a delicious crunch and a boost of flavor.
- Mixed into Trail Mix: Combine your homemade granola with other favorite snacks like nuts, seeds, pretzels, or dried fruit for a custom trail mix perfect for hiking, road trips, or lunchboxes.
Granola Storage Tips
Proper storage is essential to maintain the crispiness and freshness of your homemade granola. Store it in an airtight container at room temperature, away from direct sunlight and humidity. It will remain perfectly fresh and crunchy for up to 3-4 weeks. For longer storage, you can freeze cooled granola in an airtight freezer-safe bag or container for up to 3 months. When ready to enjoy, simply thaw at room temperature. Do not refrigerate, as this can introduce moisture and cause the granola to lose its crisp texture.
More Wholesome Breakfast Recipes to Explore:
Breakfast
The Ultimate Avocado Toast
Breakfast
Microwave Oatmeal (4 Delicious Flavors!)
Pancakes And Waffles
The BEST Healthy Pancakes
Breakfast
Hearty Breakfast Egg Skillet
Pin
Easy Homemade Granola Recipe
Chelsea Lords
10 minutes
30 minutes
40 minutes
12 servings
Video
Equipment
-
Large sheet pan (15″ x 21″)
-
Parchment paper
-
High-powered Blender (like Vita-Mix or Blendtec, see note 1)
Ingredients
- 1 cup dry roasted and lightly salted almonds (see note 2)
- 3 cups quick oats (not old-fashioned)
- 1/2 cup maple syrup (do not use honey for this recipe to ensure best texture)
- 1/3 cup melted coconut oil (measure when melted)
- 1 teaspoon pure vanilla extract
- heaping 1/4 teaspoon salt
- 1/2 teaspoon ground cinnamon (optional, but recommended)
- 1/2 cup dried blueberries (optional, add after cooling)
Instructions
-
Preheat your oven to 300°F (150°C). Prepare a large baking sheet (approximately 15″ x 21″) by lining it with parchment paper to prevent sticking and for easy cleanup. Set the prepared pan aside.
-
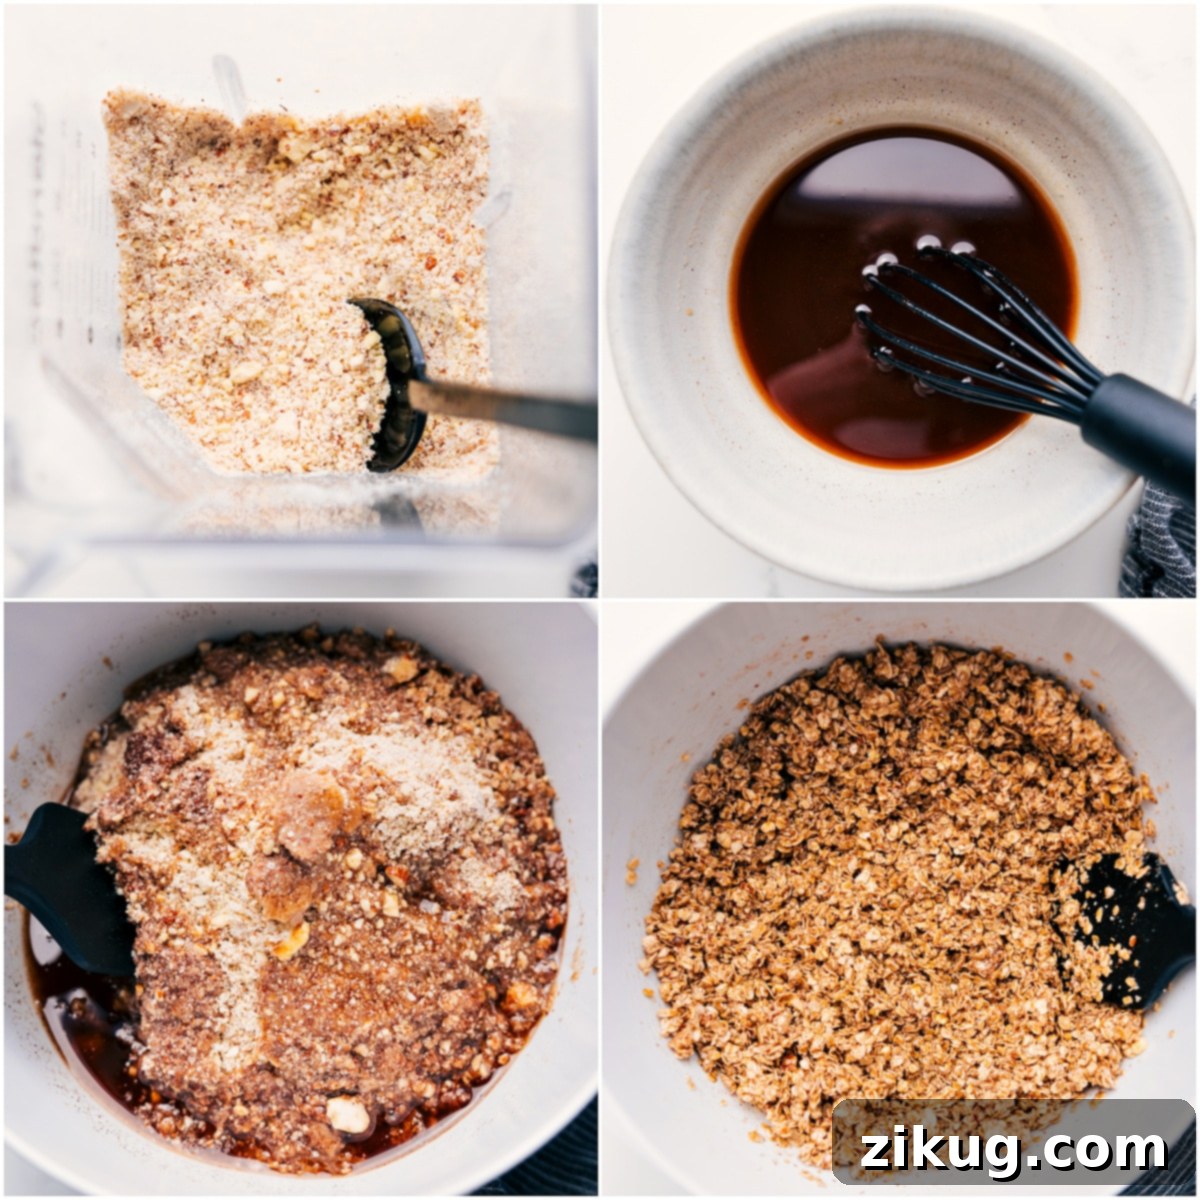
In a powerful blender (such as a Blendtec® or Vitamix®), add the whole dry roasted almonds. Pulse the almonds briefly, just enough to break them down into coarse crumbs. Be careful not to over-process; you want a crumbly texture, not almond butter. Refer to the image or video for the ideal consistency.
-
In a large mixing bowl, combine the blended almond crumbs, quick oats, pure maple syrup, melted coconut oil, pure vanilla extract, salt, and ground cinnamon (if using). Use a sturdy wooden spoon or spatula to mix all the ingredients thoroughly until the oats and almonds are evenly coated with the wet mixture. Pour the entire granola mixture onto the prepared baking sheet, spreading it out into a single, even layer.
-
Bake the granola for 15 minutes. After 15 minutes, carefully remove the pan from the oven and give the granola a gentle flip or stir with your spatula to ensure even baking. Return the pan to the oven and continue to bake for another 10–15 minutes, or until the granola is golden brown and appears dry. Remove the pan from the oven and, this is critical, let it stand on the baking sheet until it has completely cooled to room temperature. The granola will crisp up significantly as it cools. Once cool, add the dried blueberries (or any other dried fruit) and mix them in. Enjoy your perfectly crunchy homemade granola!
Recipe Notes
Note 2: We find that dry roasted and lightly salted almonds offer the best flavor profile for this granola, adding depth without requiring additional seasoning steps. (Here’s what we typically use in this granola). If you choose unsalted almonds, we recommend adding an extra 1/4 teaspoon of salt to the overall recipe to balance the flavors.
Storage: Store your freshly made granola in an airtight container at room temperature, keeping it away from direct sunlight. It will maintain its delicious crunch and freshness for 3 to 4 weeks. For longer preservation, any leftovers can be frozen in an airtight container for up to 3 months. Avoid refrigerating, as humidity can soften the granola.
Nutrition Information
Serving:
1serving
|
Calories:
74kcal
|
Carbohydrates:
3.6g
|
Protein:
2.6g
|
Fat:
6g
|
Sodium:
0.2mg
|
Fiber:
1.7g
|
Sugar:
1.2g
Nutrition information is automatically calculated and should be used as an approximation only. Actual values may vary based on ingredients and preparation methods.
Love this recipe? Leave a comment below!
Easy Granola Recipe FAQs
Generally, making granola at home is significantly cheaper than purchasing pre-made varieties from the store, especially when buying ingredients in bulk. Beyond cost savings, homemade granola gives you full control over the quality and type of ingredients, allowing you to avoid unhealthy additives and adjust for dietary needs, making it a healthier choice.
Several factors can lead to soft granola. To achieve a perfectly crispy texture, ensure you bake it low and slow at 300°F. Spread the mixture in a thin, even layer on the baking sheet, avoiding overcrowding, which can cause steaming. Stirring it halfway through baking helps ensure even browning. Most importantly, let the granola cool *completely* on the baking sheet after removing it from the oven. It will firm up and crisp significantly during this cooling process. Storing it in an airtight container once cooled also prevents it from absorbing moisture and losing its crunch.
Absolutely! To make this easy granola recipe gluten-free, simply ensure you use certified gluten-free quick oats. While oats are naturally gluten-free, they are often processed in facilities that also handle wheat, leading to cross-contamination. Always check the label to confirm they are certified gluten-free, especially if you have a severe gluten sensitivity or celiac disease.
Achieving those coveted granola clusters is easier than you think! The key is to avoid stirring the granola too much during the initial baking phase. After the first 15 minutes, flip it gently but try to keep some of the larger pieces intact. When it comes out of the oven, press it down lightly with the back of a spatula while it’s still warm, then let it cool *completely undisturbed* on the baking sheet. The maple syrup and coconut oil will act as a binder, creating wonderful clusters as they cool and harden.
For optimal freshness and crispness, store your homemade granola in an airtight container at room temperature. A glass jar with a tight-fitting lid or a sealed plastic container works perfectly. Keep it in a cool, dark pantry away from direct sunlight and humidity. Stored this way, it will stay fresh and crunchy for up to 3-4 weeks. Avoid refrigeration, as the moisture can make it soft. For longer storage, up to 3 months, you can freeze it in a freezer-safe bag.