
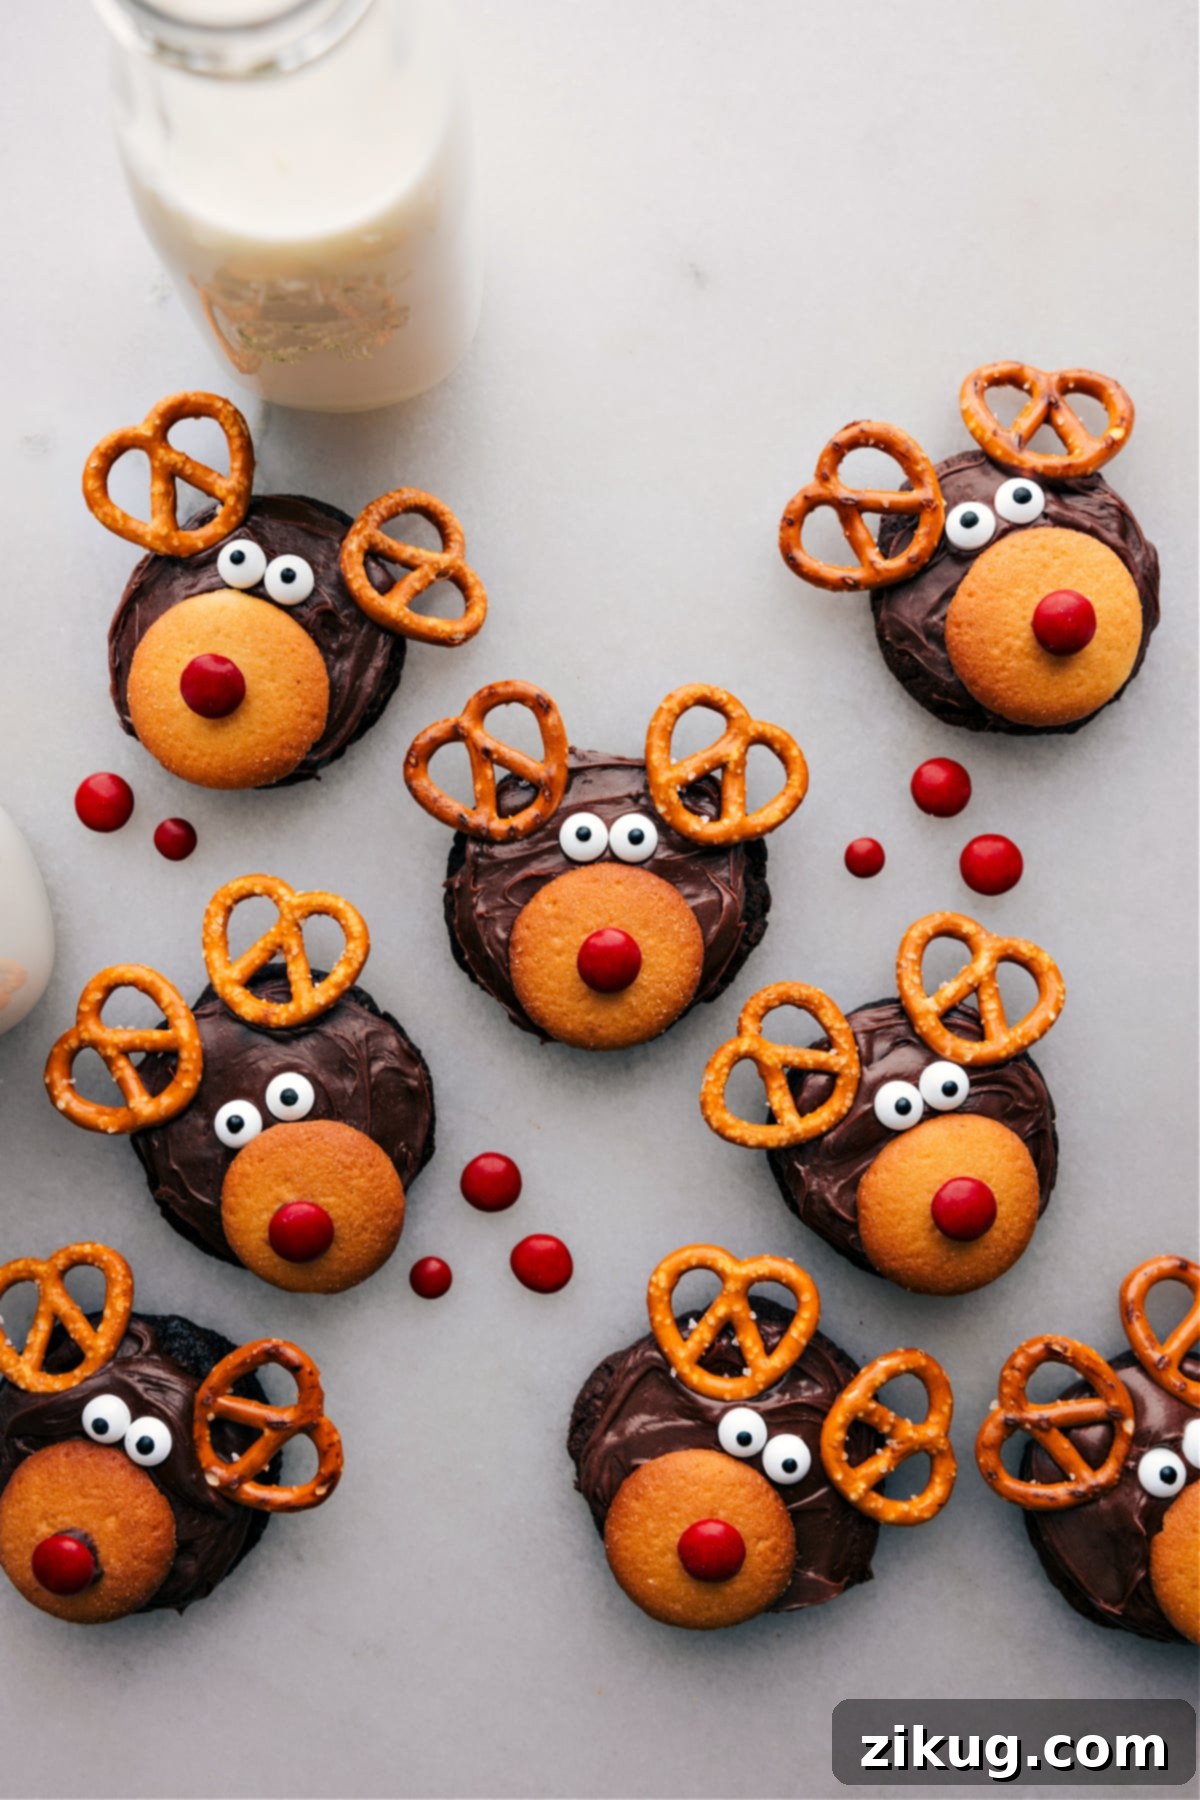
Step into the festive spirit with these utterly delightful **Reindeer Cookies**! These treats are more than just a dessert; they’re a celebration of holiday cheer, combining rich, fudgy chocolate cookies with charming, easy-to-create reindeer decorations. Perfect for engaging kids in a fun baking project, these cookies are as cute as they are delicious, making them an ideal edible centerpiece or a thoughtful homemade gift for the holiday season.
For more festive snacking inspiration, be sure to explore our delightful Reindeer Chow and these wonderfully quick Mini Reindeer Treats, guaranteed to bring smiles to your holiday gatherings.
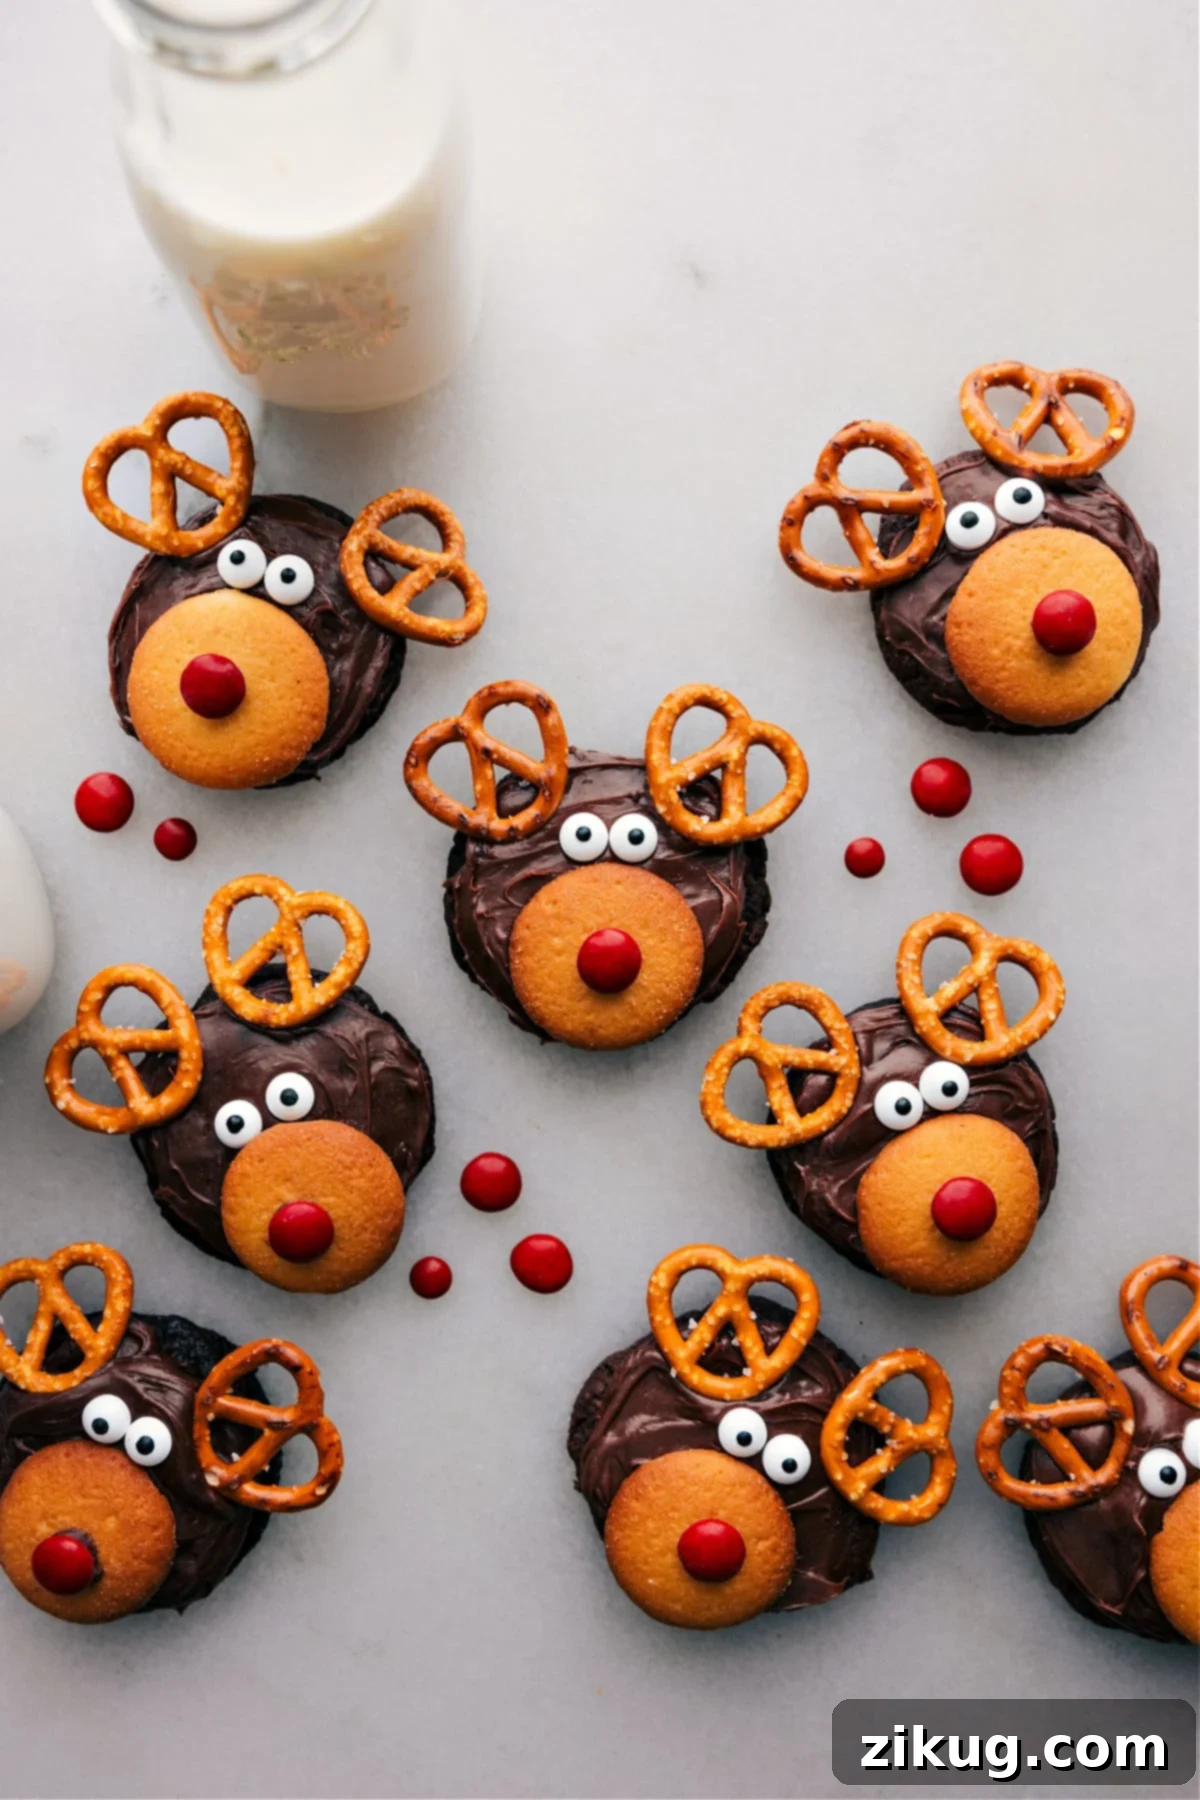
Reindeer Cookies: A Must-Make Treat for Your Holiday Season
Move over, traditional Cut Out Sugar Cookies – while they hold a special place in holiday baking, decorating these whimsical Reindeer Cookies is an experience filled with even more joy and creativity! The simple yet effective design transforms a classic chocolate cookie into an adorable festive character, sparking imagination and bringing smiles to everyone involved.
And let’s be honest, who can truly resist the allure of a perfectly fudgy and rich chocolate cookie? They are, without a doubt, a crowd-pleaser. While my son might lean towards the classic charm of Swig Sugar Cookies, I’m wholeheartedly team chocolate, especially when it comes to holiday treats. These Reindeer Cookies offer the best of both worlds: the irresistible depth of chocolate flavor combined with the excitement of holiday crafting. They are not just festive and fun to create, but also incredibly delicious, making them the ultimate sweet indulgence for any holiday gathering.
Why These Reindeer Cookies are Your Go-To Holiday Treat
The holiday season is synonymous with creating cherished memories, and there’s no better way to bond than by gathering in the kitchen to bake something truly special. These Reindeer Cookies offer a perfect blend of simplicity and charm, making them accessible even for novice bakers and little helpers. Their rich, fudgy chocolate base appeals universally, while the playful decoration process is a fantastic way to engage children and encourage their creativity. Unlike some more intricate holiday desserts, these cookies allow for quick and easy assembly, meaning more precious time can be spent enjoying the festivities and less time stressing over perfect presentation. They are not merely cookies; they are edible symbols of holiday cheer, ideal for gifting, brightening holiday parties, or simply savoring with a warm cup of cocoa on a chilly evening.
Essential Reindeer Cookie Ingredients You’ll Need
Crafting these adorable Reindeer Cookies requires just a few key components, most of which are readily available at your local grocery store. The beauty of this recipe lies in its remarkable flexibility, allowing you to choose between homemade and store-bought ingredients based on your personal preference, available time, and skill level. Each ingredient is thoughtfully selected for its role in both the delectable flavor and the charming visual appeal of these festive treats.
- Chocolate Cookies: This forms the essential foundation of our reindeer. You have several fantastic options to choose from! Feel free to bake your favorite classic chocolate cookies from scratch for a truly homemade touch. Alternatively, opt for a richer, more intense brownie-style cookie, or indulge in a decadent chocolate caramel variety. For those busy holiday schedules, store-bought chocolate cookies or even pre-made chocolate cookie dough (like the highly recommended Ruby Snap’s Maris dough, a personal favorite!) work exceptionally well. The primary goal is a sturdy, flat cookie base that’s ready for its festive transformation.
- Chocolate Frosting: This delicious component serves a dual purpose: it acts as both the creamy, sweet “glue” that holds your decorations in place and provides the rich, brown coat for your reindeer’s head. Whether you prefer to whip up a batch of luxurious homemade chocolate buttercream frosting or simply pick up a tub of your favorite store-bought variety, ensure it has a smooth, spreadable consistency that can also hold its shape to secure the decorative elements.
- Pretzel Twists: These familiar salty, crunchy snacks are ingeniously repurposed to create the perfect, realistic reindeer antlers! The unique, twisted shape of pretzels beautifully mimics the branching structure of antlers, adding a delightful savory contrast and satisfying crunch that complements the sweet cookie and frosting.
- Vanilla Wafers: These small, round, and delicately flavored cookies are absolutely perfect for forming the reindeer’s snout or muzzle. Their light, creamy color provides a wonderful contrast against the dark chocolate cookie and serves as a smooth, ideal canvas for attaching the candy eyes and, most importantly, the bright red nose.
- Edible Candy Eyes: These delightful little additions are what truly bring your reindeer to life, giving them character and expression! Edible candy eyes are widely available in the baking aisle of most major grocery stores (you can often find excellent options at Walmart or through various online retailers). They come in different sizes, so choose ones that best suit the size of your cookies for a charming and proportionate look.
- Red Candies: To give your reindeer that iconic Rudolph sparkle, a bright red nose is essential! Small red chocolate candies, such as classic M&M’s®, are absolutely ideal for this purpose due to their vibrant color and perfect size. However, if M&M’s aren’t available, you could easily substitute them with small red jelly beans, gumdrops, or even tiny red gumballs, as long as they are round and appropriately sized to fit neatly on the vanilla wafer.
How to Make Reindeer Cookies: A Simple Decorating Guide
Making Reindeer Cookies is an engaging and straightforward process that’s perfect for bakers of all ages. Follow these easy, step-by-step instructions to bring your festive cookie characters to life with minimal fuss and maximum fun!
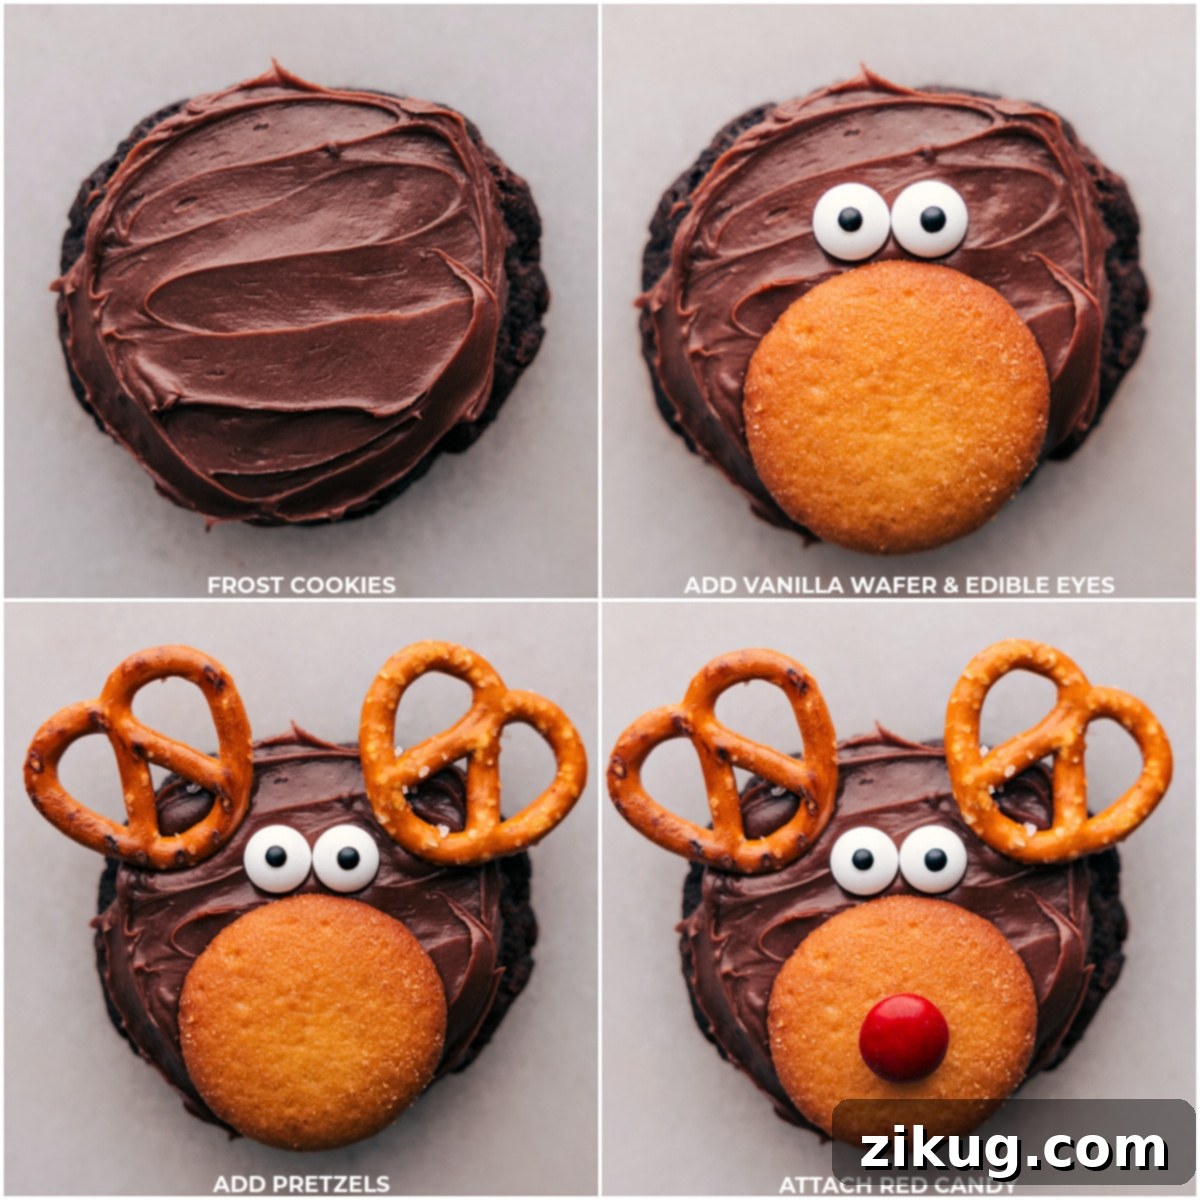
- Prepare Your Cookies: Begin by baking your chosen chocolate cookies according to their specific recipe instructions. This initial step is where you decide on your preferred chocolate cookie base – whether it’s a classic, brownie, or caramel variety. Once baked, it is absolutely essential to transfer them to a wire rack and allow them to cool completely. Attempting to frost cookies that are still warm will cause the frosting to melt and slide, resulting in a less-than-perfect and quite messy outcome. Patience at this stage is key to success!
- Frost the Cookies: Once your cookies are thoroughly cooled and firm, take your prepared chocolate frosting and spread a generous, even layer over the entire top surface of each cookie. You can achieve a smooth finish using an offset spatula, a simple butter knife, or for a more polished look, a piping bag fitted with a round tip. This smooth layer of frosting will serve as the reindeer’s head and the base for all subsequent decorations.
- Create the Face Base: Carefully place one vanilla wafer on the lower half of each frosted cookie. Gently press it down so that it adheres firmly to the frosting. This light-colored wafer will beautifully contrast with the chocolate cookie and frosting, forming the perfect snout or muzzle for your reindeer.
- Add the Eyes: Position two edible candy eyes just above the vanilla wafer. To ensure they stay put, use a tiny dab of frosting on the back of each candy eye before placing them. These expressive eyes are what will truly give your reindeer personality and bring them to life, ready to observe all the holiday cheer!
- Give Rudolph His Nose: For that iconic, unmistakable Rudolph look, attach a bright red M&M or your chosen small red candy to the very center of the vanilla wafer. Again, a small dot of frosting on the back of the candy will act as an adhesive. If you’re not aiming for Rudolph, a brown candy could also be used for a classic reindeer nose.
- Attach the Antlers: With care, press two pretzel twists into the top part of the cookie, positioned just above the eyes. These pretzels will ingeniously form the reindeer’s distinctive antlers. Be gentle during this step to avoid breaking the pretzels. The chocolate frosting should be thick enough to securely hold them in place.
- Serve and Enjoy: Congratulations, your adorable Reindeer Cookies are now complete and ready to be admired! For the absolute best texture, especially to preserve the delightful crunch of the pretzels and vanilla wafers, it is highly recommended to enjoy these cookies soon after they have been decorated. They are perfect for holiday parties, thoughtful gifts, or simply as a special, heartwarming treat for family and friends.
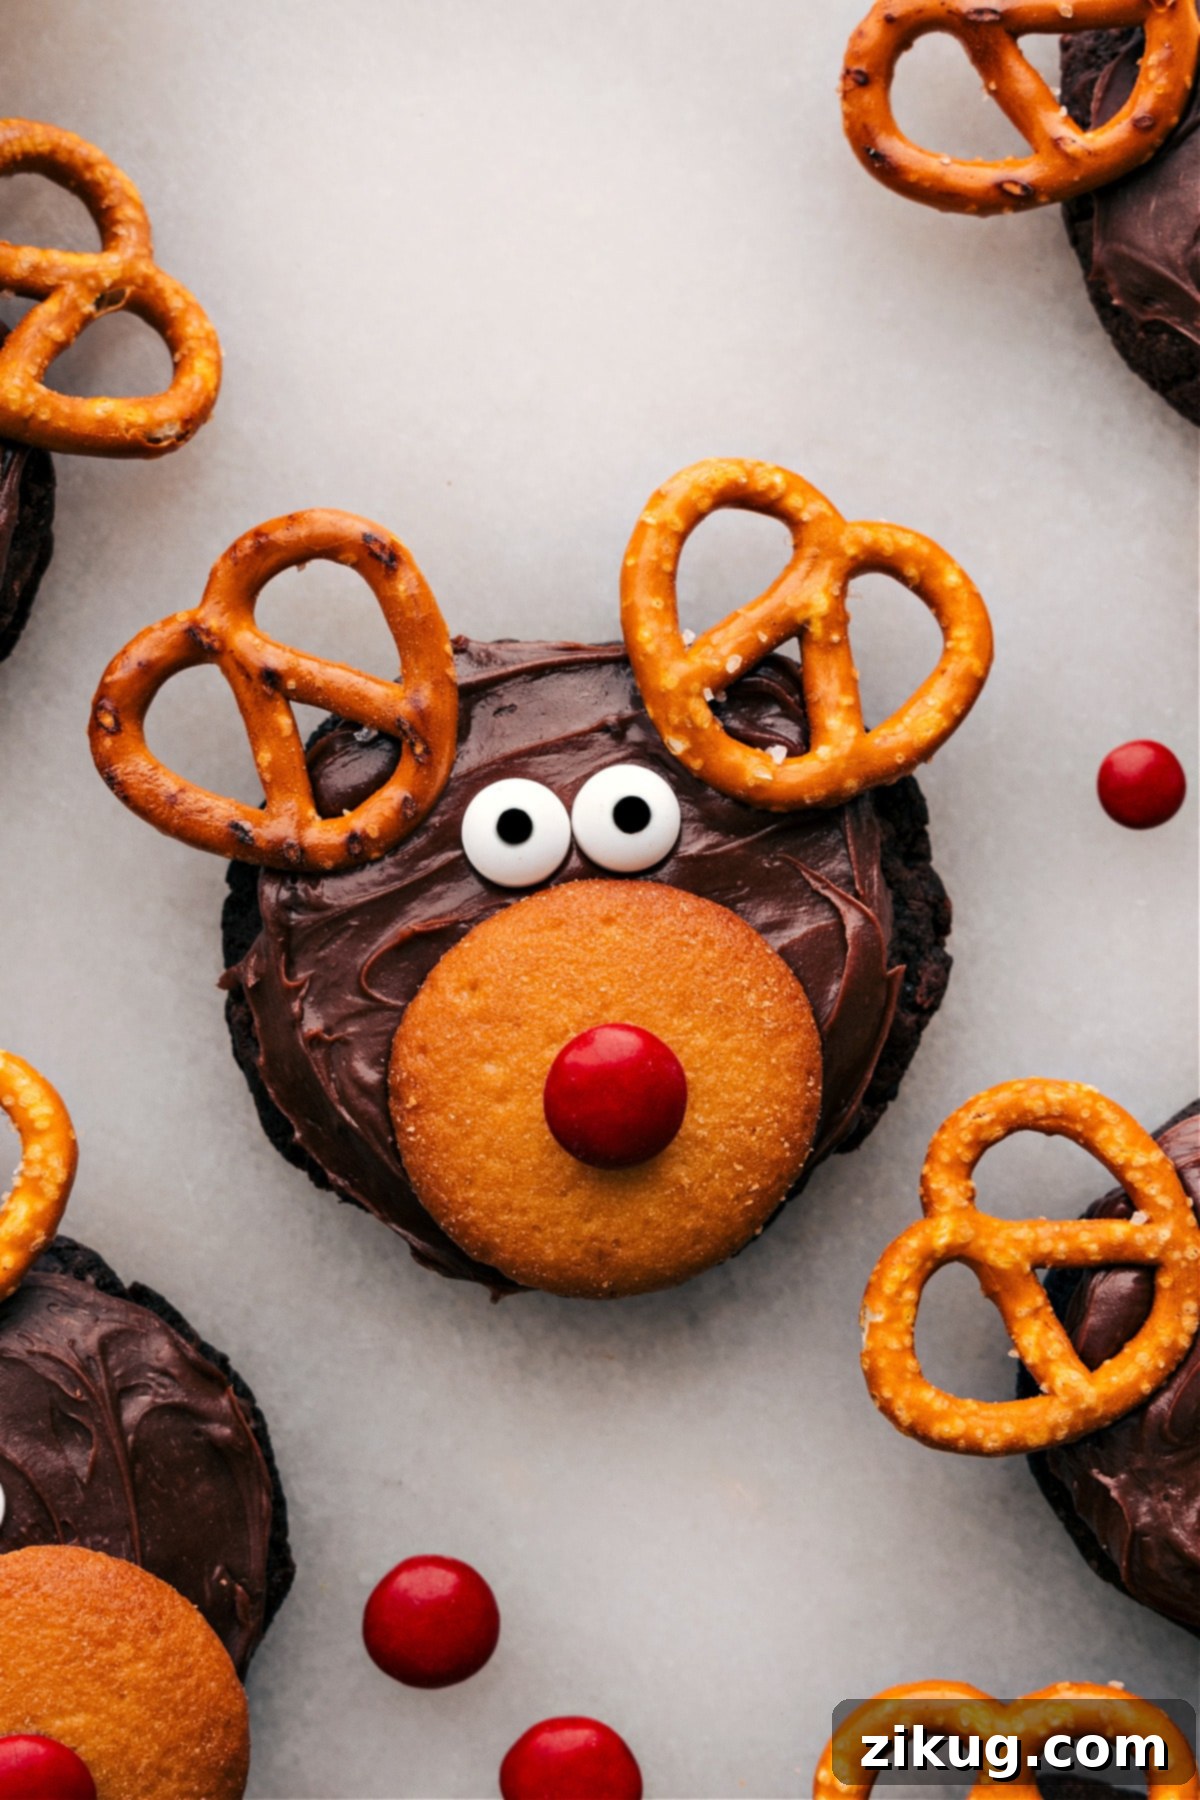
Pro Tips for Making Perfect Reindeer Cookies
Creating picture-perfect and utterly delicious Reindeer Cookies is made even easier with a few insider tips. These expert suggestions will help you navigate the decorating process smoothly, minimize any potential hiccups, and ensure your festive treats look and taste absolutely their best.
- Ensure Cookies are Fully Cooled: This is arguably the most crucial rule in cookie decorating! Before you even consider touching the frosting, make absolutely certain that your chocolate cookies are completely cool to the touch, both on top and underneath. Warm cookies will inevitably cause the frosting to melt, slide off, and create a frustratingly messy situation. Investing a little patience at this stage will save you a lot of trouble later.
- Mastering the Frosting Application: For a smooth, even layer of frosting that provides the ideal canvas for your reindeer’s face, consider using a piping bag fitted with a simple round tip. This method offers excellent control and results in a clean, professional finish. If a piping bag isn’t on hand, an offset spatula or a butter knife can work just as well; simply strive for an even and consistent spread.
- Secure Your Decorations Properly: When it comes to attaching the candy eyes and the signature red nose, always use a tiny dab of frosting on the back of each piece. This acts as a robust adhesive, ensuring that your reindeer’s features remain securely in place and don’t slide off. For the pretzel antlers, gently but firmly press them into the top, frosted portion of the cookie. Be careful not to apply too much pressure, as pretzels are fragile and can break easily, but ensure they are embedded enough to stand upright.
- Timing is Everything for Crunch: To preserve the delightful crispness and crunch of both the vanilla wafers and the pretzel antlers, it is highly recommended to add these decorative elements as close to the time of serving as possible. If decorated too far in advance, especially in humid environments, these components can absorb moisture from the frosting or the air and become soft, losing their appealing texture.
- Creative Presentation Ideas: Elevate the visual appeal of your Reindeer Cookies by serving them on a whimsical bed of shredded coconut flakes. This simple yet effective trick creates a charming “snowy” scene, making your festive treats even more visually appealing and significantly adding to the overall holiday magic. You can also arrange them on a festive platter alongside other complementary holiday goodies for an impressive display.
- Involving Kids in the Kitchen: These cookies are an absolutely ideal project for involving children of all ages. Let them take charge of spreading the frosting (don’t worry too much about perfection – it’s part of the fun!) and placing the candies. This hands-on activity is a wonderful way to create lasting holiday memories and enjoy precious quality time together, fostering a love for baking and holiday traditions.
More Festive Holiday Treats to Explore
The holiday season provides a wonderful opportunity for baking and experimenting with new, exciting recipes. If you thoroughly enjoyed the process of making these charming Reindeer Cookies, you might be inspired to explore some of our other festive creations, each perfectly suited for Christmas gatherings and celebratory occasions. Expand your holiday dessert repertoire with these delightful and easy-to-make ideas:
- Magical Christmas Cupcakes (Snow Globe themed!)
- Delightful Christmas Oreos
- Crunchy Peppermint Popcorn
- Charming Christmas Donuts
- Festive Christmas Snack Mix
Reindeer Cookies Recipe
These cute, fudgy, and incredibly festive Reindeer Cookies are the perfect holiday baking project for families, especially when involving kids! Beyond their delicious taste, they also double as charming edible decorations for your holiday table, adding a touch of whimsical magic to any celebration.
Author: Chelsea Lords
Prep Time: 30 minutes (active decorating time)
Total Time: 30 minutes (does not include the time required for baking and cooling the cookies)
Yields: Approximately 22 cookies (actual yield may vary depending on the specific cookie recipe chosen)
Ingredients
For the Chocolate Cookies and Frosting (Choose your favorite or select from these suggestions):
- Classic Chocolate Cookies
- Easy Brownie Cookies (conveniently uses a boxed brownie mix)
- Decadent Chocolate Caramel Cookies
- Pre-baked Store-bought Chocolate Cookies or Refrigerated Chocolate Cookie Dough (we highly recommend Ruby Snap’s Maris dough for its quality!)
- Rich Chocolate Frosting (either homemade or a quality store-bought brand)
For the Adorable Decorations:
- Pretzel Twists (essential for crafting the reindeer’s antlers)
- Vanilla Wafers (these form the perfect base for the reindeer’s face/snout)
- Edible Candy Eyeballs (to bring your reindeer to life!)
- Red M&M’s or other small, round red chocolate candies (for Rudolph’s famous glowing nose)
Instructions
- Bake Cookies: Begin by following the specific baking directions for your chosen chocolate cookie recipe. Once the cookies are baked to perfection, remove them from the oven and carefully transfer them to a wire rack. Allow the cookies to cool down completely before proceeding with any decoration – this critical step prevents the frosting from melting.
- Frost Cookies: Once the cookies are entirely cool, use a knife, an offset spatula, or a piping bag to spread an even and generous layer of chocolate frosting over the top surface of each cookie. This will form the base for your reindeer’s head.
- Decorate the Face: Gently place one vanilla wafer on the lower half of each frosted cookie, carefully pressing it into the frosting to create the reindeer’s distinct muzzle or snout.
- Add Eyes: Position two candy eyeballs just above the vanilla wafer. If needed, use a tiny dab of frosting on the back of each candy eye to ensure they are securely attached.
- Attach the Nose: Place a vibrant red M&M or your chosen small red candy precisely in the center of the vanilla wafer for the nose. A small amount of frosting on the back of the candy will help it adhere firmly.
- Create Antlers: With a light touch, press two pretzel twists into the top portion of the cookie, positioned above the eyes, to form the reindeer’s charming antlers. Be gentle to prevent breakage of the pretzels.
- Serve: Your utterly adorable Reindeer Cookies are now complete and ready to enchant! For the optimal texture, particularly to enjoy the crispness of the pretzels and wafers, it’s best to serve and enjoy them soon after decoration.
Recipe Notes
Nutrition Note: Please be aware that the nutritional information provided is an approximation only. Precise values can vary significantly based on the specific type of chocolate cookie recipe and frosting choices you use. Therefore, a definitive nutritional breakdown cannot be given.
Storage: These delightful Reindeer Cookies are truly best when enjoyed fresh, ideally within 1-2 days of being decorated. The vanilla wafers and pretzel antlers have a tendency to soften over time due to exposure to moisture from the frosting and the surrounding air. For the best quality, store them in an airtight container at room temperature. For longer storage or if preparing far in advance, consider storing the undecorated cookies and the decorative elements separately, then assemble closer to your event time to maximize freshness and crunch.
Estimated Nutrition Information (per serving)
(Based on general estimates for one decorated cookie, values can vary)
Serving Size: 1 cookie
Calories: Approximately 184 kcal
Carbohydrates: Approximately 23.9g
Protein: Approximately 2.4g
Fat: Approximately 9.8g
Cholesterol: Approximately 21.5mg
Sodium: Approximately 64.8mg
Fiber: Approximately 1.7g
Sugar: Approximately 17g
Please note: Nutrition information is automatically calculated and should only be used as an approximation due to potential ingredient variations and choices.
Loved this festive recipe and planning to make your own Reindeer Cookies? Leave a comment below and share your holiday baking stories or questions! We always love hearing from our community.