
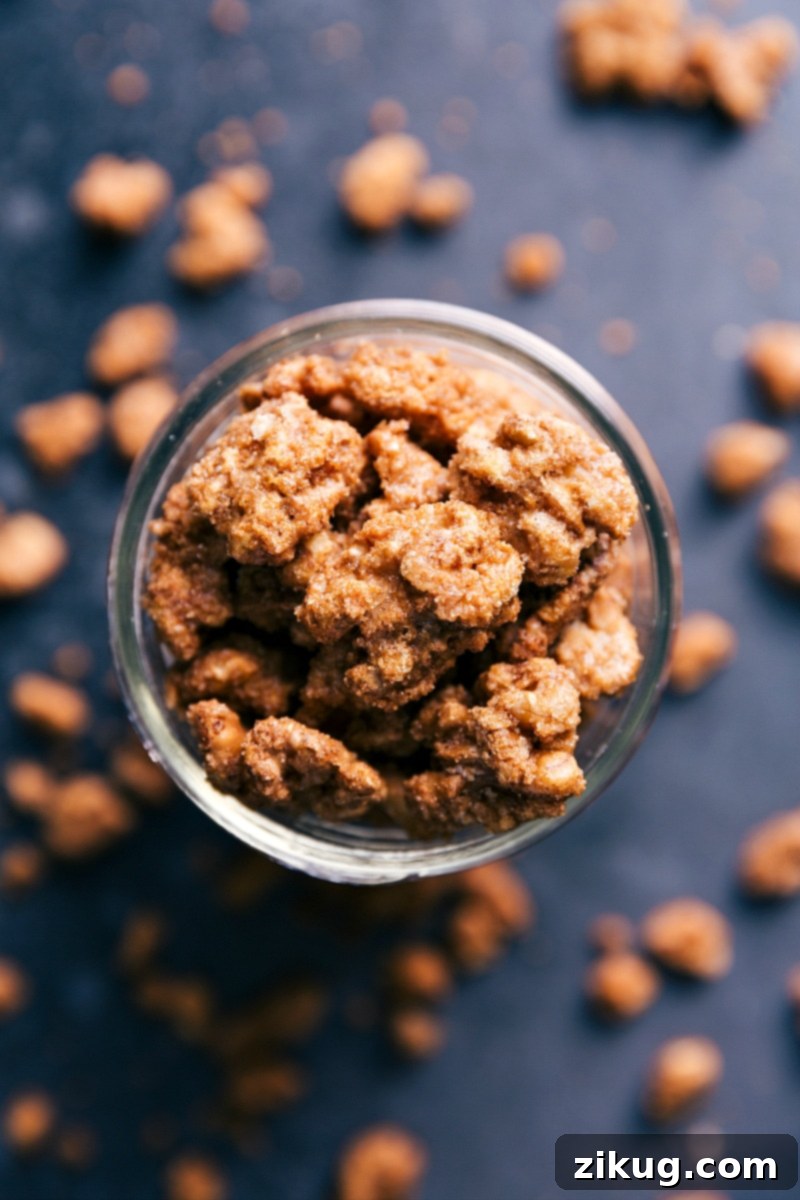
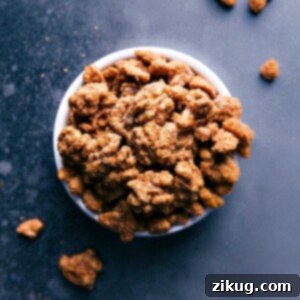
These incredibly sweet and crunchy Candied Walnuts are an absolute delight, making them the perfect addition to your favorite salads or a satisfyingly tasty snack all on their own. They’re wonderfully simple to prepare, requiring just a few basic ingredients and minimal effort, yet yielding a gourmet treat that’s fantastic to package up and give as a thoughtful, homemade gift.
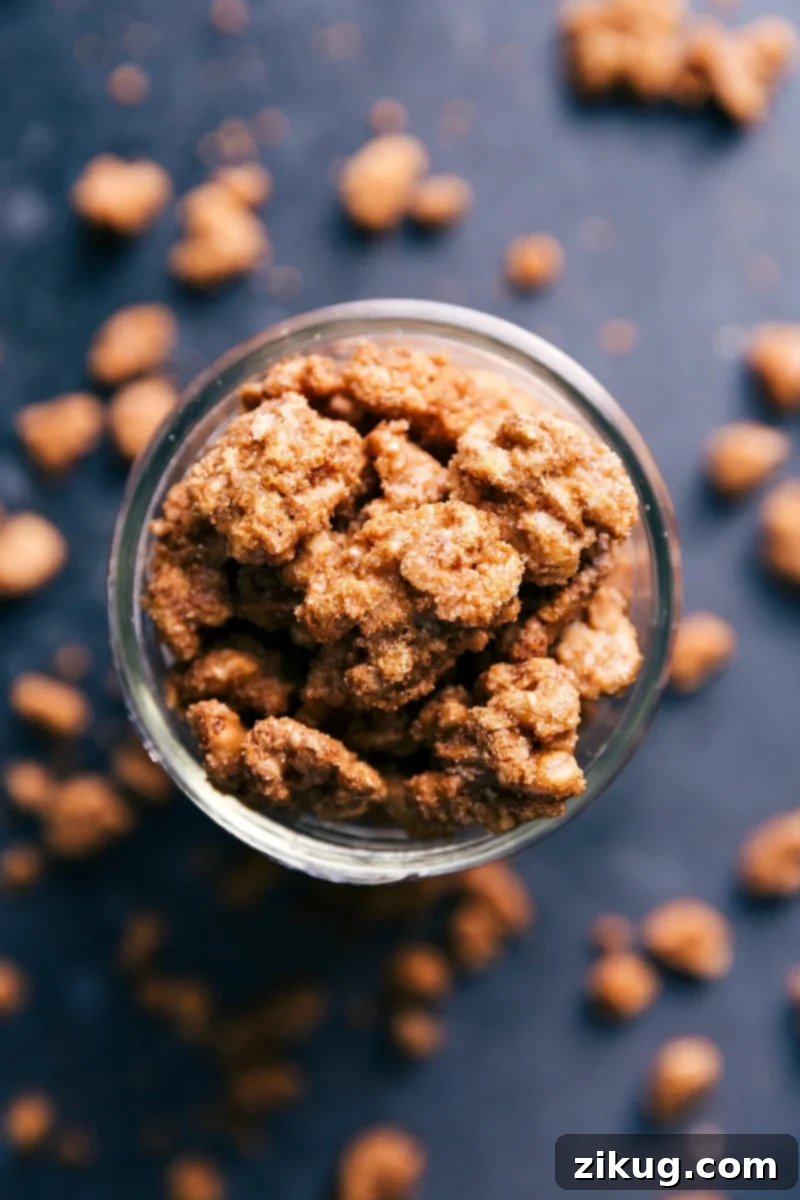
The Best Homemade Candied Walnuts Recipe
For many years, crafting candied pecans has been a cherished holiday tradition in my kitchen. I’ve always loved preparing large batches to ensure a steady supply for enhancing my salads. However, after experiencing the delightful crunch of candied walnuts on a fresh restaurant salad, I was instantly inspired. I knew I had to recreate that magic right in my own home, and ideally, perfect a recipe that was even better.
Let me assure you, there are few culinary pleasures that rival the experience of fresh, homemade candied walnuts! Their flavor is absolutely exquisite, a perfect balance of sweet and nutty with a hint of warm spice. Beyond their incredible taste, the captivating aroma that fills your entire house as they bake is reason enough to whip up a batch. This delightful scent alone makes the effort worthwhile, creating a cozy and inviting atmosphere.
Moreover, these delightful treats have quickly become my go-to holiday gift. They’re a thoughtful and delicious present that everyone adores. Simply package them beautifully in a decorative mason jar or a charming cellophane bag, tie it with a festive bow, and you’ve created the perfect homemade holiday treat that’s sure to impress!
Why You’ll Adore This Candied Walnuts Recipe
There’s something truly special about homemade candied walnuts that sets them apart. This recipe not only delivers an irresistible sweet and savory crunch but also offers a level of freshness and quality that store-bought versions simply can’t match. You have complete control over the ingredients, ensuring no artificial flavors or preservatives. They are incredibly versatile, elevating everything from a simple green salad to a decadent dessert. Plus, the process of making them is surprisingly straightforward, making it an accessible project for even beginner bakers. Whether you’re looking for a quick snack, an impressive garnish, or a heartfelt gift, these candied walnuts tick all the boxes. They’re a fantastic source of healthy fats and antioxidants, making them a treat you can feel good about enjoying.
Simple Ingredients for Irresistible Candied Walnuts
Crafting these perfectly coated, sweet, and crunchy walnuts requires only a handful of everyday ingredients. Each component plays a crucial role in achieving that signature caramelized goodness:
- Walnut Halves: The star of our recipe! Walnuts provide a wonderful earthy, slightly bitter base that beautifully contrasts with the sweet coating. Opt for fresh, high-quality halves for the best texture and flavor. They offer healthy fats, protein, and antioxidants, making this a nutritious indulgence.
- Granulated Sugar: This white sugar forms the primary sweet, crystalline coating around the walnuts, contributing to their signature crunch and golden appearance.
- Light Brown Sugar: Adding brown sugar introduces a deeper, more molasses-like sweetness and a hint of caramel flavor. It also helps create a slightly stickier, more robust coating that adheres wonderfully to the nuts. Make sure it’s lightly packed for accurate measurement.
- Ground Cinnamon: A classic spice that infuses the walnuts with warm, aromatic notes, enhancing the overall flavor profile and making them feel comforting and festive.
- Salt: Don’t skip the salt! A touch of salt is essential for balancing the sweetness, cutting through the richness, and enhancing all the other flavors, making the walnuts truly irresistible.
- Large Egg Whites: The secret binder! Egg whites, when whipped until frothy, create a light, airy base that helps the sugar and spices adhere evenly to each walnut. This ensures a consistent, crispy coating on every single piece.
- Vanilla Extract: A splash of vanilla extract deepens the flavor, adding a layer of sweet, fragrant complexity that complements the cinnamon and walnuts perfectly.
- Water: A small amount of water helps to dissolve the sugars and blend the ingredients into a more manageable mixture, ensuring a smooth and even coating for the walnuts.
Smart Kitchen Tip: Don’t Waste Those Yolks!
When separating the egg white for this recipe, you’ll be left with a perfectly good egg yolk. Don’t let it go to waste! You can easily reserve it for one of our other favorite sweet recipes. Consider using it to enrich these delightful cinnamon roll cookies, to create a fluffy Dutch baby pancake, or for a rich, creamy homemade crème brûlée. It’s a fantastic way to minimize food waste and enjoy another delicious treat!
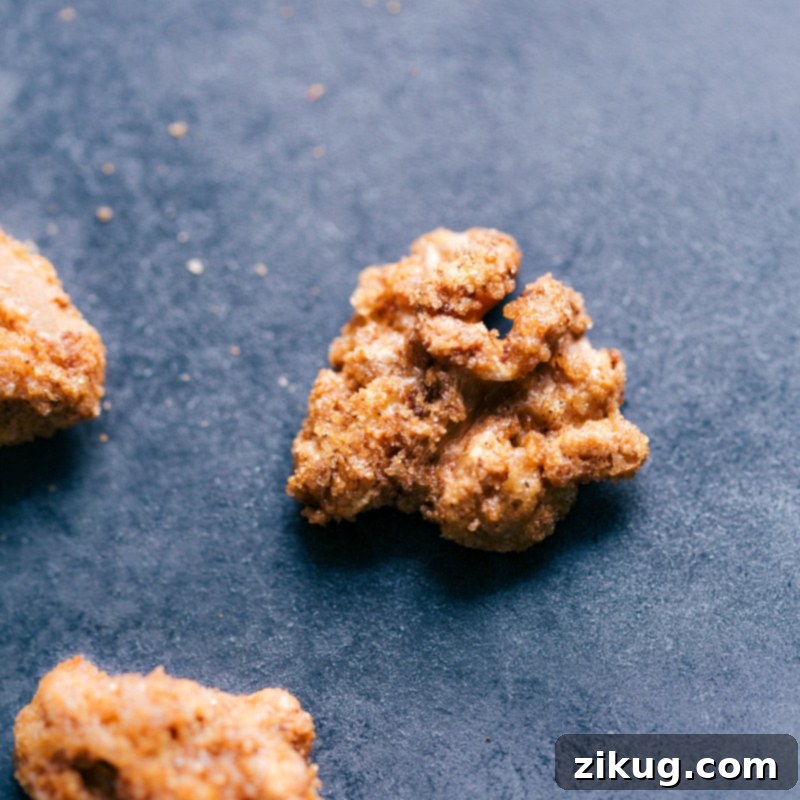
How To Make Candied Walnuts: A Step-by-Step Guide
Making these sweet and savory candied walnuts is a straightforward process that yields impressive results. Follow these simple steps for a perfect batch every time:
- Prepare the Egg Mixture: In a large mixing bowl, whisk together the egg whites, vanilla extract, and water. Continue whisking vigorously until the mixture becomes light, bubbly, and frothy. This frothy texture is key for the coating to adhere properly to the walnuts.
- Coat the Walnuts with Egg Mixture: Add your walnut halves to the frothy egg mixture. Using a spatula or your hands, gently toss the walnuts until each piece is thoroughly coated. Ensure there are no dry spots, as this helps the sugar mixture stick evenly.
- Add the Dry Ingredients: Sprinkle the white sugar, brown sugar, salt, and ground cinnamon directly over the egg-coated walnuts.
- Toss Until Well Coated: Continue to toss the walnuts gently but thoroughly. The goal is to ensure every walnut piece is completely covered in the cinnamon and sugar mixture. This creates that delicious, crisp candy shell during baking.
- Bake to Perfection: Spread the well-coated walnuts in a single layer on your prepared baking sheet (lined with parchment paper or a silicone mat). Bake them in a preheated oven at 250°F (120°C) for approximately 1 hour. During baking, make sure to stir and flip the walnuts every 15 minutes. This prevents sticking, promotes even caramelization, and ensures a consistent golden-brown finish and crunch.
- Cool and Solidify: Once baked, remove the walnuts from the oven and let them cool completely on the baking sheet for 30 to 60 minutes. As they cool, the candied coating will harden and become perfectly crunchy.
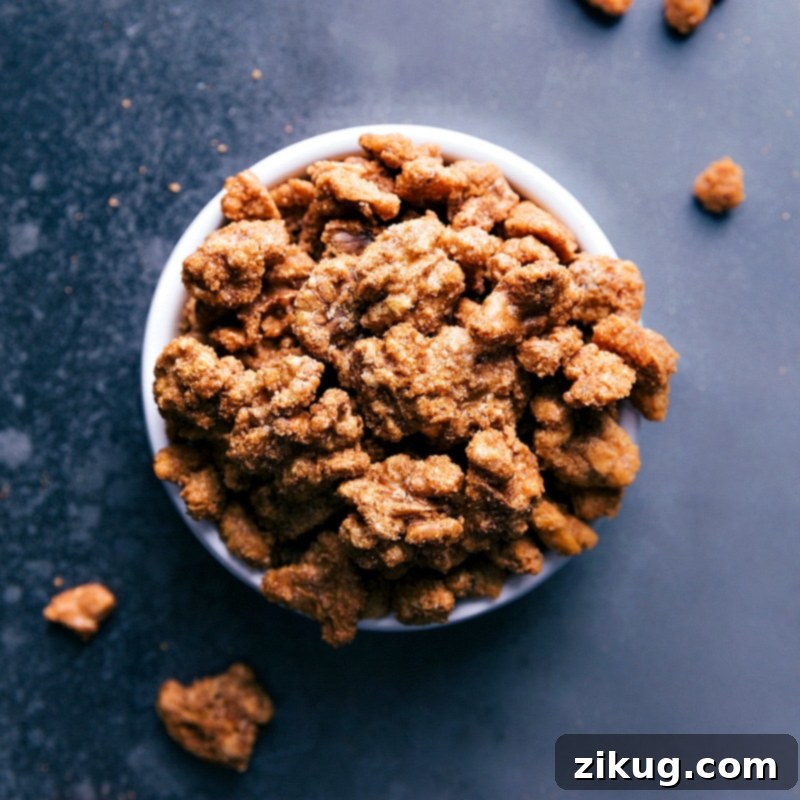
Expert Tips for Candied Walnut Success
Achieving perfectly crisp and caramelized candied walnuts every time is easy with a few key strategies:
- Opt for a Large Sheet Pan: To prevent overcrowding and ensure even caramelization, it’s crucial to use a generously sized baking sheet. A 15×21-inch pan is ideal. If you don’t have one this large, use two smaller sheet pans to spread the walnuts out in a single layer. Overlapping nuts will steam instead of roast, resulting in a less crunchy finish.
- Proper Pan Lining is Essential: Always line your baking pan with parchment paper or a high-quality Silpat® silicone baking mat. This creates a non-stick surface, ensuring your candied walnuts don’t stick and are easy to remove once cooled. Avoid wax paper, which can melt, and aluminum foil, which the sugary coating tends to cling to.
- Monitor Oven Temperature: The low baking temperature (250°F / 120°C) is crucial for slowly drying out the walnuts and achieving a crisp coating without burning the sugars. Resist the urge to increase the temperature, even if it seems like a long bake time.
- Stir Regularly: Stirring the walnuts every 15 minutes during baking is vital. This ensures even cooking and prevents hot spots, promoting uniform browning and crunchiness across all the nuts.
- Cool Completely: Patience is key! Allow the candied walnuts to cool completely on the baking sheet. They will be soft when hot but will crisp up beautifully as they reach room temperature.
- Flavor Twist: Get creative with your spices! For a delightful seasonal variation, consider adding ½ to 1 teaspoon of pumpkin pie spice or apple pie spice to the sugar mixture. You could also experiment with a pinch of cayenne pepper for a sweet and spicy kick, or a different extract like almond or maple for a unique flavor profile.
Quick Fix for Sticky Candied Walnuts
If your candied walnuts turn out a bit sticky after cooling, don’t worry – they can be rescued! Simply transfer them back to a lined baking sheet, spreading them out in a single layer. Bake them in a preheated oven at 325°F (160°C) for an additional 5-15 minutes. This higher temperature will help to further dry and crisp up the coating. Be sure to watch them very carefully during this stage, as the increased heat makes them more susceptible to burning. Remove them as soon as they feel dry and crisp to the touch.
Creative Ways to Enjoy Candied Walnuts
While candied walnuts are undeniably delicious straight from the pan, their versatility extends far beyond a simple snack. Here are some fantastic ways to incorporate these sweet, crunchy gems into your culinary creations:
- Elevate Your Salads: This is where they truly shine! Add a handful to any green salad for an instant upgrade in texture and flavor. They pair especially well with bitter greens, creamy cheeses (like goat cheese or feta), and fruit (like apples or pears).
- Breakfast Booster: Sprinkle them over your morning oatmeal, yogurt parfait, or even cold cereal for a delightful crunch and added sweetness.
- Dessert Topping: Use them to top ice cream sundaes, enhance a fruit crisp, or add a sophisticated touch to homemade cakes and cupcakes. They’re particularly wonderful on pumpkin pie or apple tart.
- Cheese Board Companion: Candied walnuts are a gourmet addition to any cheese board. Their sweetness and crunch provide a beautiful contrast to salty cheeses, charcuterie, and fresh fruits.
- Baked Goods: Fold them into muffin batter, cookie dough, or even quick breads for an unexpected burst of flavor and texture.
- Savory Dishes: Don’t limit them to sweet applications! Crushed candied walnuts can add a unique twist to a breading for chicken or pork, or even as a topping for roasted vegetables.
- Standalone Snack: Of course, they are perfect enjoyed on their own as a satisfying and energizing snack throughout the day.
Storage and Make-Ahead Tips
One of the best things about candied walnuts is their excellent shelf life, making them perfect for meal prepping or preparing ahead for gifts. Proper storage is key to maintaining their delightful crunch and flavor:
- Room Temperature Storage: Once completely cooled, transfer your candied walnuts to a clean, airtight container. Store them at room temperature in a cool, dark pantry for up to two weeks. Avoid direct sunlight or humid environments, which can cause them to become sticky.
- Extended Storage: For longer freshness, place the airtight container in a cool, dark area (like a basement or a cooler cabinet) where they can last for up to a month.
- Freezing for Long-Term: Candied walnuts freeze exceptionally well! Place them in a freezer-safe, airtight container or heavy-duty freezer bag and store in the freezer for up to two months.
- Thawing Instructions: When you’re ready to enjoy frozen candied walnuts, simply remove them from their freezer container and spread them in a single layer on a plate or tray. Let them sit at room temperature for an hour or two until fully thawed. Thawing them outside the bag prevents condensation from making them soft or sticky.
More Delicious Seasonal Treats to Try
If you love the sweet crunch of these candied walnuts, you’ll surely enjoy exploring other delightful seasonal treats from our collection. Perfect for holidays, special occasions, or just a sweet craving, these recipes offer a variety of flavors and textures:
- Candied Pecans Recipe: A classic holiday favorite, just as versatile and delicious as their walnut counterparts.
- Honeycomb Candy: Light, airy, and shatteringly crisp, this unique candy is a true showstopper.
- Turtle Candy: Indulge in the rich combination of pecans, caramel, and chocolate with this decadent treat.
- Mexican Wedding Cookies: Delicate, buttery, and melt-in-your-mouth cookies dusted with powdered sugar.
- Toffee: A buttery, crunchy brittle often covered in chocolate and nuts – utterly addictive!
Print Recipe
Candied Walnuts
Chelsea Lords
15 minutes
1 hour
1 hour 45 minutes
16 ounces
Video Tutorial
Equipment
-
Large sheet pan (15″ x 21″ or 2 smaller ones)
-
Parchment paper or Silicone baking mat (Silpat)
-
Large mixing bowl
-
Whisk
Ingredients
- 1 pound walnut halves
- 1/2 cup granulated sugar
- 1/2 cup light brown sugar (lightly packed)
- 1/2 tablespoon ground cinnamon
- 1 teaspoon salt
- 1 large egg white (discard yolk or reserve for another recipe)
- 1/2 tablespoon vanilla extract
- 1/2 tablespoon water
Instructions
-
Preheat your oven to 250°F (120°C). Prepare an extra-large sheet pan (approx. 15×21 inches) or two smaller sheet pans by lining them with parchment paper or a silicone baking mat. Set aside.
-
In a very large bowl, whisk the egg white, vanilla extract, and water together until the mixture is light, airy, and frothy.
-
Add the walnut halves to the frothy egg white mixture. Toss thoroughly to ensure all walnuts are well coated.
-
Sprinkle the granulated sugar, brown sugar, cinnamon, and salt directly over the coated walnuts. Continue to gently stir and toss until every walnut is completely and evenly covered in the sugar and spice mixture.
-
Spread the coated walnuts in a single, even layer across your prepared baking sheet(s). Ensure that the nuts are not overlapping, as this helps them to crisp rather than steam.
-
Bake in the preheated oven for 1 hour, making sure to stir and flip the walnuts every 15 minutes to promote even cooking and caramelization.
-
Once baked, remove the walnuts from the oven and allow them to cool completely on the baking sheet for 30–60 minutes. They will crisp up and solidify as they cool.
Recipe Notes
Storage: Keep at room temperature in a sealed, airtight container for up to 2 weeks. For longer storage, place in a sealed, airtight container in a cool, dark area for up to a month. Alternatively, freeze in an airtight container for up to 2 months. When thawing, remove from the bag or container and let sit at room temperature to prevent softening or stickiness from condensation.
Nutrition Information
Serving:
1
ounce
|
Calories:
244
kcal
|
Carbohydrates:
19
g
|
Protein:
5
g
|
Fat:
18
g
|
Saturated Fat:
2
g
|
Sodium:
151
mg
|
Potassium:
138
mg
|
Fiber:
2
g
|
Sugar:
15
g
|
Vitamin A:
6
IU
|
Vitamin C:
1
mg
|
Calcium:
36
mg
|
Iron:
1
mg
Nutrition information is automatically calculated, so should only be used as an approximation.
Love this recipe? Leave a comment below and share your thoughts!