
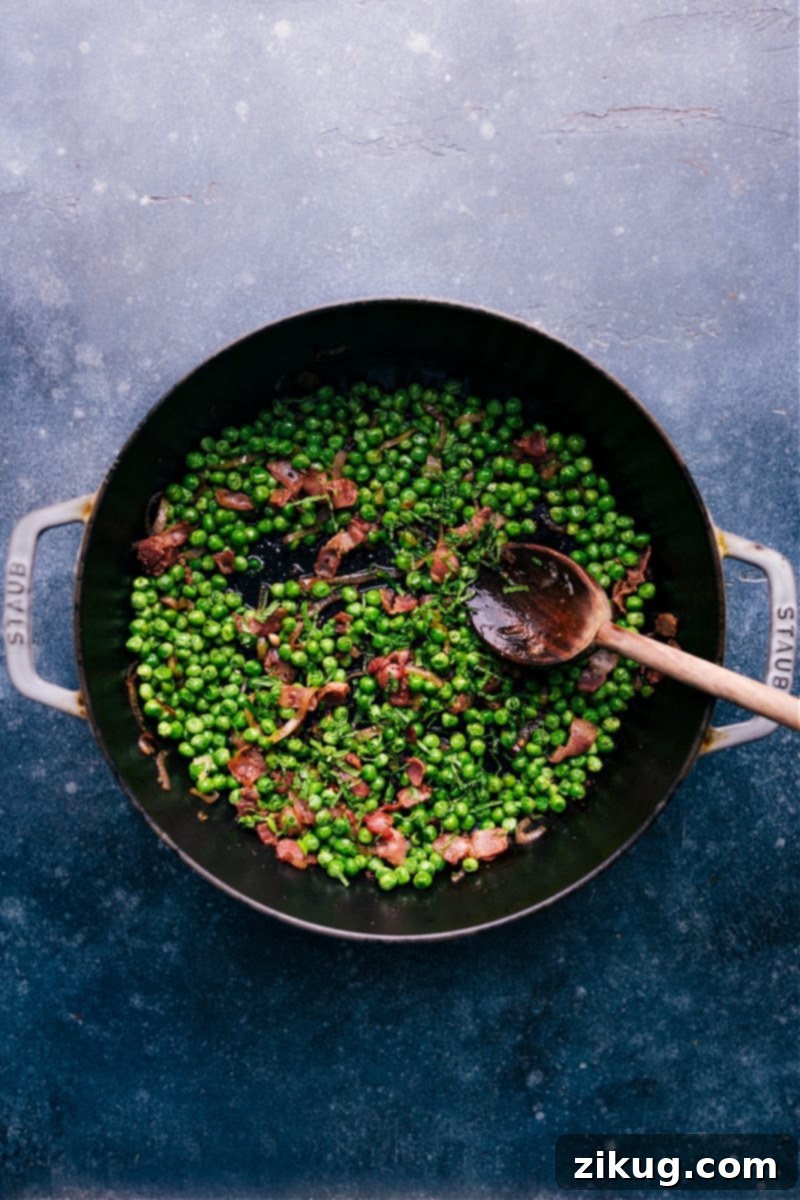
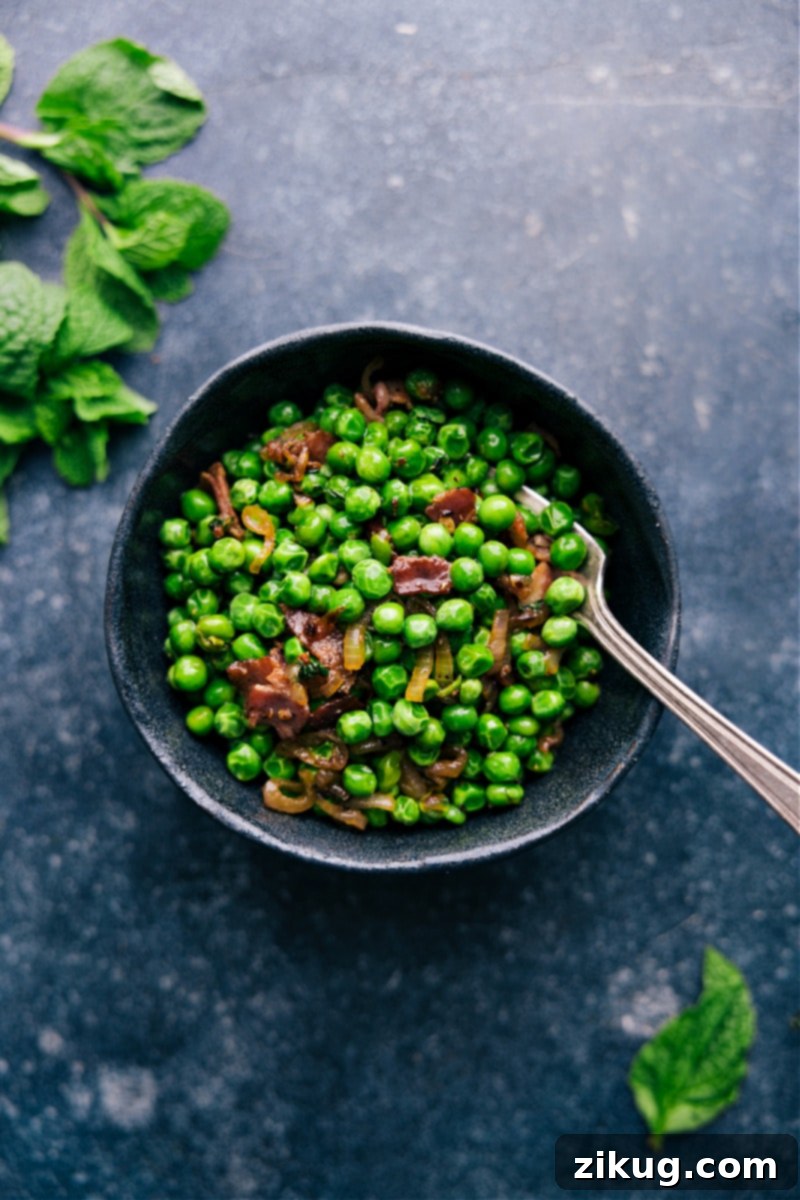
This Frozen Peas recipe is a total show-stopper! Forget bland boiled peas; with crisp bacon, perfectly caramelized shallots, and a touch of aromatic garlic, you’ll never want to prepare frozen peas any other way. This simple yet incredibly flavorful side dish elevates a common pantry staple into a culinary delight that will impress even the most discerning palates.
Looking to make your vegetable sides more exciting? Explore our collection of delightful recipes like Easy Roasted Vegetables, tender Roasted Green Beans, or our popular Baked Sweet Potatoes (with a unique quick-cook secret!).
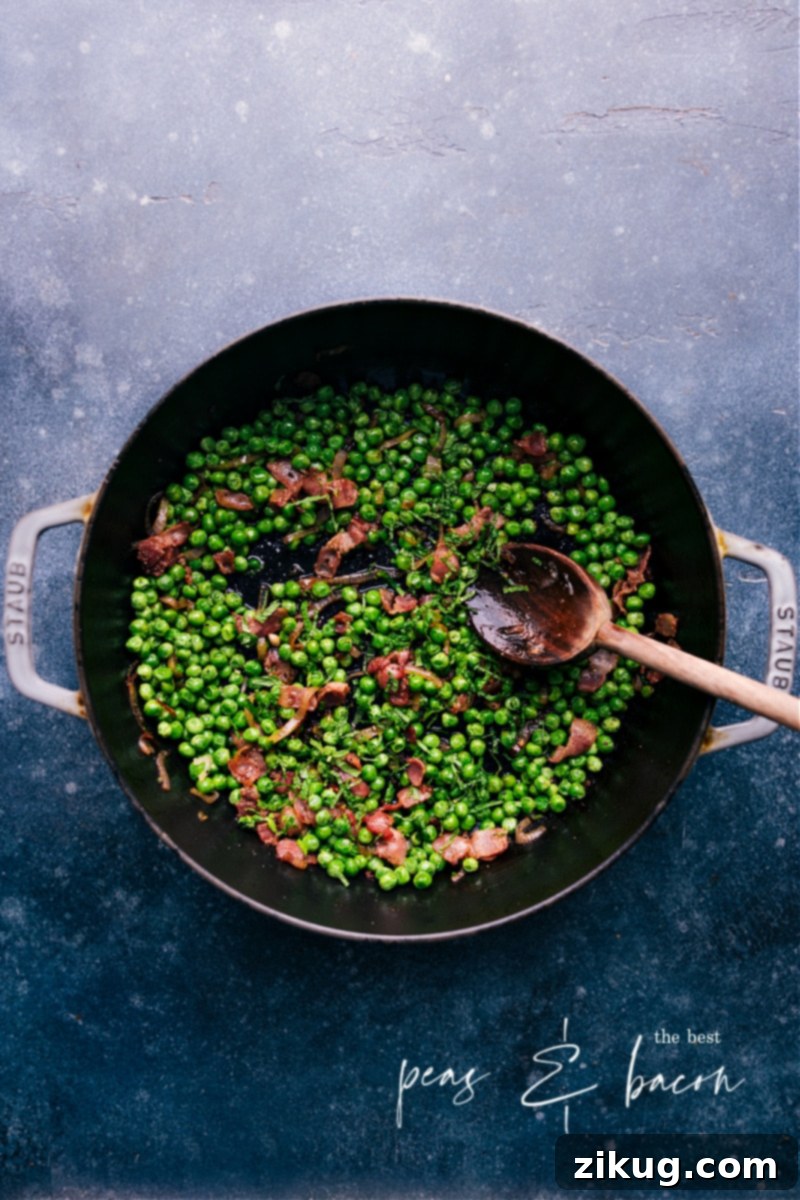
The Best Frozen Peas Recipe You’ll Ever Make
If you’ve ever wondered how to make frozen peas taste truly amazing, your search ends here! This isn’t just another pea recipe; it’s *the* recipe that has my entire family not only eating their greens but actively begging for more. It transforms a humble bag of frozen peas into a vibrant, savory, and incredibly satisfying side dish that’s bursting with flavor.
Many assume that making frozen peas delicious requires a complicated process or an extensive ingredient list. However, this couldn’t be further from the truth with our recipe. These seasoned frozen green peas are remarkably quick and easy to prepare, making them a perfect weeknight addition. Yet, their rich, savory profile also makes this side dish absolutely worthy of a prominent spot on your holiday table or for any special gathering. Prepare to be amazed by how such simple ingredients can create such a spectacular result! (I know they’ll certainly be a staple on my table, especially during festive seasons!)
The secret lies in a harmonious blend of textures and deeply developed flavors. The smoky, salty crunch of bacon perfectly complements the sweet, tender peas, while the caramelized shallots add a layer of subtle sweetness and oniony depth that garlic further enhances. This combination is a game-changer for anyone who thinks frozen peas are boring.
Essential Ingredients for Perfect Frozen Peas
Creating this irresistible side dish requires just a few key ingredients, each playing a crucial role in delivering maximum flavor and texture. Here’s what you’ll need:
- Bacon: The star ingredient that adds smoky, salty, and crispy texture. You can use your favorite type! For extra crispy bacon, opt for thin slices. If you prefer a chewier texture with more meaty bite, thicker cuts work wonderfully too. The rendered bacon fat also serves as a fantastic cooking medium, infusing the shallots and peas with incredible flavor.
- Shallots: These delicate members of the onion family offer a milder, sweeter flavor than regular onions and caramelize beautifully. We cook them slowly in a blend of olive oil and bacon drippings to achieve a rich, golden hue and unparalleled depth of flavor. This caramelization is key to the dish’s gourmet appeal.
- Frozen Peas: The foundation of our dish. A 10-12 oz. bag is ideal. Look for high-quality sweet peas for the best results. I personally recommend Birdseye® Steamfresh Premium Selects Sweet Peas for their consistent quality and sweetness (not sponsored, just a genuine preference!).
- Garlic: A foundational flavor enhancer. Freshly minced garlic provides an aromatic punch that complements the bacon and shallots perfectly. If fresh garlic isn’t available, you can substitute with 1/4 teaspoon of garlic powder. Remember, fresh is always best for that vibrant aroma!
- Salt & Pepper: Simple yet incredibly essential. These two seasonings are crucial for balancing and making all the other flavors truly pop. Don’t underestimate their power in a dish with minimal ingredients; they elevate everything from good to unforgettable.
- Olive Oil: Used sparingly to help initiate the cooking process for the bacon and shallots, and to ensure even caramelization.
Quick Tip: Do You Need to Thaw Frozen Peas?
No! Absolutely no need to thaw frozen peas before cooking. They are designed to cook directly from frozen and will warm through beautifully in just a few minutes when added to the hot pan. Thawing them beforehand can sometimes lead to a mushier texture.
Why This Recipe Works So Well: The Magic of Flavor Pairing
This recipe isn’t just about combining ingredients; it’s about creating a symphony of flavors and textures. The crispy bacon provides a savory counterpoint to the natural sweetness of the peas. The shallots, cooked until deeply golden and sweet, add a delicate oniony layer that’s far more refined than using a regular onion. Garlic brings an essential aromatic warmth, rounding out the savory profile. Together, these components transform plain frozen peas into a sophisticated side dish that feels gourmet but is incredibly easy to achieve. It’s the perfect balance of savory, sweet, and umami that makes every bite truly delightful.
How To Make This Irresistible Frozen Peas Recipe
Get ready to cook the best frozen peas of your life with these straightforward steps:
- Preparation is Key: Begin by dicing your bacon into small, even pieces. Then, halve your large shallot and slice it thinly. Mince your garlic if using fresh. This prep work ensures a smooth cooking process.
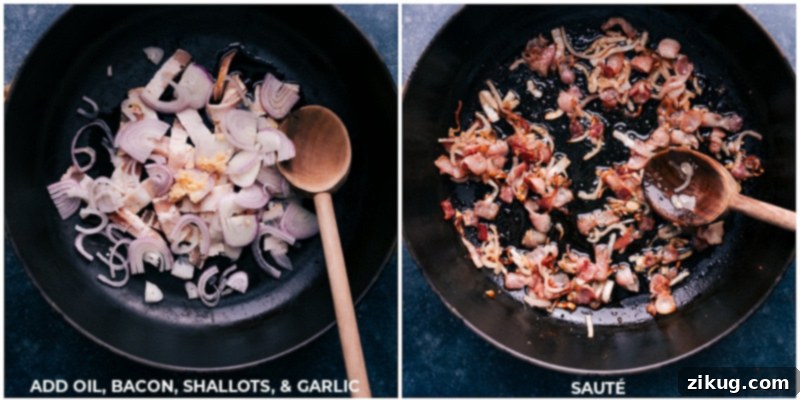
- Crispy Bacon & Caramelized Shallots: Heat a tablespoon of olive oil in a large (10-12 inch) pan over medium heat. Add the diced bacon, sliced shallot, and minced garlic to the pan. Cook this mixture for about 5-7 minutes. Stir occasionally at first to prevent sticking, then more frequently towards the end as the bacon crisps up and the shallots become tender and beautifully caramelized. This step builds the foundational flavor of your dish, so don’t rush it!
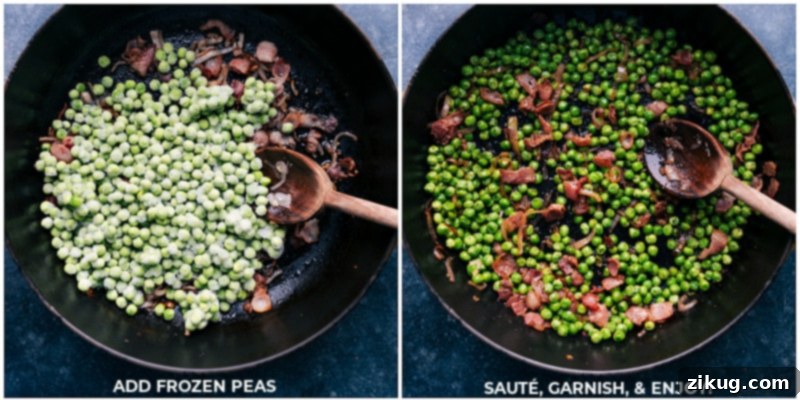
- Integrate the Peas: Once the bacon is browned and crispy and the shallots are soft and sweet, add the bag of frozen peas directly to the pan. Sprinkle generously with salt and pepper to taste (a good starting point is 1/2 tsp salt and 1/4 tsp pepper, but adjust based on your bacon’s saltiness). Reduce the heat to medium-low. Continue to cook, stirring frequently, for about 3-5 minutes, or until the peas are thoroughly heated through and tender-crisp. Taste and adjust seasonings as needed.
- The Flavorful Finish: Remove the pan from the heat. For an extra burst of freshness and brightness, you can stir in 1-1/2 teaspoons of finely chopped fresh herbs like mint or flat-leaf parsley, and a teaspoon of fresh lemon juice. These additions are optional but highly recommended for an elevated taste. Serve your delicious peas warm immediately and enjoy!
Quick Tip: Enhancing Flavor and Freshness
How to further improve frozen peas? A squeeze of fresh lemon juice or a handful of fresh herbs like parsley, mint, or dill can add an incredible burst of freshness and brightness right before serving. These simple additions can awaken the flavors and add a gourmet touch.
Storage Solutions
Leftovers? No Problem!
Should you be lucky enough to have any leftovers, allow the peas to cool completely to room temperature. Then, transfer them to an airtight container and store in the refrigerator for up to 3 days. To reheat, you can gently warm them on the stovetop over low heat until hot, or use the microwave in short bursts, stirring occasionally, until heated through. Be careful not to overcook them during reheating to maintain their tender-crisp texture.
Explore More Delicious Vegetable Side Dishes
If you loved transforming simple peas into a culinary masterpiece, you’ll definitely want to try these other fantastic vegetable side dish recipes:
- Roasted Sweet Potatoes: Discover both sweet and savory versions of this comforting classic!
- Roasted Corn Salad: A vibrant and fresh salad with sweet bell peppers, perfect for summer.
- Au Gratin Potatoes: Our absolute favorite potato side dish, creamy, cheesy, and utterly decadent!
- Roasted Carrots: Learn two different ways to prepare beautifully tender and flavorful roasted carrots.
- Avocado Salsa: A refreshing and zesty salsa featuring ripe avocados and juicy tomatoes.
Print Recipe
Gourmet Frozen Peas Recipe
Chelsea Lords
10
10
20
4 as a side
Video
Watch a video demonstration of this recipe on our YouTube channel for a visual guide!
Equipment
-
Large pan 10–12 inches
Ingredients
Ingredients listed for 4 servings (US Units):
- 1 tablespoon olive oil
- 3 ounces (3 slices) bacon diced
- 1 large shallot halved and thinly sliced (approx. 1/2 cup)
- 1/2 teaspoon minced garlic or 1/4 tsp garlic powder
- 1 (10 to 12-ounce) bag frozen peas
- Salt and pepper (to taste, see note 1)
- 1-1/2 teaspoons finely chopped fresh mint or flat-leaf parsley, optional
- 1 lemon for optional fresh juice
Instructions
-
Dice the bacon into small pieces and thinly slice the shallot before you begin cooking. This ensures everything is ready for sequential addition to the pan.
-
Add olive oil to a large (10–12-inch) pan and place over medium heat. Introduce the diced bacon, sliced shallot, and minced garlic into the hot pan. Cook this mixture for approximately 5–7 minutes, stirring occasionally at first to render the bacon fat, then more frequently as the bacon browns and crisps, and the shallots soften and turn a beautiful golden caramel color. The aroma will be incredible!
-
Once the bacon is perfectly crisp and the shallots are tender, add the frozen peas directly into the pan. Season generously to taste with salt and pepper (we suggest starting with 1/2 teaspoon of salt and 1/4 teaspoon of pepper, adjusting based on the saltiness of your bacon and personal preference). Reduce the heat to medium-low. Continue to cook, stirring frequently, until the peas are heated through and tender-crisp, which typically takes about 3–5 minutes. Give them a quick taste test to ensure the seasoning is perfect.
-
Remove the pan from the heat. For an added layer of brightness and freshness, you can optionally stir in 1-1/2 teaspoons of finely chopped fresh mint or flat-leaf parsley, and 1 teaspoon of fresh lemon juice. These additions are not mandatory but truly elevate the dish. Serve warm immediately and savor every bite!
Recipe Notes
This delightful recipe is adapted from Ina Garten’s renowned peas and pancetta recipe, known for its elegant simplicity and rich flavors.
Storage Tips: To store any delicious leftovers, ensure the peas have cooled completely to room temperature. Transfer them to an airtight container and keep them in the refrigerator for up to 3 days. When ready to enjoy again, reheat gently on the stovetop over low heat or in the microwave until thoroughly warmed through.
Nutrition Information
Approximate nutritional values per serving:
- Serving Size: 1 serving
- Calories: 170 kcal
- Carbohydrates: 11g
- Protein: 6g
- Fat: 12g
- Saturated Fat: 3g
- Polyunsaturated Fat: 2g
- Monounsaturated Fat: 6g
- Trans Fat: 0.03g
- Cholesterol: 14mg
- Sodium: 209mg
- Potassium: 230mg
- Fiber: 3g
- Sugar: 0.5g
- Vitamin A: 8085 IU
- Vitamin C: 10mg
- Calcium: 27mg
- Iron: 1mg
Nutrition information is automatically calculated and should only be used as an approximation. Actual values may vary based on specific ingredients and preparation methods.
Love this recipe? Leave a comment below and share your thoughts!
Your feedback helps us create more delicious content.