
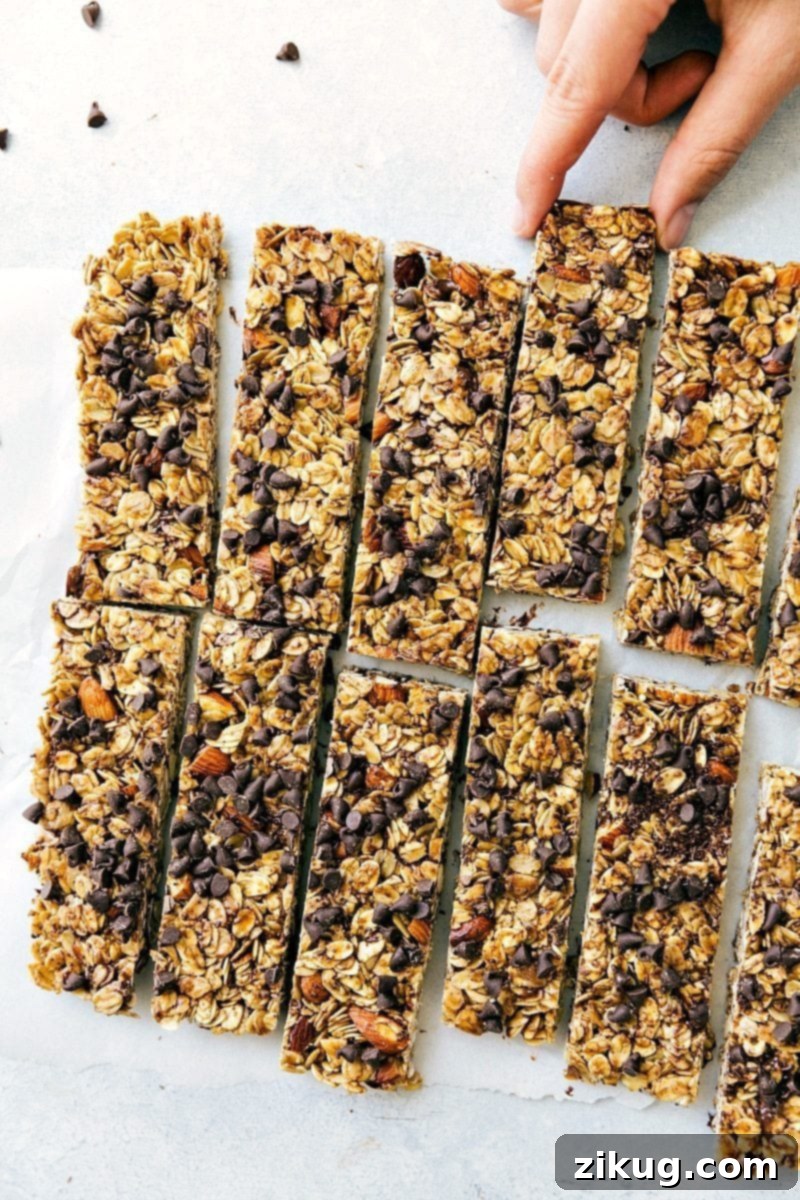
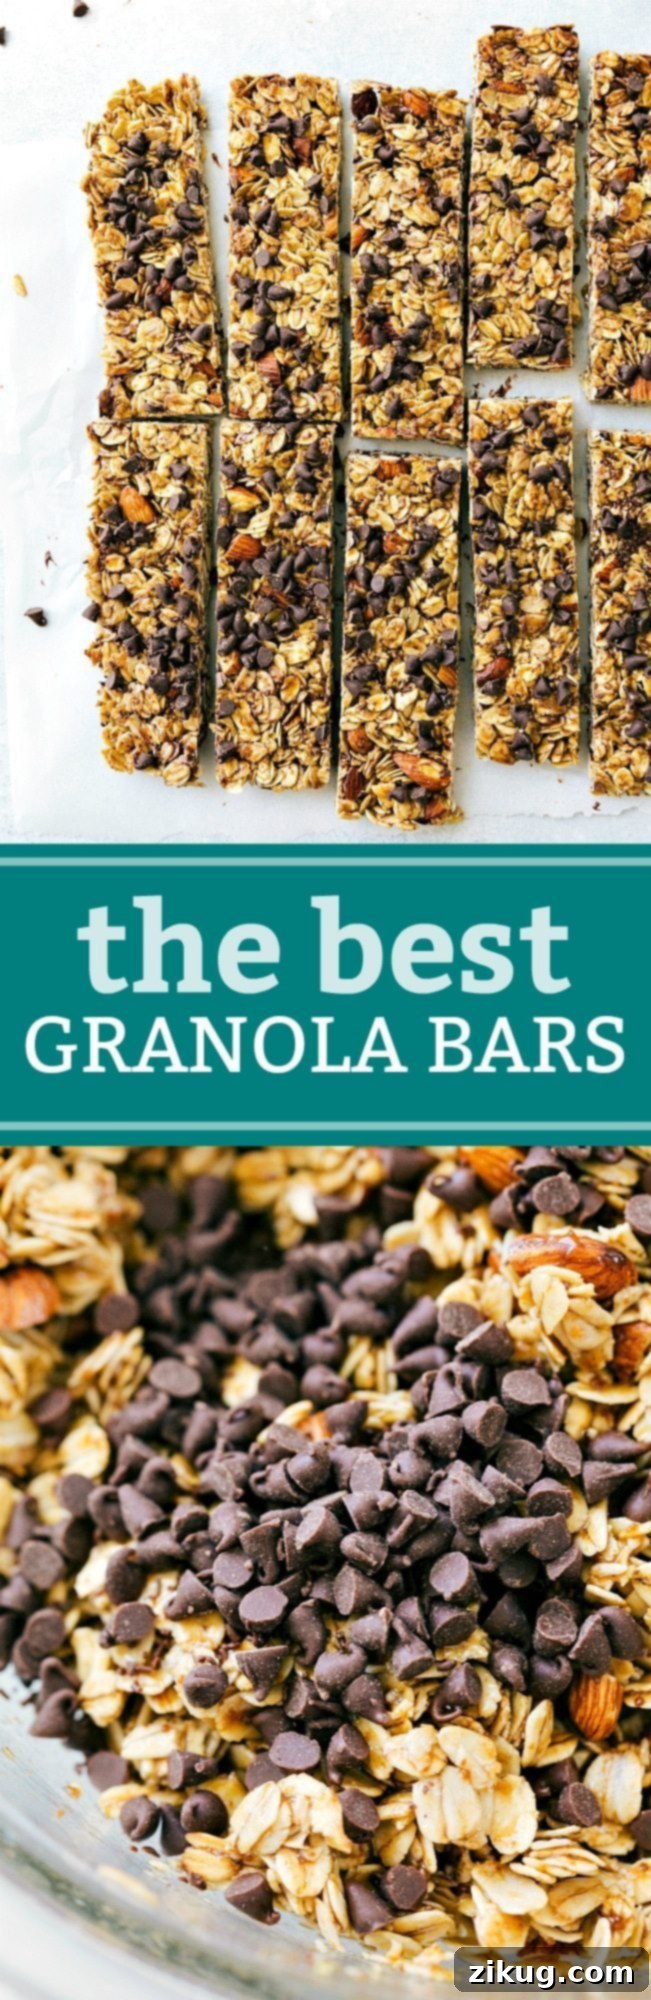
Whip up these delightful Homemade Granola Bars effortlessly, featuring hearty oats, crunchy nuts, golden honey, and a touch of indulgent chocolate!
For an extra chocolatey treat, explore our Decadent Dark Chocolate Granola Bars next!
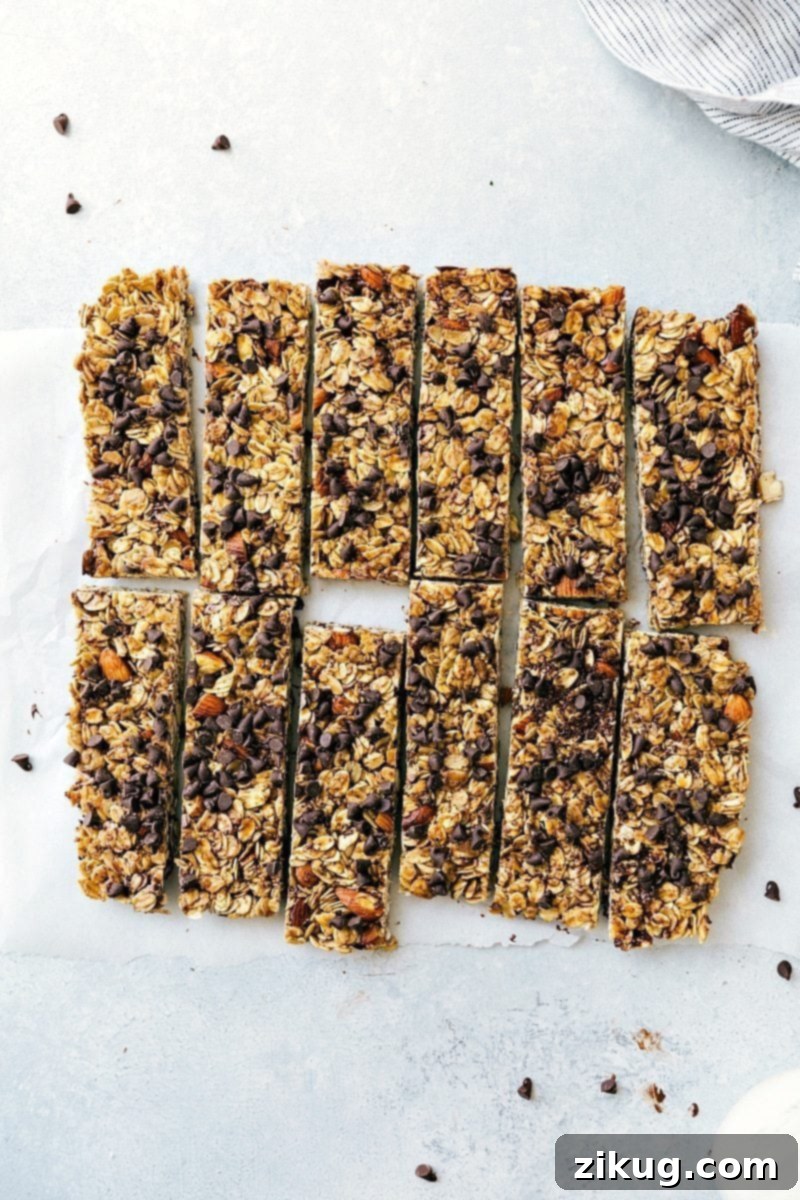
Healthy & Wholesome Homemade Granola Bars: Your Go-To Snack
In a world bustling with activity, finding a convenient, nutritious, and truly satisfying snack can be a challenge. That’s where these incredible homemade granola bars shine! Far superior to their store-bought counterparts, which often contain excessive sugars and artificial ingredients, these bars are a healthier, tastier, and more economical choice for the whole family. They are packed with wholesome grains, healthy fats, and natural sweetness, making them the perfect fuel for any outing, school lunchbox, or even a quick breakfast on the go.
As a busy parent, I understand the need for quick and easy recipes that deliver big on flavor and nutrition. That’s why I’m thrilled to share this foolproof recipe for granola bars. I regularly prepare large batches twice a week, a process that takes me only about 20-25 minutes from start to finish. The secret to their irresistible depth of flavor lies in a simple yet crucial step: toasting the oats and nuts. This brief roasting process unlocks a rich, nutty aroma and enhances their natural taste, elevating these simple ingredients into something truly extraordinary.
Why Make Your Own Granola Bars?
Opting for homemade granola bars comes with a myriad of benefits. Firstly, you gain complete control over the ingredients, allowing you to choose organic, non-GMO, or allergen-friendly options. This transparency ensures you know exactly what you and your loved ones are consuming, avoiding unwanted preservatives, high-fructose corn syrup, and artificial flavors prevalent in many commercial brands. Secondly, the flavor and texture of fresh, homemade bars are simply unmatched. The combination of perfectly toasted oats, crunchy nuts, and a gooey, sweet binder creates a sensory experience that store-bought bars can rarely achieve.
Beyond health and taste, making granola bars at home is incredibly cost-effective. Buying ingredients in bulk, especially staples like oats and honey, can significantly reduce the per-serving cost compared to purchasing individually wrapped bars. It’s also an excellent way to involve children in the kitchen, teaching them about healthy eating and the joy of creating something delicious from scratch. These easy homemade granola bars aren’t just food; they’re a blank canvas for culinary creativity, adaptable to almost any taste preference or dietary need.
Quick Tip for Nut Selection
Not a fan of cashews and almonds? No problem! These homemade granola bars are incredibly versatile. Feel free to substitute with your favorite nuts like pistachios, walnuts, pecans, peanuts, or hazelnuts. A mix of different nuts can also add an exciting variety of textures and flavors!
Essential Ingredients for Your Homemade Granola Bars
Crafting the perfect batch of healthy granola bars starts with understanding the role each ingredient plays. Here’s a detailed look at what you’ll need and why:
- Old-fashioned oats (rolled oats): These are the foundation of your granola bars, providing that characteristic chewy texture and robust structure. Crucially, avoid quick-cooking or steel-cut oats, as they won’t bind as effectively and will result in a different texture. Old-fashioned oats offer a good source of fiber and sustained energy.
- Cashews and almonds: These nuts contribute a delightful crunch and a rich, buttery flavor profile. Beyond texture, they’re packed with healthy monounsaturated fats, protein, and essential minerals, enhancing the nutritional value of your bars.
- Honey: A natural, unrefined sweetener, honey not only adds sweetness but acts as a vital binding agent, holding all the ingredients together. Its sticky consistency is key to preventing crumbly bars. You can learn more about its benefits here.
- Unsalted butter: Butter adds a rich, comforting flavor and contributes to the overall moisture and chewiness of the bars. It also aids in binding the mixture, creating a more cohesive and pleasant texture.
- Brown sugar: Offering both sweetness and a subtle molasses flavor, brown sugar helps in caramelization and ensures the bars remain moist and tender, complementing the honey beautifully.
- Fine sea salt: A pinch of salt is essential for balancing and enhancing all the other flavors, especially the sweetness from the honey and chocolate. It truly makes the ingredients pop.
- Vanilla extract: This aromatic liquid infuses the homemade granola bars with a warm, comforting fragrance and a subtle depth of flavor that ties all the ingredients together.
- Toasted coconut flakes (optional): For those who enjoy a tropical twist, toasted coconut flakes add a unique layer of flavor and a delightful chewiness. Ensure they are toasted for maximum impact.
- Miniature chocolate chips: These are the star of the show for many! They add bursts of sweetness and a beloved chocolatey flavor. We divide them: half are mixed in to help bind the bars further as they slightly melt, while the remaining half are sprinkled on top for a beautiful finish and an extra chocolate kick.
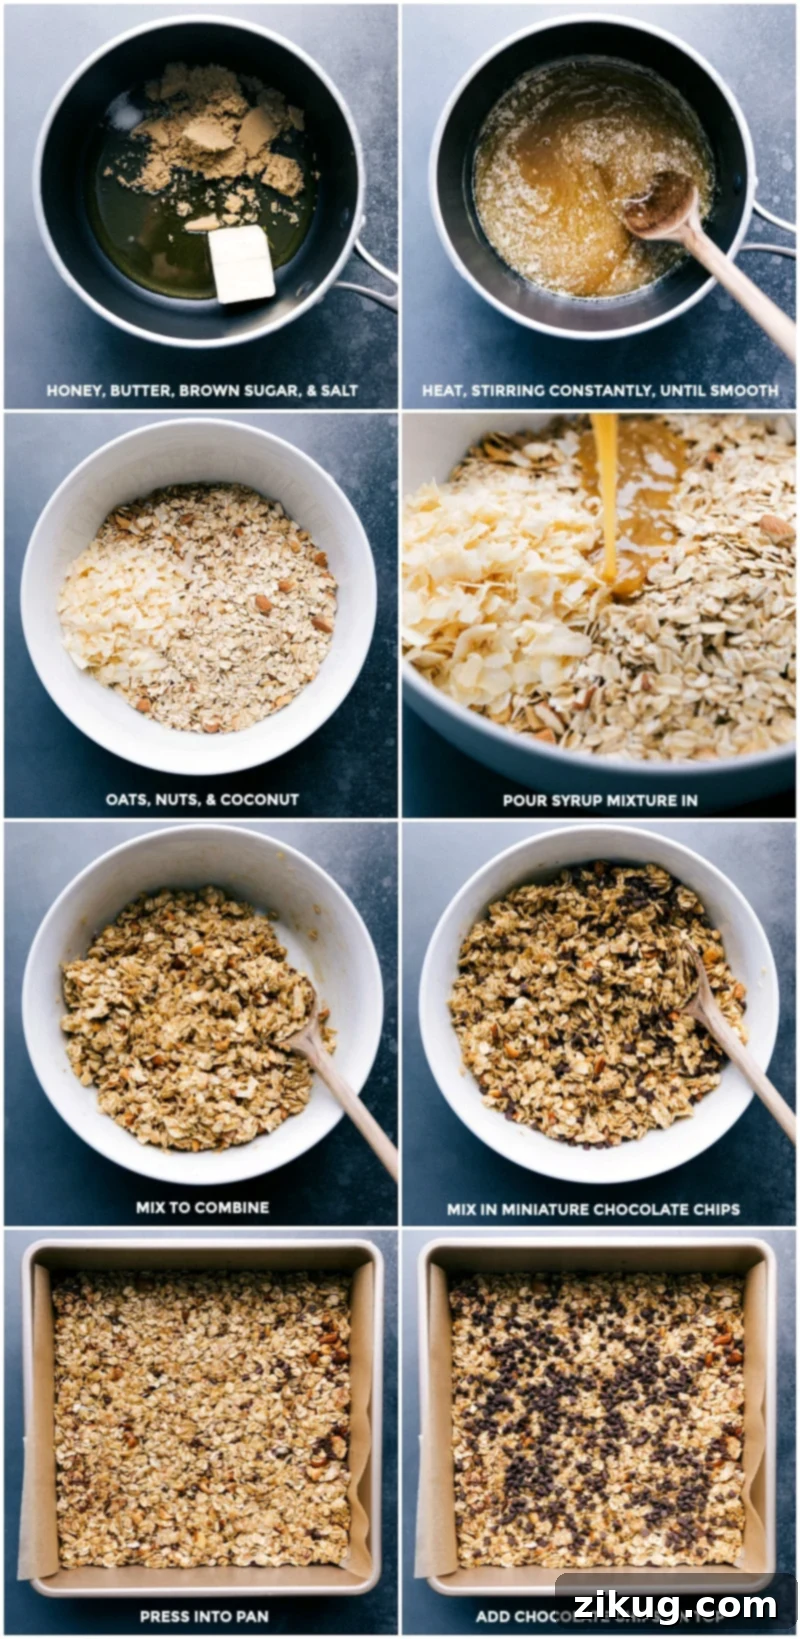
Step-by-Step Guide: How To Make Homemade Granola Bars
Creating these delightful **homemade granola bars** is a straightforward process. Follow these detailed steps for perfect results every time:
- Preheat Oven and Prepare Pans: Begin by preheating your oven to 350°F (175°C). Line a large sheet pan with parchment paper or a silicone baking mat; this is for toasting. Then, line a separate 8×8-inch baking pan (for thicker bars) or a 9×9-inch pan (for thinner bars) with parchment paper, ensuring there’s an overhang on two sides. This overhang will serve as handles for easy removal later.
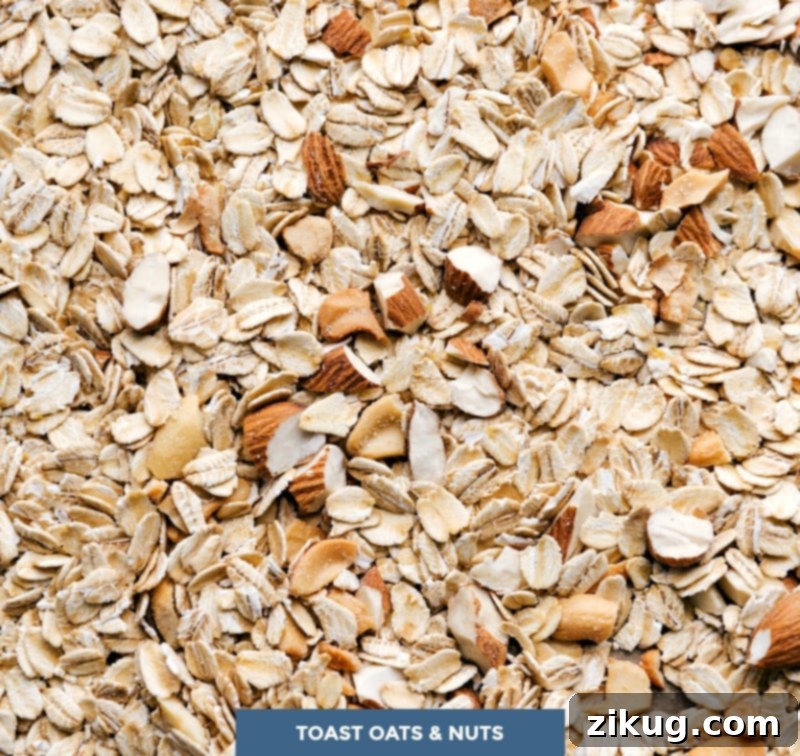
- Toast Oats & Nuts for Enhanced Flavor: Spread the old-fashioned oats evenly on the prepared large sheet pan. Coarsely chop the cashews and almonds, then add them to the same pan with the oats. Bake this mixture for 2-3 minutes, then remove, stir well, and return to the oven for another 2-3 minutes, or until the oats and nuts are lightly golden brown and wonderfully fragrant. Keep a close eye on them to prevent burning. Once toasted, remove from the oven and allow to cool slightly.
- Craft the Binding Syrup: While the oats and nuts cool, cut the unsalted butter into small cubes. In a medium-sized pot, combine the honey, butter, light brown sugar, and fine sea salt. Place the pot over medium heat. Stir constantly with a spatula or whisk until the mixture is completely smooth and the brown sugar has fully dissolved. It’s crucial not to let the mixture simmer or boil; remove it from the heat immediately once smooth.
- Combine Dry and Wet Ingredients with Chocolate: In a large mixing bowl, combine the cooled toasted oat and nut mixture with the optional toasted coconut flakes. Pour the warm syrup mixture over the dry ingredients and add the vanilla extract. Stir everything thoroughly until all the oats, nuts, and coconut are uniformly coated in the sweet, sticky syrup. Let this mixture cool for a few minutes to prevent the chocolate chips from melting too quickly. Once slightly cooled, fold in 1/4 cup of the miniature chocolate chips. It’s perfectly fine if they melt a little; this actually helps in binding the bars together more firmly.
- Press, Chill & Set for Perfection: Transfer the entire granola bar mixture into your parchment-lined 8×8-inch or 9×9-inch baking pan. Using a silicone spatula or the back of a spoon, press the mixture down very firmly and evenly across the pan. This step is critical for ensuring your bars hold together and don’t crumble later. Take your time and apply consistent pressure. Once compressed, sprinkle the remaining 1/4 cup of chocolate chips evenly over the top and gently press them in to adhere. Cover the pan with plastic wrap and place it in the refrigerator for at least 1 hour, or up to 3 hours, to allow the bars to firm up completely before cutting.
- Cut into Bars & Enjoy: Once chilled and firm, use the parchment paper overhang to lift the entire slab of granola bars out of the pan and onto a cutting board. With a sharp knife, cut the slab into 12 evenly sized bars. Serve immediately, or store them for later enjoyment.
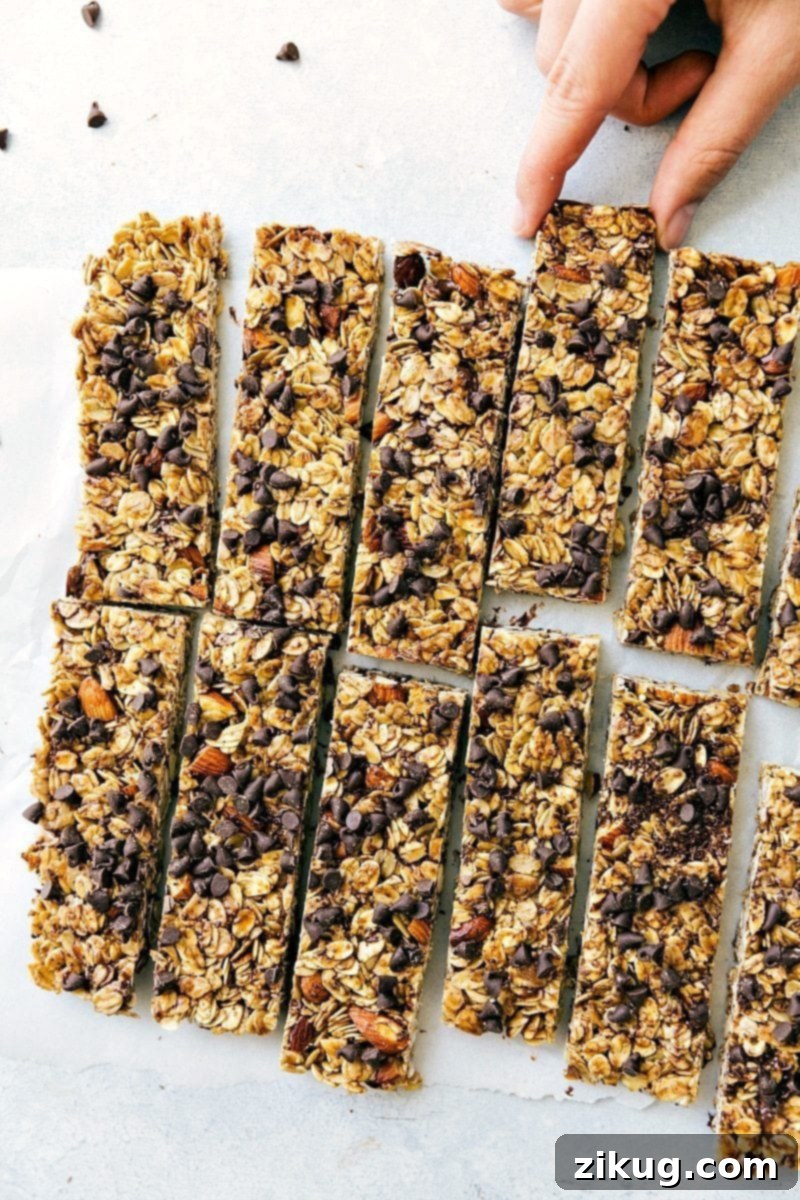
Creative Variations for Your Homemade Granola Bars
One of the best aspects of making your own granola bars is the endless possibilities for customization. Get creative with these variations:
- Nut Choices: Don’t limit yourself to cashews and almonds! Experiment with any coarsely chopped nuts. You can use a single variety, the two mentioned, or a mix of three different nuts (up to 1/2 cup total). Walnuts, pecans, pistachios, or even a nut-free seed mix (like sunflower and pumpkin seeds) work wonderfully.
- Chocolate Chips & Other Add-ins: While mini chocolate chips are a classic, feel free to switch it up. Opt for dark chocolate chips for a richer, potentially healthier bar. Alternatively, substitute the chocolate entirely with dried cranberries, golden raisins, chopped dried apricots, or even extra toasted coconut flakes for a different flavor profile. Remember, chocolate chips help with binding, so if omitting, ensure your syrup is extra sticky or slightly increase the butter/honey.
- Butter Alternatives: For a dairy-free option, you can replace the 4 tablespoons of unsalted butter with 1/4 cup of solid coconut oil. Note that bars made with coconut oil may be slightly more crumbly and generally benefit from being stored in the refrigerator to maintain their shape.
- Spices for Seasonal Flair: Infuse your bars with warm spices, especially for fall-inspired treats. Add 1/2 to 1 teaspoon of pumpkin pie spice, apple pie spice, or ground cinnamon to the oat mixture before adding the syrup. This creates a cozy, aromatic granola bar perfect for cooler weather.
- Salted Chocolate Topping: For a gourmet touch, sprinkle a few flakes of sea salt (like Maldon salt) on top of the individual homemade granola bars just before chilling. This creates a delightful salty-sweet chocolate contrast. If you choose this, you might want to omit the salt from the base syrup mixture.
- Seed Power Boost: Add 1-2 tablespoons of chia seeds, flax seeds, or hemp seeds to the oat mixture for an extra boost of omega-3s and fiber. These will absorb some moisture, so ensure your syrup mixture is well-incorporated.
- Nut Butter Swirl: Swirl 1-2 tablespoons of your favorite nut butter (peanut, almond, or cashew) into the warm syrup mixture just before combining with the dry ingredients for an even richer, creamier flavor.
More Delicious & Healthy Snack Ideas
If you’re looking for more wholesome and easy-to-make snacks, be sure to check out these other fantastic recipes:
- Energizing Chocolate Protein Balls
- Classic Homemade Granola
- Simple No-Bake Energy Bites
- Hearty Oatmeal Breakfast Bars (Nature Valley Copycat)
- Effortless No-Bake Granola Bars
Homemade Granola Bars Recipe
Chelsea Lords
20 minutes
8 minutes
28 minutes
12 bars
Equipment
- Large sheet pan (15″ x 21″)
- Parchment paper or silicone baking mat
- 8 x 8-inch baking pan (for thicker bars) or 9 x 9-inch (for thinner bars)
- Medium pot
Ingredients
- 2-1/2 cups old-fashioned oats (do not use quick or steel oats)
- 1/4 cup cashews (coarsely chopped)
- 1/4 cup whole almonds (coarsely chopped)
- 1/3 cup honey
- 4 tablespoons unsalted butter
- 1/3 cup light brown sugar (lightly packed)
- scant 1/4 teaspoon salt (see note 1)
- 1 teaspoon vanilla extract
- 1/2 cup toasted coconut flakes (optional)
- 1/2 cup mini chocolate chips (divided)
Instructions
- Preheat oven to 350°F (175°C). Line a large sheet pan with parchment paper or a silicone liner for toasting. Line a separate 8×8-inch pan (for thicker bars) or 9×9 inch pan (for thinner bars) with parchment paper, leaving an overhang on two sides for easy removal later.
- Spread the oats evenly on the sheet pan. Coarsely chop the cashews and almonds and add them to the pan with the oats. Bake for 2–3 minutes, then stir, and bake for another 2–3 minutes or until lightly toasted and fragrant. Remove from oven and allow to cool slightly.
- Meanwhile, cut the butter into small cubes. Add honey, butter, light brown sugar, and salt to a medium pot and place over medium heat. Stir constantly until the mixture is completely smooth and the sugar is fully dissolved. Remove immediately from heat (do not simmer or boil).
- In a large bowl, combine the toasted oat and nut mixture with the optional coconut flakes. Pour the warm syrup mixture over the dry ingredients and add vanilla extract. Stir well, until all the oats and nuts are thoroughly coated in the syrup mixture. Let cool for a few minutes, then add in 1/4 cup of the chocolate chips. They will get a little melty, which is intentional to help bind the bars together well.
- Transfer the mixture into the prepared pan and use a silicone spatula or the back of a spoon to compress the bars very firmly. Take your time and press them down with consistent pressure to avoid crumbling later on. Once the mixture is evenly pressed down, add the remaining 1/4 cup chocolate chips on top and press those gently to adhere. Cover the pan and place in the fridge for at least 1 hour (up to 3 hours for best results) before cutting into bars.
- Using the parchment overhang, pull the chilled bars out of the pan and place them on a cutting board. Use a sharp knife to cut them into 12 evenly sized bars.
Recipe Notes
Storage: Store your homemade granola bars in an airtight container. For firmer bars, refrigerate them. For a softer texture, leave them at room temperature (many find these bars delicious straight out of the fridge!). Granola bars are best enjoyed within 7 days. You can also freeze leftover bars for up to 3 months for a longer shelf life.
Nutrition
Calories: 212kcal |
Carbohydrates: 31.6g |
Protein: 3.5g |
Fat: 8g |
Cholesterol: 10.2mg |
Sodium: 2.6mg |
Fiber: 2.7g |
Sugar: 19.1g
Nutrition information is automatically calculated and should only be used as an approximation.
Love this recipe? Share your thoughts below!