
Delightful & Effortless Easter Treats: Your Guide to Sweet Holiday Fun
Get ready to infuse your Easter celebrations with irresistible sweetness without the stress! While we might be whisking past St. Patrick’s Day and April Fools’ for a moment, the excitement for Easter treats is simply too grand to postpone. Easter holds a special place in our hearts, and creating these festive delights with my boys was an absolute joy. This comprehensive guide shares four incredibly simple, quick, and ingredient-minimal Easter treat ideas that are perfect for any festive gathering or cozy family moment. From adorable Bunny Bum Cookies to charming Easter Bunny Cinnamon Rolls, delightful Easter Egg Nests, and elegant Mini Egg Petit Fours, you’ll find everything you need to make your holiday extra special.
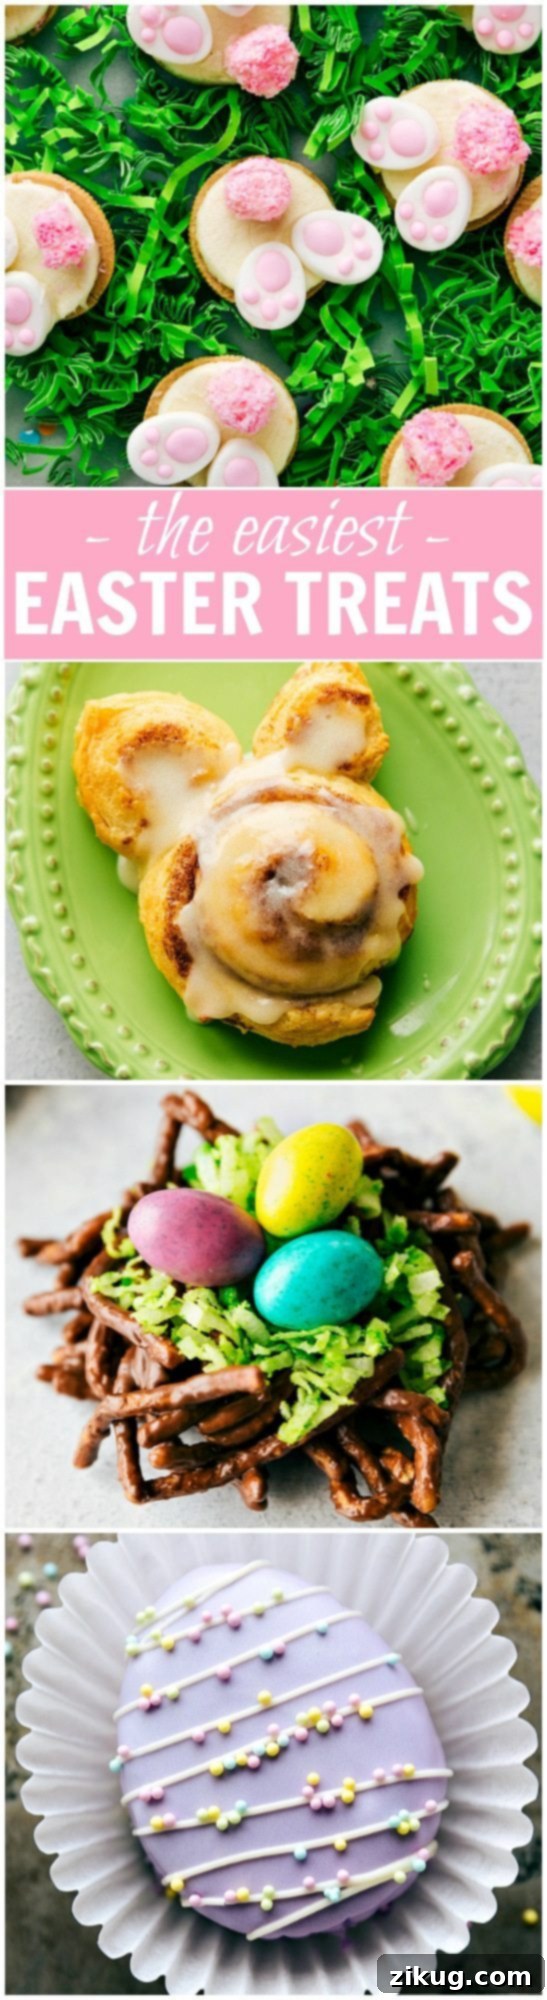
This post is designed to make your Easter baking as enjoyable and straightforward as possible. We’ll dive into each treat, offering step-by-step instructions and creative tips, ensuring your holiday confections are both beautiful and delicious. Whether you’re a seasoned baker or just starting out, these recipes are guaranteed to bring smiles to faces young and old. Discover more fantastic Easter treats, complete with free printables, to further enhance your holiday planning!
Bunny Bum Cookies: An Adorable & Quick Easter Treat
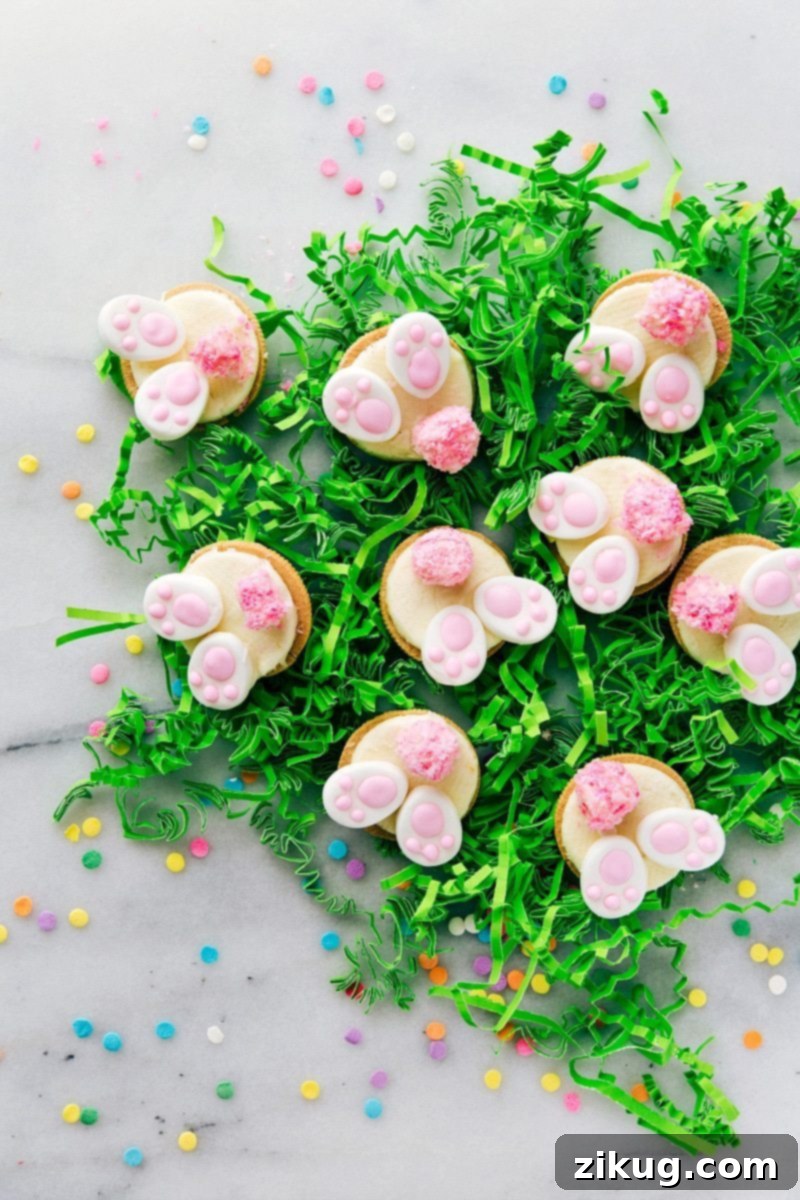
First on our list of charming Easter delights are these incredibly cute Bunny Bum Cookies. For years, the internet has been buzzing with various “bunny bum” themed treats, from cupcakes to cookies, captivating everyone with their whimsical charm. My goal was to create a version that’s not just adorable but also incredibly simple and quick to prepare, taking no more than 10 minutes of active time! These cookies are a fantastic way to bring a touch of playful Easter spirit to your table without spending hours in the kitchen.
What makes these cookies exceptionally easy is the availability of specialized decorations. Thanks to their widespread popularity, brands like Wilton now offer pre-made “bunny feet” icing decorations, making the assembly process a breeze. I personally found these delightful little feet at Walmart, nestled within the Easter aisles alongside other baking essentials like sprinkles and cookie cutters. If you’re looking for an even quicker shortcut, consider using miniature pink marshmallows for the bunny tails directly, skipping the coconut coating. Just remember to assemble them right before serving to keep the marshmallows perfectly soft and fresh.
Should you have trouble locating the bunny feet decorations in your local stores, or if you simply prefer the convenience of online shopping, you can easily find them to complete your masterpiece. These decorations add that perfect professional touch to your homemade treats, making them look store-bought with minimal effort. They are sure to be a conversation starter and a favorite among your guests, especially the little ones!
For those preferring to shop online, these Easter Bunny Feet Icing Decorations are a great find:
- Easter Bunny Feet Icing Decorations

Bunny Bum Cookies
Cookies delightfully decorated to resemble a cute bunny’s behind, perfect for Easter celebrations.
Ingredients
- 1 package Golden Oreos
- 1 cup sweetened shredded coconut
- Pink food coloring
- 1 cup white chocolate chips
- 1 package miniature marshmallows or pastel colored
- 1 package (24 total) bunny feet decorations
Instructions
- Un-wrap the Oreos and gently twist to separate one cookie top from the other cookie + icing. It’s okay if some don’t come off perfectly; that’s normal; enough will separate well.
- In a food processor or blender, add in 1 cup coconut and a swirl of pink food coloring. Pulse until the coconut is in smaller pieces (but still has good texture — you don’t want it in complete crumbs) and dyed pink. Transfer to a shallow dish.
- In a microwave-safe bowl, melt the white chocolate chips in bursts of 15 seconds, stirring in between each “burst” until completely melted and smooth.
- Roll a miniature marshmallow in the melted white chocolate and then roll the chocolate-coated marshmallow in the coconut mixture until completely covered.
- Use the white chocolate to “paint” on the back of the feet and adhere them to the cookie. Use the white chocolate to attach the “tail.” Allow the chocolate to firm up.
These Bunny Bum Cookies are not only incredibly easy but also offer a delightful canvas for creativity. Feel free to experiment with different food coloring shades for your coconut “tails” or add tiny edible pearls for extra sparkle. They’re perfect for involving children in the kitchen, fostering a love for baking and creating sweet holiday memories. Serve them as a playful dessert or package them charmingly for Easter basket stuffers or gifts.
(Please note: An embedded video overview of these Easter treat ideas was originally featured here. As per instructions to remove JavaScript, this interactive video player has been replaced with descriptive text.)

Easter Bunny Cinnamon Rolls: A Delightful Breakfast Hack
Next up, prepare to be amazed by how effortlessly you can transform a classic breakfast staple into an enchanting Easter morning treat: Bunny Cinnamon Rolls! This isn’t so much a recipe as it is a brilliant “hack” that requires minimal effort and time, perfect for a busy holiday morning. All you’ll need is your favorite brand of regular-sized canned cinnamon rolls and a trusty baking sheet. This simple trick turns ordinary cinnamon rolls into festive bunnies, adding a magical touch to your Easter brunch.
The beauty of this idea lies in its simplicity. With just a few strategic cuts and arrangements, you can create adorable bunny shapes that will surprise and delight your family. Once baked to golden perfection, you have the option to gently pinch the “ears” to give them a more pointed, authentic bunny ear look. However, if you prefer a softer, more rounded aesthetic, they are equally charming left as they are. The included frosting from the cinnamon roll package makes for a quick and delicious topping, but feel free to add a sprinkle of pastel edible glitter or some mini chocolate chips for “eyes” to enhance the bunny theme.

Bunny Cinnamon Rolls
Packaged cinnamon rolls ingeniously transformed into adorable bunnies for a fun and easy Easter breakfast or brunch.
Ingredients
- 1 container (12.4 ounces or 8 packaged) cinnamon rolls
Instructions
- Preheat the oven according to cinnamon roll packaging instruction.
- Place 5-6 cinnamon rolls on a large baking sheet. Take the remaining 2-3 and un-roll them. Slice the un-rolled cinnamon roll into 2-inch pieces. Take the pieces and fold each of them to form “ears.”
- Attach the “ears” to the cinnamon rolls on the tray and press to adhere.
- Bake according to package instructions. Remove and, if desired, slightly pinch the top of the ears to give them more of a point. Frost using the included frosting package.
Inspired by Pillsbury, these bunny cinnamon rolls are a heartwarming and impressive addition to any Easter gathering. They’re perfect for a festive breakfast or a sweet treat throughout the day. Consider adding edible glitter to the frosting or using colorful icing pens to draw little bunny faces for an extra personalized touch. These are particularly wonderful for getting kids involved in the kitchen, offering a simple and fun decorating activity.
Charming Easter Egg Nests: A Nostalgic & Delicious Tradition
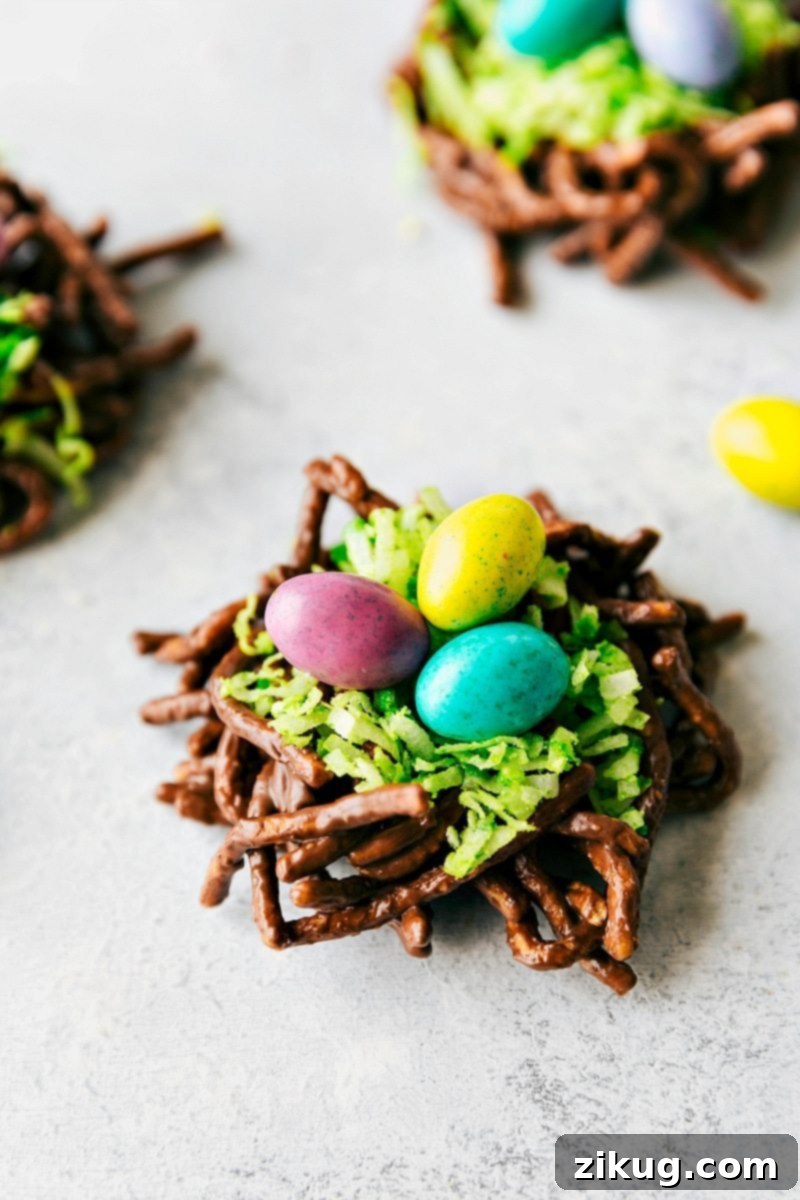
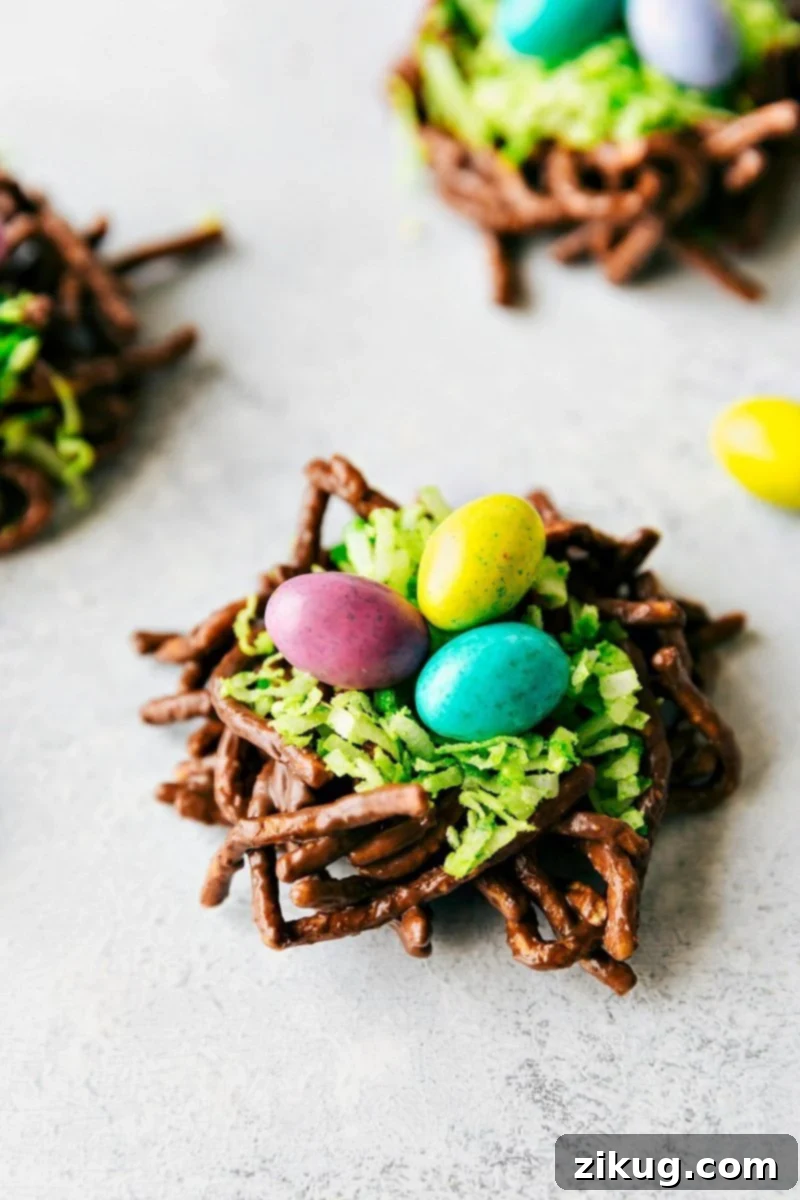
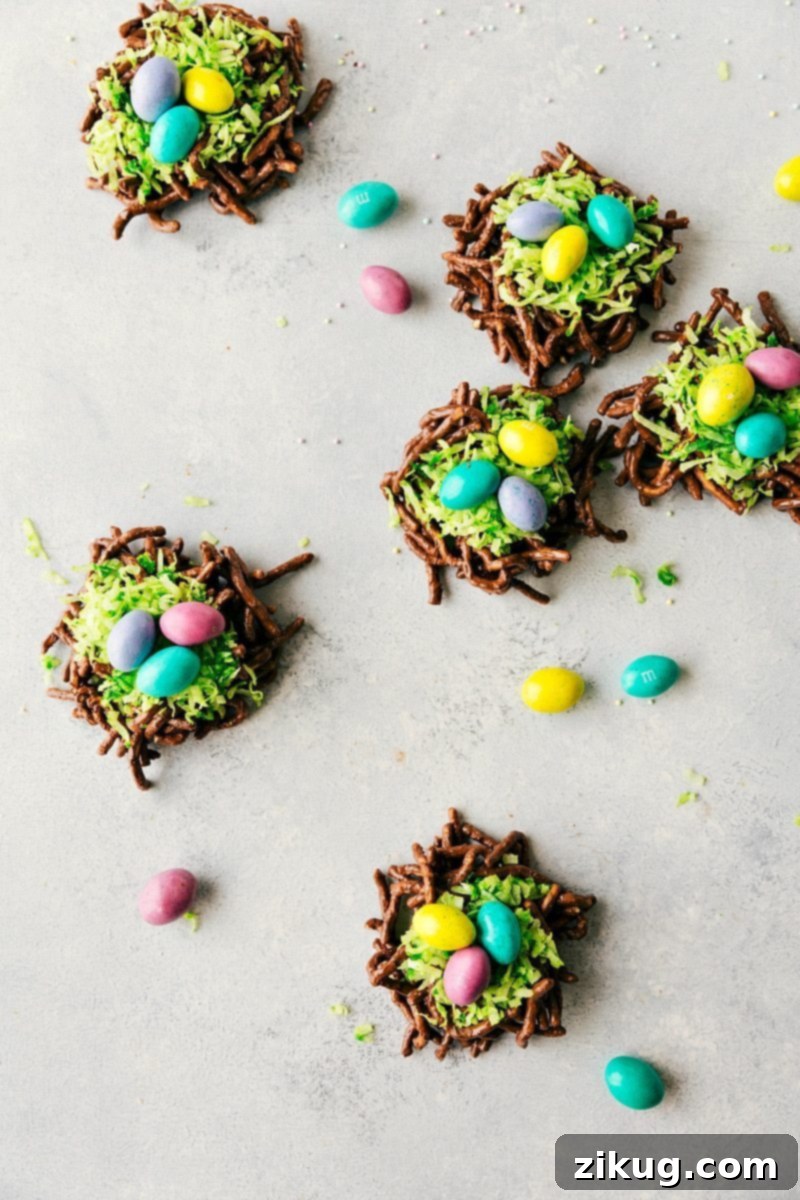
Third on our journey of delightful Easter treats, we present the classic Easter Egg Nests. These hold a special, nostalgic place in my heart, as they were a beloved staple my mom made every single Easter throughout my childhood – a tradition she joyfully continues to this day! For our family, it truly wouldn’t feel like Easter without these delightful, crunchy chocolate nests, each cradling colorful candy eggs. Naturally, I’ve carried on this sweet tradition with my own family, even if my boys sometimes focus more on picking off the candies first!
What makes these nests so enduringly popular is their ease of creation and their inviting texture. The combination of crispy chow mein noodles and a rich chocolate-peanut butter coating creates a satisfying crunch that’s hard to resist. If you’re having trouble locating chow mein noodles, or simply want to experiment with an alternative, my mom often used Fiber One cereal. Its similar stick-like shape works wonderfully as a substitute, providing that familiar nest-like structure. When it comes to chocolate, feel free to use your favorite – whether it’s rich dark chocolate, smooth milk chocolate, or creamy white chocolate, each will lend its unique flavor profile to these festive treats.
These nests are not only delicious but also visually appealing, mimicking real bird’s nests found in spring. They are a wonderful project for all ages, offering a fun way to engage in Easter preparations. The vibrant green coconut and speckled candy eggs add a burst of color that perfectly captures the essence of the season.
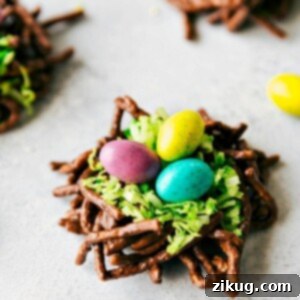
Easter Egg Nests
Effortless chocolate and peanut butter nests, delightfully filled with vibrant green dyed coconut and adorable mini “egg” candies.
Video
(An instructional video for these Easter Egg Nests was originally featured here. For an interactive experience, please check the original source.)
Ingredients
- 1 cup chocolate chips milk, dark, semi-sweet, or white chocolate
- 2 tablespoons creamy peanut butter
- 1 can (5 ounces) crispy chow mein noodles
- 1 cup sweetened shredded coconut
- Green food coloring
- 1 bag (10 ounces) robin egg M&M’s
Instructions
- Prepare a large sheet pan by lining it with parchment paper and set aside.
- In a microwave safe bowl, add the chocolate chips and peanut butter. Microwave in bursts of 15 seconds, stirring in between each burst for 10-15 seconds until the chocolate is melted and smooth.
- Stir in the chow mein noodles and mix until the noodles are completely coated.
- Scoop and drop about 2-3 tablespoons (total yield depends on how big or small your nests are) of the mixture onto the prepared sheet pan. Form with your hands to make a nest shape.
- Before the chocolate hardens, add the coconut and green food coloring to a bowl. Mix until the coconut is completely dyed. Scoop an even amount of the green coconut on each nest.
- Press 2-4 M&M eggs onto each nest. Allow to harden.
Once your Easter Egg Nests have set, they are ready to be displayed and enjoyed! These treats are incredibly versatile; you can experiment with different shades of green for the coconut or use other small, colorful candies in place of the M&M eggs. They make beautiful edible centerpieces for your Easter table or thoughtful homemade gifts when placed in clear bags with festive ribbons. Remember, the key is to allow them sufficient time to harden so they maintain their charming nest shape.
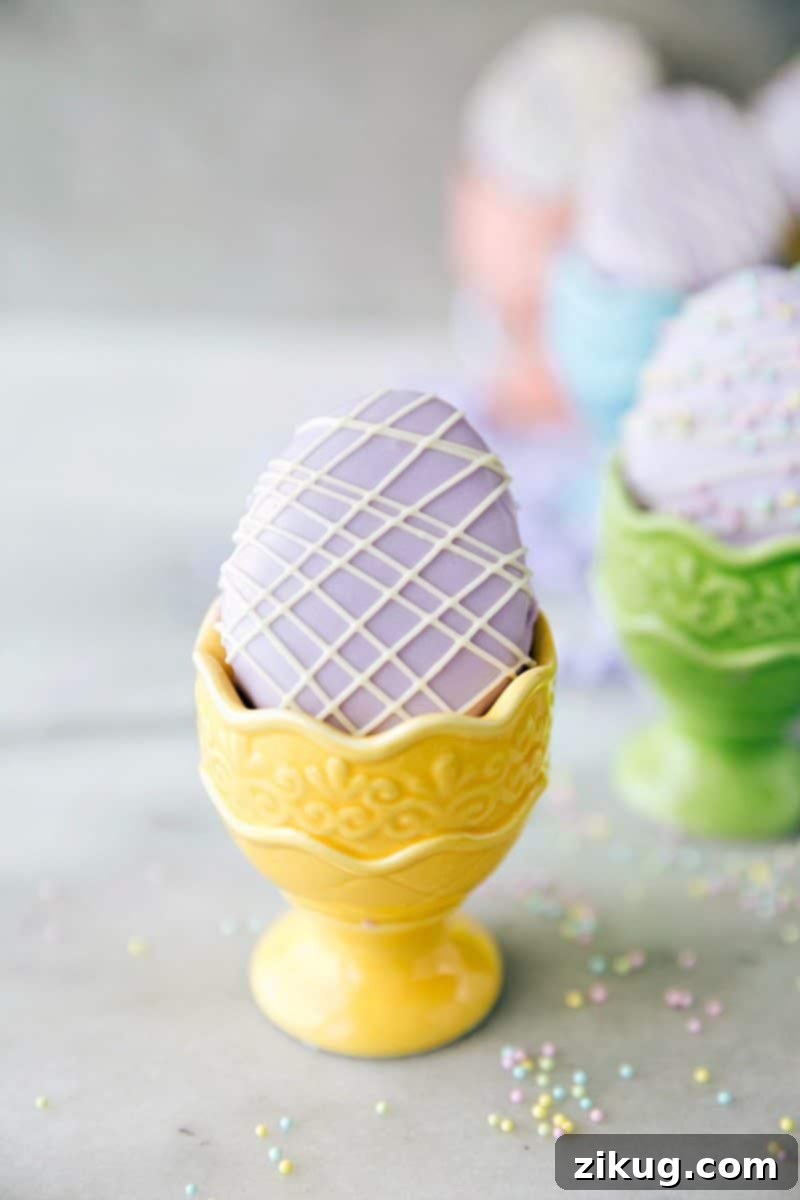
Elegant Mini Egg Petit Fours: Sophistication Made Simple
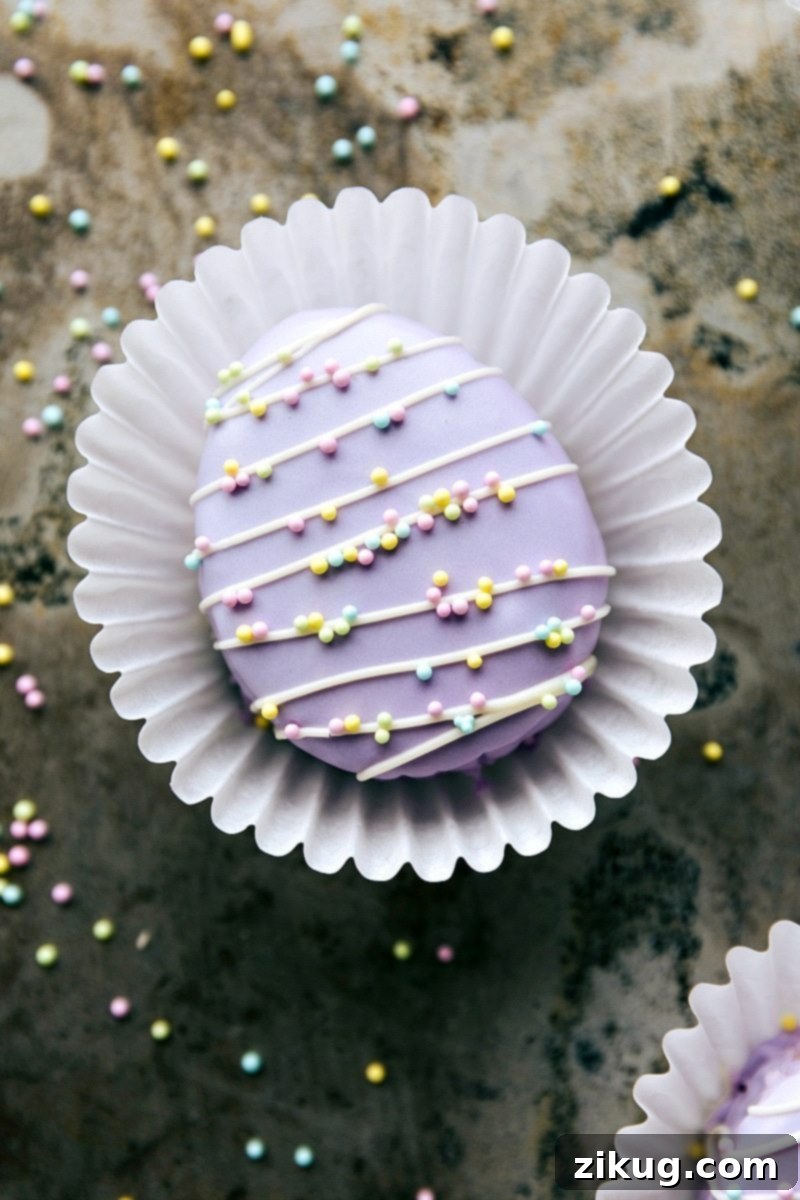
Finally, we present an elegant yet surprisingly simple treat: Mini Egg Petit Fours. My inspiration for these delicate cakes comes from a “famous” Easter Brunch at a restaurant where I once worked. The pastry chefs there always crafted exquisite mini Easter Petit Fours, and while my version is significantly simplified, it captures their impressive look and delicious taste with remarkable ease. These petite cakes offer a touch of refined sophistication to your Easter dessert spread without the intensive labor typically associated with petit fours.
The secret to achieving that beautifully smooth, polished finish, often seen with fondant but without all the fuss, lies in a clever technique: melting canned frosting and pouring it generously over your miniature cakes. This method creates a flawless, elegant coating that sets beautifully, giving your petit fours a professional, bakery-quality appearance with very little effort. It’s a game-changer for home bakers looking to elevate their dessert presentation without resorting to complex decorating skills.
To create the perfect egg shapes, an egg cookie cutter is essential. I was fortunate to find mine at Walmart for a very affordable price, and they are also commonly available at craft stores like Hobby Lobby, especially during the Easter season. If you prefer the convenience of online shopping, or if local stores are out of stock, these cutters are readily available from various online retailers, ensuring you can easily get started on these charming treats.
If you’re searching for an egg cookie cutter, here’s a convenient option to purchase online:
- Easter Egg 2.5″ Cookie Cutter

Mini “Egg” Petit Fours
Mini “egg” cakes crafted to exude a fancy Easter vibe, yet secretly incredibly straightforward to decorate and prepare!
Ingredients
- 1 (10.75 ounces) packaged frozen pound cake
- 1 container (16 ounces) creamy supreme white frosting (not whipped, not cream cheese, not fluffy)
- Food coloring
- 1/3 cup white chocolate chips
- Easter sprinkles optional
Instructions
- Place a large cooling rack on top of a large sheet pan. Set aside.
- Allow the pound cake to thaw for about 5 minutes. Using an extremely sharp serrated knife, thinly slice off the very top rounded part. Evenly slice the cake into two pieces.
- Using an egg cookie cutter, cut out 12 egg cakes. (Use the leftover pound cake and eat it with strawberries + whipped cream!) Place the mini egg cakes on the prepared sheet pan and then in the freezer while you prepare the frosting.
- Open a package of frosting and add food coloring. Stir until the color is even throughout all the frosting. Transfer 1/4 of the frosting to a small microwave safe container and microwave for 10 seconds.
- Pour the melted frosting evenly over as many cakes as you can cover. Repeat the steps (microwave frosting & pouring it over cakes) until all the cakes are evenly covered.
- Place the eggs in the fridge for 15 minutes to set.
Decorate
- Place the white chocolate in a microwave-safe bowl and melt in bursts of 15 seconds until it is completely melted and smooth. Transfer the melted chocolate into a small plastic bag and cut off the very tip.
- Pipe the melted chocolate over the cakes however you like! Immediately cover in sprinkles if desired.
- Store loosely covered at room temperature. Best enjoyed within 1-2 days of making. (Very best on the first day).
Once your Mini Egg Petit Fours have set, they are ready to impress! These elegant treats are perfect for a sophisticated Easter brunch or as a beautiful addition to a dessert platter. Experiment with various food colorings to create a spectrum of pastel eggs, and try different piping designs with the white chocolate for unique decorations. For an extra special touch, consider serving them on a tiered stand. These petit fours are best enjoyed fresh, ideally within a day or two of preparation, to ensure optimal texture and flavor.
Adapted from The Cake Blog
More Festive Easter Treats to Explore
Looking for even more ways to sweeten your Easter celebrations? We have a collection of other delightful recipes that are sure to become new family favorites. From rich fudges to fun snack mixes, these treats complement any Easter spread and offer more opportunities for joyful baking.
- Easter Chocolate Creme Egg Fudge
- Easter Popcorn
- Robin Egg Fudge
- Easter Snack Mix
- Easter Cookies
Some of the links above are affiliate links which means if you were to buy through that link, I would receive a small commission at no extra cost to you! Thanks for supporting Chelsea’s Messy Apron.