
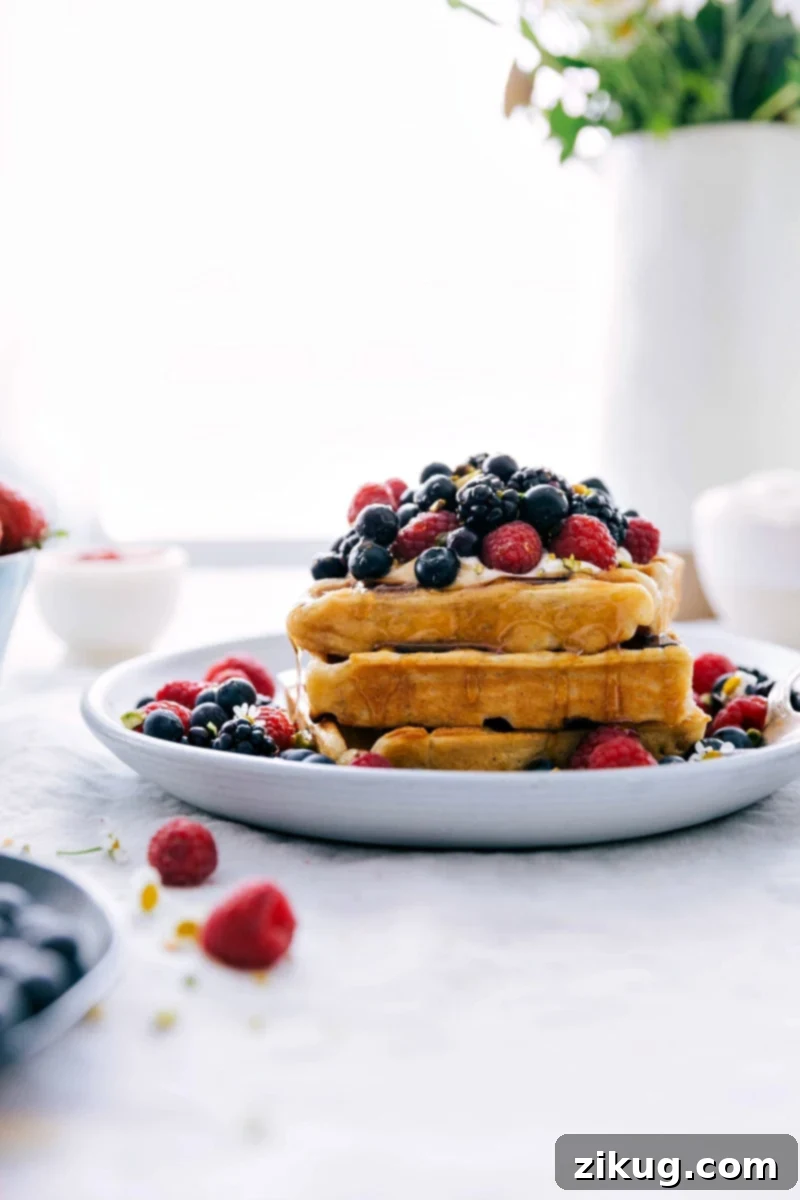
The Best Homemade Waffle Recipe: Crispy, Fluffy, and Utterly Delicious!
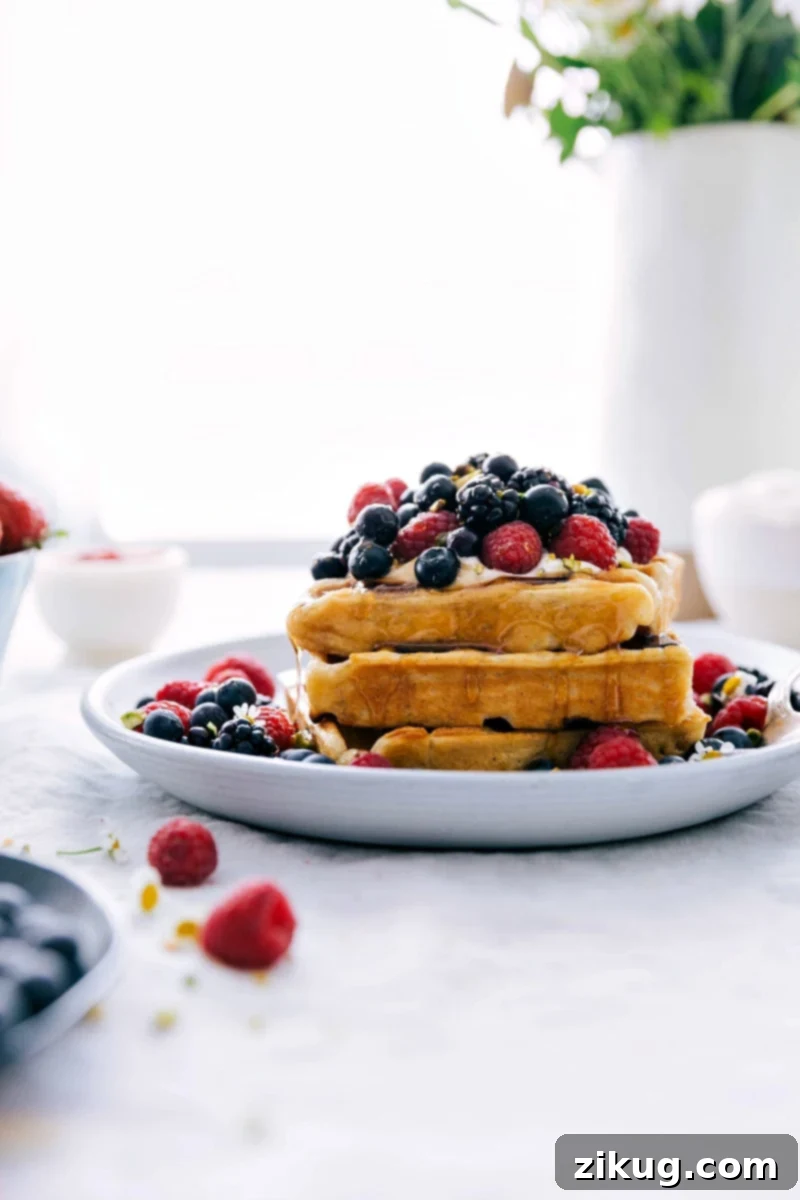
Welcome to your new favorite breakfast tradition! This isn’t just any waffle recipe; it’s our ultimate, go-to guide for creating waffles that are undeniably perfect every single time. Imagine a golden-brown exterior that shatters with a satisfying crunch, revealing a light, airy, and incredibly fluffy interior. These homemade waffles are an absolute dream, whether drenched in warm maple syrup, piled high with fresh berries, or simply enjoyed on their own as a comforting treat. Forget soggy, dense, or bland waffles – prepare to elevate your breakfast game to an entirely new level!
Why This Waffle Recipe is a Game-Changer
There are countless waffle recipes out there, but this one stands out for several key reasons. It’s been meticulously developed and tested to ensure consistent, mouth-watering results. Here’s why we’re confident it will become your most cherished waffle recipe too:
- Effortlessly Simple to Master: Don’t let the idea of homemade waffles intimidate you. This recipe breaks down the process into clear, straightforward steps that even beginner cooks can follow with ease. From melting butter to combining ingredients, each instruction is designed to guide you towards waffle perfection without any culinary confusion. You’ll be whipping up impressive breakfasts in no time!
- Rigorously Tested for Perfection: This isn’t a recipe we stumbled upon; it’s the culmination of extensive testing and fine-tuning. We’ve experimented with various ingredient ratios and techniques to arrive at what we genuinely believe is the ideal balance for texture, flavor, and consistency. Every element has been optimized to ensure your waffles are nothing short of exceptional, offering a reliable blueprint for success.
- Unmatched Texture that Delights: The hallmark of a truly great waffle is its texture, and this recipe delivers spectacularly. Imagine a waffle that offers a delightful crunch with every bite, followed by a wonderfully soft, airy, and tender interior that practically melts in your mouth. This contrast creates a captivating culinary experience that will have you reaching for another waffle, and then another!
- Uses Everyday Pantry Staples: You won’t need to hunt for obscure or expensive ingredients to make these incredible waffles. The recipe calls for common, readily available items that you likely already have in your pantry and refrigerator. This makes spontaneous waffle cravings easy to satisfy and ensures a delicious, homemade breakfast is always within reach.
- Conveniently Freezer-Friendly: Batch cooking and meal prep just got more delicious! These waffles are incredibly easy to store, making them perfect for busy mornings. Simply prepare a larger batch, freeze the leftovers, and then reheat them whenever a craving strikes. They retain their fantastic texture and flavor, providing a quick and satisfying breakfast solution any day of the week.
Key Ingredients for Irresistible Waffles
Understanding the role of each ingredient is key to appreciating the magic behind these perfect waffles. Here’s a closer look at what goes into our favorite batter:
- Unsalted Butter: More than just a flavor enhancer, melted butter provides a rich depth and helps achieve that desirable golden-brown color and crispy exterior. Using unsalted butter gives you control over the overall sodium content, allowing the pure butter flavor to shine through.
- Milk & White Vinegar (Homemade Buttermilk): The combination of whole milk and white vinegar creates a quick, effective substitute for buttermilk. This acidic mixture reacts with the baking soda to produce light, tender waffles with a subtle tang. The acid also helps break down gluten, contributing to a softer crumb.
- All-Purpose Flour: The foundation of our waffle batter, all-purpose flour provides the necessary structure. Its balanced protein content ensures your waffles will hold their shape while remaining tender.
- Cornstarch: This is our secret weapon for extra crispy waffles! Adding a touch of cornstarch to the dry ingredients helps create a more delicate, crisp texture, preventing them from becoming soft too quickly.
- Baking Soda & Baking Powder: These dual leavening agents are crucial for achieving optimal rise and fluffiness. Baking powder provides an initial lift, while baking soda reacts with the homemade buttermilk to create a second burst of bubbles, resulting in a wonderfully airy interior.
- Brown Sugar: Unlike white sugar, brown sugar adds a subtle caramel note and a deeper flavor profile to the waffles. It also contributes to the golden hue and slightly moist texture, enhancing the overall deliciousness.
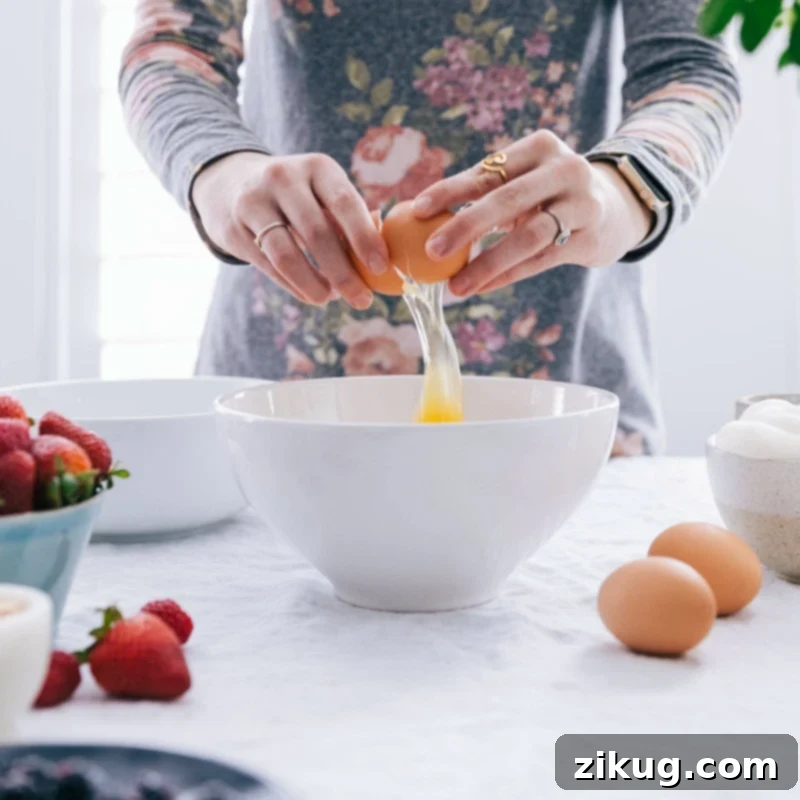
- Eggs & Egg Yolk: Eggs serve multiple purposes, providing structure and richness. The extra egg yolk in this recipe specifically contributes to a richer, more tender crumb and a beautiful golden color, making the waffles feel extra decadent.
- Vanilla Extract: A touch of pure vanilla extract elevates all the other flavors, adding a warm, aromatic sweetness that is quintessential to classic breakfast treats. Don’t skip this essential flavor booster!
- Heavy Cream: For the ultimate indulgence and tenderness, heavy cream is a game-changer. It adds a luxurious richness and moisture to the batter, ensuring your waffles are incredibly tender on the inside and develop a lovely, delicate crust.
How to Make the Ultimate Waffles: Step-by-Step
Crafting perfect homemade waffles is simpler than you think. Follow these detailed steps to achieve breakfast bliss:
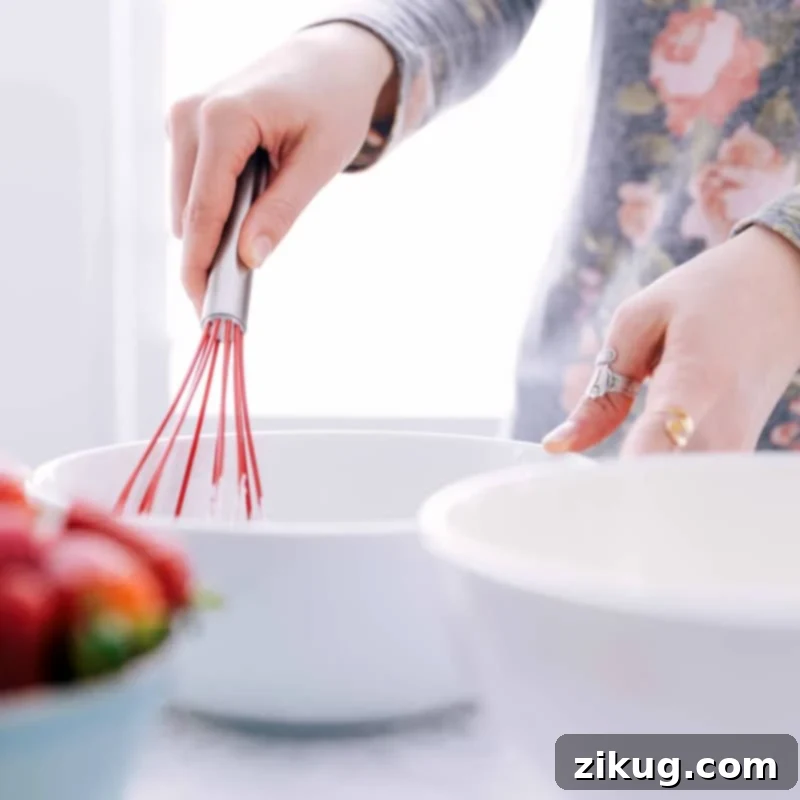
- Prepare Your Butter and Buttermilk: Begin by melting your unsalted butter in a small, microwave-safe bowl. Once melted, set it aside to cool completely to room temperature. This prevents it from scrambling the eggs when added to the wet ingredients. In a liquid measuring cup, combine 1 tablespoon of white vinegar with enough whole milk to reach the 1-cup line. Give it a gentle whisk and let it sit for 5 minutes. During this time, the milk will curdle slightly, forming a rich, tangy homemade buttermilk that adds incredible moisture and tenderness to your waffles.
- Combine Your Dry Ingredients: In a large mixing bowl, whisk together the all-purpose flour, cornstarch, baking soda, baking powder, ground cinnamon (if using), and salt. Whisk well to ensure all the leavening agents and spices are evenly distributed. Then, stir in the light brown sugar until it’s fully incorporated. Create a shallow well in the center of these dry ingredients; this technique helps prevent lumps when you add the wet ingredients.
- Mix Your Wet Ingredients: In a separate medium-sized bowl, use a fork to lightly whisk the two large eggs and the extra egg yolk. This ensures they are fully broken down before combining. Stir in the vanilla extract and heavy cream, whisking until thoroughly combined. Finally, pour in your homemade milk and vinegar mixture (the “buttermilk”) and whisk again until everything is smoothly incorporated.
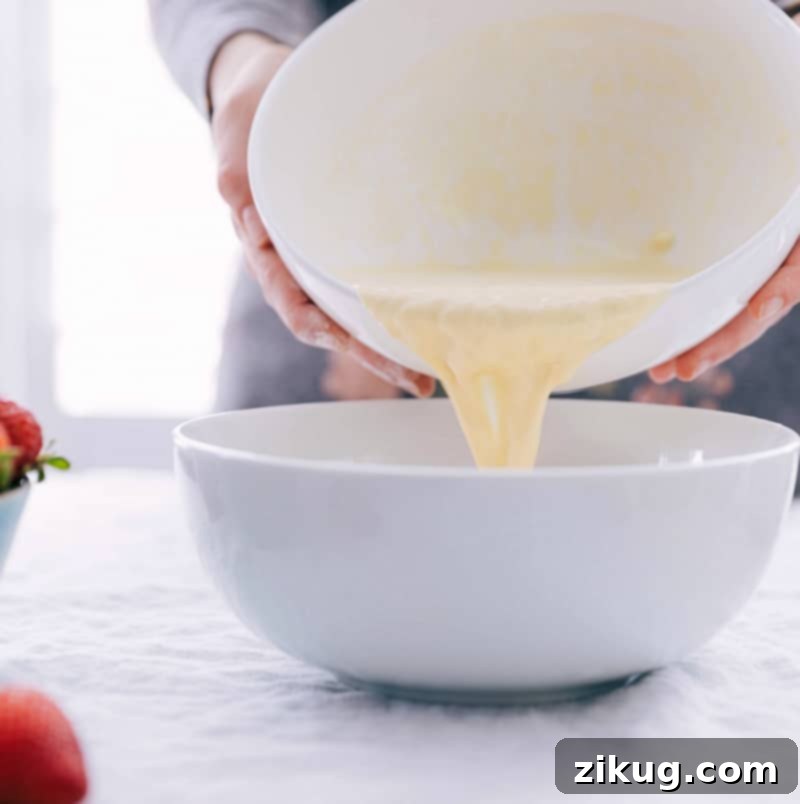
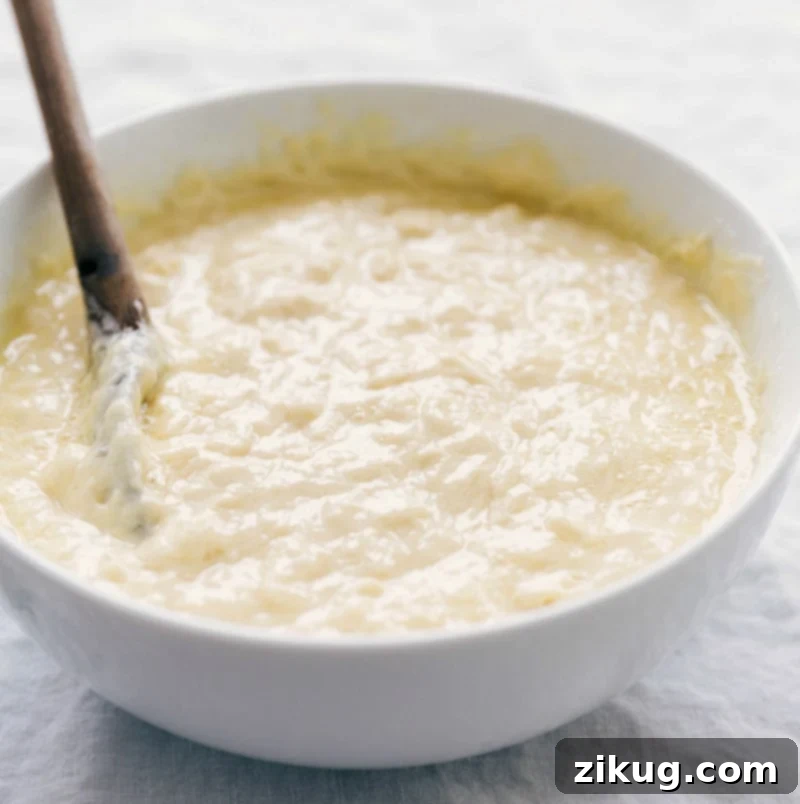
- Gently Combine Wet and Dry: Pour the entire wet ingredient mixture into the well you created in your dry ingredients. Using a wooden spoon or a spatula, gently stir the batter until it’s mostly combined. The key here is to avoid overmixing. A few streaks of flour are perfectly acceptable and even desirable, as overmixing develops gluten too much, leading to tough, chewy waffles. Once mostly combined, add the cooled, melted butter and stir just until it disappears into the batter. Again, mix minimally to maintain a tender texture.
- Allow the Batter to Rest: This step is crucial for the best waffle texture. Let your prepared batter sit at room temperature for at least 10 minutes, or up to 20 minutes. Resting allows the flour to fully hydrate, the leavening agents to begin their work, and the flavors to meld, resulting in lighter, fluffier, and more uniformly cooked waffles. While the batter rests, preheat your waffle iron according to the manufacturer’s instructions. Also, preheat your oven to 200°F (95°C) and prepare a large sheet pan with a wire cooling rack placed on top; this setup will keep your cooked waffles warm and crispy.
- Cook Your Waffles to Perfection: Once your waffle iron is preheated and your batter has rested, it’s time to cook! Using a 1/3-cup measuring cup, pour the batter onto the hot waffle iron. The exact amount might vary slightly depending on your waffle maker’s size, so refer to its instructions. Cook until the waffle is golden brown and the steam stops escaping from the sides – this is usually a reliable indicator of doneness, typically taking between 4.5 to 5 minutes for most standard waffle irons. Avoid opening the iron prematurely, as this can interrupt the cooking process and lead to unevenly cooked or torn waffles.
- Keep Waffles Warm and Serve: As each waffle finishes cooking, immediately transfer it to the prepared cooling rack on the sheet pan in your preheated 200°F oven. This method prevents the waffles from becoming soggy and keeps them perfectly crisp and warm while you finish cooking the rest of the batch. Serve your delicious homemade waffles immediately with your favorite toppings, or store them for later enjoyment.
Pro Tips for Waffle Making Success
Achieving waffle perfection goes beyond just following the steps. These expert tips will help you create truly outstanding waffles every single time:
- Invest in a Quality Waffle Iron: A good waffle iron is the single most important tool for consistently great waffles. If you frequently enjoy waffles, it’s absolutely worth investing in a reliable model. Higher-quality irons often heat more evenly, cook more consistently, and have better non-stick surfaces, leading to superior results. Check out recommended waffle irons for some great options.
- Do Not Overmix Your Batter: This is perhaps the most crucial rule for tender waffles. Overmixing develops gluten in the flour, which leads to tough, chewy waffles rather than light and fluffy ones. Stir the wet and dry ingredients just until they are combined, even if a few small lumps of flour remain. These lumps will usually smooth out during the resting period.
- Create a Well in Dry Ingredients: This simple trick makes combining ingredients much easier and helps prevent lumps. By pouring the wet ingredients into a depression in the center of the dry ones, you can gradually incorporate the dry ingredients into the liquid, ensuring a smoother batter with minimal stirring.
- Always Let the Batter Rest: Don’t skip the resting step! Allowing the batter to rest for 10-20 minutes at room temperature is essential. It gives the flour time to absorb the liquid fully, creating a more uniform and flavorful batter. More importantly, it allows the leavening agents to activate properly, leading to a much lighter and fluffier end product.
- Properly Grease Your Waffle Iron: Even if your waffle iron claims to be non-stick, a light greasing is beneficial for achieving a crispy, golden crust and easy removal. Instead of cooking spray (which can build up and ruin non-stick coatings over time), use a pastry brush to lightly coat the plates with melted butter or a neutral oil. Reapply a light coat between batches as needed.
- Customize Your Toppings & Enjoy: Waffles are a canvas for creativity! While syrup and berries are classic, don’t hesitate to experiment. Some fantastic topping ideas include fresh homemade whipped cream, rich buttermilk syrup, tangy lemon curd, creamy custard, sliced bananas, chocolate chips, nuts, or even a dollop of yogurt. Mix and match to discover your favorite combinations!
Storage and Reheating Tips for Waffles
Don’t let leftover waffles go to waste! They store and reheat beautifully, making them perfect for quick breakfasts throughout the week.
- Refrigerate: Allow cooked waffles to cool completely to room temperature. Then, store them in an airtight container in the refrigerator for up to 3 days.
- Freeze for Longer Storage: For longer storage, cool waffles completely. Place them in a single layer on a baking tray and freeze until solid (this prevents them from sticking together). Once frozen, transfer them to a freezer-safe bag or container. They will last for up to 3 months.
- Reheat for Best Texture: To bring back that glorious crispness, avoid the microwave when reheating. Instead, use a toaster or a toaster oven for a quick warm-up. You can also reheat them in a regular oven at 300°F (150°C) for about 5-7 minutes, or until heated through and crispy.
More Delicious Breakfast Recipes to Explore
If you loved this waffle recipe, you might enjoy these other fantastic breakfast and brunch ideas:
- Hearty Ham and Cheese Quiche
- Comforting Bread Pudding Recipe
- Simple and Delicious Easy Banana Bread
- Refreshing Acai Bowl
- Vibrant Blueberry Smoothie

Print Recipe
★
★
★
★
Waffle Recipe
Chelsea Lords
This is my go-to Waffle Recipe! Light and fluffy on the inside with a crispy exterior, they’re perfect with syrup, fresh berries, or even just on their own!
15 minutes
5 minutes
10 minutes
20 minutes
10 waffles
Equipment
-
Waffle iron
-
Large sheet pan (15″ x 21″)
-
Cooling rack
Ingredients
- 8 tablespoons unsalted butter melted, then cooled
- 1 cup whole milk minus 1 tablespoon
- 1 tablespoon white vinegar not white wine vinegar
- 1-3/4 cups all-purpose flour
- 2 tablespoons cornstarch
- 1/4 teaspoon baking soda
- 1 tablespoon baking powder
- 3/4 teaspoon ground cinnamon optional; can increase to 1 full teaspoon as desired
- 1/2 teaspoon salt
- 3 tablespoons light brown sugar lightly packed
- 2 large eggs
- 1 egg yolk
- 1 teaspoon vanilla extract
- 2/3 cup heavy cream
Instructions
-
Melt butter in a small, microwave-safe bowl, then chill to room temperature. In a liquid measuring cup, add 1 tablespoon white vinegar and fill to the 1-cup line with milk. Whisk and let sit 5 minutes to create homemade buttermilk.
-
In a large bowl, whisk together flour, cornstarch, baking soda, baking powder, cinnamon, and salt. Stir in brown sugar until combined. Create a well in the center of the dry ingredients.
-
In a separate bowl, whisk eggs and egg yolk with a fork. Add vanilla and heavy cream, then whisk to combine. Pour in milk and vinegar mixture and whisk until fully combined.
-
Pour wet ingredients into the well of dry ingredients. Gently stir with a wooden spoon until mostly combined (about 10 strokes), leaving a few streaks of flour. Add the melted butter (now at room temperature), stirring just until combined. Avoid overmixing to keep waffles tender.
-
Allow batter to sit at room temperature for 10-20 minutes. Meanwhile, preheat your waffle iron. Preheat oven to 200°F (95°C) and prepare a large sheet pan with a cooling rack on top to keep waffles warm and crisp.
-
Using a 1/3 measuring cup, pour batter onto the preheated waffle iron and cook following the manufacturer’s instructions. If your waffle maker lacks a timer, cook until steam stops (typically 4 1/2 to 5 minutes).
-
Transfer cooked waffles to the prepared sheet pan with a cooling rack in the 200°F oven to keep them crisp and warm. Serve immediately with desired toppings, or continue cooking the remaining batter.
Recipe Notes
Note 1: Waffle Iron Greasing: Avoid using cooking spray on nonstick surfaces as it can build up and ruin the coating. Instead, lightly brush melted butter or a neutral oil over the pan’s surface for best results and longevity.
Note 2: Knowing When Your Waffle is Ready: Many modern waffle irons signal completion with a light or beep. If yours doesn’t, a reliable indicator is when the steam stops seeping from the sides. Resist the urge to open the iron until the steam ceases!
Nutritional Note: Nutrition information provided is for waffles without any additional toppings. Toppings will affect the final nutritional values.
Storage: Store leftover waffles in an airtight container in the fridge for up to 3 days. To freeze, allow them to cool completely, then freeze them in a single layer on a tray before transferring to a freezer bag. They can be frozen for up to 3 months. For best texture when reheating, use a toaster or oven.
Nutrition
Serving: 1 waffle | Calories: 272kcal | Carbohydrates: 24g | Protein: 5g | Fat: 17g | Saturated Fat: 10g | Cholesterol: 105mg | Sodium: 305mg | Potassium: 86mg | Fiber: 1g | Sugar: 5g | Vitamin A: 633IU | Vitamin C: 1mg | Calcium: 127mg | Iron: 1mg
Nutrition information is automatically calculated and should only be used as an approximation.
Love this recipe? Leave a comment below!