
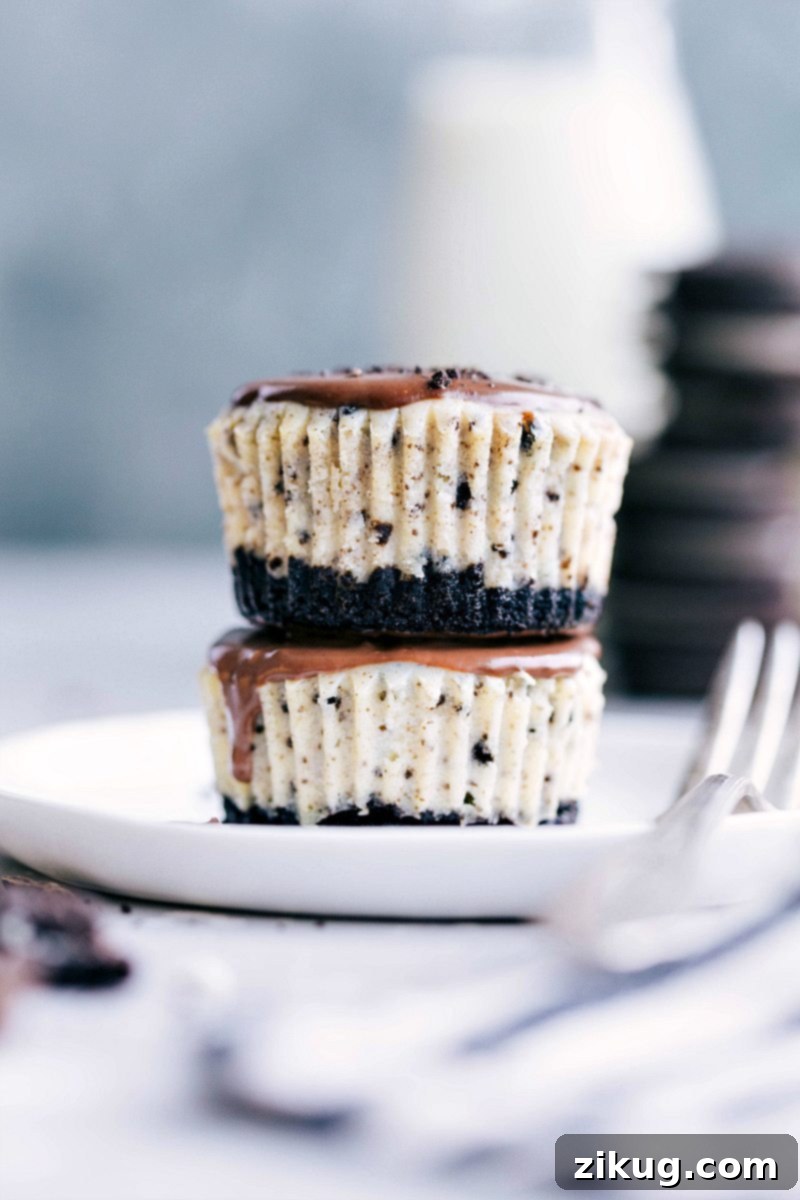
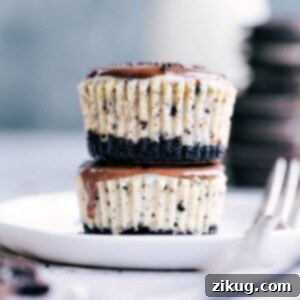
Indulge in these incredibly easy and undeniably delicious Mini Oreo Cheesecakes, perfected with a rich chocolate ganache topping. Crafted for convenience using mini muffin tins, these individual treats promise a smooth, creamy, and decadent experience that’s simple enough for any home baker.
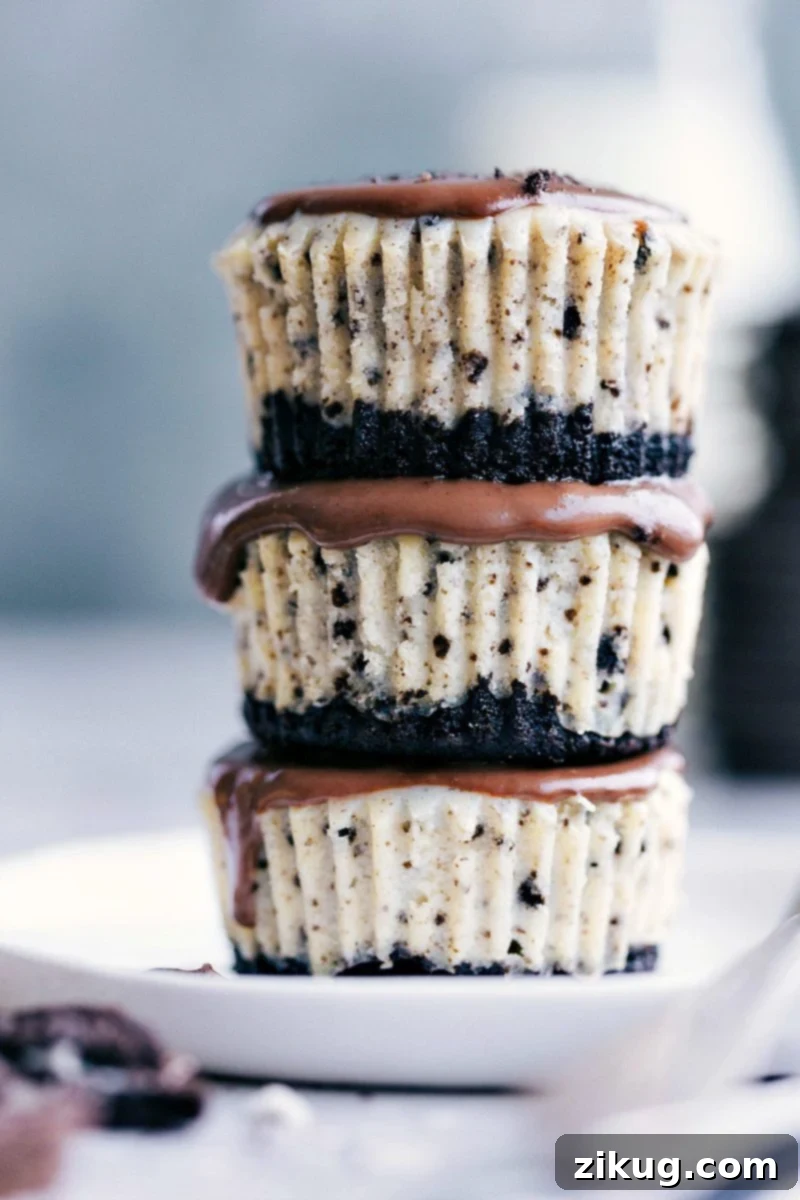
Easy and Delicious Mini Oreo Cheesecakes: Your Ultimate Guide
There’s something truly magical about a classic cheesecake, but when it comes to convenience and perfect portioning, these Mini Oreo Cheesecakes are in a league of their own. Each bite delivers a harmonious blend of velvety smooth, rich cheesecake filling, generously studded with crushed Oreo pieces, all resting atop a wonderfully thick, crunchy Oreo crust. The grand finale is a luxurious chocolate ganache that adds an extra layer of decadence, making these miniature delights utterly irresistible.
Many home bakers shy away from making cheesecake, often intimidated by the perceived complexity. However, mini cheesecakes are far more forgiving and significantly easier to master than their full-sized counterparts. They cook faster, cool quicker, and are less prone to cracking, making them an ideal starting point for anyone new to cheesecake baking. Plus, their individual size makes them perfect for parties, dessert buffets, or simply enjoying a perfectly portioned sweet treat without any fuss. If you’re ready to dive into the wonderful world of cheesecake, but with a simple, fail-proof approach, these Mini Oreo Cheesecakes are the recipe for you. Let’s uncover the secrets to making these delightful desserts.
Essential Ingredients for Perfect Mini Oreo Cheesecakes
Crafting the perfect mini Oreo cheesecake starts with selecting the right ingredients. Here’s a detailed look at what you’ll need and why each component is crucial for achieving that signature rich and creamy texture:
- Cream Cheese: This is the heart of any cheesecake. Always opt for full-fat, brick-style cream cheese. Its higher fat content ensures the cheesecake is rich, dense, and boasts that wonderfully creamy texture we all crave. Low-fat or whipped cream cheese varieties contain too much water and will not set properly, leading to a runny or grainy result. Ensure it’s at **room temperature** for smooth mixing, preventing lumps.
- Granulated Sugar: White granulated sugar provides the ideal sweetness and contributes to the cheesecake’s fine crumb structure. It’s important to stick with granulated sugar; liquid sweeteners like honey or maple syrup will alter the batter’s consistency and can prevent the cheesecake from setting correctly, affecting both taste and texture.
- Sour Cream: A secret weapon for adding an extra layer of creaminess and a subtle tang that beautifully balances the sweetness of the cheesecake. Just like the cream cheese, full-fat sour cream at room temperature is recommended. It creates a thicker, more luxurious batter and helps prevent cracking during baking.
- Large Eggs: Eggs act as a binder, providing structure and richness to the cheesecake. Using large eggs at room temperature is essential. Cold eggs can seize the cream cheese mixture, making it lumpy and requiring overmixing, which can lead to cracks.
- Oreos: The star of the show! Genuine Oreo® cookies offer that distinctive, beloved chocolate sandwich cookie flavor that makes this recipe truly special. They are used for both the crunchy crust and speckled throughout the creamy filling. While other chocolate sandwich cookies can be substituted, the iconic taste of Oreos is unparalleled.
- Semi-Sweet Chocolate: For the decadent ganache topping, semi-sweet chocolate is ideal as it provides a balanced sweetness that complements the rich cheesecake without being overly cloying. You can use chocolate chips or a finely chopped bar. If you prefer a slightly less sweet or more intense chocolate flavor, bittersweet chocolate is also a fantastic option.
- Heavy Cream: Essential for creating a luscious, pourable chocolate ganache. You must use real heavy cream (or heavy whipping cream) with a fat content of at least 36%. Lower-fat creams or milk will not emulsify correctly with the chocolate, resulting in a thin, watery, or separated ganache.
- Vanilla Extract: A touch of vanilla enhances the overall flavor profile of the cheesecake, adding warmth and depth.
- Fine Sea Salt: A pinch of salt is crucial for balancing the sweetness and intensifying the flavors of both the Oreo cookies and the cream cheese.
- All-Purpose Flour: A small amount of flour helps stabilize the cheesecake batter, providing structure and further minimizing the risk of cracks during baking.
How To Make Mini Oreo Cheesecakes: Expert Tips for Perfection
Achieving perfectly smooth, crack-free mini cheesecakes is easier than you think with these expert tips:
- Achieve Room-Temperature Cream Cheese: This is arguably the most critical step for a smooth batter. Cold cream cheese will stubbornly remain lumpy, no matter how much you mix it. Lumps lead to an uneven texture and an irresistible urge to over-mix, which is detrimental to cheesecake. By ensuring your cream cheese is soft and pliable at room temperature, it will blend effortlessly into a silky-smooth batter.
- Never Over-Mix the Batter: Once you add the eggs, mix only until just combined and smooth. Over-mixing introduces excessive air into the batter, causing the cheesecake to puff up dramatically during baking and then inevitably fall and crack as it cools. Use a low speed setting on your mixer and stop as soon as the ingredients are incorporated. A gentle hand is key to a perfectly dense and creamy cheesecake.
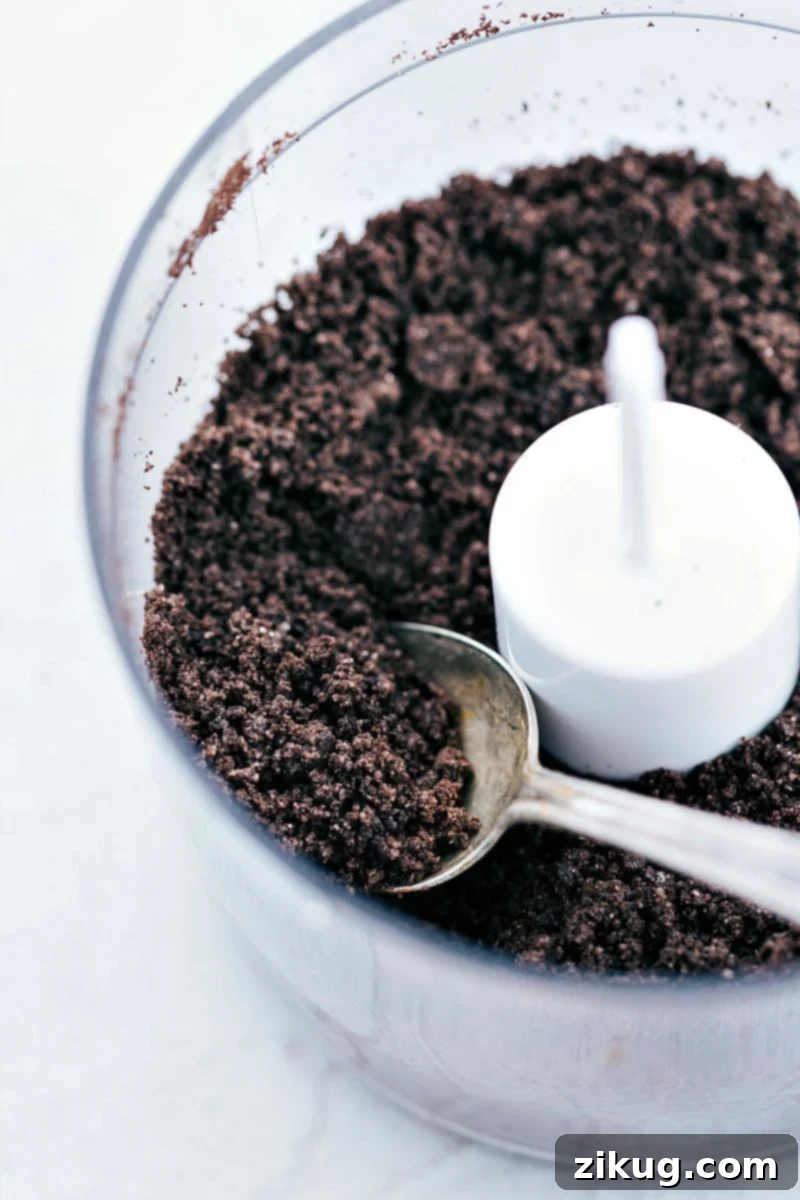
- Ensure Evenly Blended Oreos: For both the crust and the filling, it’s vital that your Oreos are processed into fine, even crumbs. Large chunks in the crust can make it crumbly and hard to press, while bigger pieces in the filling can disrupt the smooth texture of the cheesecake. A food processor or a powerful blender will quickly turn whole Oreos (creme included!) into consistent crumbs.
- Cool Completely and Gradually at Room Temperature: Rapid temperature changes are the primary culprit behind cheesecake cracks. After baking, resist the urge to immediately transfer your cheesecakes from the warm oven to a cold counter or fridge. Instead, follow the recipe’s cooling sequence: a period in the turned-off oven with the door closed, then with the door cracked open, and finally at room temperature on the counter. This gradual cooling allows the cheesecakes to set gently and evenly, preventing any sudden contraction that can cause cracks.
- Don’t Skip the Chilling: While cooling at room temperature is essential for preventing cracks, proper chilling in the refrigerator is equally important for developing the cheesecake’s final firm texture and flavor. This allows the cheesecake to fully set and become sliceable and delightful. Minimum of 2-3 hours is recommended, but overnight is always best.
- Line Your Muffin Tins Properly: Using paper liners in your muffin tin is a game-changer for mini cheesecakes. They prevent sticking and make individual servings incredibly easy to remove and serve without damage.
- Do Not Remove Oreo Creme: When crushing Oreos for both the crust and the filling, there’s no need to remove the white creme center. It adds to the flavor and richness and helps bind the crust mixture.
- Use a Water Bath (Optional for extra insurance): While mini cheesecakes are less prone to cracking, for absolute perfection, you can place the muffin tin in a larger roasting pan filled with about half an inch of hot water. This creates a humid environment in the oven, ensuring a more even, gentle bake and further preventing cracks.
Quick Tip: Softening Cream Cheese Quickly
Forgot to take out your cream cheese? Don’t fret! To speed up the softening process, simply slice the cold cream cheese brick into several smaller pieces. Spreading out the cream cheese increases its surface area, allowing it to warm up to room temperature much faster than a solid block.
Storage Solutions for Your Mini Oreo Cheesecakes
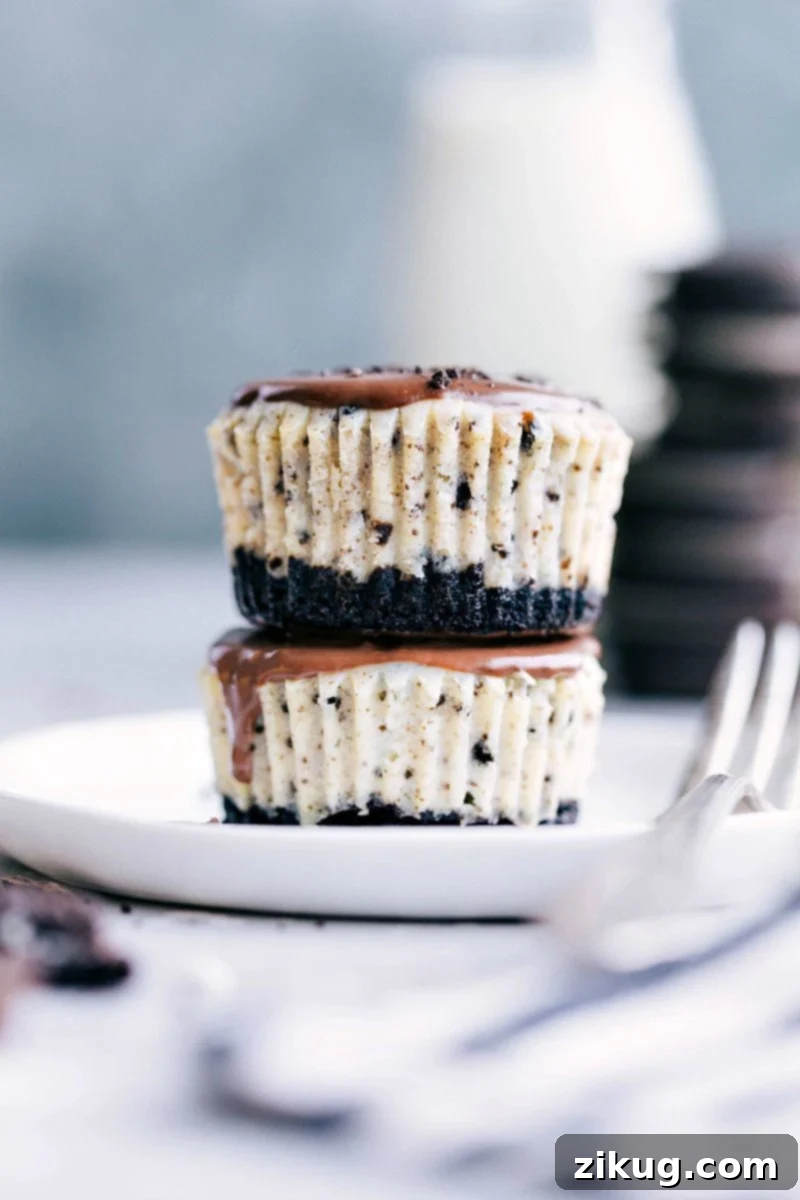
Store leftover mini Oreo cheesecakes in an airtight container in the refrigerator for up to 5 days. Proper storage ensures they remain fresh, creamy, and delicious.
Always keep them chilled until you’re ready to serve to maintain their firm texture and prevent the ganache from becoming too soft. If you’re not planning to eat all the cheesecakes on the same day they’re made, it’s best to store the chocolate ganache separately in an airtight container in the fridge and add it just before serving. This prevents the ganache from weeping or altering the cheesecake’s texture over time. For longer storage, mini cheesecakes can be frozen (without ganache) for up to 1-2 months; simply thaw in the refrigerator overnight before topping and serving.
More Decadent Cheesecake Recipes You’ll Love:
If you’ve fallen in love with these mini Oreo cheesecakes, you’ll be thrilled to explore more of our delightful cheesecake creations. Each recipe offers a unique twist on this classic dessert, perfect for any occasion:
- The Best Chocolate Cheesecake: A show-stopping, rich chocolate cheesecake featuring an irresistible Oreo cookie base, guaranteed to satisfy any chocolate lover’s craving.
- Twix Cheesecake Bars: Indulgent cheesecake bars inspired by the popular candy bar, complete with a buttery crust, creamy cheesecake, and a luscious two-ingredient caramel sauce.
- Mini Cinnamon Roll Cheesecakes: These adorable mini cheesecakes capture the cozy flavors of cinnamon rolls, topped with a sweet swirl of homemade cream cheese frosting.
- No-Bake Pumpkin Cheesecake: The ultimate easy-to-make dessert for autumn, this no-bake pumpkin cheesecake delivers all the flavors of fall without turning on the oven.
- Thin Mint Cheesecake: A refreshing and cool cheesecake with a vibrant mint flavor, built on a crunchy Thin Mint Oreo cookie base.
Frequently Asked Questions About Mini Oreo Cheesecakes
Here are some common questions and helpful answers to ensure your mini Oreo cheesecakes turn out perfectly every time:
Can I use different cookies for the crust?
Absolutely! While Oreos provide that classic chocolate sandwich cookie flavor, feel free to experiment with other varieties. Graham crackers are a traditional choice for cheesecake crusts, or you could try chocolate chip cookies, shortbread, or even different flavored sandwich cookies to create unique flavor combinations.
Why did my cheesecake crack?
Cheesecakes commonly crack due to sudden temperature changes or over-mixing. Over-mixing incorporates too much air, causing the cheesecake to rise excessively and then fall, leading to cracks. Rapid cooling (e.g., taking it directly from the hot oven to the fridge) also stresses the delicate structure, causing cracks. Follow the gradual cooling instructions in the recipe and avoid over-mixing your batter.
Can I make these ahead of time?
Yes, these mini cheesecakes are perfect for making ahead! You can prepare and bake them up to 2-3 days in advance. Store them in an airtight container in the refrigerator. Prepare the ganache separately and add it just before serving for the freshest taste and best presentation.
How do I know when the cheesecakes are done baking?
The cheesecakes are ready when the edges appear set, but the very center still has a slight, almost imperceptible jiggle when the pan is gently nudged. The residual heat will continue to cook them as they cool, ensuring a perfectly creamy texture without overbaking.
What if I don’t have a food processor?
No problem! You can crush the Oreos by placing them in a Ziploc bag and using a rolling pin or a heavy object (like the bottom of a glass) to crush them into fine crumbs. It might take a little more effort, but the result will be just as good.
Can I freeze mini cheesecakes?
Yes, mini cheesecakes freeze beautifully! Once completely cooled and chilled, place them (without ganache) in an airtight freezer-safe container. You can also wrap each cheesecake individually in plastic wrap before placing them in the container to prevent freezer burn. They can be frozen for up to 1-2 months. Thaw them in the refrigerator overnight before adding the ganache and serving.
How can I make sure the ganache is smooth?
The key to a silky-smooth ganache is allowing the hot cream to sit over the chopped chocolate for a few minutes before whisking. This allows the chocolate to melt completely and evenly. Whisk gently from the center outwards until fully combined and glossy. If it appears separated, you can try adding a tiny bit more hot cream (a tablespoon at a time) and whisking continuously until it comes back together.
Pin
Mini Oreo Cheesecakes
Video
Equipment
-
Cupcake pan with 12 cavities
-
Cupcake liners
-
Food processor or powerful blender
-
Hand mixer
Ingredients
- 1 cup Oreo crumbs about 12 full Oreos
- 2 tablespoons unsalted butter melted
- 12 ounces cream cheese brick-style, full-fat, 1-1/2 packages, at room temperature
- 1/2 cup granulated sugar
- 1/2 cup sour cream full-fat, at room temperature
- 1/2 tablespoon vanilla extract
- 1/8 teaspoon fine sea salt
- 2 tablespoons flour 1/8 cup
- 2 large eggs at room temperature
- 5 whole Oreos crushed
- 4 ounces semi-sweet chocolate or bittersweet, depending on personal preference; coarsely chopped
- 1/2 cup heavy cream
Instructions
For the Oreo Crust
-
Preheat your oven to 325°F (160°C). Line a standard 12-cavity cupcake or muffin pan with paper liners. This makes for easy removal and serving of your mini cheesecakes. In a food processor or a powerful blender, process 12 whole Oreo cookies until they form fine, even crumbs. It’s important that the crumbs are small and consistent for a firm crust. There’s no need to remove the vanilla creme from the Oreos before blending.
-
In a medium bowl, combine the finely crushed Oreo crumbs with the 2 tablespoons of melted unsalted butter. Mix thoroughly until the crumbs are evenly moistened and resemble wet sand. Divide this mixture equally among the prepared cupcake liners, placing approximately 1 tablespoon into the bottom of each. Firmly press the crust mixture into the bottom of each liner. A small, flat-bottomed object, like the lid of a milk carton or a shot glass, works perfectly for this to ensure an even, compact crust.
-
Bake the pressed crusts in the preheated oven for 5 minutes. This quick bake helps to set the crust and prevent it from becoming soggy. After 5 minutes, remove the pan from the oven and set it aside to cool completely while you prepare the cheesecake filling. This cooling step is crucial for a perfectly crisp crust.
For the Oreo Cheesecake Filling and Baking
-
Before you begin mixing, ensure your cream cheese, sour cream, and eggs are all at true room temperature. This is vital for a smooth, lump-free batter. Once your crusts are baked and cooling, reduce the oven temperature to 300°F (150°C).
-
In a large mixing bowl, using a hand mixer on low speed, beat the room-temperature cream cheese and granulated sugar together until the mixture is smooth and creamy, with no visible lumps. Remember to beat in the same direction to avoid incorporating too much air. Next, add in the full-fat sour cream, vanilla extract, and fine sea salt. Continue to beat on low speed until all ingredients are just combined and the mixture is consistently smooth.
-
Stop the mixer and use a rubber spatula to scrape down the sides and bottom of the bowl, ensuring all ingredients are well incorporated. Add the flour and beat on low speed until just combined. Now, add the first large room-temperature egg, beating on low speed only until it is fully incorporated into the batter. Repeat this process with the second egg, beating slowly and gently until just combined. Be careful not to over-mix at this stage, as it can lead to cracks in your finished cheesecakes.
-
Take another 5 whole Oreo cookies and crush them in your food processor or powerful blender, just as you did for the crust, keeping the creme intact. Gently fold these crushed Oreo pieces into the prepared cheesecake mixture using a spatula. This adds wonderful texture and bursts of Oreo flavor throughout the filling.
-
Divide the cheesecake batter evenly among the 12 cupcake liners, filling each cavity almost to the top. Ensure you use all the batter to get 12 perfectly sized mini cheesecakes. Gently tap the muffin tin on your counter a few times to release any air bubbles.
-
Bake the cheesecakes in the 300°F (150°C) oven for 13–16 minutes. They are done when the edges are set, but the very center still shows a slight, almost imperceptible jiggle. Once baked, turn off the oven completely but leave the oven door closed for an additional 10 minutes. This allows for a very gradual cooling. After 10 minutes, crack the oven door open and let the cheesecakes cool inside the oven for another 25 minutes. Finally, remove the muffin tin from the oven and place it on a wire rack on the counter to cool completely at room temperature.
-
Once the cheesecakes have reached room temperature, carefully transfer them to the refrigerator to chill for at least 2–3 hours. For the best flavor and texture, chilling them overnight is ideal. They must be thoroughly chilled before serving to ensure they are firm and hold their shape beautifully.
For the Silky Chocolate Ganache
-
Place your coarsely chopped semi-sweet (or bittersweet) chocolate into a heat-safe bowl. In a small saucepan on the stovetop, gently heat the heavy cream, stirring occasionally, until it just begins to simmer around the edges. As soon as you see tiny bubbles forming and a slight steam, remove the cream from the heat immediately and pour it directly over the chopped chocolate in the bowl. Cover the bowl with a plate or lid and let it sit undisturbed for 5 minutes. This steeping period allows the hot cream to melt the chocolate evenly.
-
After 5 minutes, remove the cover and begin whisking the chocolate and cream mixture from the center outwards. Continue whisking gently until the ganache is completely smooth, glossy, and uniform in consistency. Let the prepared ganache sit at room temperature for about 15 minutes to allow it to cool slightly and thicken to a spoonable consistency. Once thickened, spoon the rich ganache over the top of your chilled mini cheesecakes. Important: Only add ganache to the cheesecakes you plan to eat the same day. For any cheesecakes intended for later, store the ganache and cheesecakes separately in the fridge. Enjoy your decadent mini Oreo cheesecakes within 5 days.
Recipe Notes
Nutrition Information
Nutrition information is automatically calculated, so should only be used as an approximation.