
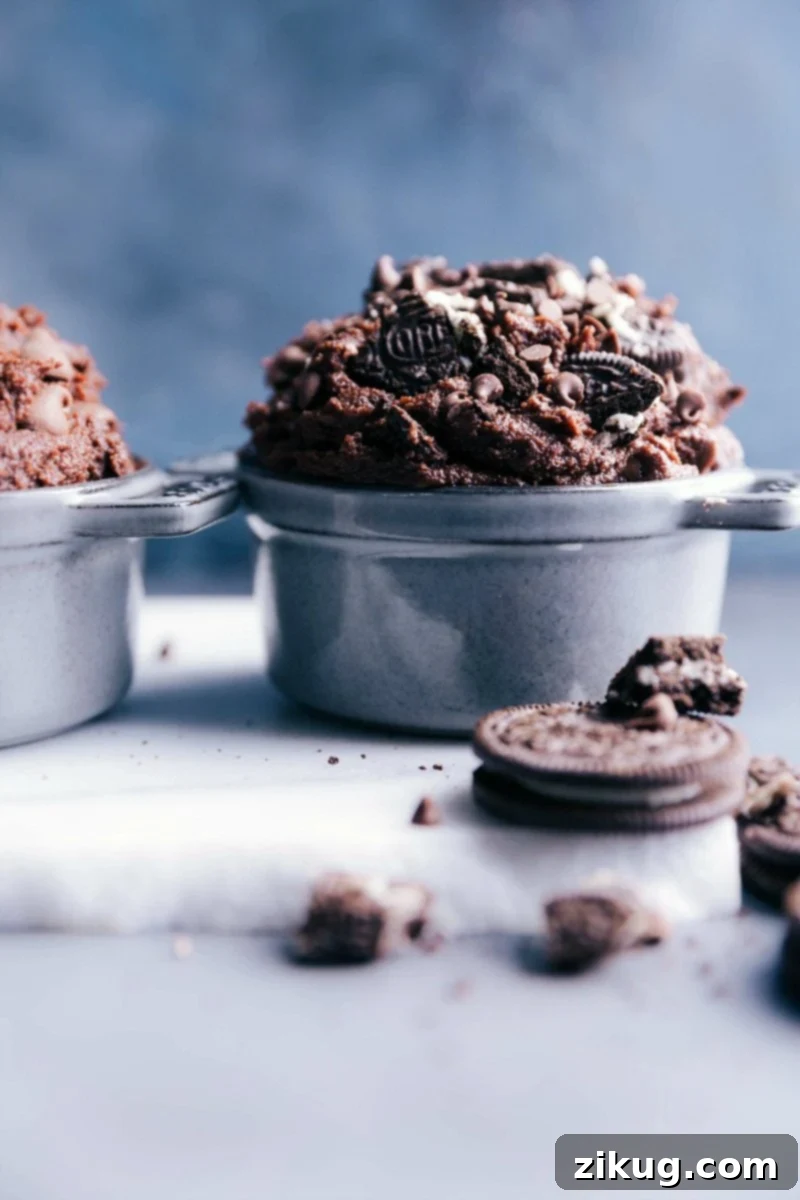
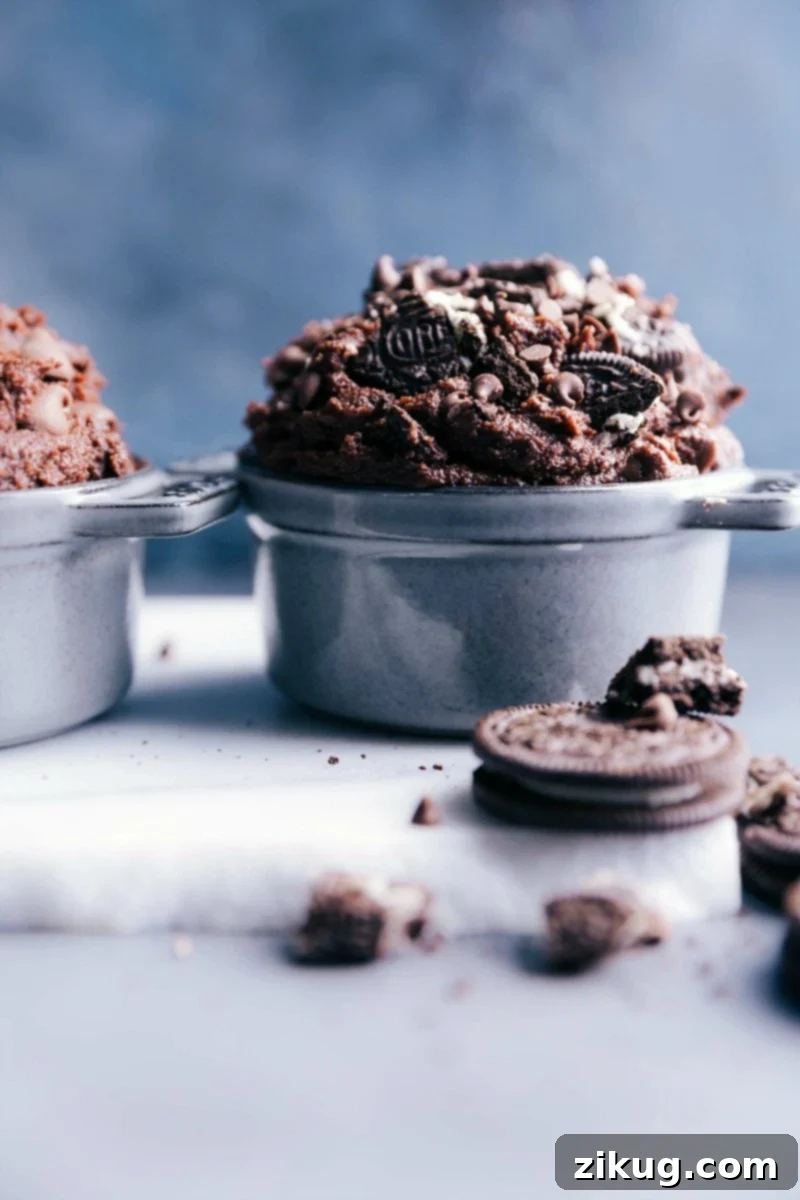
Edible Brownie Batter is the ultimate dream come true for dessert lovers – rich, incredibly fudgy, and brimming with customizable mix-in options. This delightful treat is meticulously prepared to be completely safe to eat, featuring an egg-free recipe and heat-treated flour to eliminate any raw ingredient concerns. Say goodbye to the days of resisting the urge to lick the spoon and embrace pure, guilt-free indulgence!

Author’s Note
The Brownie Batter You Can Actually Eat By the Spoonful!
You know how much I love sharing recipes that bring joy, and one of the most beloved creations on my site is undoubtedly the edible cookie dough. It’s garnered millions of views and countless heartwarming comments from people who simply adore it. Given its immense popularity, it was only natural that I frequently received one burning question: “Do you have an edible brownie batter version?”
The answer, dear friends, is finally here! I dedicated myself to perfecting this recipe, and I’m thrilled to tell you it’s every bit as good – if not better – than you could imagine. This isn’t just a safe alternative; it genuinely tastes like a giant spoonful of classic, rich brownie batter. It’s smooth, decadent, and utterly irresistible. Get ready to fall in love with your new favorite safe-to-eat dessert!
Essential Ingredients for Perfect Edible Brownie Batter
Creating this delicious and safe edible brownie batter requires a few key ingredients. Each plays a vital role in achieving that rich, fudgy texture and intense chocolate flavor you crave.
- Chocolate Chips & Unsalted Butter: The foundation of our brownie batter’s decadent flavor. Melting them together ensures a smooth, luscious chocolate base. Remember to melt in short 30-second bursts, stirring well in between, to prevent the chocolate from seizing or burning.
- Granulated and Brown Sugars: A combination of both sugars is crucial for the perfect balance of sweetness and texture. Granulated sugar provides sweetness, while brown sugar adds moisture, depth of flavor, and contributes to that wonderfully chewy, fudgy quality synonymous with great brownies.
- All-Purpose Flour: This is the structural component, but it must be heat-treated to ensure safety when consumed raw. Heat treatment neutralizes any potential bacteria. It’s a simple, quick step that makes all the difference for peace of mind.
- Dutch-Process Cocoa Powder: For an incredibly deep, rich chocolate flavor and a smooth, appealing dark color, Dutch-process cocoa powder is highly recommended. Unlike natural cocoa, it’s processed to be less acidic, resulting in a milder, more profound chocolate taste and a smoother texture in your batter.
- Fine Sea Salt: A small pinch of fine sea salt is a secret weapon in baking. It dramatically enhances the chocolate flavor, balances the sweetness, and adds a subtle complexity that makes the batter truly irresistible. Don’t skip it!
- Heavy Cream: This ingredient is key to achieving the ideal, luxuriously smooth consistency for your edible brownie batter. You’ll add it gradually, 1-2 tablespoons at a time, to reach your desired thickness.
- Milk Chocolate Chips (and other options): While milk chocolate chips add a classic sweetness, feel free to get creative! Dark chocolate, semi-sweet chocolate, or even white chocolate chips can be swapped in to customize your flavor profile.
Crafting Your Irresistible Edible Brownie Batter: A Step-by-Step Guide
Making this safe and delicious edible brownie batter is surprisingly simple. Follow these steps for a perfectly fudgy and flavorful treat every time.
- Prepare Your Flour (Crucial Safety Step): Before you begin, ensure your all-purpose flour is properly heat-treated. This step is non-negotiable for safe raw consumption. Refer to the “How To Heat Treat Flour” section below for detailed instructions. Once treated, allow the flour to cool completely to room temperature.
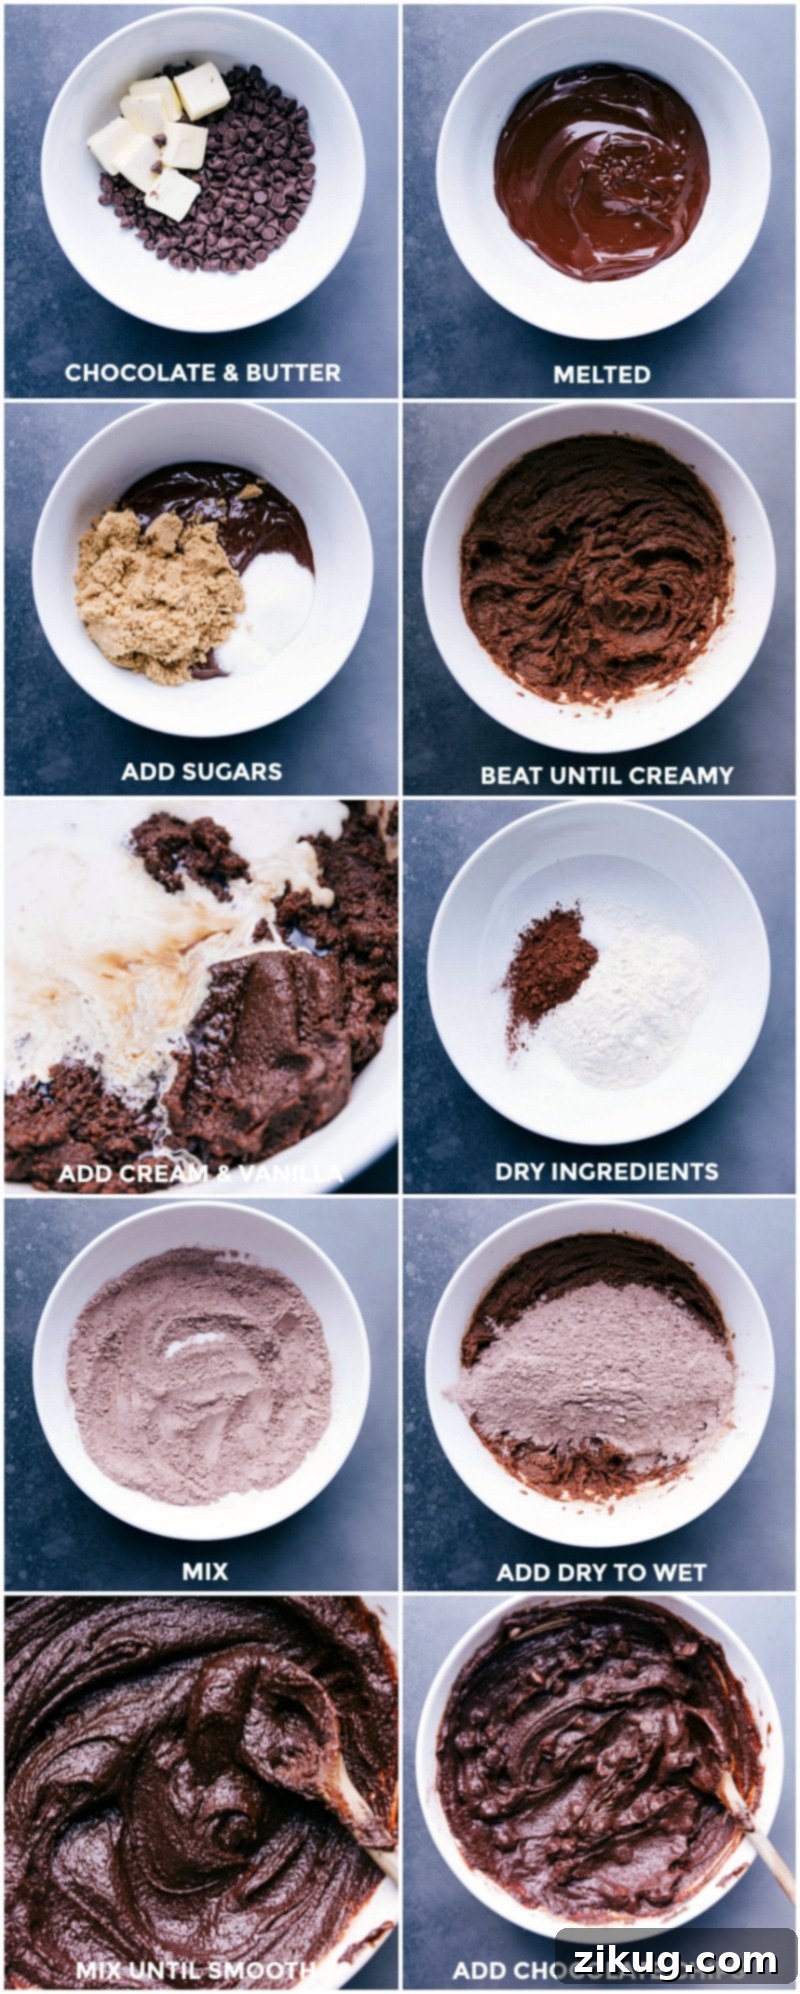
- Melt Chocolate and Butter: In a microwave-safe bowl, combine your semi-sweet chocolate chips and unsalted butter (cut into small pieces for even melting). Microwave in short 30-second intervals, stirring vigorously for about 15 seconds after each burst, until the mixture is entirely smooth and glossy. This usually takes around 1.5 to 2 minutes in total, depending on your microwave’s power. Careful not to overheat!
- Combine Wet Ingredients: Transfer the melted chocolate-butter mixture to a large mixing bowl (preferably using a stand mixer with a paddle attachment, or a hand mixer). Add both granulated sugar and packed light brown sugar. Beat on medium speed for 2-3 minutes until the mixture becomes wonderfully creamy and well-combined. Next, incorporate the vanilla extract and heavy cream, beating for another 1-2 minutes until everything is smooth and takes on a lighter, more aerated consistency.
- Whisk Dry Ingredients: In a separate medium bowl, whisk together your cooled, heat-treated flour, Dutch-process cocoa powder, and fine sea salt until thoroughly combined. This ensures even distribution of flavors and prevents lumps in your final batter.
- Integrate Dry and Wet Mixtures: Gently add the dry ingredient mixture to the wet chocolate mixture in your stand mixer. Beat on low speed until just combined. Be careful not to overmix; stop as soon as no streaks of flour are visible. Scrape down the sides of the bowl with a spatula to ensure all ingredients are incorporated for a smooth batter.
- Fold in Toppings and Adjust Consistency: Finally, fold in your milk chocolate chips or any other desired mix-ins using a spatula. At this stage, assess the batter’s consistency. If it appears too thick, add an additional 1-2 tablespoons of heavy cream. If it seems too thin or wet, stir in an extra 1-2 tablespoons of heat-treated flour until you reach your preferred fudgy brownie batter texture.
- Enjoy! Your edible brownie batter is now ready to be savored! Whether you prefer it freshly made, slightly chilled, or even frozen, it’s a perfect treat. For a unique twist, try spreading it thinly on a parchment-lined sheet and adding toppings to create a delicious brownie bark, similar to a healthy brownie batter concept.
Quick Tip for a Smoother Batter
While this brownie batter is delicious, you might notice a slight grittiness from the sugar initially. For the smoothest, most luxurious texture, ensure you mix the sugars into the melted chocolate and butter thoroughly for the recommended 2-3 minutes. Additionally, chilling the finished batter for at least 30 minutes in the refrigerator (or even freezing it for a short time) allows the sugars to dissolve further, resulting in an even silkier, more refined consistency.
Understanding and Performing the Crucial Step: How to Heat Treat Flour
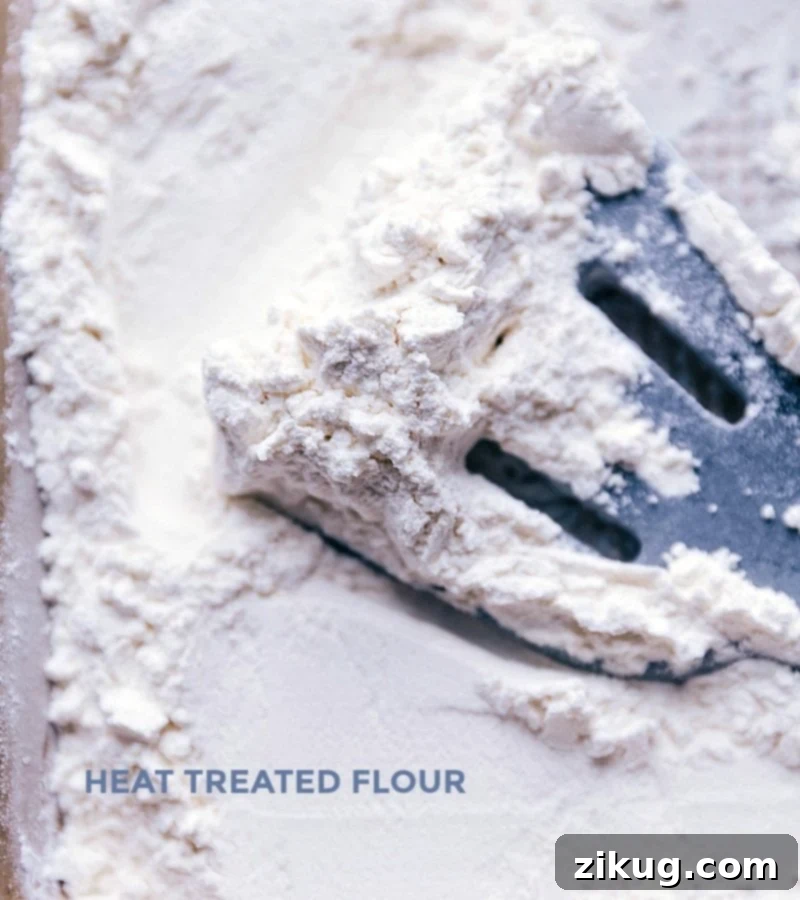
The most important step in making edible brownie batter (or any raw dough safe to eat) is properly heat-treating your all-purpose flour. Raw flour can contain harmful bacteria like E. coli, which is naturally present in grains grown in the field. Heat-treating the flour effectively kills these bacteria, making it completely safe for consumption without baking. Don’t skip this step!
Here are three reliable methods for heat-treating flour:
- Purchase Pre-Treated Flour: Some brands now offer pre-heat-treated flour, often labeled as “ready-to-eat” or specifically for no-bake recipes. Always check the product label to confirm. This is the easiest option if available.
- Microwave Method:
- Place the desired amount of all-purpose flour (it’s wise to treat a little extra, perhaps 1/2 to 1 cup more than the recipe calls for, in case you need to adjust consistency later) into a microwave-safe bowl.
- Microwave on high power in 30-second increments.
- After each 30-second burst, remove the bowl and stir the flour thoroughly. This prevents hot spots and ensures even heating, stopping any part from burning.
- Continue microwaving and stirring until the flour reaches an internal temperature of 165°F (74°C). Use an instant-read thermometer to check the temperature in several spots.
- Once it reaches 165°F, remove it from the microwave and let it cool completely to room temperature before using. Ensure there are no burnt or clumpy bits; burnt flour will have an off-color and smell. The goal is light, white, and fluffy flour.
- Oven Method:
- Preheat your oven to 300°F (150°C).
- Line a large baking sheet (one with sides is ideal to prevent flour from spilling) with parchment paper or a silicone baking mat.
- Spread the all-purpose flour evenly in a thin layer across the prepared baking sheet. Again, consider treating a bit more than you immediately need.
- Bake the flour, stirring it every 1.5 to 2 minutes with a spatula to ensure even heating.
- Continuously monitor the temperature with an instant-read thermometer, checking in various spots each time you stir.
- Once the flour reaches an internal temperature of 165°F (74°C) throughout, remove it from the oven.
- Allow the flour to cool completely to room temperature before incorporating it into your brownie batter recipe. Properly cooled flour should remain light, white, and fluffy.
After heat-treating, always spoon the cooled flour into your measuring cup and level the top with the back of a knife. Do not scoop the flour directly with the measuring cup, as this compacts it and can lead to using too much, altering the batter’s consistency.
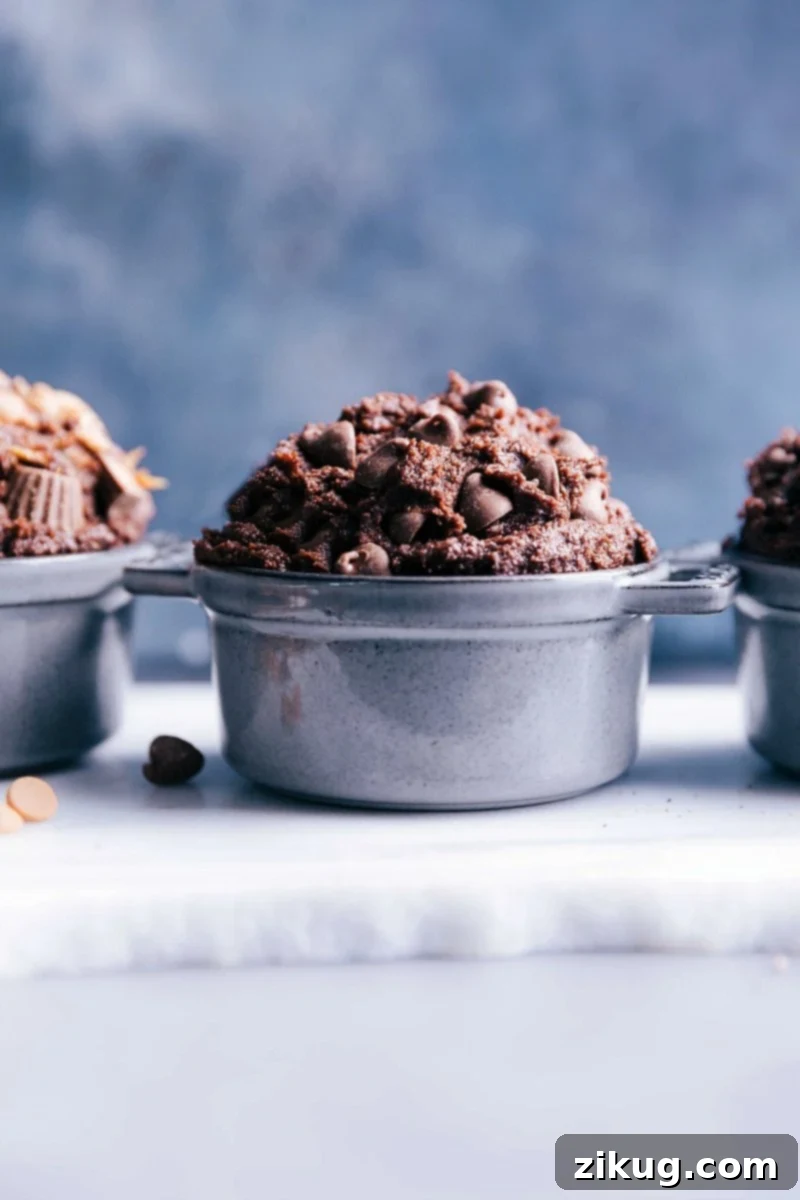
Unleash Your Creativity: Edible Brownie Batter Topping & Mix-Ins
One of the best parts about edible brownie batter is its incredible versatility! While delicious on its own, adding your favorite toppings and mix-ins can elevate this treat to an entirely new level. Don’t be afraid to experiment and create your signature flavor combinations!
- Double Chocolate Dream: For the ultimate chocolate lover, go all out! Stir in mini chocolate chips, coarsely chopped dark chocolate for a sophisticated bite, or white chocolate chunks for a contrasting sweetness.
- Nutty Indulgence: Add a delightful crunch and earthy flavor with nuts. Chopped pecans, toasted walnuts (you can even try candied walnuts for extra sweetness), or slivered almonds are fantastic choices.
- Cookie Crumble Craze: Transform your batter into a textural wonderland with crushed cookies. Crushed Oreos are a classic, but don’t stop there – crumbled chocolate chip cookies or crushed graham crackers add unique flavors and textures.
- Peanut Butter Paradise: The combination of chocolate and peanut butter is legendary. Swirl in a generous dollop of creamy peanut butter, add mini peanut butter cups, or mix in chocolate peanut butter chips for an intense flavor pairing.
- Fruity Freshness: For a touch of brightness and tang, incorporate dried cherries, freeze-dried raspberries (which add a lovely tartness and crunch), or finely chopped fresh strawberries. These add a refreshing contrast to the rich chocolate.
- Other Creative Ideas: Consider a swirl of marshmallow fluff, a sprinkle of sea salt flakes (especially with caramel), mini M&Ms, or even a dash of espresso powder to deepen the chocolate flavor.
Storage Solutions & Leftovers
Don’t Waste a Drop! Storing Your Edible Brownie Batter
This edible brownie batter is so good, you might not have leftovers! But if you do, it stores beautifully, allowing you to enjoy your decadent treat for days or even months.
- Refrigerator Storage: Store the edible brownie batter in an airtight container in the refrigerator for 5-7 days. The batter’s texture will firm up when chilled, making it even more fudgy.
- Freezer Storage for Longer Enjoyment: For longer storage, freeze your leftover batter! You can press it into an ice cube tray for perfectly portioned servings, or shape it into smaller balls or logs. Wrap individual portions tightly in plastic wrap, then place them in a freezer-safe bag or container. It will keep well in the freezer for up to 3 months. Thaw in the refrigerator or at room temperature until softened to your desired consistency before enjoying.
More Delicious Brownie-Inspired Treats You’ll Love:
Desserts
Brownie Trifle
Desserts
Mint Brownies
Desserts
Cosmic Brownies Recipe
Desserts
Brownie Ice Cream Bars
Edible Brownie Batter Recipe
By Chelsea Lords
This rich, fudgy edible brownie batter is completely safe to eat—made with heat-treated flour, no eggs, and tons of delicious mix-in options!
Prep Time: 30 minutes
Total Time: 30 minutes
Servings: 6 servings
Equipment
- Stand mixer or hand mixer
Ingredients
- 1 cup all-purpose flour (heat treated – see Note 1 for instructions)
- 1/4 cup Dutch process cocoa powder (see Note 2)
- 1/2 teaspoon fine sea salt
- 1 cup semi-sweet chocolate chips
- 6 tablespoons unsalted butter
- 1/2 cup granulated sugar
- 3/4 cup light brown sugar (packed)
- 1/4 cup + 2 tablespoons heavy cream
- 1 teaspoon vanilla extract
- 2/3 cup milk chocolate chips (or your preferred chocolate chips)
- Optional additions (see Note 3 for suggestions)
Instructions
- Heat Treat Flour: Heat treat your all-purpose flour using either the microwave or oven method (refer to Note 1 below for detailed instructions). It is crucial for the flour to reach a safe temperature of 165°F (74°C). Allow the heat-treated flour to cool completely to room temperature before proceeding. Discard any flour that appears burnt or clumpy; it should remain light, white, and fluffy. When measuring, spoon the cooled flour into a measuring cup and level the top with the back of a table knife to ensure accuracy.
- Combine Dry Ingredients: Once the heat-treated flour has cooled, add the measured flour, Dutch-process cocoa powder, and salt to a medium-sized bowl. Stir well to combine all ingredients evenly and set aside.
- Melt Chocolate and Butter: In a separate microwave-safe bowl, combine the semi-sweet chocolate chips and unsalted butter (cut into 1-tablespoon pieces). Microwave on high in 30-second bursts, stirring for about 15 seconds between each burst, until the mixture is fully melted and smooth. This typically takes around 1 minute 30 seconds to 2 minutes.
- Combine Wet Ingredients: Transfer the melted chocolate and butter mixture to the bowl of a stand mixer fitted with the paddle attachment (or use a hand mixer). Add the granulated sugar and the packed light brown sugar. Beat on medium speed for 2 minutes until the mixture is entirely smooth and creamy. Next, add the heavy cream and vanilla extract, then continue to beat for another 1-2 minutes until the mixture is smooth and slightly lighter in color.
- Mix Batter and Adjust Consistency: Add the prepared dry ingredients (flour, cocoa, salt) directly on top of the wet mixture in the stand mixer. Beat on low speed until the dry ingredients are just incorporated, being careful not to overmix the batter. Use a spatula to scrape down the sides of the bowl as needed, ensuring all ingredients are well combined. Gently fold in the milk chocolate chips (or other chosen mix-ins) with your spatula. If the batter feels too wet for your preference, you can add 1-2 more tablespoons of the heat-treated flour. If it seems too thick or dry, add 1-2 more tablespoons of heavy cream until you achieve your desired brownie batter consistency.
- Serve and Enjoy: Your delicious, safe edible brownie batter is now ready! Enjoy it immediately, or chill it in the refrigerator for a firmer texture. This batter is wonderful fresh, chilled, or even frozen. You’ll find that chilling or freezing the batter can help further dissolve the sugar, resulting in an even smoother, less grainy consistency.
Recipe Notes
Note 1: How to Heat Treat Flour
Microwave Method: Place the flour in a microwave-safe bowl (I recommend heat-treating 1/2 to 1 cup extra flour than required, just in case). Microwave on high in 30-second increments, stirring thoroughly after each burst to prevent burning and ensure even heating. Use an instant-read thermometer to check the flour in several spots; it must reach 165°F (74°C) throughout. Let it cool completely before using. The flour should be light, white, and fluffy. Avoid using any flour that smells or looks burnt.
Oven Method: Preheat your oven to 300°F (150°C). Line a large sheet pan with parchment paper. Spread the flour evenly on the pan (again, treating 1/2 to 1 cup more than needed is a good practice). Bake, removing and stirring the flour every 1.5 minutes. Check the temperature with a thermometer each time you stir. As soon as it consistently reaches 165°F (74°C), it’s safe. Let it cool completely before using.
Note 2: Dutch-Process Cocoa Powder
For the best, most intense chocolate flavor and rich color, use Dutch-process cocoa powder. This type of cocoa is treated to reduce its acidity, resulting in a darker color and a smoother, less bitter chocolate taste compared to natural or plain cocoa powder. Popular options like Hershey’s Special Dark cocoa powder are Dutch-process and widely available.
Note 3: Optional Add-In Suggestions
Feel free to customize your edible brownie batter with your favorite additions! Great ideas include: coarsely chopped dark, milk, or white chocolate; white chocolate chips; crushed Oreos or other cookies; a swirl of creamy peanut butter; coarsely chopped mini Reese’s peanut butter cups; chocolate peanut butter chips; or even a delightful swirl of marshmallow fluff.
Storage: Store the edible brownie batter in an airtight container in the refrigerator for 5-7 days. For longer storage, freeze it for up to 3 months. When freezing, wrap individual portions in plastic wrap before placing them in a freezer-safe bag or container.
Nutrition
Serving: 6 servings | Calories: 590 kcal | Carbohydrates: 88g | Protein: 6.2g | Fat: 26.2g | Cholesterol: 40.5mg | Sodium: 26.7mg | Fiber: 3.9g | Sugar: 66.6g
Nutrition information is automatically calculated and should only be used as an approximation.
Love this recipe? Leave a comment below and share your thoughts!
Can You Really Eat Brownie Batter Safely?
Traditionally, eating raw brownie batter or any uncooked dough comes with inherent risks due to raw flour and raw eggs, which can contain harmful bacteria like E. coli or Salmonella. However, this Edible Brownie Batter recipe is specifically designed for safe consumption! It’s made without any eggs and utilizes heat-treated flour, effectively eliminating the primary safety concerns. So, yes, with this recipe, you can absolutely enjoy brownie batter by the spoonful without worry. To learn more about the risks associated with raw dough, you can refer to information from the CDC here.