
Irresistible Cookie Butter Bars: A Gooey Chocolate Oatmeal Delight
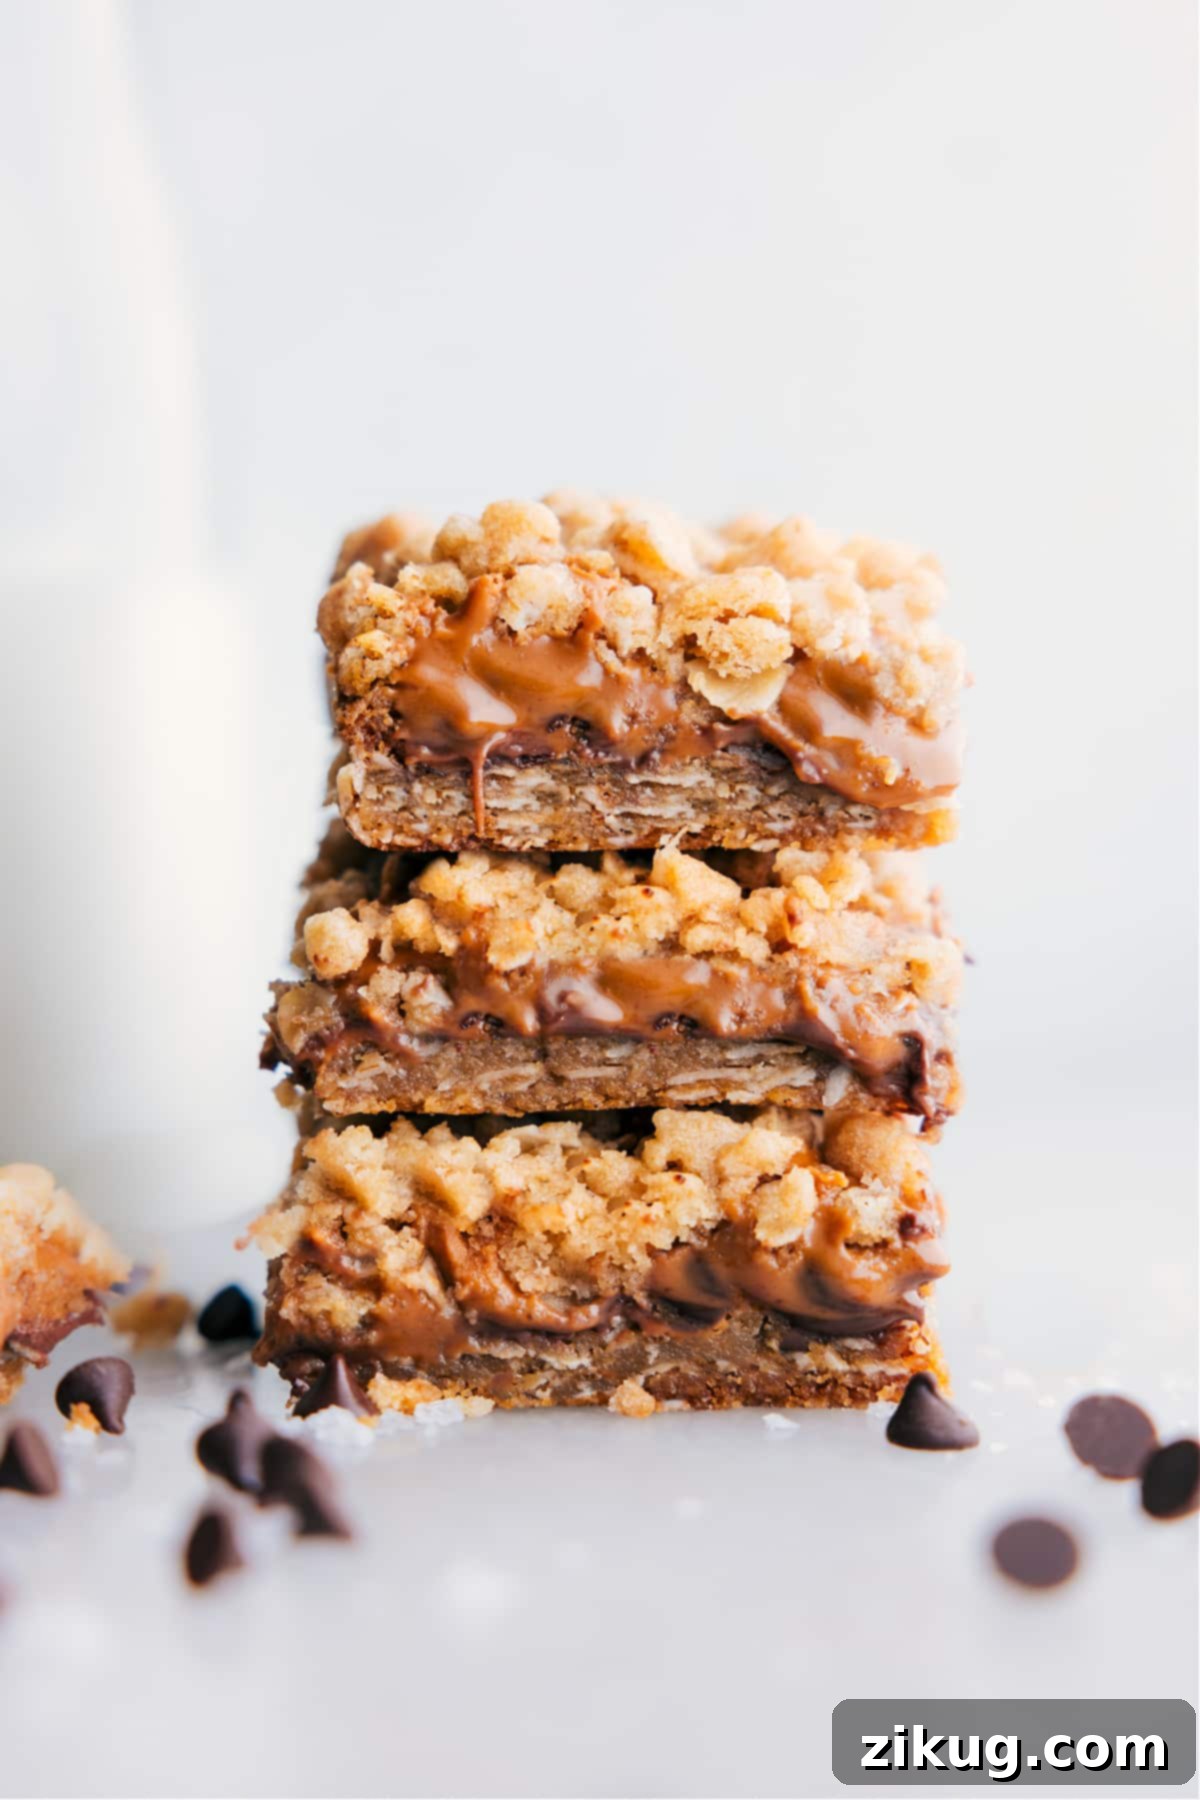
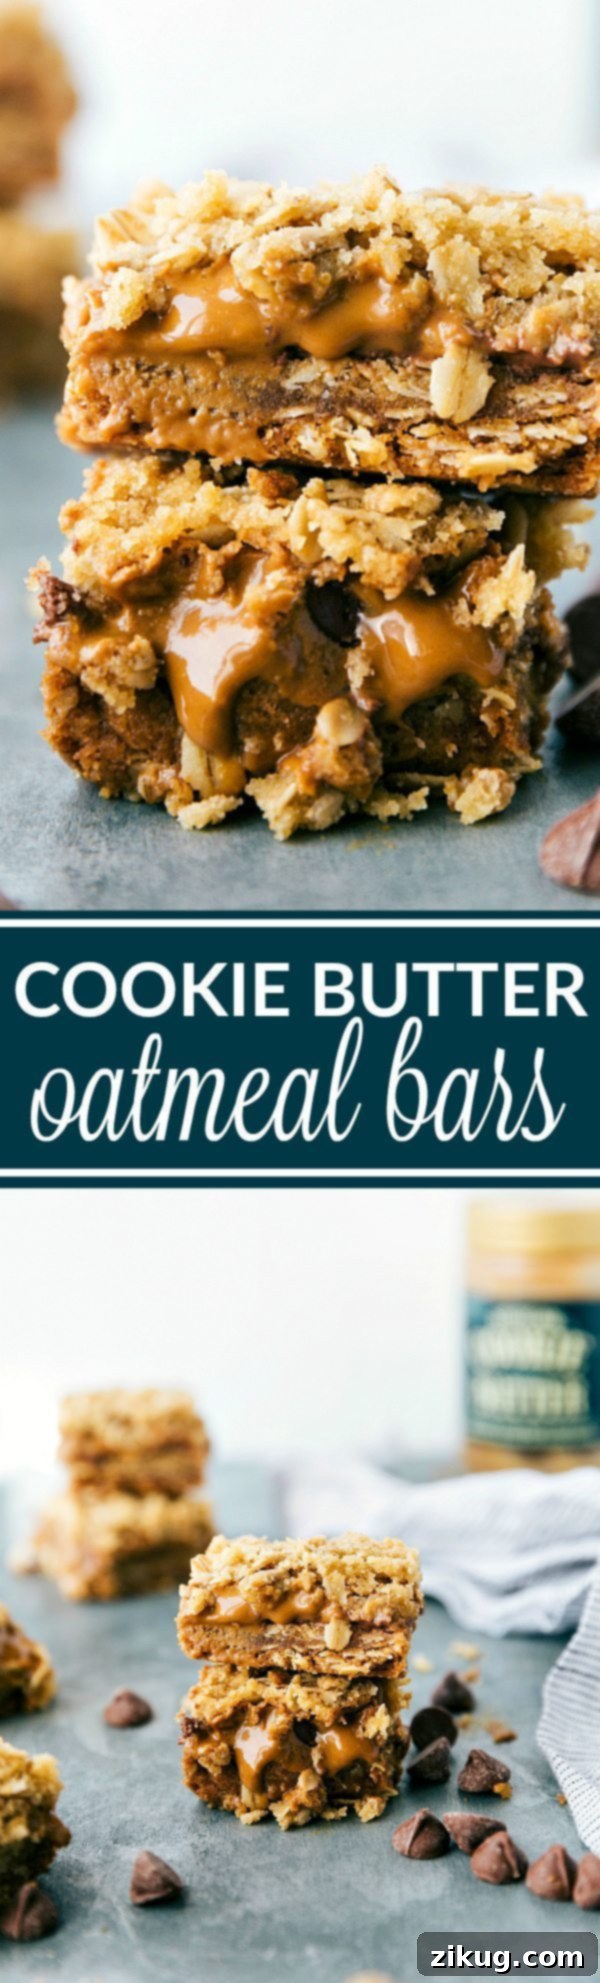
Get ready to discover your new favorite dessert with these utterly delightful Cookie Butter Bars! Starting with a perfectly simple, buttery oatmeal cookie dough, these bars feature a luscious, gooey center of smooth cookie butter and melty milk chocolate chips. Imagine the famous Carmelita bars, but with an exciting, deeply flavorful twist: the rich, spiced sweetness of cookie butter taking center stage. These bars are not just a treat; they’re an experience, promising to be a huge hit at any gathering or a perfect indulgence for your sweet cravings.
If you find yourself with extra cookie butter after making these incredible bars, don’t let it go to waste! It’s a versatile ingredient that can elevate many other desserts. Try incorporating it into these Cookie Butter Crunch Cups for a no-bake delight, whip up some creamy Cookie Butter Meltaways, or simply spread it as a delicious topping on light and airy Crepes for an easy breakfast or dessert.
Cookie Butter Bars: A Sweet Revelation
For years, Carmelitas have been a go-to dessert in my kitchen. Their combination of chewy oatmeal crust, gooey caramel, and rich chocolate has always been a guaranteed crowd-pleaser. However, a moment of serendipitous scarcity led to a truly inspired creation that has since eclipsed the original in popularity among my friends and family.
One baking day, after meticulously preparing the oatmeal cookie dough for a batch of Carmelitas, I discovered to my dismay that I was completely out of caramels. Instead of abandoning the project, a brilliant idea struck: why not replace the caramel with cookie butter? This spontaneous substitution turned out to be nothing short of a culinary revelation. The rich, spiced flavor of cookie butter harmonized with the chocolate and oatmeal in a way that was utterly unique and unbelievably delicious, creating a treat that’s both comforting and exciting.
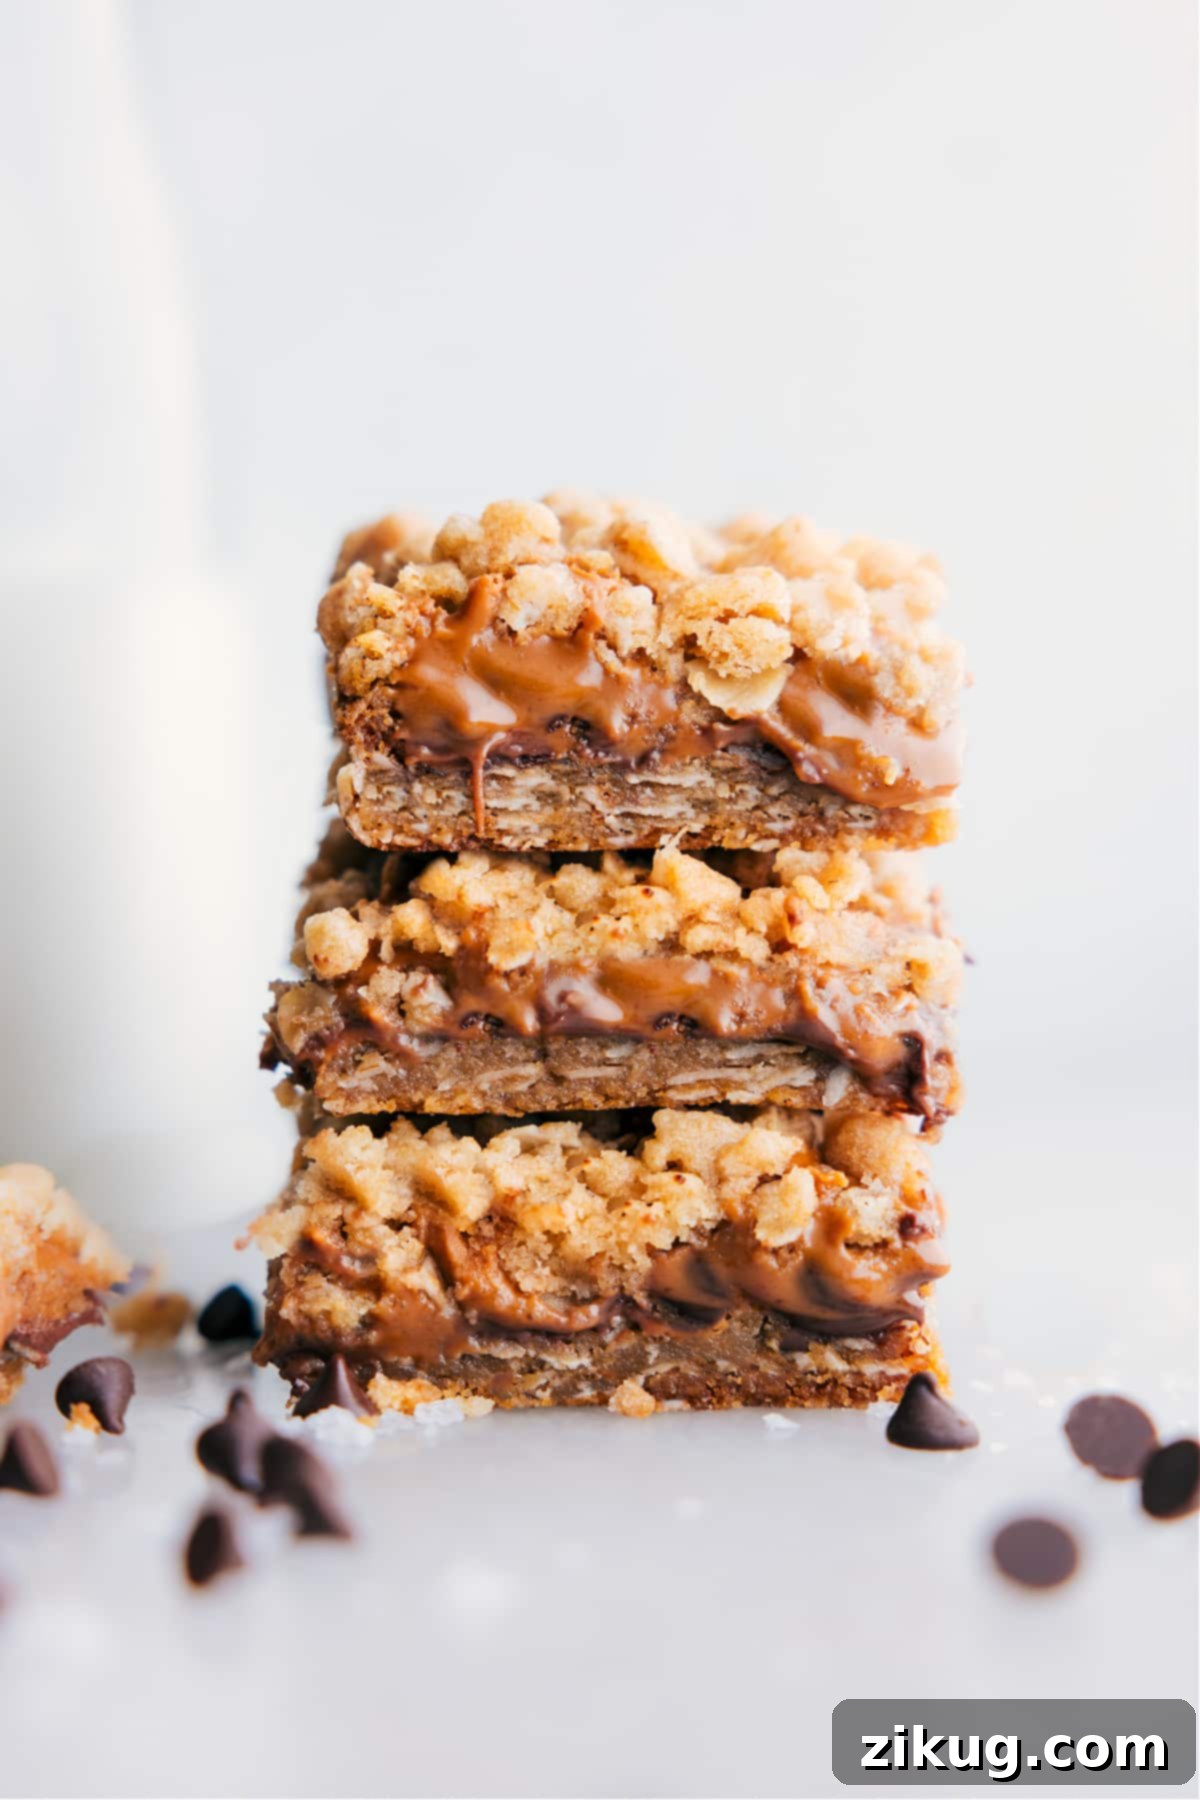
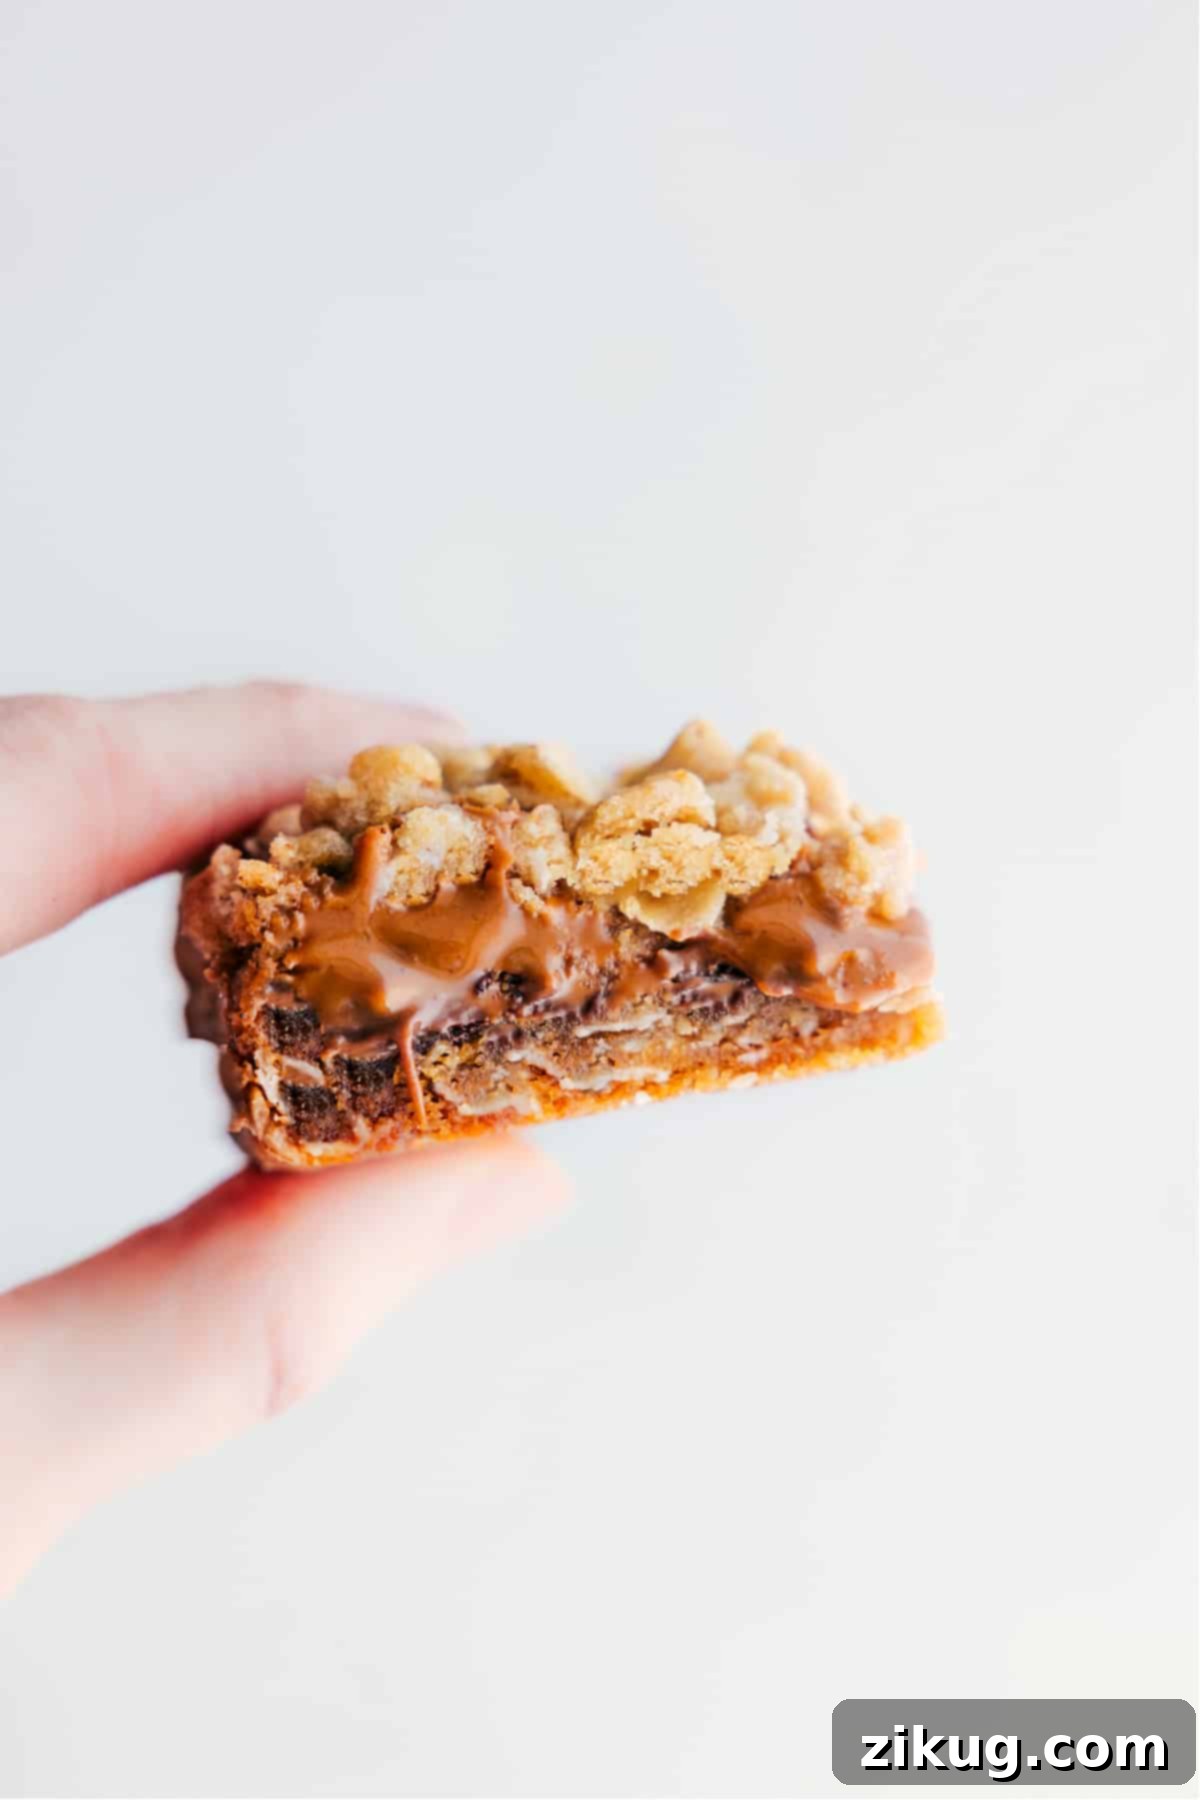
These Cookie Butter Bars are loaded with generous layers of melt-in-your-mouth milk chocolate chips and a thick, luscious spread of warm, gooey cookie butter, all encased between two layers of tender, buttery oatmeal cookie dough. The resulting bars offer a unique, deeply rich, and truly unforgettable flavor profile that sets them apart from typical dessert bars. They’re chewy, sweet, and incredibly satisfying, making them an ideal choice for anyone looking for a distinctive and decadent homemade treat.
Quick Tip
What Exactly Is Cookie Butter?
Cookie butter, often known by the popular brand name Biscoff, is a unique and incredibly delicious sweet spread. It’s crafted from finely crushed spice cookies, typically Speculoos, which are popular in Europe. The cookies are ground into a smooth, creamy paste, similar in consistency to peanut butter or Nutella. Its flavor profile is distinct, offering a delightful blend of warm spices like cinnamon, nutmeg, and cloves, combined with a rich, caramelized sweetness. This distinct taste makes it an exceptional ingredient for baking, adding a layer of complex sweetness and a wonderfully smooth texture to any dessert. You can often find it in the nut butter aisle of most major grocery stores or specialty markets like Trader Joe’s.
Key Ingredients for Perfect Cookie Butter Bars
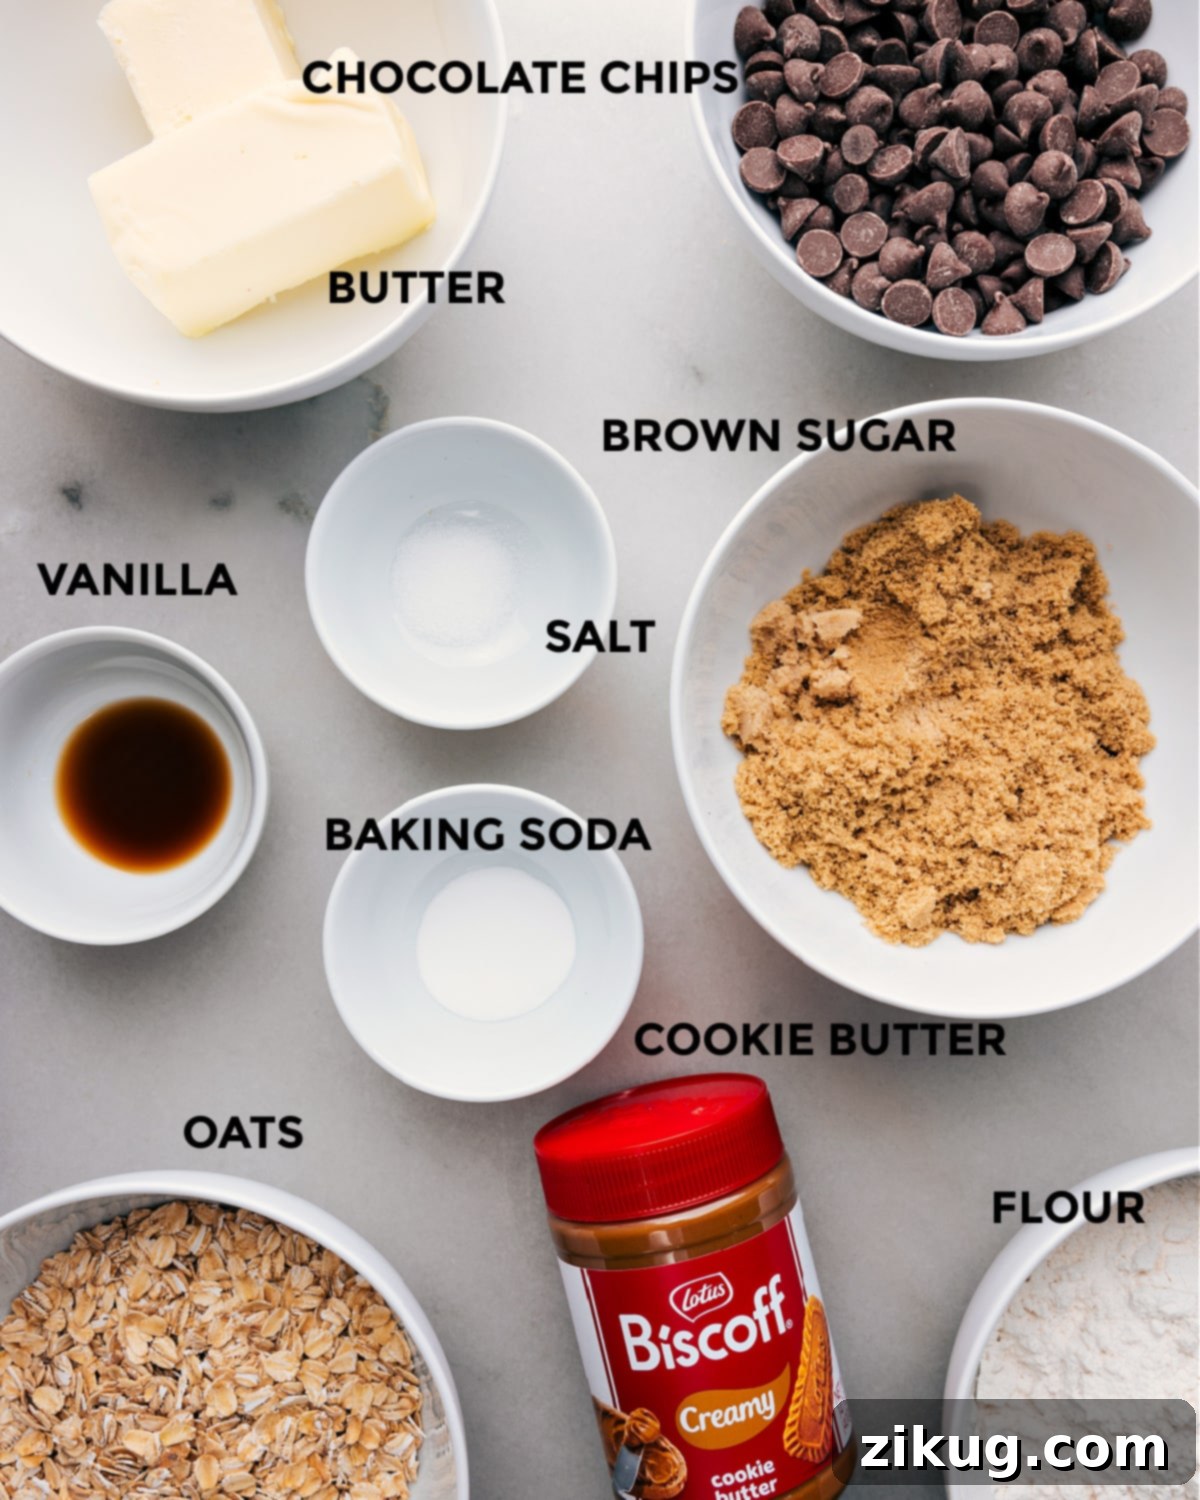
Crafting these delectable Cookie Butter Bars requires a few simple ingredients, each playing a crucial role in achieving that perfect texture and flavor. Paying attention to the details of each ingredient will ensure your bars turn out absolutely perfect.
- Unsalted Butter: For the best results and easiest mixing, make sure your butter is softened to room temperature. This allows it to cream smoothly with the sugar, creating a light and airy base for the dough. Using unsalted butter also gives you control over the overall saltiness of the bars.
- Light Brown Sugar: This ingredient is essential for providing moisture, depth of flavor, and a wonderfully chewy texture to the oatmeal dough. Always pack brown sugar firmly into your measuring cup to ensure you’re using the correct amount, which is key for the ideal sweetness and softness.
- Pure Vanilla Extract: Don’t skimp on good vanilla! Pure vanilla extract adds a warm, aromatic note that enhances all the other flavors in the bars. Its rich essence complements the cookie butter beautifully.
- Old-Fashioned Oats: The star of the cookie dough, old-fashioned (rolled) oats provide the classic chewy texture that defines these bars. It’s crucial to use old-fashioned oats and avoid quick-cooking or steel-cut oats, as these will result in a significantly different (and less desirable) texture.
- Baking Soda: This leavening agent helps the oatmeal dough rise slightly and become tender. Always check the freshness of your baking soda; stale baking soda won’t activate properly, leading to dense bars.
- Fine Salt: A small amount of salt is vital for balancing the sweetness and enhancing the flavors of the chocolate and cookie butter. Use fine salt for even distribution throughout the dough.
- All-Purpose Flour: Proper measurement of flour is critical for the right consistency. Spoon the flour into your measuring cup and level it off with a straight edge; never pack it down. Too little flour can make the bars greasy and overly crumbly, while too much can result in dry, stiff bars.
- Cookie Butter (Biscoff Spread): This is the heart of our bars! You can typically find cookie butter at Trader Joe’s or in the nut butter section of most large grocery stores. Biscoff spread is the most common brand. Its unique spiced, caramelized flavor is what makes these bars truly special.
- Chocolate Chips: The choice of chocolate chips allows for customization. While milk chocolate chips provide a classic, sweet, and melty experience that pairs wonderfully with cookie butter, feel free to use your favorite! Dark chocolate chips offer a richer, less sweet contrast, semi-sweet chips are a good all-rounder, or you could experiment with white chocolate or even butterscotch chips for a different flavor profile.
Effortless Steps to Make Delicious Cookie Butter Bars
Making these cookie butter bars is surprisingly simple, broken down into a few straightforward steps that even novice bakers can master. Follow these instructions for a perfect batch every time.
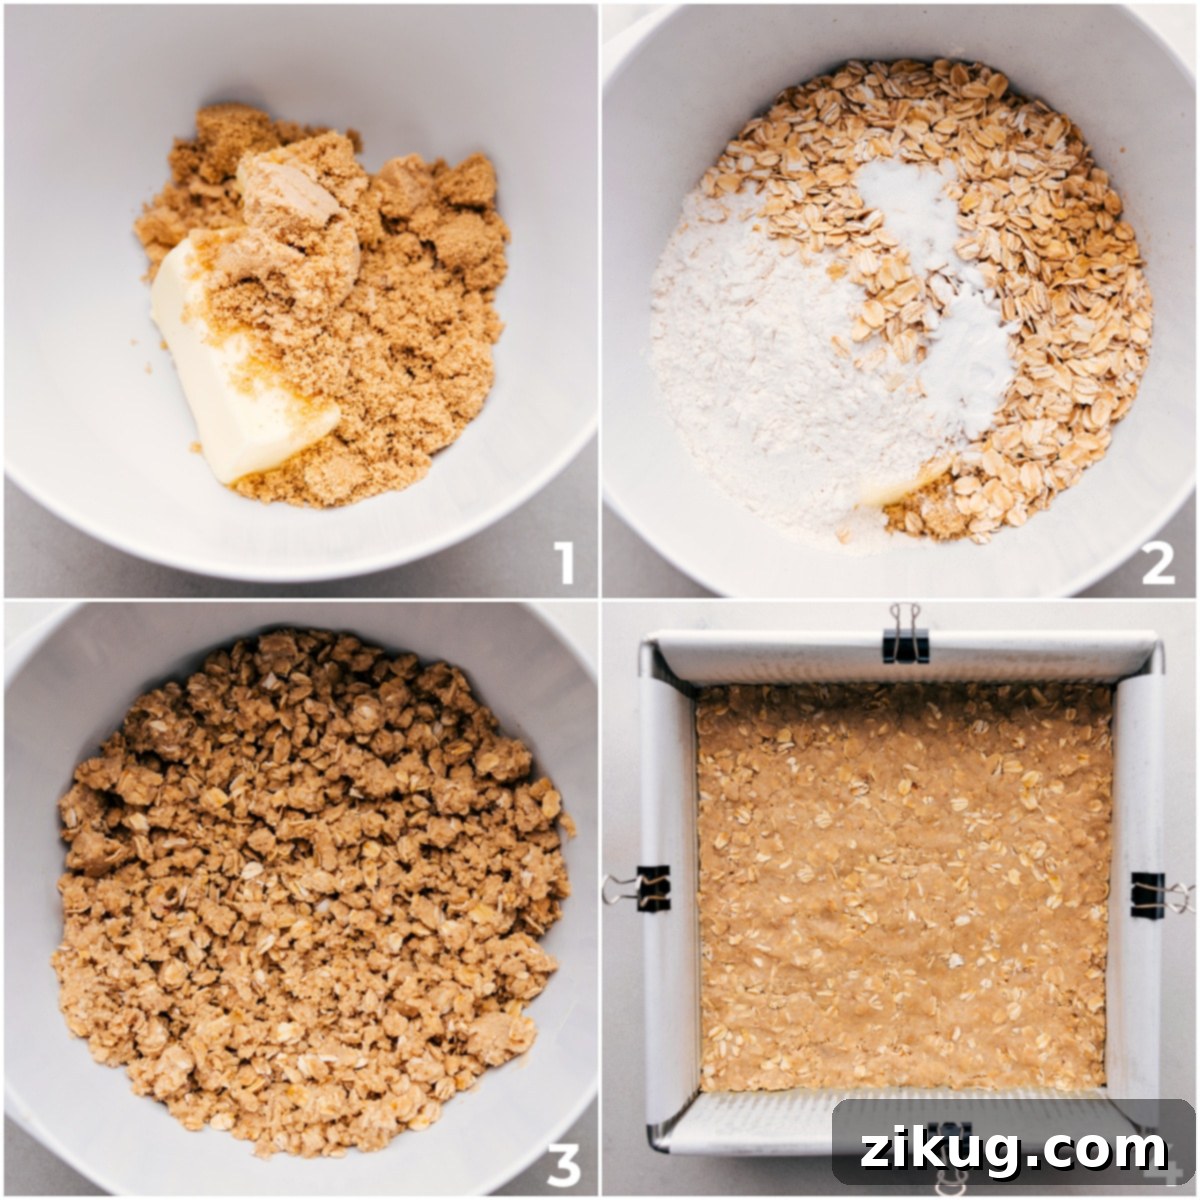
- Prepare Your Baking Pan: Begin by preheating your oven to 350°F (175°C). Line a 9×9-inch baking pan with parchment paper, making sure to leave an overhang on the sides. This parchment paper “sling” will make lifting the cooled bars out of the pan incredibly easy and mess-free.
- Craft the Oatmeal Dough: In a large mixing bowl, combine the softened butter, firmly packed brown sugar, vanilla extract, old-fashioned oats, all-purpose flour, baking soda, and salt. Use a hand mixer or a stand mixer fitted with the paddle attachment to mix these ingredients together until a thick, uniform dough forms. Ensure all ingredients are thoroughly combined without overmixing.
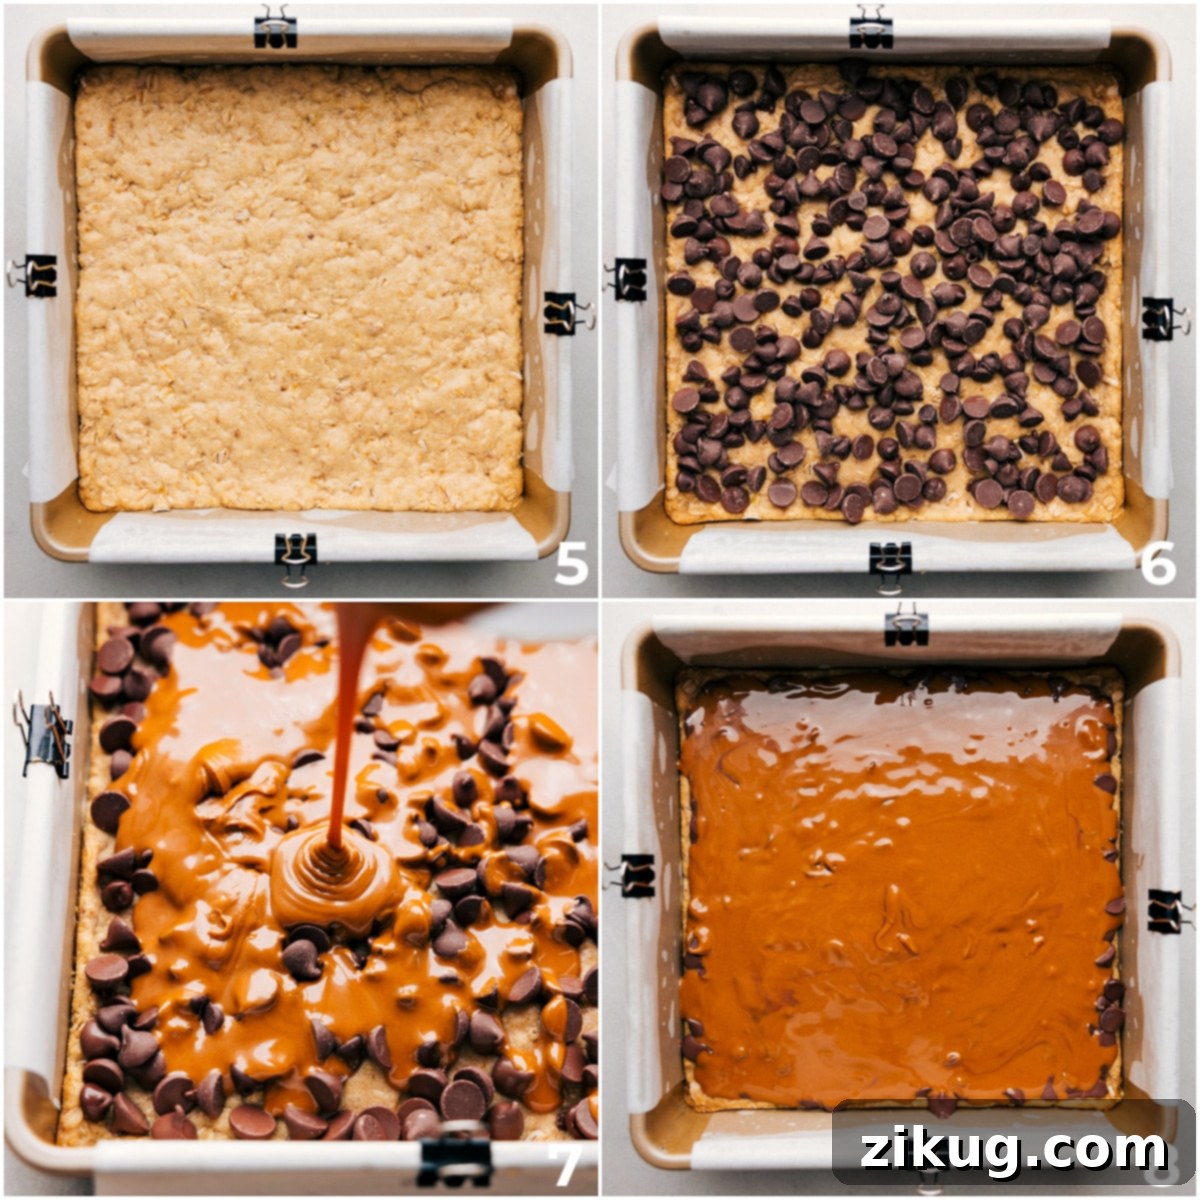
- Form the First Layer and Bake: Take half of the prepared oatmeal dough and press it firmly and evenly into the bottom of your parchment-lined baking pan. An even layer is crucial for consistent baking. Bake this base layer in the preheated oven for approximately 8 minutes, or until it’s lightly golden brown around the edges. This pre-baking step gives the base a sturdy foundation before adding the gooey filling.
- Add the Irresistible Fillings: While the base is still warm from the oven, sprinkle the milk chocolate chips evenly over the entire surface. Next, measure out 1 cup of cookie butter and, if it’s too thick, warm it slightly in a microwave-safe bowl for 15-30 seconds until it’s pourable and easy to spread. Pour the warmed cookie butter over the chocolate chips, then use a spatula or the back of a spoon to gently spread it into a smooth, even layer across the entire surface.
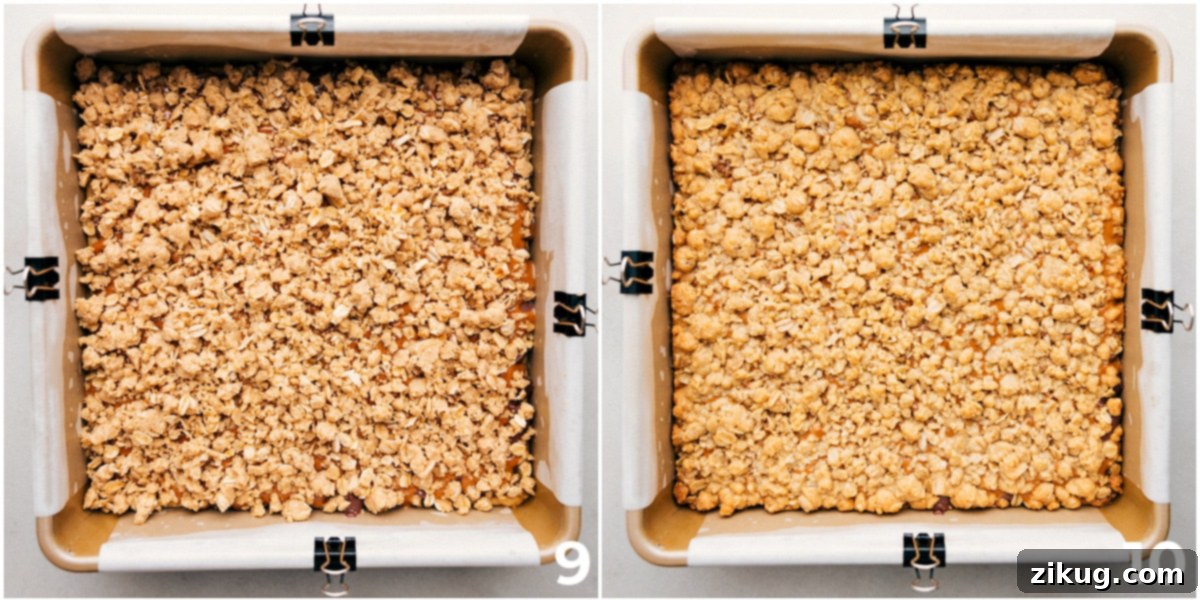
- Top with Crumbled Dough: Take the remaining half of the oatmeal dough and crumble it loosely over the cookie butter and chocolate chip filling. Resist the urge to press this top layer down; keeping it crumbly ensures a light, textural contrast to the gooey center.
- Finish Baking: Return the pan to the oven and bake for an additional 13-18 minutes, or until the top layer is lightly golden brown and the edges are set. Keep a close eye on the bars to prevent overbaking, which can lead to a dry texture.
- Cool Completely Before Serving: This step is paramount for clean, perfectly formed bars. Once baked, remove the pan from the oven and allow the bars to cool completely at room temperature for at least 1 hour. Attempting to cut them while warm will result in a messy, crumbly experience due to the soft chocolate and cookie butter. Once fully cooled, use the parchment paper overhang to lift the entire slab from the pan, then cut it into squares.
Expert Tips for Flawless Cookie Butter Bars
Achieving bakery-quality Cookie Butter Bars is easy with a few simple tricks. These tips will help you create a batch that’s perfectly gooey, chewy, and holds its shape beautifully.
- The Parchment Paper Advantage: Always line your baking pan with parchment paper. This simple step is a game-changer for easy removal and significantly simplifies cleanup. By leaving an overhang on the sides, you create a “sling” that allows you to effortlessly lift the entire slab of cooled bars from the pan before cutting, ensuring no sticking and no broken edges.
- Ensure an Even Bottom Crust: When pressing the first half of the oatmeal dough into the pan, take your time to ensure it’s spread into an even layer of consistent thickness. This guarantees uniform baking, preventing some parts from being undercooked or overbaked, and provides a sturdy, perfectly textured base for your bars.
- Smooth Cookie Butter Spreading: For a beautifully uniform filling, warm the cookie butter in the microwave for 15-30 seconds before spreading. This will make it much more fluid and easier to spread evenly over the chocolate chips. Use an offset spatula or the back of a spoon to gently smooth it out, ensuring every bite gets an equal share of that delicious, gooey goodness.
- The Art of the Oatmeal Crumble: When adding the remaining oatmeal mixture to the top, sprinkle it loosely and resist the urge to press it down. This “crumble” technique creates a lighter, slightly crispier top layer that perfectly contrasts with the soft, gooey filling below, adding an important textural element to each bite.
- Patience is Key: Cool Completely: This might be the most important tip of all. It’s tempting to cut into these bars while they’re still warm, but don’t! The chocolate and cookie butter filling will be too soft, resulting in a messy, crumbly outcome. Allowing the bars to cool completely at room temperature for at least an hour (or even chilling them briefly) firms up the filling, making them much easier to cut into neat, clean squares that hold their shape. The flavors also meld and deepen as they cool, making them taste even better!
- Don’t Overbake: Keep a close eye on your oven during the second baking stage. Overbaking can lead to dry, hard bars. Look for a lightly golden top and set edges; the center might still seem a little soft, but it will firm up as it cools.
Storage & Freezing Cookie Butter Bars
Proper storage ensures your Cookie Butter Bars remain fresh and delicious for as long as possible. Store them in an airtight container at room temperature for 3-4 days. This keeps them moist and prevents them from drying out.
For longer storage, these bars freeze beautifully. To freeze leftovers, wrap each individual bar tightly in plastic wrap, then place the wrapped bars in a large, freezer-safe zip-top bag or an airtight container. They can be frozen for up to 2-3 months. To enjoy, simply thaw them at room temperature. If you notice the chocolate looks slightly speckled after thawing, don’t worry—this is a normal occurrence where milk solids rise to the surface, and it does not affect the taste or quality of the bars.
Frequently Asked Questions About Cookie Butter Bars
Got questions about making the best cookie butter bars? We’ve got answers!
Can I use quick oats instead of old-fashioned oats?
No, it’s highly recommended to stick with old-fashioned rolled oats. Quick oats are pre-cooked and cut into smaller pieces, which results in a mushier, less chewy texture in baked goods. Steel-cut oats are also too tough and won’t soften enough during baking for these bars.
Where can I find cookie butter?
Cookie butter, especially Biscoff spread, is widely available! Look for it in the nut butter aisle of most major grocery stores. Trader Joe’s also carries its own popular version of cookie butter.
How do I know when the bars are done baking?
The first layer of oatmeal dough should be lightly golden brown after 8 minutes. For the final bake, the top crumbled layer should be lightly golden, and the edges should appear set. The center might still look a bit soft, but it will firm up considerably as the bars cool.
Can I make these bars ahead of time?
Absolutely! These cookie butter bars are an excellent make-ahead dessert. Their flavors deepen and textures settle beautifully overnight. Store them in an airtight container at room temperature for up to 3-4 days for optimal freshness.
Can I customize the chocolate chips?
Yes! While milk chocolate chips are fantastic, feel free to use semi-sweet, dark chocolate, or even white chocolate chips to suit your preference. Each will offer a slightly different flavor dynamic with the cookie butter.
More Delicious Desserts to Try
If you loved these Cookie Butter Bars, you’ll surely enjoy these other fantastic dessert recipes from our collection:
- 7 Layer Bars: A classic treat packed with three kinds of chocolate, coconut, and nuts.
- Soft and Chewy Oatmeal Cookies: A timeless recipe featuring a hint of cinnamon for ultimate comfort.
- Sweet and Salty Caramel Cookie Bars: Indulge in the perfect balance of sweet caramel and a hint of sea salt.
- Vanilla Cheesecake Bars with Berry Sauce: Creamy cheesecake perfection topped with a vibrant berry topping.
- Brownie Batter Dessert Cheese Ball: A unique and fun dessert dip with the irresistible taste of brownie batter.
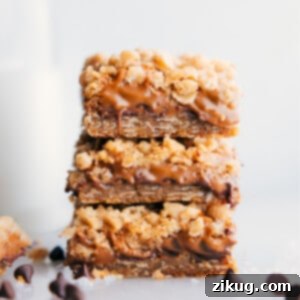
Cookie Butter Bars
Equipment
-
9 x 9-inch baking pan
-
Parchment paper
-
Hand mixer
Ingredients
- 12 tablespoons unsalted butter 3/4 cup, at room temp
- 3/4 cup light brown sugar firmly packed
- 1 teaspoon vanilla extract
- 1 cup old-fashioned oats not steel cut or quick oats!
- 1 teaspoon baking soda
- 1/4 teaspoon salt
- 1-1/4 cups all-purpose flour
- 1 cup cookie butter or Biscoff spread
- 1 cup milk chocolate chips or semi-sweet or dark, see note 2
Instructions
-
Preheat oven to 350°F (175°C). Lightly grease and line a 9×9-inch baking pan with parchment paper, leaving an overhang for easy removal.
-
In a large bowl, mix together the room-temp butter, brown sugar, flour, oats, baking soda, vanilla extract, and salt using a hand mixer until a thick dough forms. Divide the mixture in half.
-
Press half of the dough into the prepared pan to form the base. Bake for 8 minutes, then remove from the oven.
-
Measure out 1 cup of cookie butter and place it in a microwave-safe bowl. Microwave for 15–30 seconds or until warm enough to pour. Sprinkle the chocolate chips evenly over the baked crust. Pour the warmed cookie butter over the chocolate chips, using a spatula to gently smooth it into an even layer.
-
Crumble the remaining oatmeal mixture over the cookie butter layer (do not press it down). Bake for another 13–18 minutes until the edges are lightly browned and the top is set.
-
Remove from the oven and allow to cool completely at room temperature for at least 1 hour before cutting into bars. These bars are best enjoyed within 2–4 days when stored in an airtight container.
Recipe Notes
Note 2: I love milk chocolate chips, but if you prefer less sweetness or like dark chocolate more, go for semi-sweet or dark chocolate chips instead.
Storage: Store these bars in an airtight container; best enjoyed within 2–4 days. For longer storage, bars can be frozen for up to 2-3 months.
Nutrition
Nutrition information is automatically calculated, so should only be used as an approximation.