
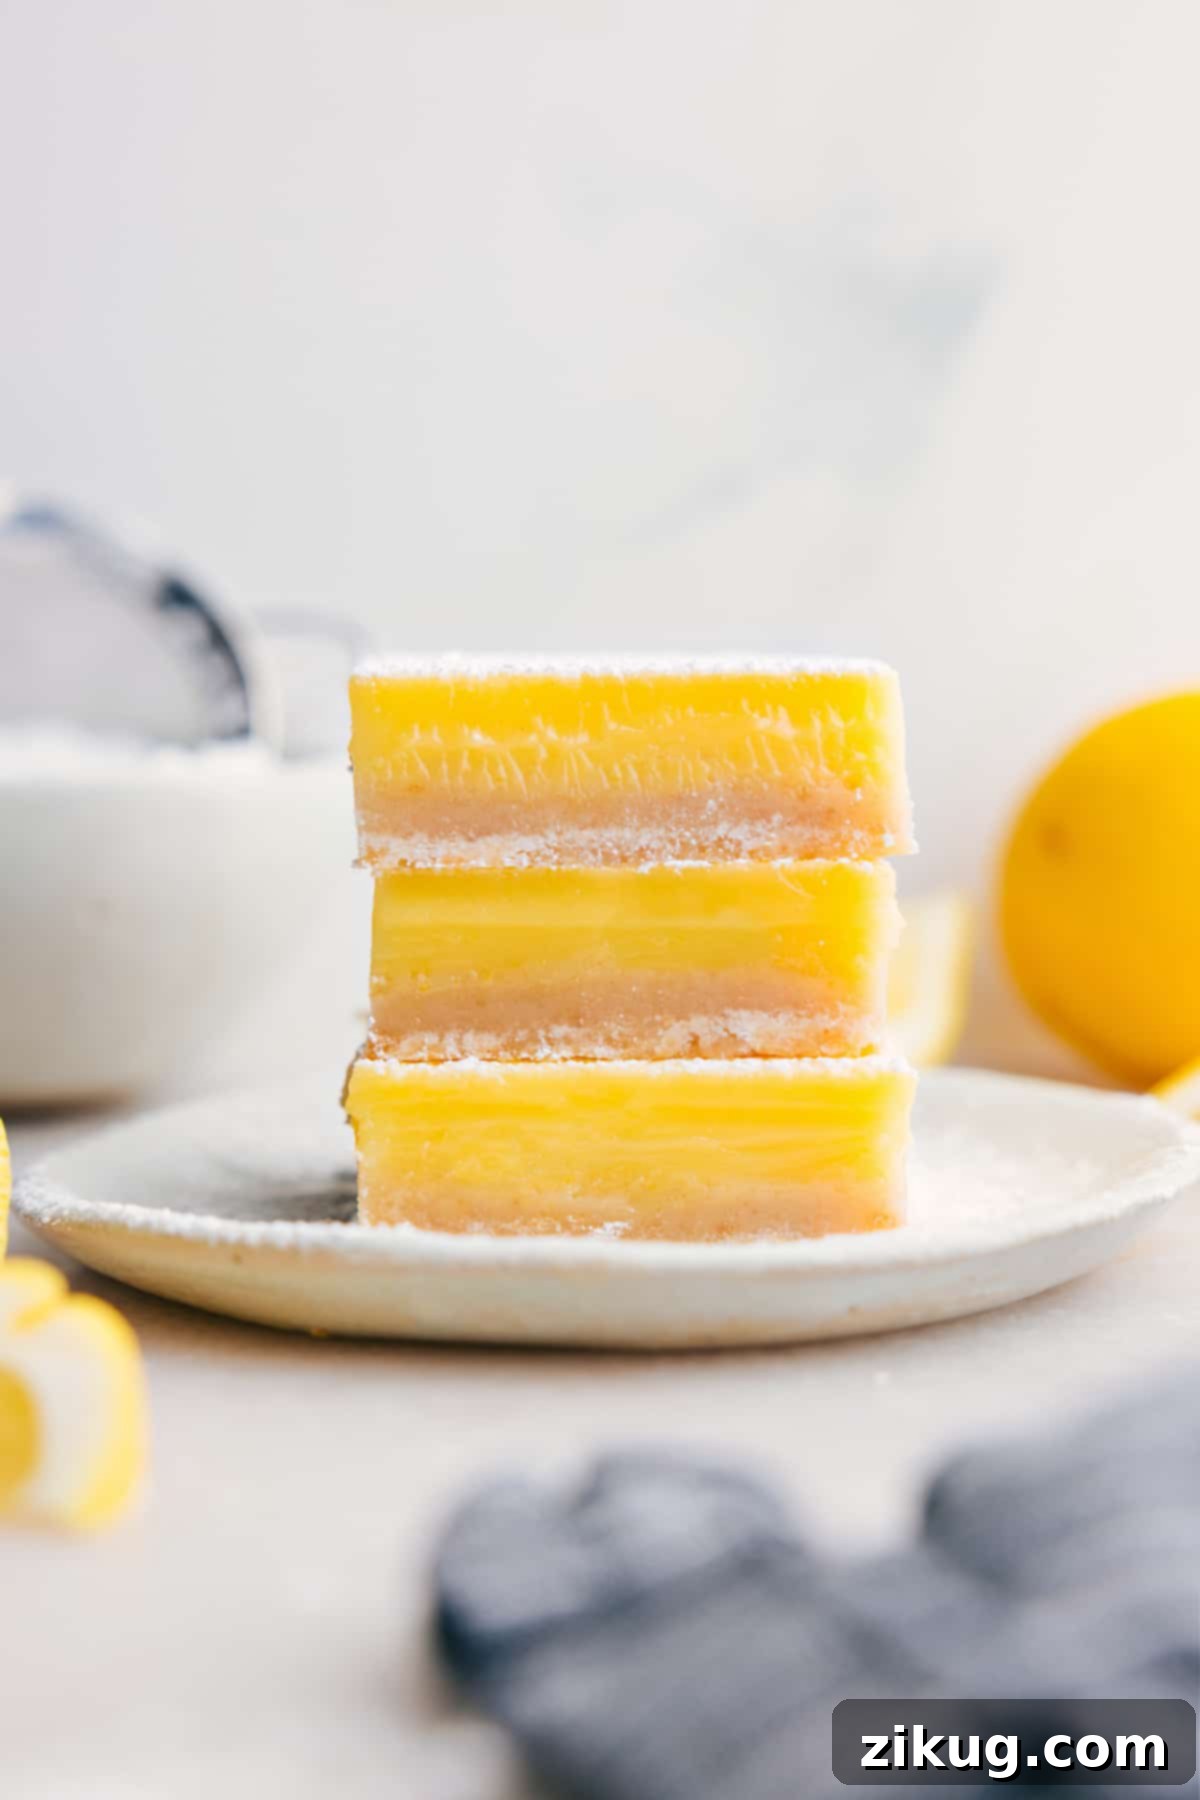
The Ultimate Lemon Bars Recipe: A Perfect Balance of Tangy & Sweet
Indulge in the bright, refreshing taste of these exquisite Lemon Bars, featuring a rich, buttery shortbread crust topped with a gloriously tangy and sweet lemon filling. A delicate dusting of powdered sugar adds the perfect finishing touch, making these bars truly irresistible for any occasion. This recipe delivers a classic dessert that’s both elegant and wonderfully comforting, earning its spot as a perennial favorite.
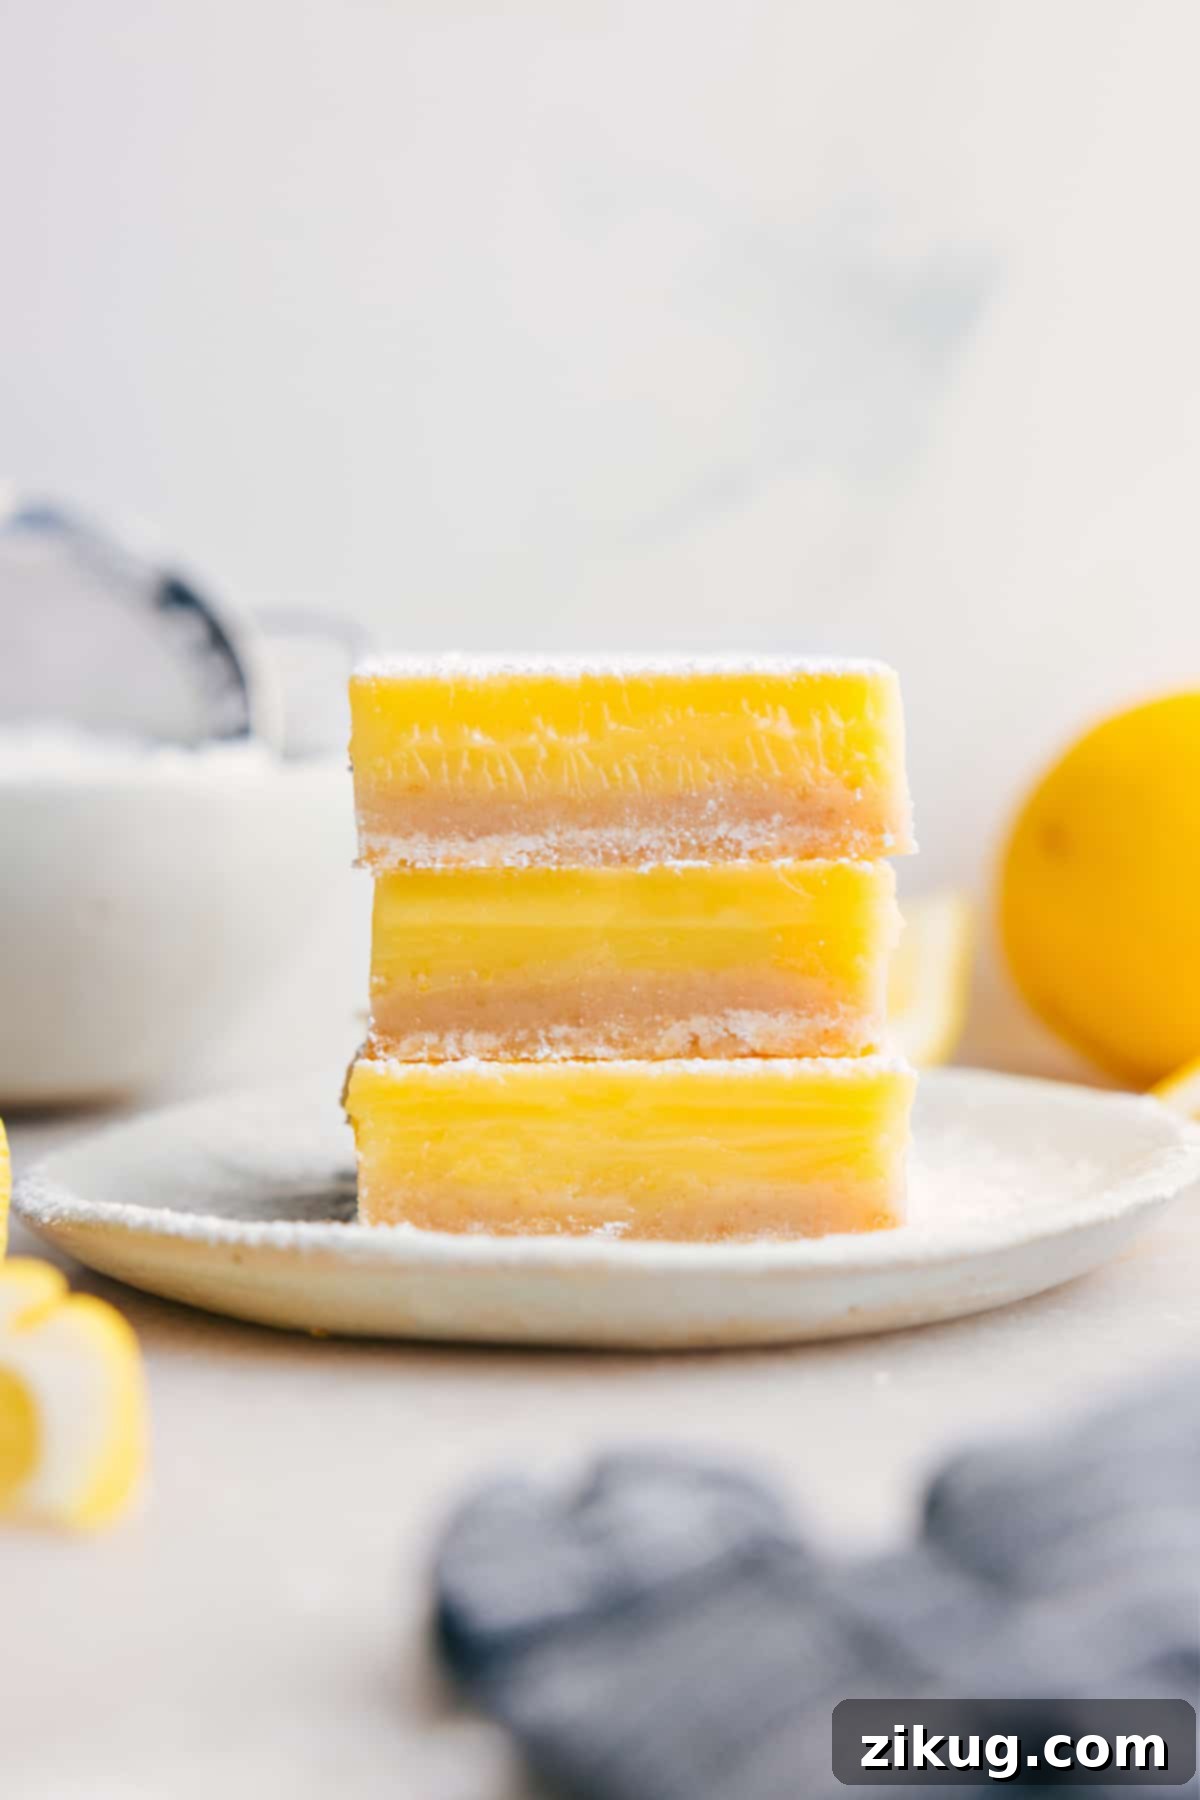

Author’s Notes
My Mom’s Legendary Lemon Bars: A Recipe Refined for Perfection!
Growing up, my mom’s lemon bars weren’t just a dessert; they were a legend. Whenever she brought them to a gathering, they’d vanish almost instantly, always earning rave reviews as the absolute best lemon bars anyone had ever tasted. This recipe holds a special place in my heart, and I’m thrilled to share our family secret with you.
The magic behind her legendary lemon bars was a brilliant, yet simple, secret: a generous splash of heavy cream in the filling. This addition transforms the texture, lending the bars a luxurious, custardy mouthfeel that’s incredibly smooth. It also subtly mellows the lemon’s vibrant tartness, creating a perfectly balanced flavor profile that keeps everyone coming back for more.
While staying true to the essence of her original, I’ve made just a few minor adaptations to enhance this classic. I introduced a hint of almond extract to the shortbread crust, which complements the lemon beautifully and adds an extra layer of sophisticated flavor. I also tweaked the preparation method to make it more foolproof and accessible for every home baker. Previously, the flour in the filling could sometimes clump, and straining would unfortunately remove much of that precious lemon zest flavor. My improved method involves blending all the filling ingredients together briefly. This ensures a silky-smooth custard every time, without sacrificing any of that intense, fresh lemon flavor from the zest. You’ll find that every bite bursts with bright, zesty goodness.
I genuinely cannot wait for you to experience these incredible lemon bars. They’re more than just a recipe; they’re a taste of tradition, perfected for your kitchen. Prepare to fall in love!
Expert Tips for Baking the Best Lemon Bars
Achieving bakery-quality lemon bars at home is entirely possible with a few key techniques. While the complete, detailed recipe is provided below, here are my top tips to ensure your lemon bars turn out absolutely perfect, with that ideal balance of tangy and sweet, and a wonderfully set texture:
- Choose the Right Baking Pan: Opt for a glass or ceramic 9×13-inch pan. Metal pans can sometimes react with the acidic lemon filling, potentially imparting an undesirable metallic taste to your delicate bars.
- Always Line with Parchment Paper: This step is a game-changer for easy removal and clean slicing. Leave a generous overhang on the sides of the pan; once cooled, you can simply lift the entire slab of lemon bars out before cutting.
- Prioritize Fresh Lemons: The flavor of your lemon bars hinges almost entirely on the quality of your lemons. Always use fresh lemons for both the zest and the juice. Bottled lemon juice simply doesn’t compare in terms of vibrant, authentic citrus flavor.
- Chill Thoroughly: Patience is a virtue when it comes to setting the lemon custard. Ensure your bars chill completely in the refrigerator for at least 2-4 hours, or even overnight. This allows the filling to firm up properly and deepens the overall flavor profile.
- Blend Briefly and Gently: When preparing the lemon filling, blend the ingredients just until smooth. Over-blending can incorporate too much air, which might lead to a bubbly or less dense custard. A quick pulse is all you need to achieve that perfectly uniform consistency.
Featured Comment
“Honestly the BEST. I’ve tried a lot of lemon bar recipes, and right now this is my favorite. The creamy texture and bright flavor are unmatched!”
– Tamala
What Makes These Lemon Bars Special: A Deep Dive into Key Ingredients
While lemon bars might seem straightforward, the careful selection and understanding of a few key ingredients elevate this recipe from good to truly exceptional. Here’s a closer look at what goes into our perfect lemon bars and why each component is crucial:
- Fresh Lemon Zest and Juice: This is the heart and soul of your lemon bars. When zesting, always aim for just the bright yellow part of the skin, carefully avoiding the bitter white pith underneath. A microplane or fine grater is your best tool for this, yielding fine, flavorful zest. The fresh juice provides that essential tangy kick.
- Lemon Extract (Optional, but Recommended): For those who truly love a bold, bright lemon flavor, a touch of lemon extract can boost the citrus intensity without adding extra liquid. Think of it as the lemon equivalent of vanilla extract – a flavor enhancer that makes the lemon notes pop even more.
- High-Quality Unsalted Butter: Butter forms the foundation of our rich shortbread crust. Using a high-quality, unsalted butter allows you to control the overall saltiness of your bars while ensuring the best possible flavor and tender texture in the crust. Room temperature butter is essential for a smooth, creamy mixture.
- Vanilla Bean Paste or Extract: Vanilla is not just for vanilla-flavored desserts! It provides a warm, sweet counterpoint to the tart lemon, enhancing the overall complexity of the flavor. Vanilla bean paste offers a more intense flavor and beautiful flecks, but a good quality vanilla extract works perfectly well too.
- Heavy Cream: This is our secret weapon for a truly custardy, smooth lemon filling. Heavy cream introduces richness and a luxurious texture, effectively balancing the intense tartness of the lemon juice and preventing the filling from becoming overly sharp. It’s what gives these bars their signature melt-in-your-mouth quality.
Maximize Your Yield: How To Get More Juice From Lemons
To ensure you extract every last drop of flavorful juice from your lemons for this lemon bar recipe, try these simple yet effective techniques:
- Microwave Them Briefly: Place whole lemons in the microwave for 15-20 seconds. The heat helps to break down the cell walls, making them softer and easier to juice.
- Roll and Knead: Before cutting, firmly roll each lemon against your countertop with the palm of your hand for 20-30 seconds. This helps to loosen the pulp inside.
- Use a Good Juicer: Cut the lemon in half horizontally (not lengthwise) and use a dedicated citrus juicer. This provides leverage and efficiency, extracting significantly more juice than simply squeezing by hand.
Quick Tip: Achieve Perfectly Clean Slices
To cleanly cut your lemon bars without sticking or tearing, ensure they are thoroughly chilled and firm. For each cut, run a sharp knife under very hot water, wipe it dry, make your slice, and then repeat the process. This keeps the knife warm and prevents the sticky filling from adhering, resulting in beautiful, precise squares.
Can I Freeze This Lemon Bars Recipe? Storage Solutions
Yes, lemon bars are wonderfully freezer-friendly, making them perfect for meal prep or enjoying a homemade treat whenever a craving strikes! The key to successful freezing is to allow the crust and custard to freeze properly and independently initially.
- Prepare for Freezing: Once your lemon bars are completely cooled and firm from chilling, cut them into individual squares.
- Initial Freeze: Arrange the cut bars in a single layer on a parchment-lined baking sheet, ensuring there’s a little space between each bar. Freeze for 2-3 hours, or until they are solid. This prevents them from sticking together.
- Long-Term Storage: Once solid, individually wrap each lemon bar tightly in plastic wrap, then place them in a freezer-safe airtight container or a heavy-duty freezer bag. They can be stored in the freezer for up to 3 months. Thaw at room temperature or in the refrigerator before serving.
For short-term enjoyment, keep your freshly baked lemon bars in an airtight container in the refrigerator for 4-6 days. The cool temperature helps maintain their firm texture and vibrant flavor.
More of My Mom’s Famous Dessert Recipes You’ll Love:
Desserts
Decadent Ice Cream Pie
Desserts
Carmelitas (My All-Time Favorite Dessert!)
Desserts
Classic 7 Layer Bars Recipe
Desserts
No-Bake S’mores Cereal Bars

Print Recipe
Classic Lemon Bars
Chelsea Lords
30
minutes
45
minutes
4
hours
5
hours
15
minutes
24
bars (from a 9×13-inch pan)
Video Tutorial
Equipment
-
9 x 13-inch ceramic baking pan (ceramic or glass is best; avoid metal to prevent metallic flavor)
-
Parchment paper
-
Stand mixer or a powerful hand mixer
-
Blender
-
Fine mesh sieve
Ingredients
For the Shortbread Crust:
- Cooking spray
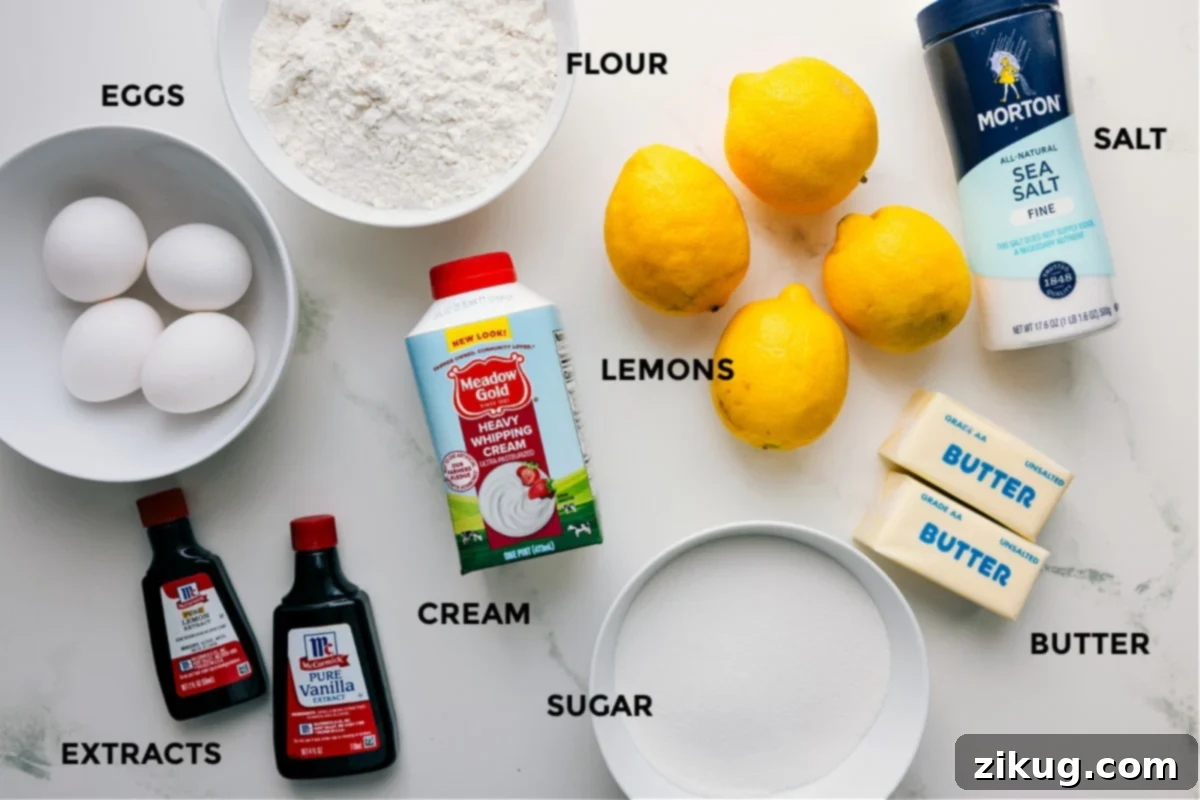
- 16 tablespoons (2 sticks) unsalted butter at room temperature, softened (see Note 1)
- 1/2 cup granulated sugar
- 1 teaspoon vanilla bean paste or 1-1/2 teaspoon vanilla extract
- 2 cups all-purpose flour
- 3/4 teaspoon fine sea salt
For the Lemon Filling:
- 1 1/2 cups granulated sugar
- 3 tablespoons all-purpose flour
- 4 to 5 large fresh lemons (to yield 2 teaspoons zest and 2/3 cup juice; see Note 2 for juicing tips)
- 4 large eggs
- 1/4 teaspoon lemon extract (optional, for extra lemon punch; see Note 3)
- 1/3 cup heavy cream
- 1/4 teaspoon fine sea salt
For Topping:
- Powdered sugar for dusting
Instructions
-
Prepare the Pan: Line a ceramic 9×13-inch baking pan with parchment paper, leaving a generous overhang on the long sides for easy lifting. Lightly spray the parchment paper with cooking spray and set the pan aside.
-
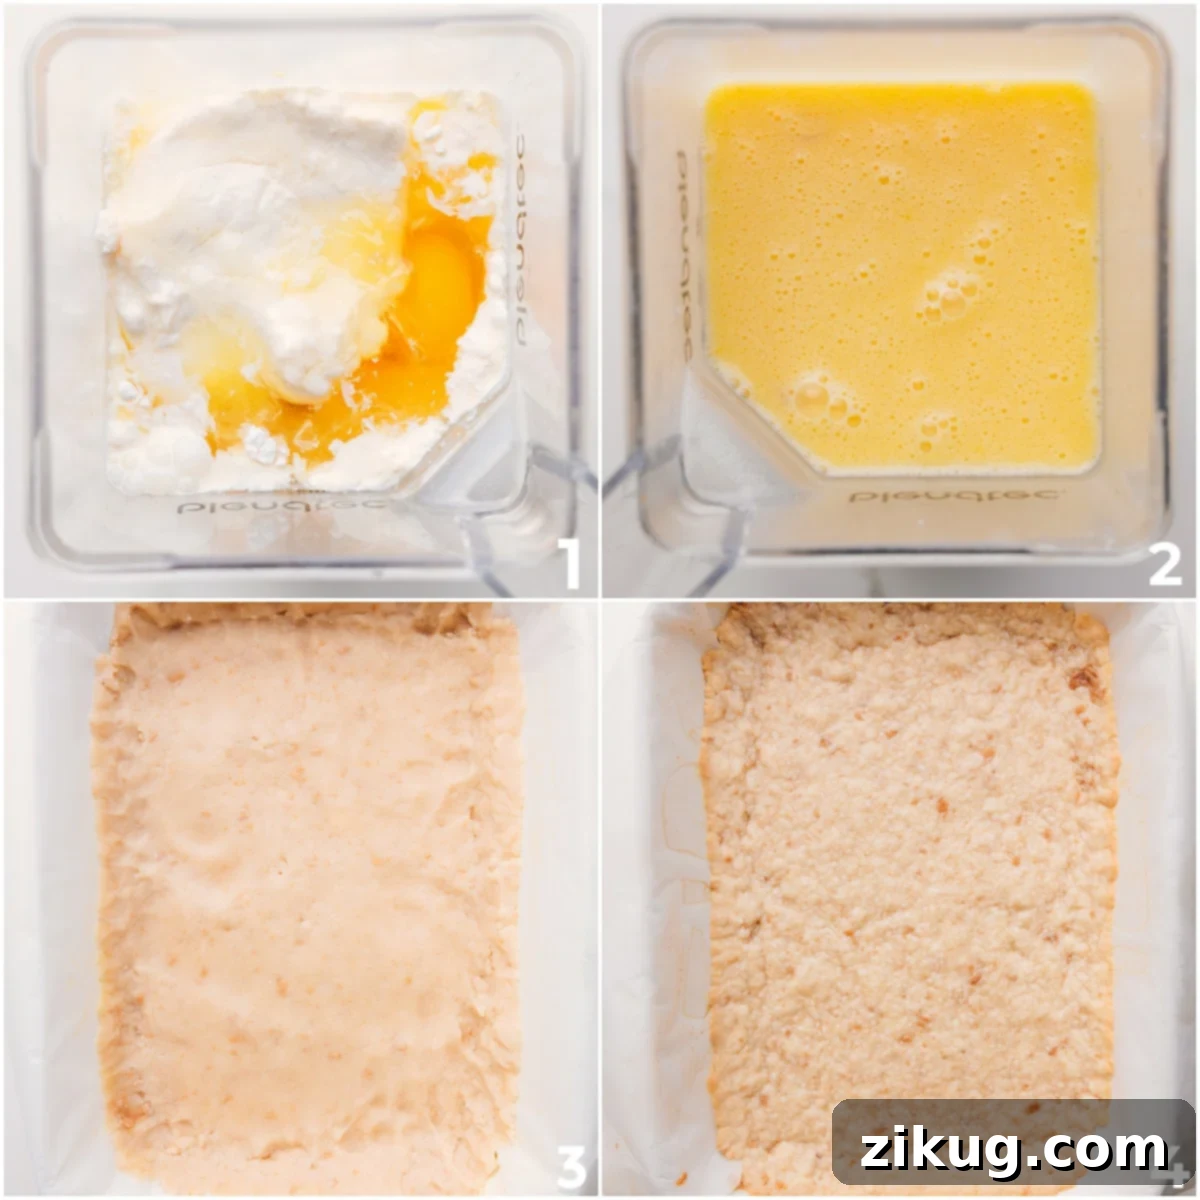
Make the Shortbread Crust: In the bowl of a stand mixer fitted with the paddle attachment (or using a hand mixer), beat the softened butter and 1/2 cup granulated sugar until the mixture is light, smooth, and creamy, which typically takes about 2-4 minutes. Scrape down the sides of the bowl as needed to ensure even mixing. Add the 3/4 teaspoon of salt and the vanilla bean paste (or extract); mix until fully integrated. Finally, gradually add the 2 cups of all-purpose flour. Mix on low speed until a thick, cohesive dough forms. If the dough feels too soft or sticky, incorporate an additional 1 to 3 tablespoons of flour until it’s easy to handle.
-
Bake the Crust: Firmly press the prepared dough evenly into the bottom of your lined baking pan, extending it about 1/2 inch up the sides. It’s crucial to press the crust tightly into all edges and corners to create a barrier that prevents the lemon filling from seeping underneath. Place the pan in the freezer for 15 minutes to firm up. Meanwhile, preheat your oven to 350°F (175°C). After freezing, press the edges of the crust one more time to ensure a super tight seal. Bake the crust for 22–25 minutes, or until the edges are lightly golden brown and the center is set.
-
Prepare the Lemons: While the crust bakes, zest your lemons to obtain 2 teaspoons of bright yellow zest, being careful to avoid the bitter white pith. Then, juice the lemons to yield 2/3 cup of fresh lemon juice. (Refer to the “How to Get More Juice” section above for tips on maximizing juice extraction).
-
Make the Lemon Filling: In a blender, combine the remaining 1½ cups granulated sugar with the lemon zest. Pulse about 5 times (for 1 second each pulse) to gently break down the zest and infuse its oils into the sugar, intensifying the lemon flavor. Add the remaining 3 tablespoons of flour, the measured lemon juice, the remaining 1/4 teaspoon of salt, the 4 large eggs, and the heavy cream. If using, add the 1/4 teaspoon of lemon extract. Blend the mixture for no more than 10 seconds, or just until it appears smooth and well combined. Be careful not to overblend, as this can introduce too many air bubbles into the filling. Give the mixture a quick stir with a spatula to ensure everything is incorporated and set aside.
-
Assemble and Bake: Carefully remove the partially baked crust from the oven. Stir the lemon filling mixture one last time with your spatula, then slowly and evenly pour it directly over the hot shortbread crust. Return the pan to the oven and bake for an additional 20–25 minutes, or until the center of the lemon custard is just set and jiggles slightly (like firm Jell-O or pudding), and the top looks matte, not wet.
-
Cool and Serve: Allow the baked lemon bars to cool completely at room temperature for at least 2 hours. Once cooled to room temperature, transfer the pan to the refrigerator and chill for a minimum of 2 more hours, or preferably until fully set (this can be done overnight). Once firm, use the parchment paper overhang to carefully lift the entire slab of lemon bars out of the pan. For clean, sharp slices, use the hot knife cutting method described in the “Quick Tip” section above. Finally, dust generously with powdered sugar through a fine sieve just before serving. Store any leftover lemon bars in an airtight container in the refrigerator.
Recipe Notes
Note 2: When zesting lemons, ensure you only grate the bright yellow part of the skin, completely avoiding the bitter white pith beneath. A microplane is ideal for this. Using a good citrus juicer will make the juicing process significantly easier and more efficient.
Note 3: Lemon extract is an optional ingredient that adds an intensified burst of natural citrus flavor. You can typically find it in the baking aisle of your grocery store, often located near vanilla extract.
Storage: Fridge: Cover the cooled lemon bars tightly and store them in an airtight container in the refrigerator for 4–6 days to maintain freshness and texture. Freezer: To freeze, cut the chilled bars into individual servings and place them on a parchment-lined baking tray until solid (this usually takes 2–3 hours). Once frozen solid, wrap each bar individually in plastic wrap, then transfer them to a freezer-safe bag or airtight container. They will keep well in the freezer for up to 3 months.
Nutrition Information (Approximate)
Serving:
1 bar
|
Calories:
184 kcal
|
Carbohydrates:
25.2 g
|
Protein:
2.2 g
|
Fat:
8.6 g
|
Cholesterol:
51.3 mg
|
Sodium:
13.3 mg
|
Fiber:
0.3 g
|
Sugar:
16.8 g
Nutrition information is automatically calculated and should only be used as an approximation. It can vary based on specific ingredients and preparation methods.
Loved this recipe? Leave a comment below!
Reader’s Notes & Tips
Tips & Variations from Our Baking Community
We love hearing from fellow bakers! Here are some fantastic tips and variations shared by members of Chelsea’s Messy Apron’s community, proving how versatile and beloved this lemon bar recipe truly is:
- Doubled for a Crowd: Lena successfully adapted the recipe for a larger gathering by using a half sheet pan and reported that they were “the best lemon bars she’s ever made.” This is a testament to the recipe’s scalability!
- Meyer Lemon Delight: Lisa experimented with Meyer lemons from her backyard and raved about the wonderfully bright and slightly sweeter flavor profile they imparted. Meyer lemons can offer a nuanced citrus experience.
- Almond Flour Swap in Crust: Heather bravely swapped a portion of the all-purpose flour for almond flour in the crust and confirmed it worked exceptionally well, adding a delicate nuttiness and possibly a tenderer texture.
- Consistent Fan Favorite: Many readers, including Lena, Tamala, and Sarah, have declared these their go-to lemon bars, praising their reliability and incredible taste. Consistency is key for a cherished recipe!
- “The best lemon bars I’ve ever had!” – A glowing endorsement from Krystal, reinforcing the widespread appeal of this particular recipe.
Craving More Citrus?
If you’ve fallen in love with the vibrant flavors of these lemon bars, you absolutely must try my Strawberry Lemon Tart! It offers a delightful combination of sweet berries and zesty lemon in a beautiful presentation.
Lemon Bars Recipe: Frequently Asked Questions (FAQs)
The center of the lemon filling should jiggle slightly, similar to firm Jell-O or a set custard. The top surface should appear matte and set, not wet or liquid. Avoid overbaking, as this can lead to a rubbery texture.
Lining your baking pan with parchment paper, ensuring there’s an overhang on the sides, is the secret. Once the bars are completely chilled and firm, you can simply use the parchment paper to lift the entire batch out of the pan, making cutting a breeze.
A soft or runny filling is usually due to insufficient baking time or not chilling the bars thoroughly enough. Ensure the center has a slight jiggle (like firm Jell-O) when removed from the oven, and always allow ample time (at least 2-4 hours, or overnight) in the refrigerator for the custard to fully set. Return any leftover bars to the fridge promptly.
No, with this specific method, straining the filling is not necessary. Our technique of briefly blending all the filling ingredients in a blender effectively breaks down the lemon zest and ensures a perfectly smooth, lump-free custard without sacrificing any of that precious lemon flavor.
While you technically *can* use bottled lemon juice, for the most vibrant, fresh, and authentic lemon flavor, we highly recommend using fresh lemons for both the zest and juice. Bottled juice often contains preservatives and lacks the bright, nuanced flavor of freshly squeezed citrus, which is a star ingredient in this recipe.
A soggy crust can happen if the filling is too hot when poured onto the crust, or if the crust wasn’t fully baked initially. Ensure your crust is lightly golden before adding the filling. Also, pressing the crust firmly into the pan, especially up the sides, creates a better barrier against moisture. Make sure to bake the crust first as directed.
We hope these tips and the detailed recipe help you create the most magnificent lemon bars you’ve ever tasted! Happy baking!