
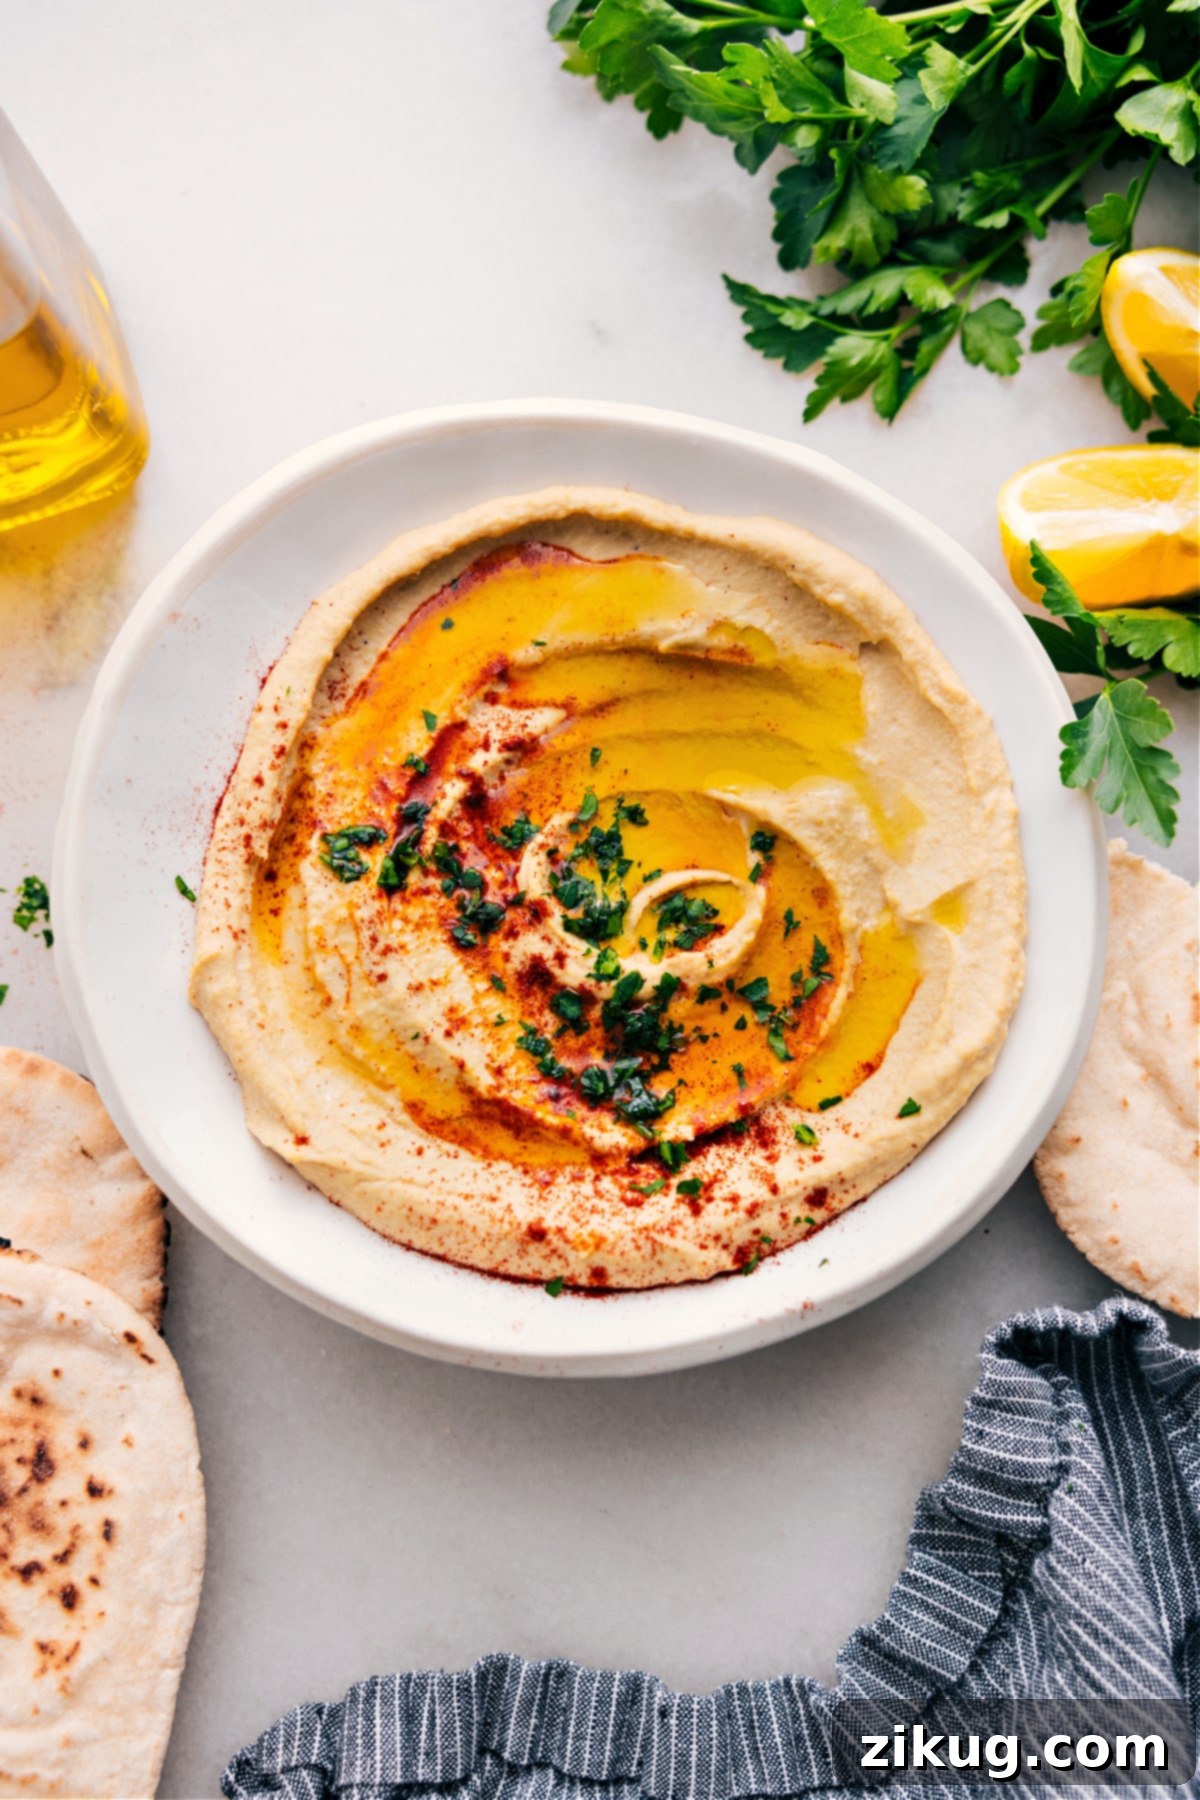
The Ultimate Creamy Homemade Hummus: An Authentic Middle Eastern Recipe
Experience the unparalleled richness, velvety smoothness, and vibrant flavor of authentic homemade hummus with this incredible recipe. Perfect for dipping with crispy pita chips, fresh vegetables, or as a versatile spread, this Middle Eastern staple is destined to become a beloved favorite in your kitchen. Get ready to transform simple ingredients into a truly extraordinary dip!
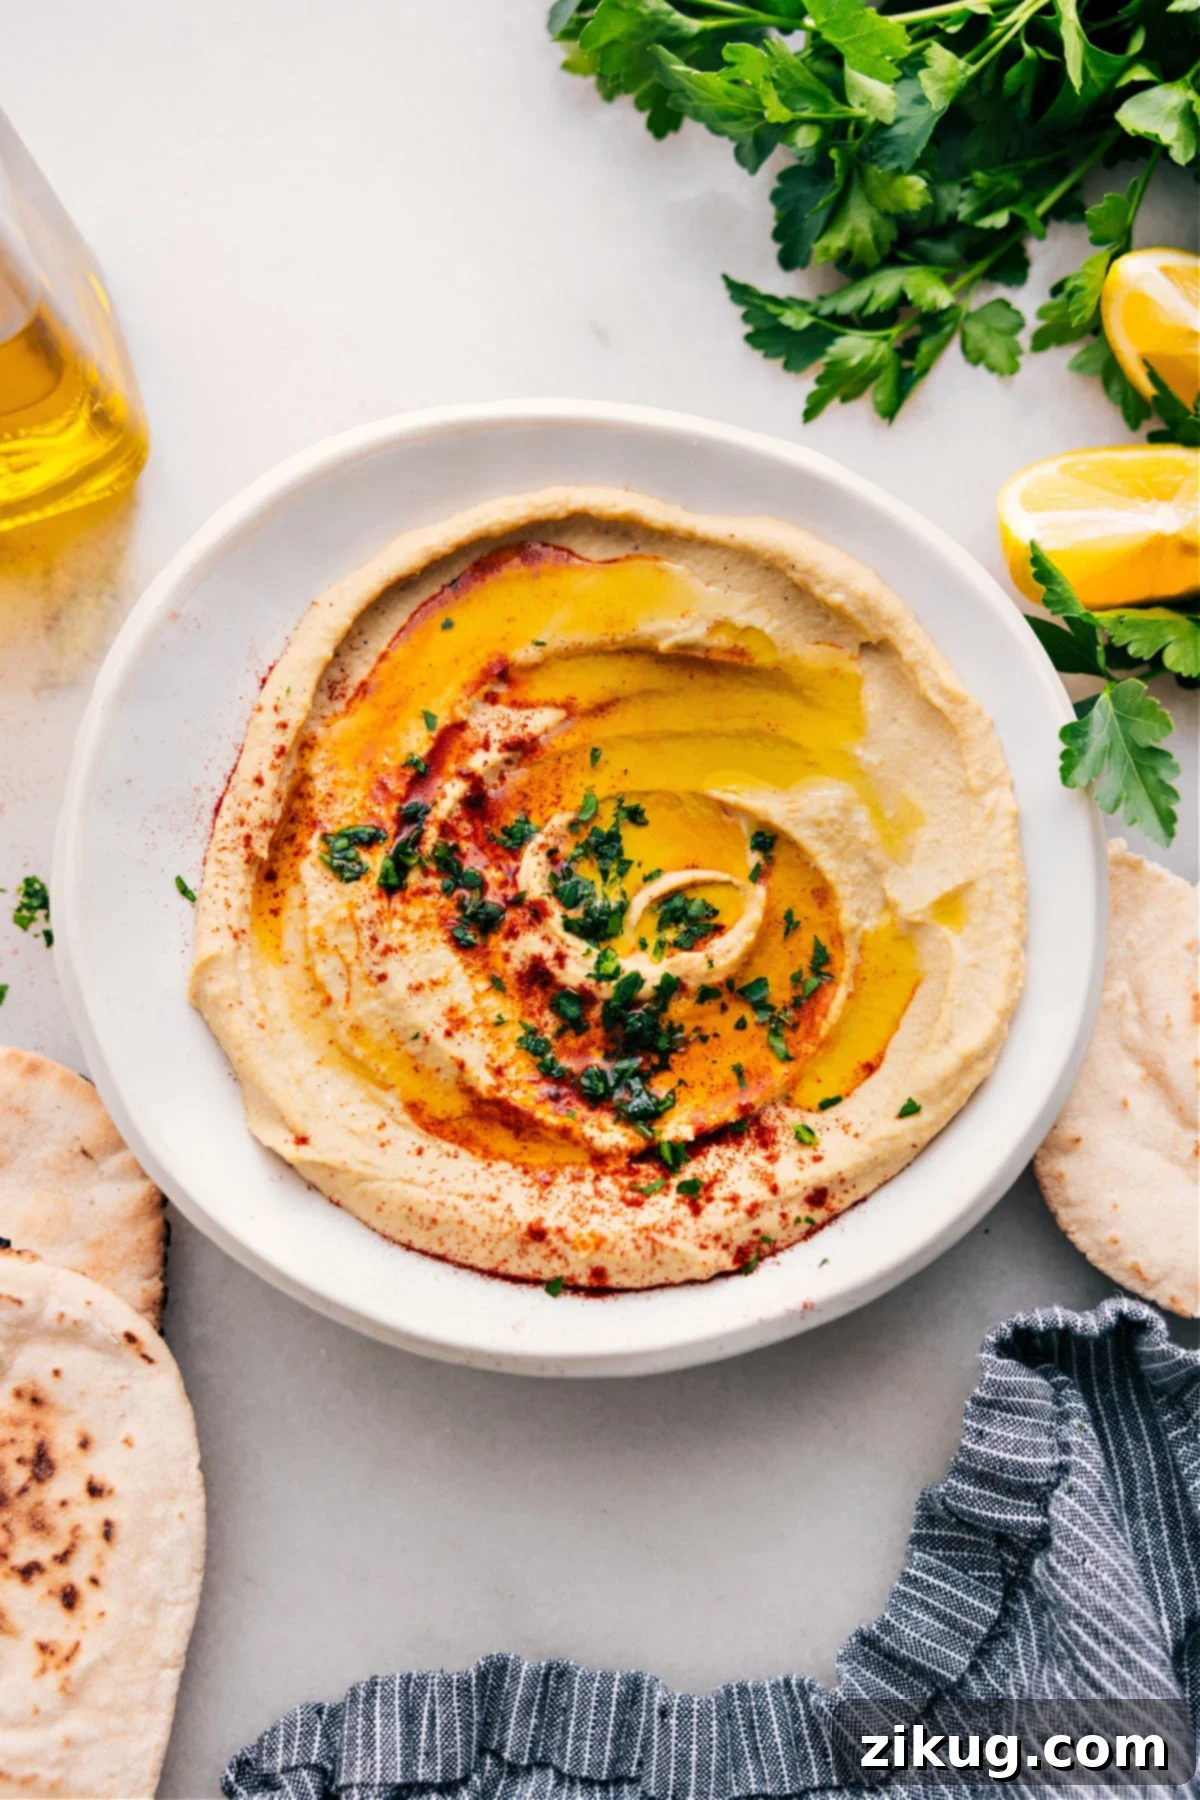

A Personal Culinary Journey: My Hummus Revelation
The Blender Hummus That Changed My Perspective Forever!
Before my immersive travels through the culinary landscapes of the Middle East, hummus was never a dish that truly captured my imagination. As someone who gravitated towards vibrant salsa, I simply hadn’t grasped the profound depth and versatility of this humble chickpea dip. The thought of meticulously preparing it from scratch seemed like an unnecessary endeavor.
However, that journey completely transformed my culinary outlook. I became utterly captivated, ordering hummus at every conceivable opportunity – yes, even for breakfast! The stark contrast in flavor and texture between what I experienced abroad and the hummus I was accustomed to in the States was nothing short of astonishing. It was a revelation: authentically rich, incredibly smooth, and bursting with fresh, bright notes that resonated with centuries of culinary tradition.
Upon my return home, a singular mission took root: to perfectly recreate that extraordinary Middle Eastern hummus. Months were dedicated to relentless experimentation in the kitchen, a period marked by numerous frustrating attempts and disappointing batches. The quest finally culminated when I discovered a remarkable recipe by the acclaimed Adeena Sussman. Her method was a true game-changer, flawlessly capturing the authentic taste and luxuriously silky texture I had so deeply fallen for during my travels.
This recipe is my meticulously tweaked version, designed for optimal ease and utilizing the convenience of canned chickpeas. Furthermore, it strongly advocates for the superior results achieved with a high-powered blender over a traditional food processor, ensuring unparalleled smoothness. A profound thank you goes out to Adeena, whose inspiring work allowed me to finally achieve the hummus of my dreams!
Demystifying Hummus: What is This Beloved Dip?
Hummus, derived from the Arabic word for chickpeas, is a creamy and savory spread or dip that forms a cornerstone of Middle Eastern and Mediterranean cuisine. At its heart, hummus is a simple yet profoundly flavorful blend of cooked, mashed chickpeas (also known as garbanzo beans), mixed with tahini (a paste made from ground sesame seeds), fresh lemon juice, and aromatic garlic. Its universal appeal stems from its irresistible taste, its surprisingly affordable ingredients, and the remarkable ease with which it can be prepared at home.
More than just a delicious dip, hummus is a nutritional powerhouse. It’s naturally rich in plant-based protein, dietary fiber, and healthy fats, making it an incredibly satisfying and wholesome addition to any meal. As a naturally vegan and gluten-free dish, it caters to a wide array of dietary preferences and needs. The origins of hummus are steeped in history, with culinary historians tracing its roots back to ancient Egypt. Today, it continues to be a cherished component of mezze platters and a versatile accompaniment to countless dishes around the globe, symbolizing the rich culinary heritage of its birthplace.
Essential Ingredients for the Best Creamy Hummus
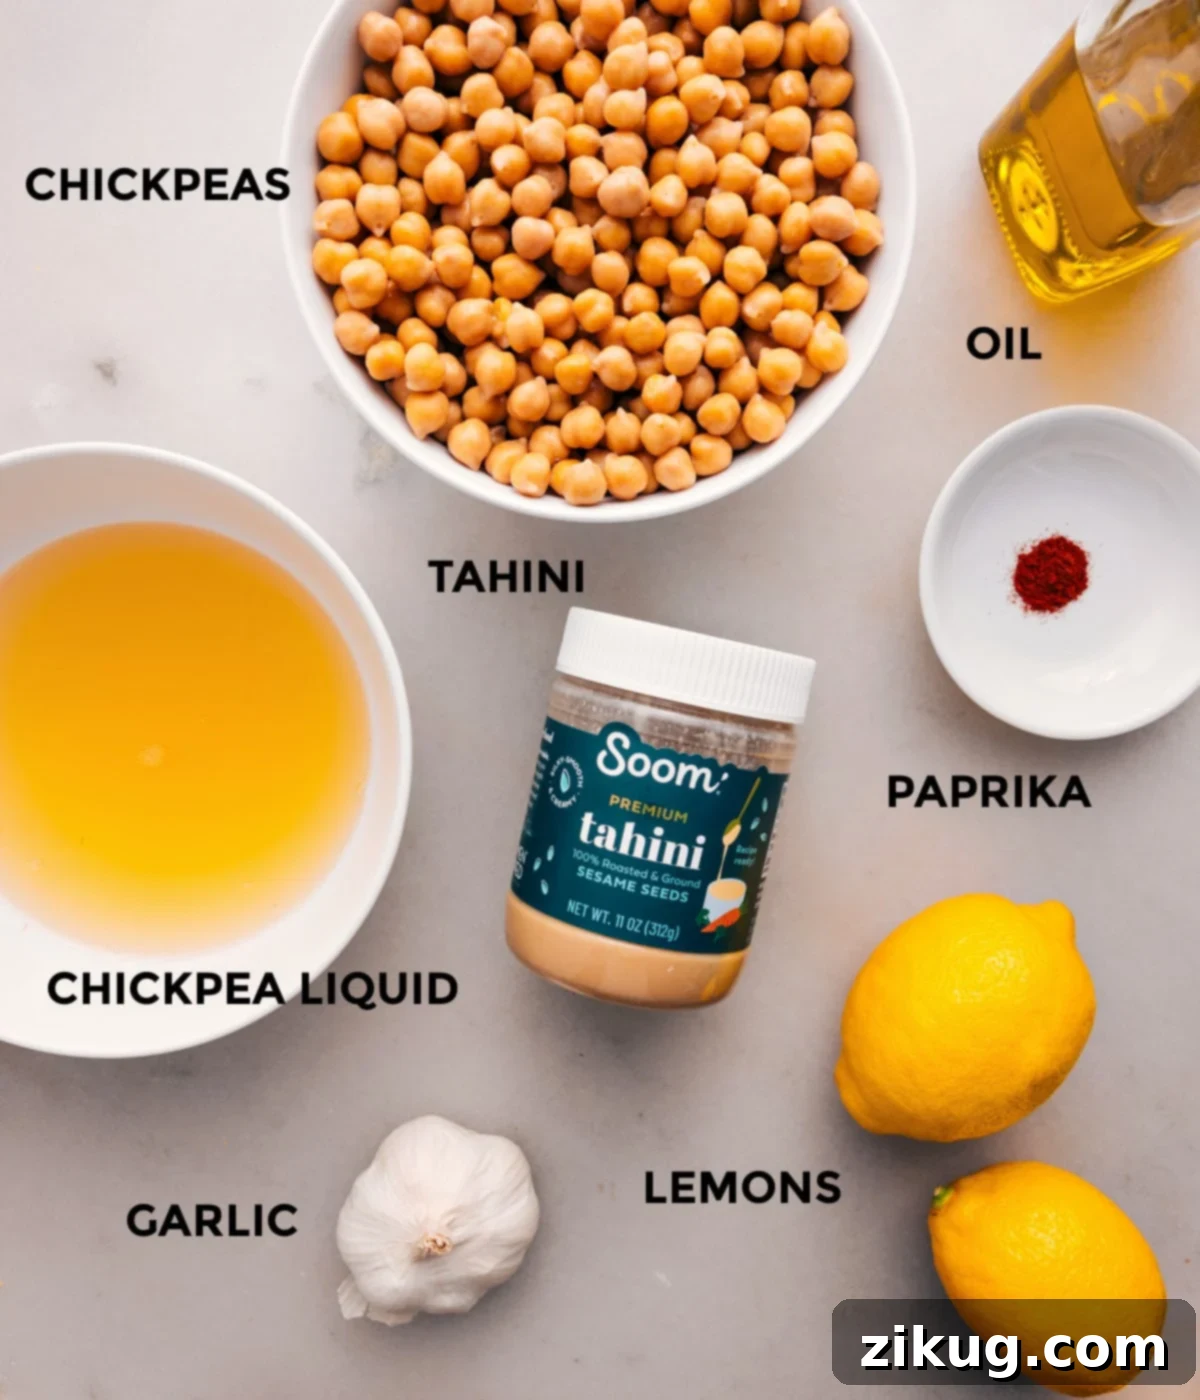
The journey to crafting truly outstanding hummus begins with selecting and understanding each core ingredient. Every component plays a critical role in achieving the harmonious flavor and signature creamy texture that defines this Middle Eastern delicacy.
- Chickpeas (Garbanzo Beans): While starting with dried chickpeas and cooking them from scratch offers a nuanced freshness, using high-quality canned chickpeas significantly streamlines the process without sacrificing much in terms of flavor. For an ultra-smooth consistency, a robust blender is crucial for breaking down the chickpea skins effectively. Some enthusiasts opt to peel each chickpea by hand after cooking for the absolute silkiest hummus, but with a good blender, this laborious step can often be skipped. Remember to reserve some of the canning liquid (also known as aquafaba), as it’s vital for achieving the perfect emulsification and consistency during blending.
- Fresh Garlic: The pungent, aromatic depth of fresh garlic is absolutely essential for an authentic hummus experience. Avoid using garlic powder or pre-minced garlic from a jar, as these simply cannot replicate the vibrant, piquant notes of fresh cloves. Slicing your garlic cloves before adding them to the blender ensures they are thoroughly incorporated, preventing any unpleasantly raw or chunky bits in your final dip.
- High-Quality Tahini: This rich sesame seed paste is perhaps the single most influential ingredient in determining both the flavor and creaminess of your hummus. It’s the emulsifier that gives hummus its characteristic texture and contributes a distinct nutty, earthy depth. Choosing the right tahini is paramount, and we’ll delve deeper into selecting the best brands and types below.
- Fresh Lemon Juice: The bright, tangy acidity of freshly squeezed lemon juice is indispensable. It not only cuts through the richness of the tahini and chickpeas, adding a vital zest, but also aids in the emulsification process, contributing to the hummus’s smooth, luscious texture. Always opt for fresh lemons over bottled lemon juice for a truly vibrant and authentic flavor profile.
- Salt and Freshly Ground Black Pepper: These fundamental seasonings are crucial for enhancing and balancing all the other flavors. It’s advisable to start with a modest amount of salt and pepper and then adjust to your palate after the initial blend. The inherent saltiness of various canned chickpea brands can differ, making tasting and adjusting a key step.
- Extra Virgin Olive Oil: While not always blended directly into the hummus, a generous drizzle of good quality extra virgin olive oil is an absolute must for serving. It adds a luxurious sheen, a subtle fruity aroma, and a rich, mouth-coating finish, especially when it artfully pools within the swirls on top of the hummus.
- Paprika: A light dusting of paprika provides more than just visual appeal; it contributes a subtle layer of flavor. Regular paprika offers a sweet earthiness, while smoked paprika can introduce a deeper, more complex, and savory dimension to your homemade dip.
- Fresh Parsley (Optional Garnish): Finely chopped fresh parsley or cilantro adds a burst of vibrant green color and a refreshing, herbaceous counterpoint to the creamy hummus. It’s an optional but highly recommended garnish for both flavor and aesthetic appeal.
- Pita Chips or Fresh Veggies: The perfect accompaniments for scooping up every delicious morsel! Serve your creamy hummus with warm, crispy homemade pita chips or a colorful array of fresh vegetables like carrot sticks, cucumber slices, bell pepper strips, and celery.
Elevate Your Hummus: Expert Topping and Presentation Tips
The visual appeal of hummus is almost as important as its taste. Once your perfectly blended hummus is transferred to a shallow serving bowl, take a moment to use the back of a spoon to create elegant, shallow swirls across its surface. These intentional grooves are designed to gracefully cradle a generous drizzle of high-quality extra virgin olive oil, allowing it to pool enticingly. To complete the presentation and add an extra layer of flavor, finish with a sprinkle of vibrant paprika (smoked paprika can impart a wonderful, deep flavor) and a scattering of freshly chopped parsley or cilantro. For added texture and a gourmet touch, consider adding a few whole chickpeas, toasted pine nuts, or even a dash of za’atar spice blend.
The Secret Weapon: Mastering Tahini for Your Hummus Recipe
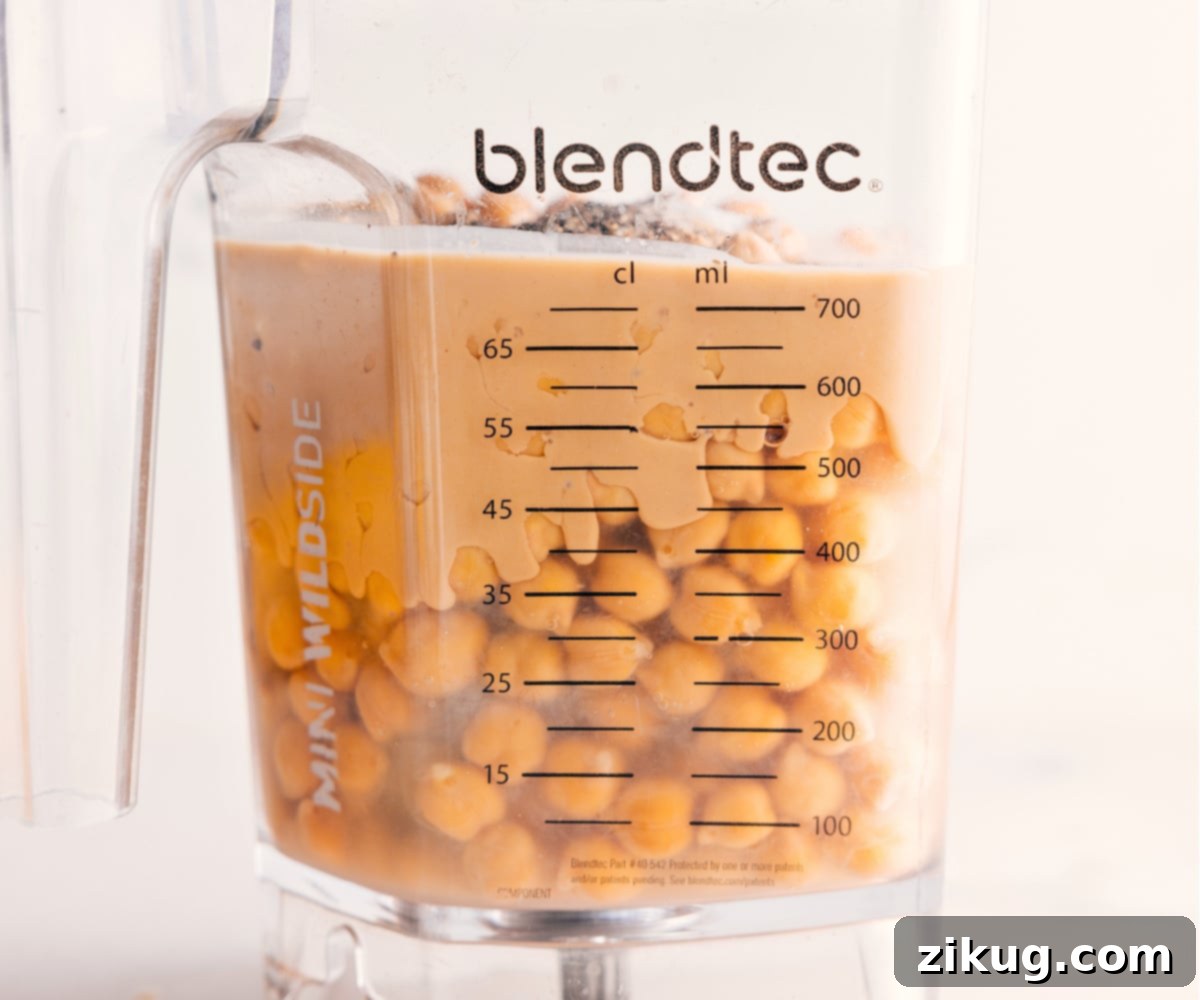
What Exactly is Tahini? Tahini is a lusciously smooth paste made from finely ground sesame seeds, and it stands as a fundamental pillar in Middle Eastern and Mediterranean culinary traditions. You’ll typically find it in the international or ethnic foods aisle of most well-stocked grocery stores. When selecting tahini for your hummus, understanding the crucial difference between “hulled” and “unhulled” varieties is key to achieving the perfect taste and texture.
For hummus that boasts an irresistibly smooth, rich, and wonderfully mellow flavor, it is absolutely essential to choose hulled tahini. Hulled sesame seeds have undergone a process where their outer husks are removed, resulting in a lighter-colored paste with a significantly milder, less bitter taste profile. In contrast, unhulled or whole-seed tahini retains these husks, which gives it a darker hue and a noticeably more robust, often bitter, flavor that can easily overwhelm the delicate balance of your homemade hummus.
The quality of your tahini profoundly influences the ultimate taste and texture of your finished hummus. Exceptional brands deliver a delicious nutty richness that elevates the entire dish, while lesser-quality options can result in a surprisingly bitter or bland outcome. It’s important to note that tahini naturally separates over time, with a thick, dense paste settling at the bottom of the jar and a layer of oil rising to the top. Before you measure it out, you must thoroughly stir or shake the jar until the oil and paste are completely reincorporated into a uniform, creamy consistency. This crucial step ensures that you achieve the correct ratio of sesame solids to oil, which is vital for proper emulsification and the signature velvety creaminess of your hummus.
Based on extensive testing, my consistently preferred brands for outstanding flavor and texture are Mighty Sesame Co.® and Soom Foods® Sesame Tahini. While these are affiliate links, they genuinely reflect my top recommendations for achieving the best possible hummus.
Mastering the Art of Homemade Hummus: Blender vs. Food Processor for Perfect Texture
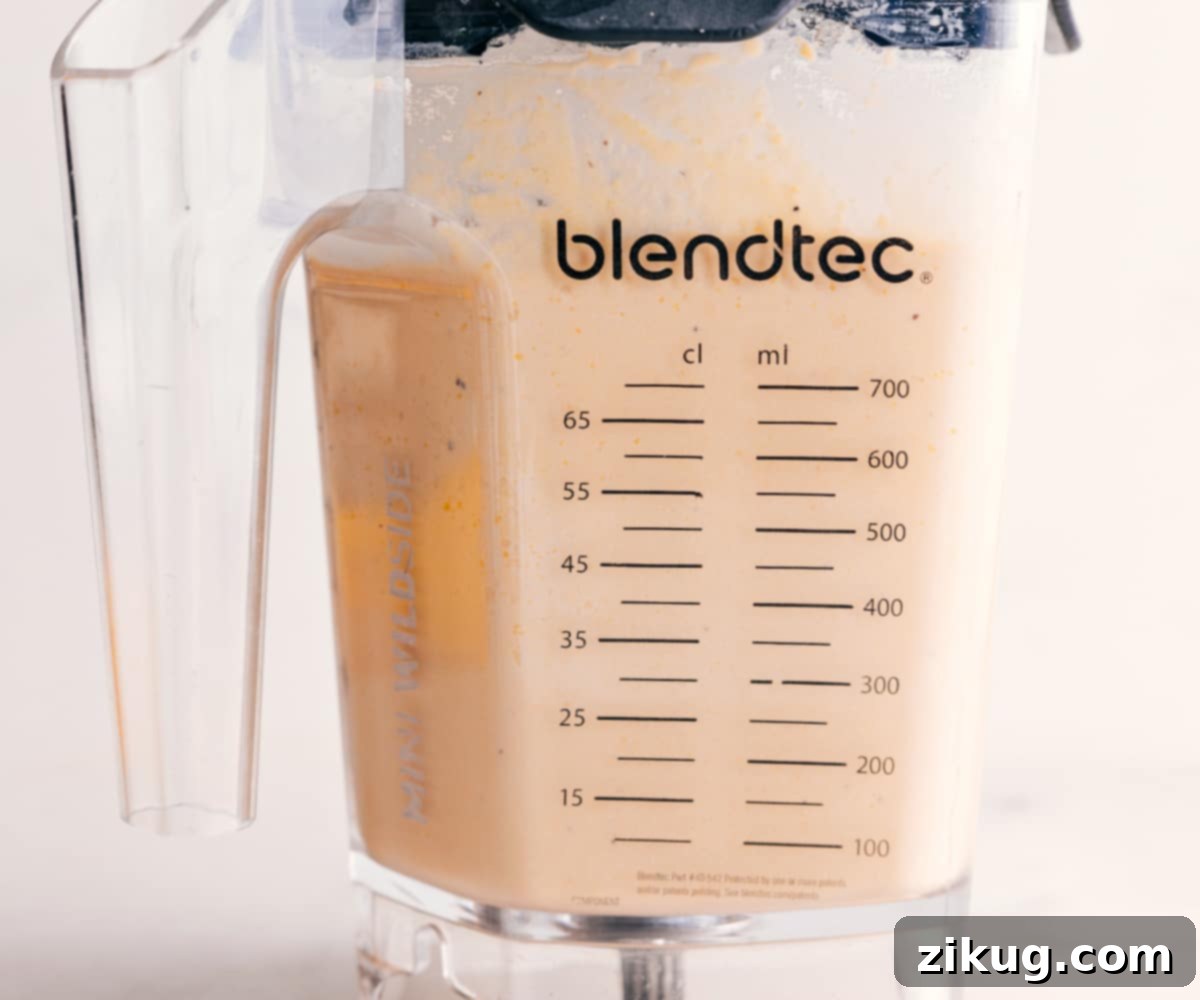
Achieving the ideal texture is a pivotal step in crafting perfect homemade hummus. Traditional hummus, especially that served in its Middle Eastern homeland, often carries a subtle, desirable texture, primarily from the skins of the chickpeas. While some dedicated purists meticulously peel each chickpea by hand to achieve an ultra-smooth result—a truly laborious process—this method can be largely bypassed with modern kitchen technology. For a wonderfully smooth yet authentically textured hummus, a powerful, high-speed blender is your ultimate ally. Top brands like Blendtec® or Vitamix® are exceptionally adept at pulverizing chickpea skins into an almost imperceptible smoothness, delivering a creamy consistency in mere minutes. Should you prefer a hummus with a slightly more rustic, coarser finish, reminiscent of certain traditional preparations, a food processor will effectively serve your purpose, though it generally won’t achieve the same level of silkiness as a high-powered blender.
This particular recipe aims for a consistency that is deliberately a bit thinner and more luxurious than the typically thick and dense store-bought varieties. This texture closely emulates the delightful hummus savored across the Middle East, making it wonderfully spreadable on warm pita bread, flatbreads, or as a rich and flavorful base for savory main dishes featuring grilled meats or fresh, vibrant salads such as Israeli Salad.
Serving Temperature: The Secret to Maximum Flavor and Creaminess
For an unparalleled tasting experience, hummus is always best served at room temperature. Chilling hummus can cause it to firm up significantly, becoming denser, and can also mute its delicate, nuanced flavors. If your hummus has been refrigerated, it’s highly recommended to let it sit out on the counter for 20-30 minutes before serving. This allows it to soften, relax, and for its full aromatic profile and creamy texture to truly develop. A quick stir just before serving can also help restore its luxurious smoothness after being chilled.
Storing and Reviving Your Delicious Homemade Hummus
- Refrigeration (Fridge): Your freshly made hummus will maintain its quality and deliciousness in a sealed, airtight container in the refrigerator for up to one week. Should you observe any natural separation of liquids and solids upon chilling, simply give it a vigorous stir before serving to restore its original creamy texture. Adding a fresh drizzle of high-quality olive oil at this point can also significantly enhance its flavor and appeal.
- Freezing for Extended Storage (Freezer): For longer-term preservation, hummus freezes exceptionally well. Transfer it to a freezer-safe, airtight container, leaving a little headspace, and it can be stored for up to three months. To enjoy again, simply thaw the hummus overnight in the refrigerator. Once fully thawed, transfer it to a bowl and whisk it energetically, or even give it a brief pulse in your blender, incorporating a tablespoon or two of water or reserved chickpea liquid if necessary, to regain its desired smooth consistency. Always taste and adjust seasonings after thawing.
- Toppings Applied After Storage: To ensure maximum freshness and vibrancy, always add fresh garnishes such as a new drizzle of extra virgin olive oil, a sprinkle of paprika, or freshly chopped herbs (like parsley or cilantro) just before you serve the hummus. These elements are best added fresh to preserve their lively flavors and visual appeal.
Complete Your Middle Eastern Feast: Delicious Accompaniments
Salads & Sides
Tabouli (Tabbouleh)
Main Dishes
Baked Falafel
Soups
Curry Lentil Soup
Vegetarian Mains
Vegetable Masala

Pin Recipe
Print Recipe
Creamy Homemade Hummus
Chelsea Lords
15 minutes
15 minutes
10
as a side/app (yields 3-1/3 cups)
Equipment
-
High-Powered Blender or food processor (see note 1 for preference on achieving desired texture)
Ingredients
- 2 (15-ounce) cans chickpeas un-drained; reserve 1 cup of liquid (see note 2 if using dried chickpeas for a deeper flavor)
- 3 garlic cloves peeled and sliced (approximately 1 tablespoon sliced garlic)
- 1/2 cup hulled tahini (see note 3 for best brands and preparation tips)
- 2 fresh lemons (to yield approximately 1/3 cup fresh lemon juice)
- Salt and freshly ground black pepper (to taste, begin with ½ tsp salt and ¼ tsp pepper)
- Extra Virgin Olive oil for a generous drizzle on top
- 1/8 teaspoon paprika for topping (smoked paprika offers a fantastic depth of flavor)
- 1 tablespoon finely chopped fresh parsley optional, for vibrant color and fresh aroma on top
- Pita chips or a variety of fresh vegetable sticks, for serving
Instructions
-
1. Prepare Chickpeas and Lemon Juice: Carefully drain the two cans of chickpeas, making sure to reserve at least 1 cup of the liquid (often called aquafaba), as this is crucial for achieving the desired creamy consistency. Do not rinse the chickpeas, as the remaining starch contributes to the hummus’s texture. Next, juice your fresh lemons until you have approximately 1/3 cup of bright, fresh lemon juice.
-
2. Combine Ingredients in Blender: Transfer the drained chickpeas, ½ cup of the reserved chickpea liquid, sliced fresh garlic, hulled tahini, fresh lemon juice, salt, and black pepper into a high-powered blender or a food processor. For initial seasoning, start with ½ teaspoon of salt and ¼ teaspoon of freshly ground black pepper. Remember that canned chickpeas can vary in their inherent saltiness, so it’s always best to start conservatively and adjust later.
-
3. Blend Until Silky Smooth: Blend the mixture continuously for 2 to 4 minutes. If using a high-powered blender, utilize the tamper to push ingredients towards the blades. If using a food processor, stop periodically to scrape down the sides of the bowl with a spatula. The goal is to achieve an incredibly smooth and creamy consistency, free of any visible chickpea chunks. If the hummus appears too thick or the blender is struggling, gradually add up to an additional ¼ cup of the reserved chickpea liquid, one tablespoon at a time, until the desired luxurious, silky texture is reached. Taste the hummus and adjust the seasoning (adding more salt, pepper, or lemon juice) until it perfectly suits your preference.
-
4. Serve and Garnish: Spoon your freshly blended hummus into a shallow serving bowl. Using the back of your spoon, create elegant swirls or a shallow well on the surface. Generously drizzle with high-quality extra virgin olive oil – it will naturally pool in the created indentations, enhancing both presentation and flavor. Finish by sprinkling with vibrant paprika (especially smoked paprika for a richer flavor) and finely chopped fresh parsley (if desired) for a burst of freshness and color. Serve immediately with warm pita chips, an assortment of fresh vegetable sticks, or your other favorite dippers and accompaniments. Enjoy!
Essential Recipe Notes for Perfect Hummus
Note 2: Preparing Dried Chickpeas (for the Ultimate Freshness): If you prefer to use dried chickpeas for a deeper, more robust flavor and complete control over the cooking process, start with 1 cup of dried chickpeas. You will need to cook them thoroughly until very tender before proceeding with the blending step.
Stovetop Method for Dried Chickpeas:
- Soak: Begin by soaking the dried chickpeas overnight (for at least 8-12 hours) in a large bowl with plenty of water. They will considerably expand, often tripling in size.
- Cook: Drain the soaked chickpeas, then transfer them to a large pot. Cover them with fresh water, ensuring there are at least 2 inches of water above the chickpeas, and add 1 teaspoon of baking soda. The baking soda helps tenderize the chickpeas, facilitating a creamier final product.
- Simmer: Bring the water to a boil, then reduce the heat to a gentle simmer. Cook with the lid slightly ajar for approximately 45-55 minutes, checking for tenderness every 15 minutes. The chickpeas should be exceptionally soft, almost mushy, to the touch.
- Cool & Reserve: Allow the chickpeas to cool completely in their cooking liquid. Before draining, make sure to save a good amount of this nutrient-rich cooking liquid, as it will be used in the blending process to achieve the perfect consistency.
Instant Pot Method for Dried Chickpeas:
- Pressure Cook (No Soaking Needed!): For a quicker approach, place the dried chickpeas directly into your Instant Pot. Cover them generously with water.
- Cook: Cook on high pressure for 50 minutes.
- Release Pressure: Allow the pressure to release naturally for 10 minutes, then carefully manually release any remaining pressure.
- Reserve Liquid: Before draining, ensure you save some of the flavorful cooking liquid to use when blending your hummus.
Note 3: Tahini Selection and Optimal Preparation: The type and preparation of your tahini are paramount. Always use hulled tahini, which is made from sesame seeds with their outer husks removed. This results in a milder, less bitter, and lighter-colored paste. Avoid unhulled or whole-seed tahini, as these can impart a bitter, overpowering flavor to your hummus. Tahini naturally separates; before measuring, it is absolutely crucial to stir or shake the jar thoroughly until the oil and paste are fully reincorporated into a smooth, uniform consistency. This ensures consistent flavor and texture. Highly recommended brands for superior results include Mighty Sesame Co. or Soom Foods Sesame Tahini Paste.
Note 4: Storage Guidelines for Freshness: Store any leftover homemade hummus in a sealed, airtight container in the refrigerator for up to one week. To preserve the crispy texture of your accompaniments, keep pita chips in a sealed bag or container at room temperature, away from moisture.
Nutrition Information (Approximate)
Calories: 267kcal |
Carbohydrates: 33g |
Protein: 12g |
Fat: 11g |
Saturated Fat: 1g |
Polyunsaturated Fat: 5g |
Monounsaturated Fat: 4g |
Sodium: 13mg |
Potassium: 393mg |
Fiber: 9g |
Sugar: 5g |
Vitamin A: 39IU |
Vitamin C: 6mg |
Calcium: 76mg |
Iron: 4mg
Nutrition information is automatically calculated, so should only be used as an approximation and is subject to variation based on specific ingredient brands and preparation methods.
Loved this recipe? Share your thoughts below!
Your valuable feedback helps us continue to create more delicious content for you.
Creative Ways to Enjoy Your Creamy Hummus Recipe
Hummus is far more than just a simple dip; its incredible versatility allows it to enhance a wide array of meals and snacks. Here are some inspiring and creative ideas to incorporate your delicious homemade hummus into your daily culinary repertoire:
- The Quintessential Classic Dip Experience: Serve your rich hummus with an inviting assortment of dippables. Warm, freshly baked pita bread, delightfully crispy homemade pita chips, soft and fluffy naan, traditional flatbread, crunchy crackers, or even savory pretzels all serve as excellent vehicles for scooping up this delightful spread.
- A Vibrant and Healthy Veggie Platter: Elevate your snacking game by pairing your creamy hummus with a colorful and diverse array of fresh vegetables. Think crisp carrot sticks, cool and refreshing cucumber slices, vibrant strips of bell peppers (in shades of red, yellow, and orange), juicy cherry tomatoes, and sweet snap peas for a truly wholesome and satisfying snack.
- Elevated Sandwich and Wrap Spreads: Bid farewell to traditional mayonnaise and mustard! Use a generous layer of hummus as a flavorful, healthier, and protein-packed spread for your sandwiches, wraps, and gyros. Its creamy texture and rich, savory flavor add a wonderful depth and moisture to any filling.
- Nourishing and Customizable Grain Bowl Base: Create your own bespoke, healthy, and satisfying grain bowls by spreading a generous, smooth layer of hummus at the bottom of your bowl. Top it with your favorite roasted vegetables (such as tender zucchini, sweet roasted eggplant, or caramelized sweet potatoes), a lean protein (like grilled chicken, homemade falafel, or additional chickpeas), and a fragrant sprinkle of fresh herbs.
- A Flavorful Topping for Mains: Dollop rich, creamy hummus directly onto roasted meats, grilled fish, or vegetarian main dishes such as crispy falafel, pan-seared halloumi, or grilled skewers. It instantly adds a welcome boost of moisture, a luxurious richness, and a distinct burst of Mediterranean flavor to any plate.
- A Unique Mediterranean Breakfast Twist: For an unexpectedly delicious and highly satisfying start to your day, spread hummus generously on a slice of toasted bread. Finish with a delicate drizzle of extra virgin olive oil and a sprinkle of aromatic za’atar spice blend. It’s a protein-packed and flavorful alternative to your usual breakfast fare!
- As a Creamy Sauce or Dressing Component: Thin out your homemade hummus slightly with a bit of water or additional lemon juice to transform it into a delectable, creamy dressing for fresh salads or a luscious sauce to drizzle over roasted or grilled vegetables, adding a gourmet touch.