
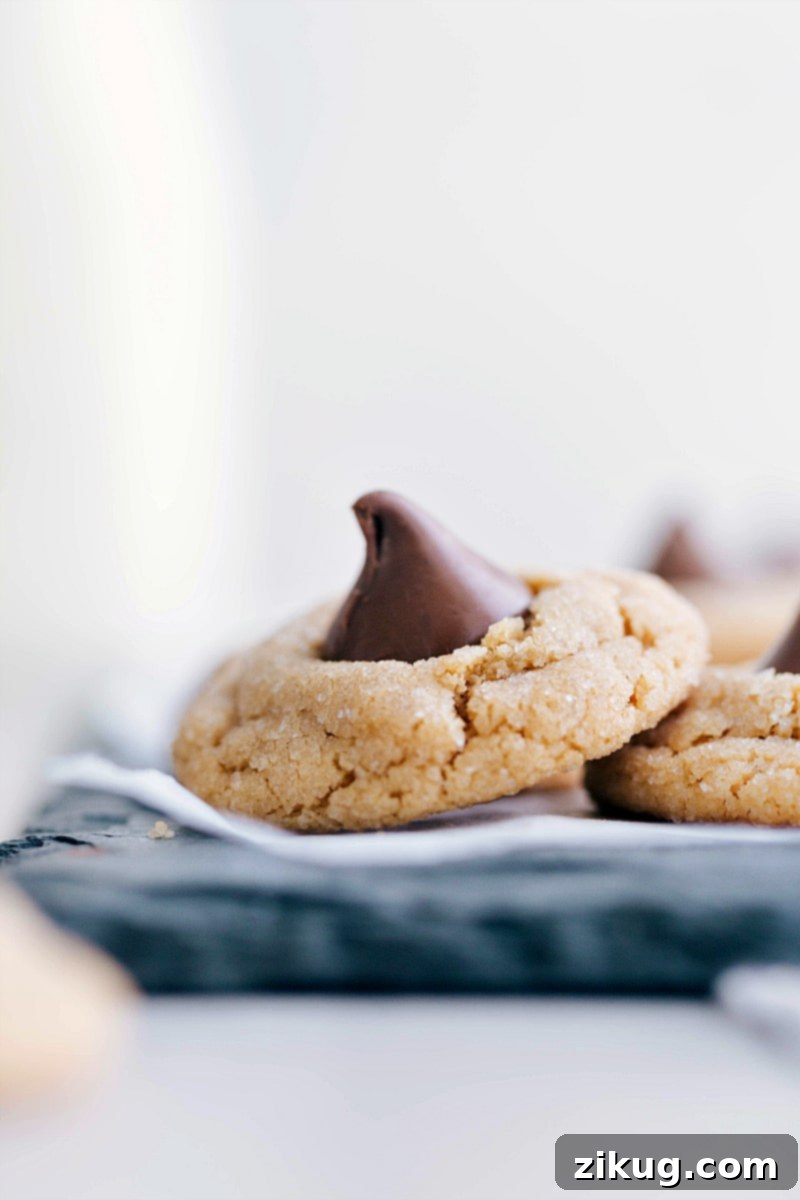
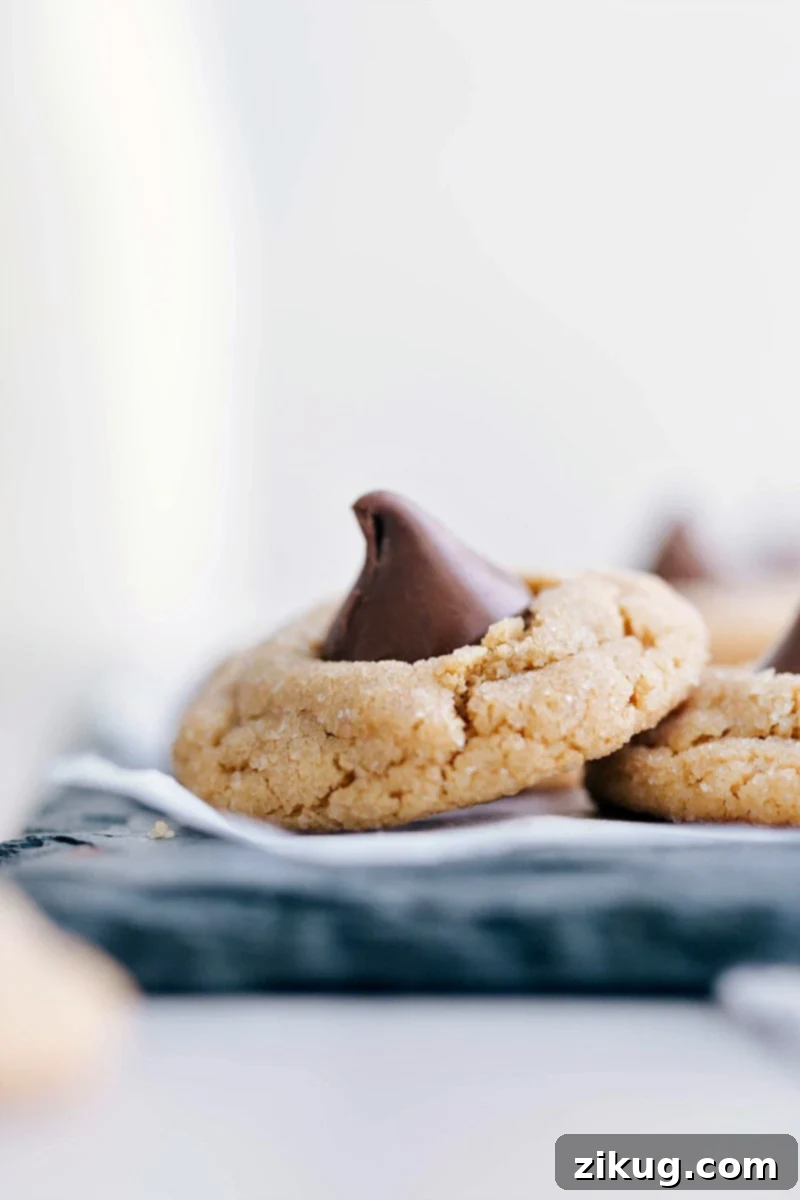
Peanut Butter Blossom Cookies are a timeless classic, beloved for their perfect combination of a chewy peanut butter base and a delightful chocolate kiss topping. Achieve the best results by keeping them small and rolling them in sugar before baking for that extra sparkle and crisp edge!

Author’s Note
Chocolate Kiss, Peanut Butter Bliss: Crafting the Perfect Blossom!
There’s an undeniable magic in the pairing of peanut butter and chocolate. For me, it’s an all-time favorite combination, so developing a stellar Peanut Butter Blossom recipe was an absolute priority for my site. This cookie isn’t just a dessert; it’s a nostalgic journey, a sweet memory, and a perfect addition to any cookie platter.
My journey to this ultimate blossom started with my beloved peanut butter cookie dough, which already boasted the qualities I cherish: a rich, creamy base, just the right hint of brown sugar for an irresistible chew, and a touch of cornstarch to ensure that wonderfully soft center. The foundation was strong, but adapting it for the blossom cookie required meticulous testing.
I baked numerous batches, meticulously adjusting proportions and techniques to perfect that signature blossom shape and texture. The biggest discovery was that smaller dough balls delivered the most satisfying bite, ensuring a harmonious chocolate-to-cookie ratio in every single morsel. This wasn’t just about aesthetics; it was about achieving that ideal balance of flavors and textures.
Beyond the classic Hershey’s Kiss, I also experimented with various toppers. While the Kiss remains a traditional and delightful choice, mini peanut butter cups offer an extra layer of peanut buttery goodness, soft chocolate squares melt beautifully, and even caramels can introduce an intriguing chewiness. Each option brings its own unique twist, allowing for personalization and creative fun in your baking.
Essential Ingredients for Perfect Peanut Butter Blossoms
Crafting the perfect Peanut Butter Blossom Cookie starts with understanding the role each ingredient plays. Here’s a deeper look into what you’ll need and why specific choices make a difference:
| Ingredient | Tips and Swaps for Success |
|---|---|
| Unsalted Butter | Always use room-temperature butter. This is crucial for proper creaming with sugars, creating an airy, fluffy base that contributes to the cookie’s tender texture. If using salted butter, reduce the amount of added salt in the recipe by about ¼ teaspoon to avoid overly salty cookies. |
| Brown Sugar & Granulated Sugar | The combination of these two sugars is key to both flavor and texture. Brown sugar adds moisture and a delicious molasses note, contributing to the cookie’s chewiness, while granulated sugar ensures a crisp exterior. Don’t forget to roll your dough balls in extra granulated sugar for that beautiful sparkle and a delightful textural contrast on the edges. |
| Creamy Peanut Butter | For the best, most consistent texture, opt for creamy, “no-stir” peanut butter (like Jif or Skippy). Natural peanut butter, which often separates, can make the dough oily and cause cookies to spread excessively. If you must use natural peanut butter, chill the dough longer and consider adding an extra 1 to 2 teaspoons of all-purpose flour to help absorb excess oil. |
| Vanilla & Almond Extract | Vanilla extract is a foundational flavor enhancer in almost any cookie. Almond extract is optional but highly recommended; even a small amount (1/8 teaspoon) adds a subtle, intriguing nutty depth that complements the peanut butter beautifully. A little goes a long way, so measure carefully! |
| Cornstarch | This is our secret ingredient for ultimate cookie softness! Cornstarch helps keep the crumb incredibly tender and prevents the cookies from becoming too crisp or hard. It’s essential for that melt-in-your-mouth texture. |
| All-Purpose Flour | Accurate flour measurement is vital. Always spoon your flour into the measuring cup and level it off with a straight edge (like a butter knife) rather than scooping directly from the bag. This prevents over-measuring, which can lead to dry, dense cookies. The goal is a soft, pliable dough that is not sticky. |
| Chocolate Toppers | While Hershey’s Kisses are traditional, feel free to get creative! Options include Dove milk chocolates, miniature Reese’s peanut butter cups, or even Rolos for a caramel twist. The most important tip for any topper: keep them chilled! This helps them hold their shape and prevent excessive melting when pressed into warm cookies. |
How To Make Irresistible Peanut Butter Blossom Cookies
Follow these detailed steps to bake perfect Peanut Butter Blossom Cookies every time:
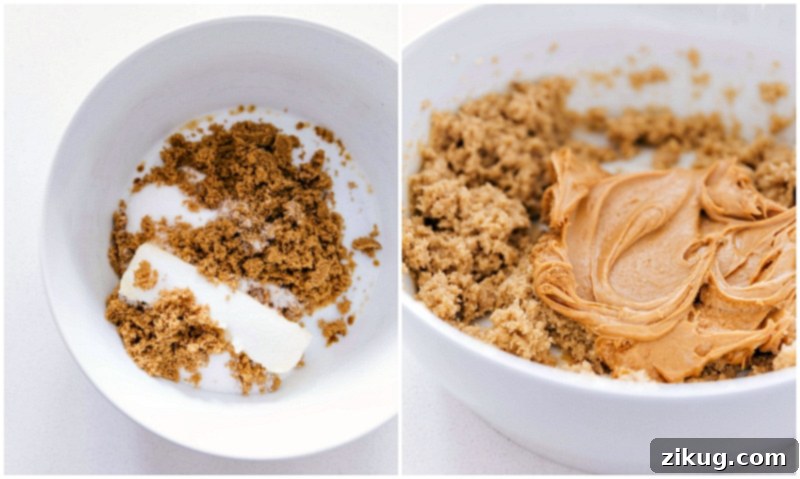
- Cream Butter & Sugars: In a large mixing bowl, combine your room-temperature butter with both dark brown sugar and granulated sugar. Beat them together with an electric mixer on medium-high speed for 3-4 minutes until the mixture is light, fluffy, and noticeably paler in color. This creaming process incorporates air, which contributes to the cookie’s texture.
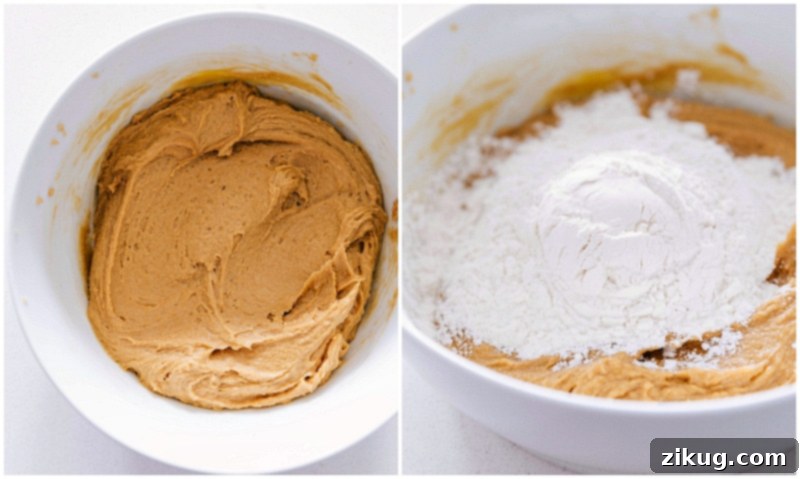
- Incorporate Wet Ingredients: Add the creamy peanut butter to the butter-sugar mixture and beat until thoroughly smooth and well combined. Next, beat in the large egg, vanilla extract, and the optional almond extract until just incorporated. Be careful not to overmix at this stage.
- Whisk Dry Ingredients: In a separate medium-sized bowl, whisk together the all-purpose flour, cornstarch, salt, baking soda, and baking powder. This ensures all the leavening agents and flavorings are evenly distributed.
- Combine Dry & Wet: Gradually add the whisked dry ingredients to the wet ingredients, mixing on low speed until just combined. Mix only until no streaks of flour remain. Overmixing can develop the gluten in the flour, resulting in tough cookies. The dough should be soft, pliable, and not sticky. If it feels too sticky, a little extra chilling time will help.
- Chill the Dough: Cover the cookie dough and refrigerate for a minimum of 30 minutes, or up to an hour. Chilling is a crucial step! It firms up the dough, preventing excessive spread during baking, and helps develop those beautiful cracks on the cookie surface. If chilling for more than a few hours or overnight, let the dough sit at room temperature for about 10 minutes before scooping to make it easier to work with.
- Preheat Oven & Prep: While the dough chills, preheat your oven to 350°F (175°C). Line a large baking sheet (15″ x 10″) with a silicone baking mat or parchment paper. Pour the additional 1/3 cup of granulated sugar into a shallow bowl or plate for rolling the dough balls. Unwrap your chocolate kisses (or chosen toppers) and keep them chilled in the fridge until ready to use.
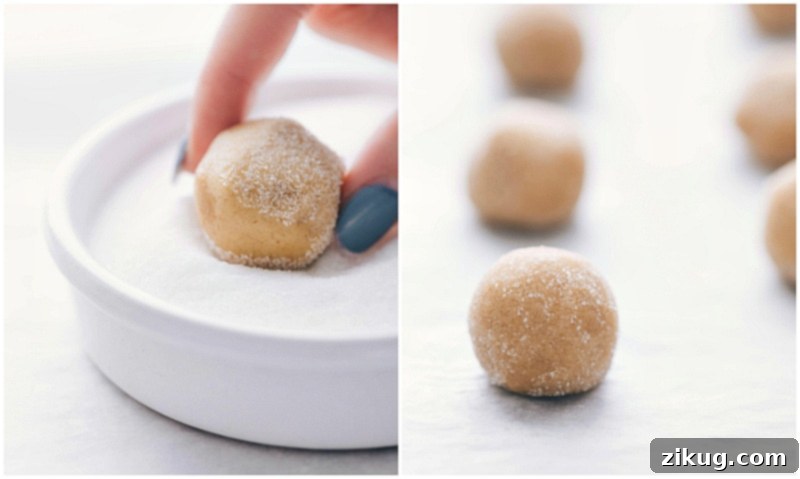
- Scoop & Roll: Using a 1-tablespoon measuring spoon, lightly pack the dough into the spoon and level it off. This ensures consistent cookie size. Roll the dough into a smooth ball between your palms, then roll each ball in the granulated sugar until evenly coated. If the dough starts to get too warm and sticky from handling, place the rolled dough balls back on the baking sheet and chill them in the refrigerator for 5-10 minutes before baking to prevent spreading.
- Bake to Perfection: Place the sugar-coated dough balls onto the prepared baking sheet, leaving about 2 inches between each cookie. Bake for 8-10 minutes, or until the edges are lightly set and the tops are slightly puffed and show small cracks. The centers should still look soft. For best results and even baking, I recommend baking 9 cookies at a time per sheet.
- Top & Cool: Immediately upon removing the cookies from the oven, let them rest on the baking sheet for 1 to 2 minutes. This brief resting period allows the cookies to set slightly. Then, gently press one chilled chocolate candy kiss (or your chosen topper) into the center of each warm cookie. Allow the cookies to cool completely on a wire rack for the chocolate to set and the cookies to firm up.

Storage Solutions for Your Peanut Butter Blossom Cookies
Ensuring your delicious Peanut Butter Blossom Cookies stay fresh and delightful is easy with these storage tips:
- Room Temperature Storage: Store baked cookies in an airtight container at room temperature for 3–4 days. To keep them extra soft, you can place a slice of bread in the container; the cookies will absorb moisture from the bread.
- Freezing Baked Cookies: For longer storage, allow baked cookies to cool completely. Arrange them in a single layer on a baking sheet and freeze until solid. Once frozen, transfer them to a freezer-safe airtight container or heavy-duty freezer bag for up to 3 months. Thaw at room temperature or gently warm in the microwave for a few seconds before serving.
- Freezing Cookie Dough: You can also freeze the unbaked dough. Scoop dough balls onto a tray lined with parchment paper, freeze until solid, then transfer them to a freezer-safe bag or container. Store for up to 3 months. To bake from frozen, place dough balls on a prepared baking sheet and add a few extra minutes to the baking time (typically 2-4 minutes more), then press in the chocolate kisses after baking as usual. This is a fantastic way to have fresh cookies on demand!
More Delicious Cookie Recipes: Explore Your Sweet Side!
If you’ve fallen in love with these Peanut Butter Blossoms, you’re in for a treat! Discover more delightful cookie recipes to satisfy every craving, perfect for sharing with loved ones or enjoying all to yourself.
Desserts
Chocolate Chip M&M Cookies
Desserts
S’mores Cookies
Desserts
Mint Chocolate Chip Cookies
Desserts
Cake Batter Cookies
Classic Peanut Butter Blossom Cookies Recipe

Peanut Butter Blossom Cookies
By Chelsea Lords
Peanut Butter Blossom Cookies are the ultimate chewy peanut butter cookies topped with a delightful chocolate kiss. This easy recipe guarantees soft, tender cookies with perfect cracks and a hint of sparkle from the sugar coating. A beloved classic for any occasion!
Prep Time: 15 minutes
Cook Time: 9 minutes
Chilling Dough: 30 minutes
Total Time: 54 minutes
Servings: 43 cookies
Print Recipe
Equipment
- Sheet pan (15″ x 10″)
- Silicone baking mat or parchment paper
- Large mixing bowls
- Electric mixer (stand or hand mixer)
- Whisk
- Measuring cups and spoons
- Wire cooling rack
Ingredients
- 8 tablespoons unsalted butter, at room temperature
- 1/2 cup dark brown sugar (light brown works too, lightly packed)
- 1/2 cup granulated sugar
- 3/4 cup creamy peanut butter (no-stir recommended)
- 1 large egg
- 1-1/2 teaspoons vanilla extract
- 1/8 teaspoon almond extract (optional, but enhances flavor)
- 1/2 teaspoon fine sea salt
- 1/4 teaspoon baking soda
- 1/4 teaspoon baking powder
- 1 teaspoon cornstarch
- 1-1/4 cups all-purpose flour (measured by spooning flour into cup and leveling off)
- 1/3 cup granulated sugar (for rolling)
- 40 to 45 Chocolate candy kisses (or Dove milk chocolates, miniature Reese’s cups, or Rolos), unwrapped and chilled
Instructions
- Prepare the Wet Ingredients: In a large bowl, cream together the room-temperature butter, dark brown sugar, and 1/2 cup granulated sugar until the mixture is light and fluffy (approximately 3–4 minutes). Beat in the creamy peanut butter until smooth and fully incorporated. Add the large egg, vanilla extract, and optional almond extract, mixing until just combined.
- Combine Dry Ingredients: In a separate medium bowl, whisk together the salt, baking soda, baking powder, cornstarch, and all-purpose flour until well combined.
- Mix Dough: Gradually add the dry ingredients to the wet ingredients, mixing on low speed until just combined. Be careful not to overmix; stop as soon as no dry streaks of flour are visible. The dough should be soft but not sticky. If it feels too sticky, chill for an additional 10-15 minutes.
- Chill Dough: Cover the cookie dough and refrigerate for 30 minutes to 1 hour. This chilling time helps the flavors meld, prevents spreading, and contributes to the signature cracked top. If chilling longer than a few hours or overnight, let the dough sit at room temperature for about 10 minutes before proceeding.
- Preheat & Prep for Rolling: Preheat your oven to 350°F (175°C). Line a large sheet pan with a silicone liner or parchment paper. Place the remaining 1/3 cup granulated sugar in a shallow bowl or plate. Make sure your chocolate toppers are unwrapped and kept chilled.
- Scoop, Roll, and Bake: Use a 1-tablespoon measuring spoon to scoop the dough, lightly packing and leveling it off. Roll each portion into a smooth ball between your palms, then roll the dough ball in the granulated sugar to coat evenly. Place the sugar-coated dough balls on the prepared baking sheet, ensuring about 2 inches of space between each. Bake for 8–10 minutes, or until the edges are lightly golden and set, and the tops are slightly puffed with visible cracks. The centers should still look soft. For best results, bake in batches of 9 cookies at a time.
- Add Toppers & Cool: Remove the cookies from the oven and allow them to cool on the baking sheet for 1 to 2 minutes. While still warm but slightly set, gently press an unwrapped chocolate candy kiss (or chosen topper) into the center of each cookie. Let the cookies stand on the baking sheet to finish cooling and for the chocolate to fully set. Transfer to a wire rack if needed for complete cooling.
Recipe Notes
Nutrition Note: The nutrition information provided below was calculated using standard chocolate kisses for the topping. Using different chocolate toppers or ingredients may slightly alter these values.
Storage: Store leftover baked Peanut Butter Blossom Cookies in an airtight container at room temperature for up to 5 days. For longer enjoyment, freeze baked cookies or unbaked dough balls in an airtight container for up to 3 months. When baking from frozen dough, add a few extra minutes to the bake time (e.g., 10-12 minutes), and remember to add the chocolate kisses after baking while the cookies are still warm.
Nutrition
Nutrition information is an approximation based on the ingredients listed. Actual values may vary.
- Serving: 1 cookie
- Calories: 107 kcal
- Carbohydrates: 13g
- Protein: 2g
- Fat: 6g
- Saturated Fat: 3g
- Trans Fat: 1g
- Cholesterol: 11mg
- Sodium: 36mg
- Potassium: 39mg
- Fiber: 1g
- Sugar: 9g
- Vitamin A: 72 IU
- Calcium: 16mg
- Iron: 1mg
Please note: Nutrition information is automatically calculated and should only be used as an approximation.
Love this recipe? Leave a comment below!
Peanut Butter Blossom Cookies FAQs: Your Baking Questions Answered
Yes, you can use natural peanut butter, but be aware that it has a different consistency and can make the cookies spread more during baking. To counteract this, chill your dough longer (at least 1-2 hours) and consider adding an extra teaspoon or two of flour if the dough feels particularly oily or soft. The goal is a firm, pliable dough.
If your chocolate kisses melted into a puddle, it typically means the cookies were too hot when you pressed the chocolate in, or the chocolate kisses themselves were warm. To prevent this, always let the baked cookies rest on the baking sheet for 1 to 2 minutes *after* removing them from the oven before pressing in the chocolate. Crucially, keep your chocolate kisses chilled in the refrigerator until the very moment you’re ready to use them. The contrast between the warm cookie and the cold chocolate helps them set perfectly.
While you technically can, I strongly recommend sticking to the 1-tablespoon scoop size for these Peanut Butter Blossoms. Larger cookies tend to spread more, which can affect their shape and lead to a less desirable texture. More importantly, using a 1-tablespoon scoop ensures the perfect, balanced chocolate-to-cookie ratio, giving you that ideal bite every time. If you do opt for larger cookies, you may need to adjust baking time and monitor for spreading.
The cracks are a hallmark of a great peanut butter blossom! They are encouraged by chilling the dough sufficiently, which helps the cookies hold their shape initially and then crack as they expand in the oven. Rolling the dough balls in granulated sugar also contributes to the cracking effect and a beautiful, glistening finish.
Absolutely! This dough is excellent for making ahead. You can prepare the dough up to 2-3 days in advance and store it tightly covered in the refrigerator. Just remember to let it sit at room temperature for about 10-15 minutes before scooping and rolling if it’s been chilled for a long period, as it will be quite firm.
Don’t limit yourself to just Kisses! Many other chocolates work wonderfully. Consider using miniature Reese’s peanut butter cups (for an extra peanut butter punch), small squares of your favorite milk chocolate bar, or even Rolo candies for a delicious caramel surprise. Whatever you choose, make sure they are chilled to prevent excessive melting.