
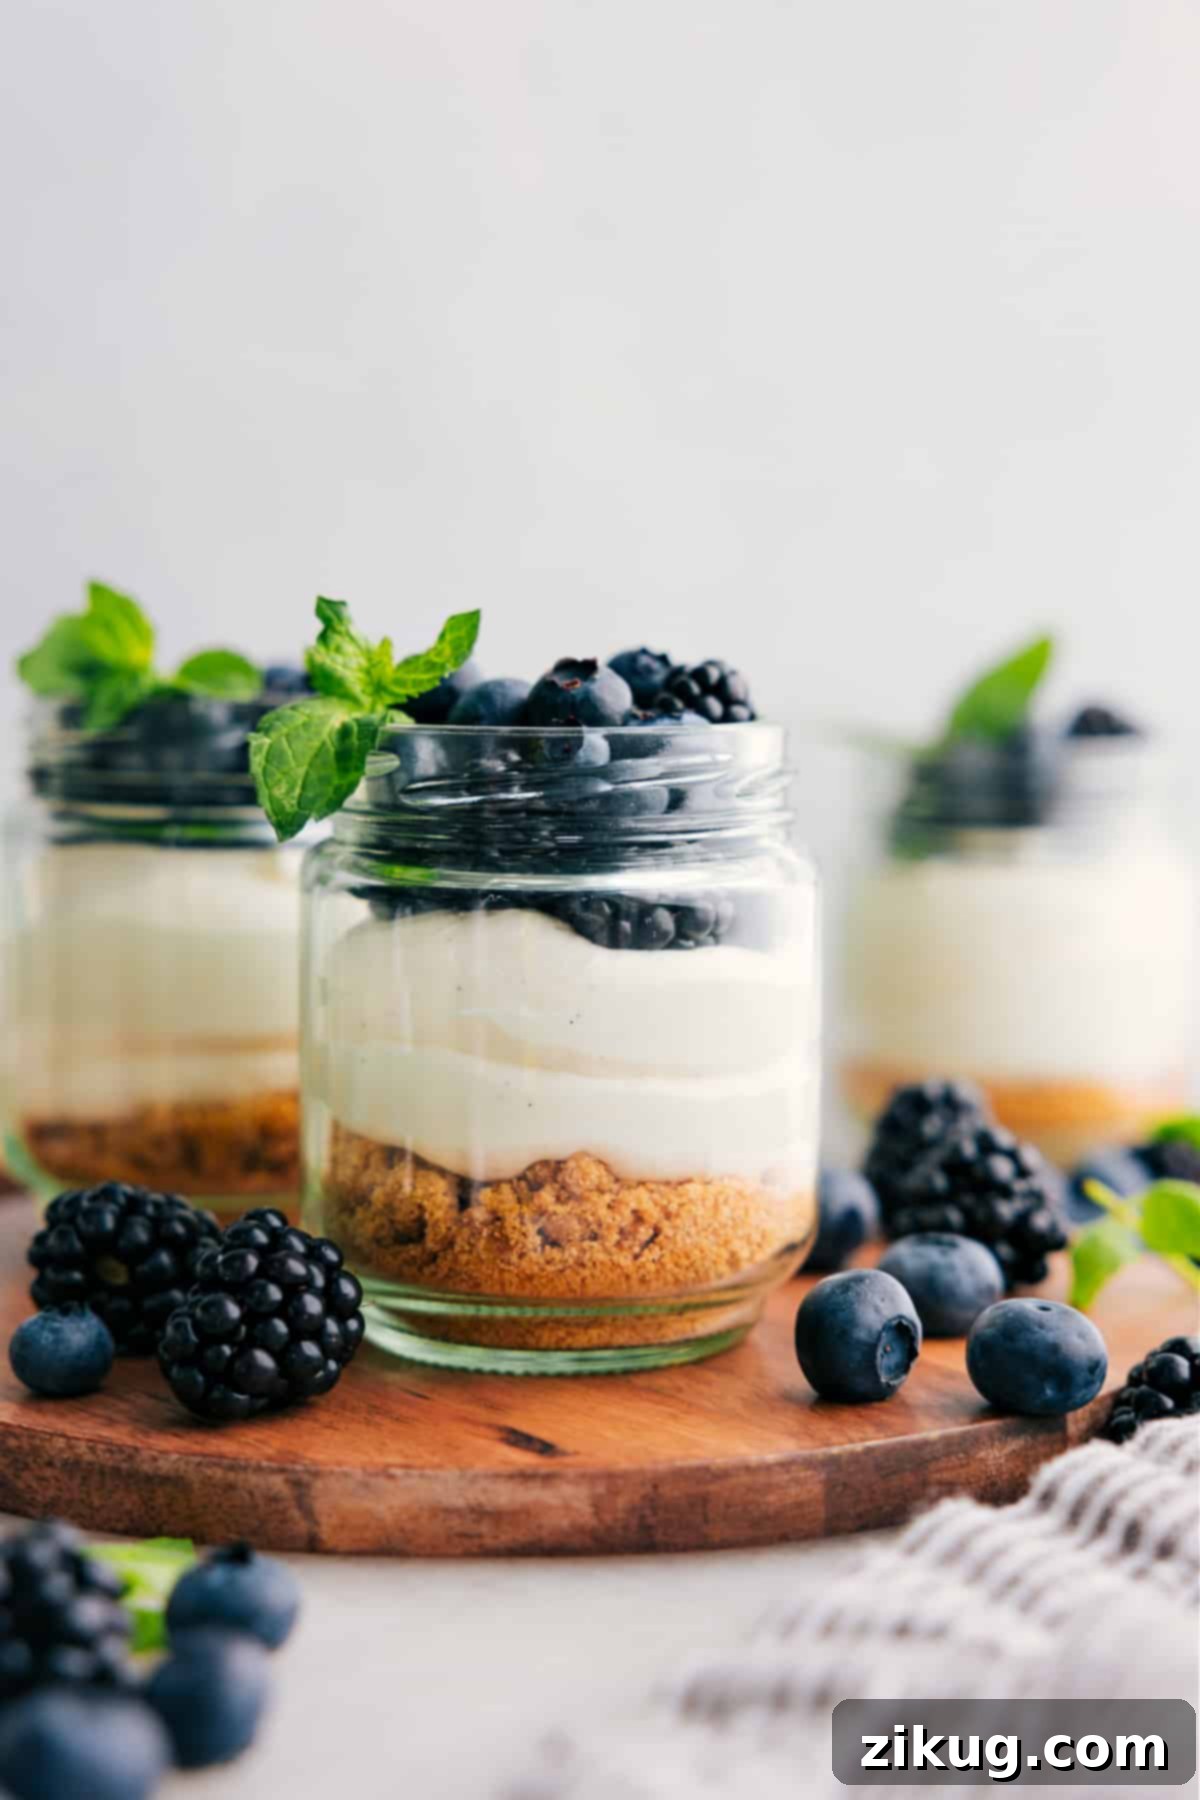
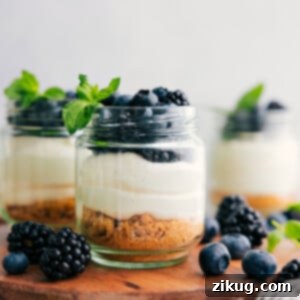
Cheesecake In A Jar is the ultimate fun, no-bake dessert that promises both deliciousness and incredible versatility. Whether you’re hosting a gathering or simply craving a sweet treat, these individual cheesecakes are effortless to customize with your favorite toppings like vibrant fresh berries, rich berry sauces, decadent chocolate sauce, or luscious caramel.
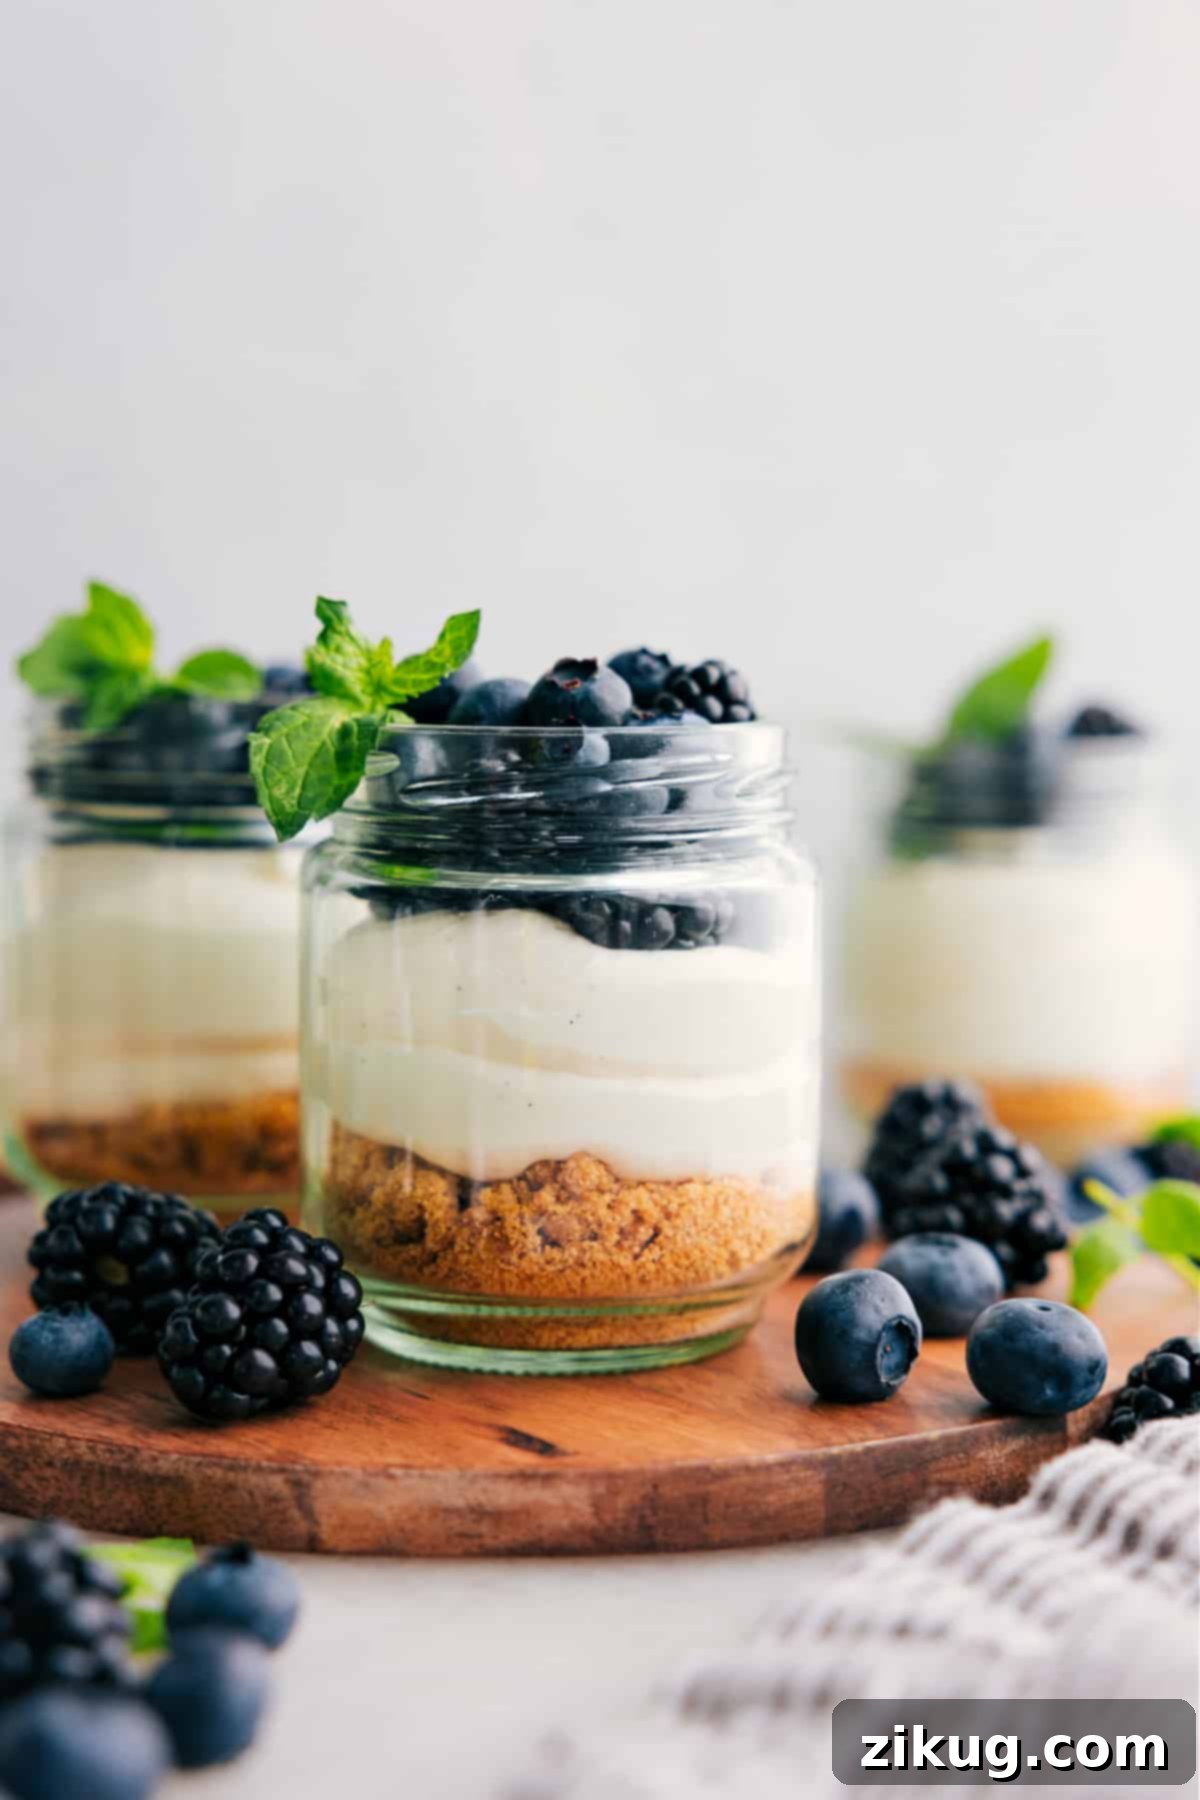

Author’s Note
Why You’ll Absolutely Love This Family-Favorite Recipe!
As a passionate dessert enthusiast, I have a deep appreciation for a truly good cheesecake. While my heart will always have a special place for a rich chocolate cheesecake – a true chocolate lover’s dream – these delightful vanilla cheesecake bars have certainly broadened my horizons! I find myself constantly craving the creamy indulgence of cheesecake, but often, I’m simply not in the mood for the fuss and commitment of a traditional water bath or oven baking.
That’s precisely where the magic of no-bake cheesecake comes into play! I’m utterly obsessed with how incredibly light, smooth, and perfectly sweet these individual desserts are. And when it comes to toppings, the possibilities are truly endless, allowing for endless creativity and personal preference!
Beyond personal cravings, no-bake cheesecakes are an absolute game-changer for entertaining. They’re ideal for a relaxed girls’ night, a lively potluck, or any casual get-together. Just a few weeks ago, I had the pleasure of hosting a lovely baby sprinkle for one of my sisters. The highlight of the dessert table was undoubtedly our mini cheesecake bar! Each guest received their own adorable cheesecake in a jar and could adorn it with an array of delicious toppings as they pleased. It was an absolute sensation, and everyone raved about how much they enjoyed customizing their own sweet creation!
Essential Ingredients for Your Cheesecake in a Jar
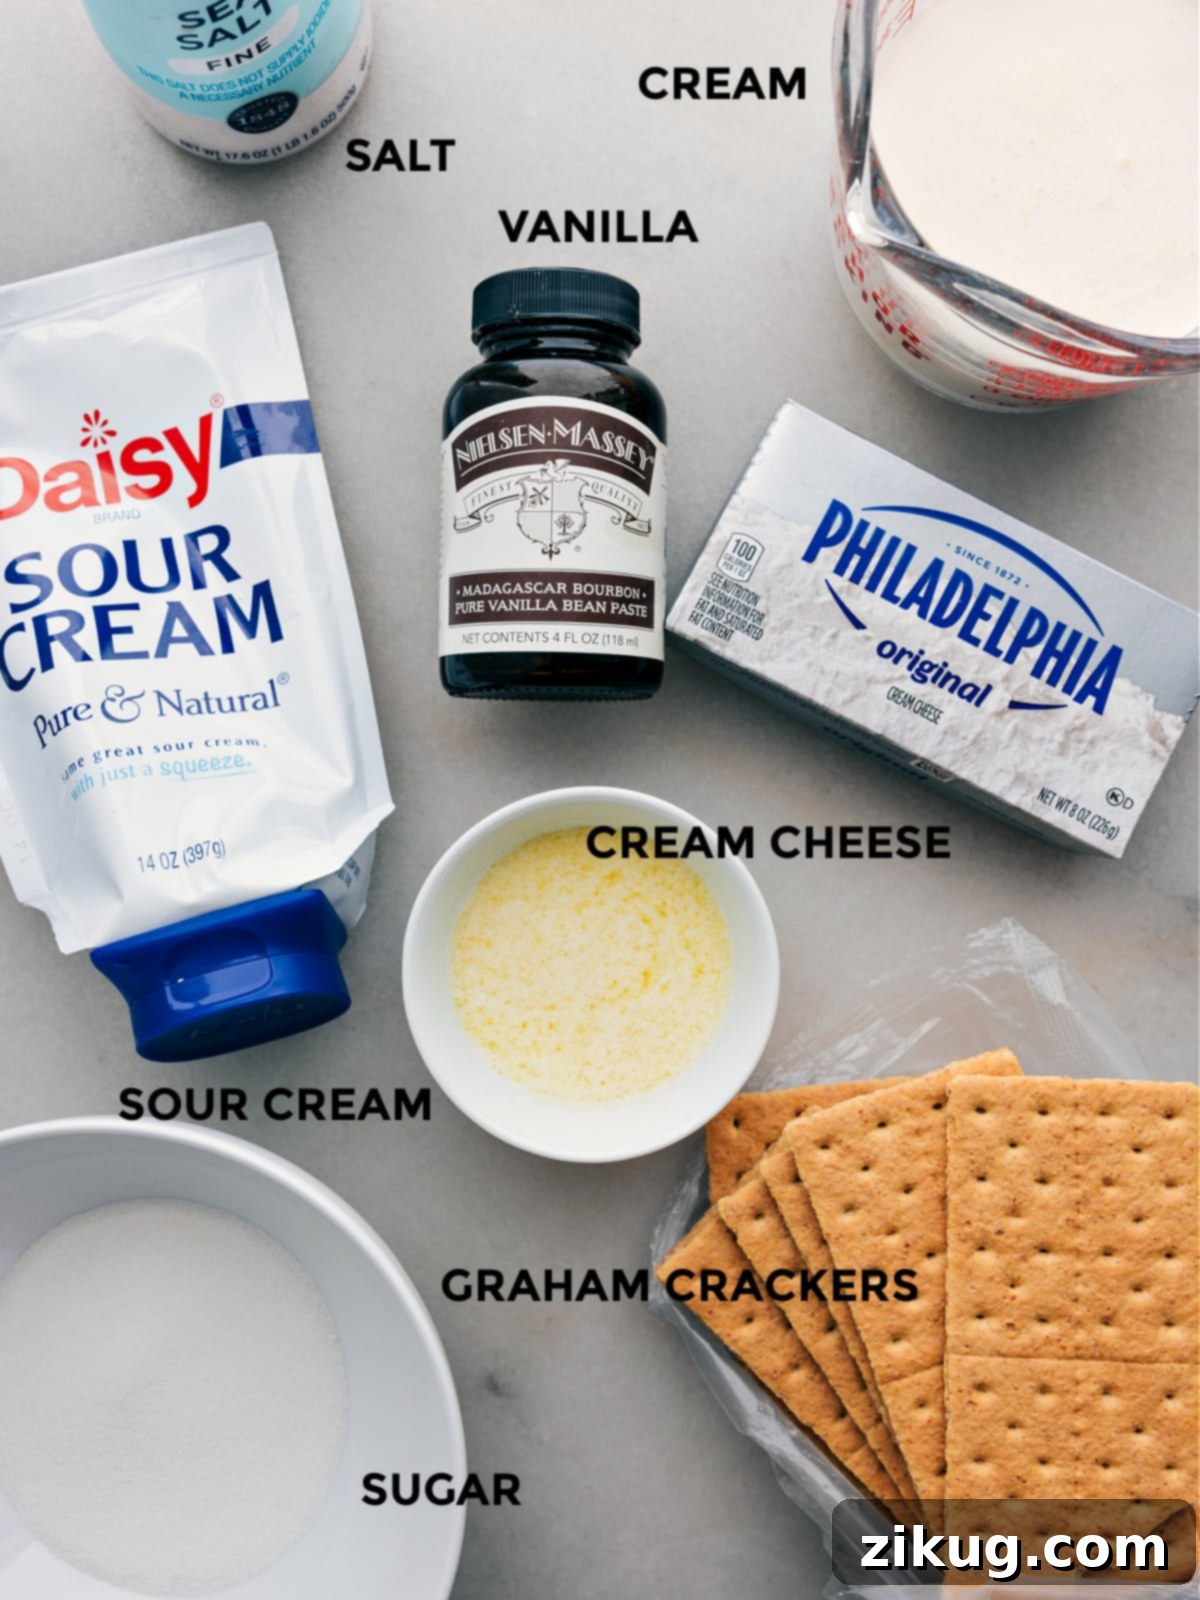
Crafting these delectable cheesecakes involves three simple yet crucial components: the crust, the creamy cheesecake filling, and your chosen toppings. Here’s a detailed look at what you’ll need to create this amazing dessert:
For the Irresistible Crust:
- Unsalted Butter: Ensure it’s fully melted, but allow it to cool slightly before mixing. Hot butter can melt the sugar in the crumbs, leading to a greasy crust that’s less desirable. Using unsalted butter gives you control over the overall saltiness of the dessert.
- Graham Crackers: These form the classic, comforting base for your cheesecake. For the best texture, use a food processor or a high-powered blender to crush them into very fine, uniform crumbs. This ensures a consistent and easy-to-manage crust.
- White Sugar: A touch of granulated white sugar adds just the right amount of sweetness to the crust, balancing the buttery richness of the graham crackers. For a deeper flavor, feel free to substitute with light brown sugar.
- Salt: A tiny pinch of salt is essential to enhance and bring out the natural flavors of the graham crackers and butter, preventing the crust from tasting flat.
For the Smooth and Creamy Cheesecake Filling:
- Full-Fat, Brick-Style Cream Cheese: This is the star of your cheesecake, providing its characteristic rich and tangy flavor, along with an incredibly smooth texture. It’s vital that the cream cheese is softened to room temperature (brick-style works best) to prevent any lumps in your filling.
- White Sugar: Sweetens the cheesecake filling to perfection. Adjust the amount slightly to suit your taste preference.
- Full-Fat Greek Yogurt or Sour Cream: These ingredients are key to adding a wonderful creamy texture and a delightful hint of tanginess, which beautifully complements the richness of the cream cheese. Use full-fat varieties for the best consistency and flavor.
- Salt: A small amount of salt is crucial here, as it balances the sweetness and acidity of the other ingredients, creating a more complex and satisfying flavor profile.
- Vanilla Extract: Opt for pure vanilla extract for the most authentic and robust vanilla flavor. Alternatively, vanilla bean paste can offer an even more pronounced vanilla aroma and visible flecks of vanilla bean.
- Heavy Whipping Cream, Whipped to Stiff Peaks: This is what gives the no-bake cheesecake its light, airy, and fluffy consistency. For best results and quicker whipping, ensure both your bowl and beaters are well chilled before you begin.
For Endless Topping Possibilities:
- Fresh Berries or Berry Sauces: Good, ripe, seasonal berries (like strawberries, blueberries, raspberries, or mixed berries) are always a fantastic choice. You can easily make your own berry sauces at home, such as a luscious strawberry topping, sweet blueberry syrup, or a zesty lemon curd, or simply use quality store-bought options.
- Chocolate Ganache, Fudge Sauce, or Caramel Sauce: For those who love a richer, more indulgent flavor, these sauces are perfect. Homemade versions are always a treat, but high-quality store-bought varieties work wonderfully for convenience.
- Garnishes: Elevate the presentation and add extra texture with garnishes like colorful sprinkles, crunchy chopped candied nuts (pecans, walnuts, almonds), a sprig of fresh mint for a pop of color, or finely shredded coconut. Let your imagination run wild!
Serving Cheesecake in a Jar: Perfect for Any Occasion
These individual cheesecakes in a jar are truly the ideal dessert for any social gathering. Their portability, charming presentation, and customizable nature make them incredibly popular with guests. I particularly adore making them for elegant bridal showers, sweet baby showers, or fun-filled girls’ nights. They never fail to impress—not only are they incredibly delicious, but their mini size and layered look make them undeniably cute and sophisticated.
One of my favorite ways to serve them is by arranging the prepared cheesecake jars (without any toppings initially) beautifully on a table. Then, I set out an enticing array of toppings on the side, allowing each guest to personalize their dessert exactly how they like it. This “build-your-own-cheesecake-bar” concept is always a huge hit and adds a wonderful interactive element to any party or event.
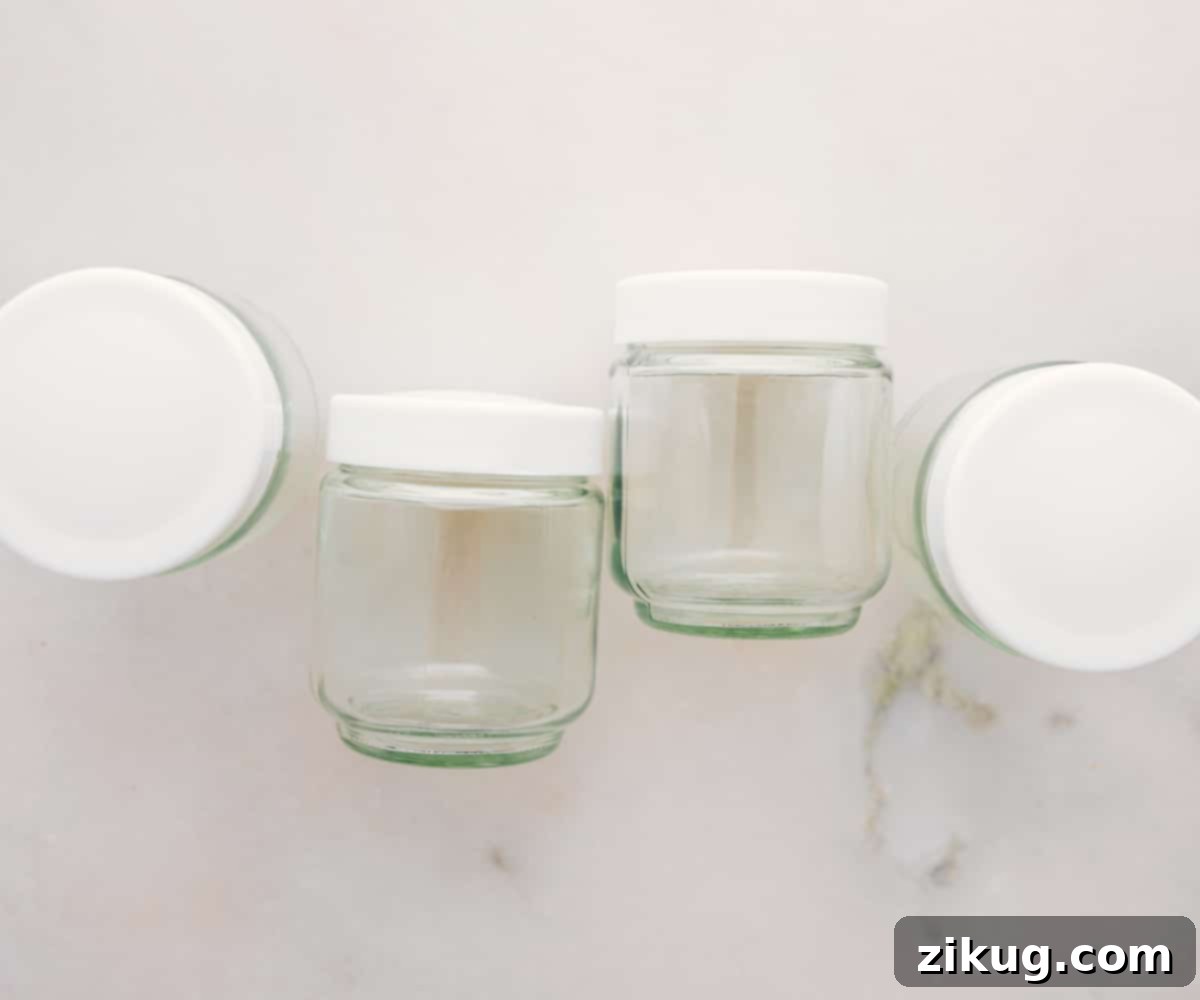
For the perfect individual portions, I highly recommend using mini wide-mouth mason jars. Their shape makes it easy to layer the crust and filling, and they look absolutely charming!
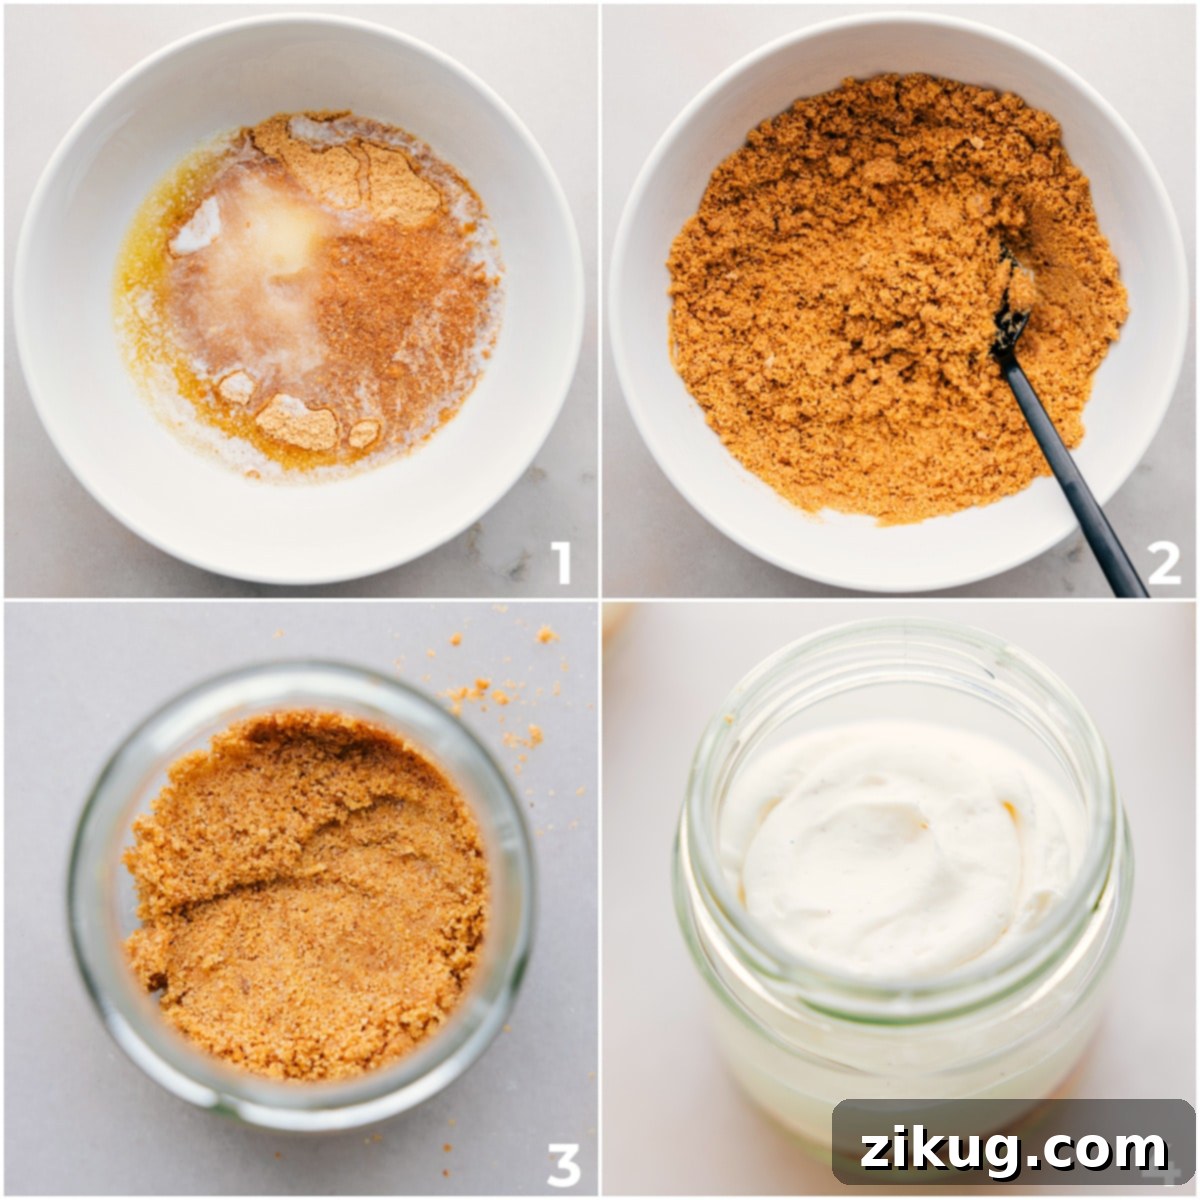
Step-by-Step Guide: How To Make No-Bake Cheesecake In A Jar
Creating these delightful no-bake cheesecake jars is surprisingly simple. Follow these steps for a perfectly creamy and delicious dessert every time:
- Prepare the Butter: Begin by melting your unsalted butter in the microwave. Once melted, set it aside and allow it to cool slightly. This prevents the butter from melting the sugar in the graham crackers, which could result in a greasy crust.
- Crush the Crackers: Take your graham crackers and coarsely break them into a food processor or a high-powered blender. Process until they transform into fine, uniform crumbs. You should aim for approximately 1 cup of fine crumbs from about 9 full graham cracker sheets.
- Combine Crust Ingredients: In a medium bowl, combine the cooled melted butter, graham cracker crumbs, granulated sugar, and a tiny pinch of salt. Stir all the ingredients thoroughly until the mixture is evenly coated and resembles moist sand.
- Form the Crust Base: Divide the prepared crust mixture evenly among your chosen mason jars (6-ounce wide-mouth jars work wonderfully). Using the cap of a milk bottle or a flat-bottomed small glass, gently press the crust mixture down. The key here is a light press – you want the crust to be slightly loose, not firmly packed like a traditional graham cracker pie crust, allowing for easier scooping.
- Prepare the Cheesecake Filling: In a large mixing bowl, using a hand mixer or a stand mixer fitted with a whisk attachment, beat the softened full-fat cream cheese with sugar, Greek yogurt (or sour cream), salt, and vanilla extract (or vanilla bean paste). Continue beating on medium-high speed until the mixture is completely creamy, smooth, and entirely lump-free. For a berry cheesecake jar, consider adding 1/4 teaspoon lemon zest and 1-1/2 teaspoons lemon juice at this stage for a bright, tangy flavor.
- Whip the Heavy Cream: In a separate, chilled bowl, use a hand mixer or a stand mixer with a whisk attachment to whip the cold heavy cream to stiff peaks. This process typically takes about 2-4 minutes on medium-high speed. The cream should hold its shape firmly.
- Gently Fold Ingredients: Using a rubber spatula, very gently fold the whipped heavy cream into the cream cheese mixture. Be careful not to deflate the mixture; the goal is to maintain its airy lightness. Mix until just combined and no streaks of plain cream cheese are visible.
- Fill the Jars: Divide the fluffy cheesecake filling evenly among the prepared jars, making sure to leave enough space at the top for your desired toppings. For a cleaner and more professional look, transferring the cheesecake filling to a piping bag and cutting off about an inch from the tip makes piping the filling into the jars much easier.
- Chill or Top Immediately: You have two options here: if you plan to enjoy the cheesecakes right away, go ahead and add your favorite toppings now! If you’re making them ahead or saving them for later, skip the toppings for now. Simply cover the jars with their lids and refrigerate for at least an hour to allow the cheesecake to set beautifully.
- Serve and Enjoy: Once chilled (or if topped immediately), spoon on your chosen toppings and garnishes. Serve them right away for the best experience!
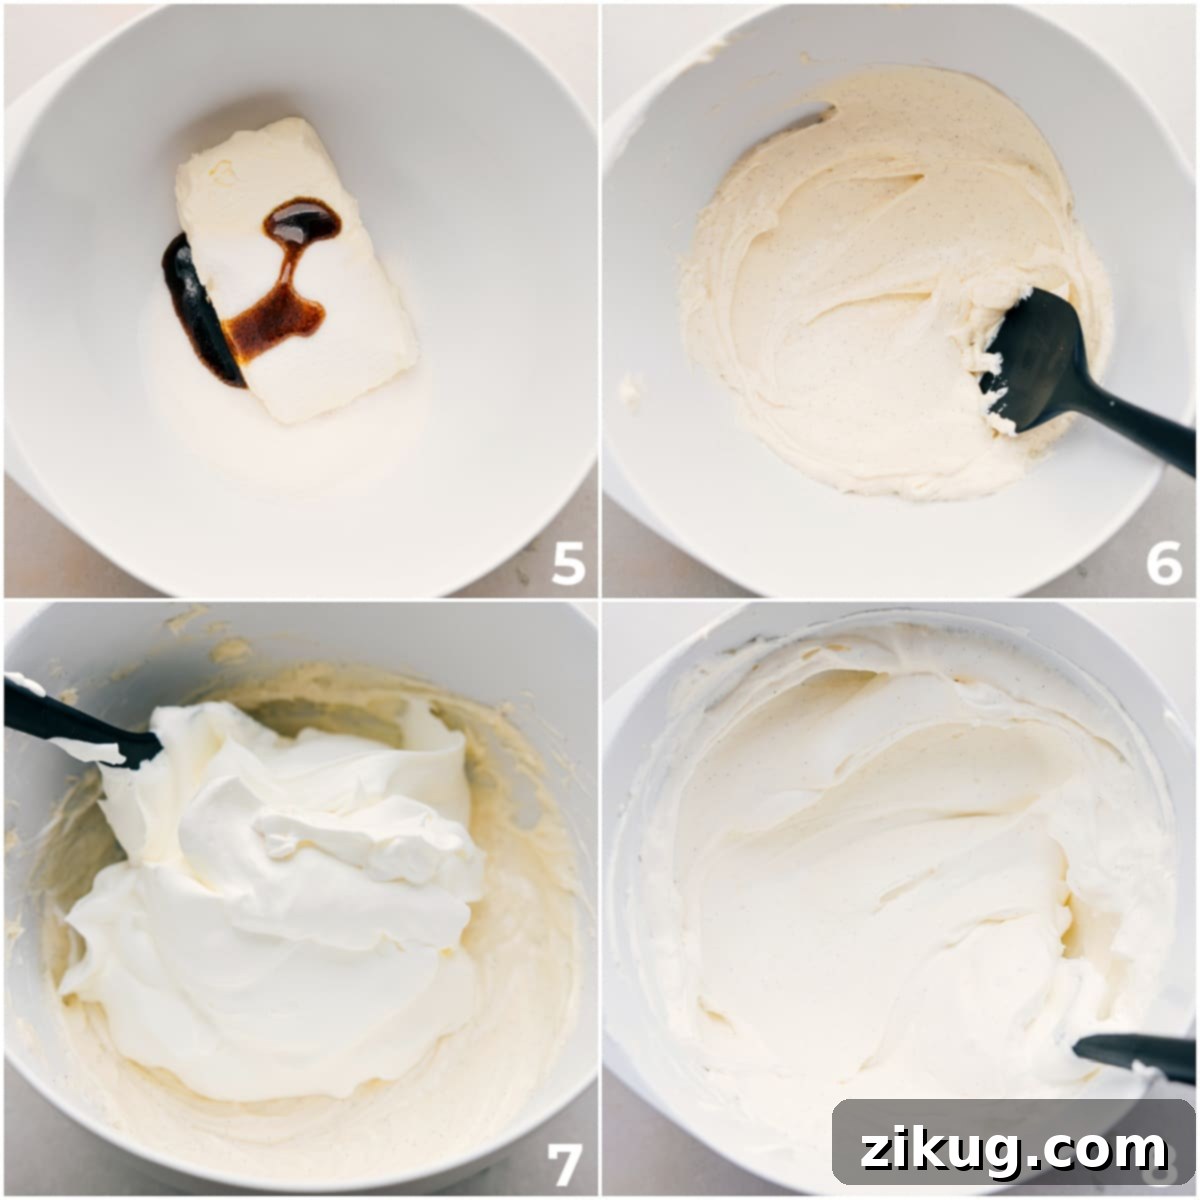
Expert Tips for a Flawless Cheesecake In A Jar
Achieving the perfect no-bake cheesecake in a jar is simple with a few helpful pointers. Keep these tips in mind to ensure a creamy, delicious dessert every time:
- Ensure Softened Cream Cheese: This is perhaps the most crucial tip! For a truly smooth and lump-free cheesecake filling, leave your full-fat brick-style cream cheese out at room temperature for at least an hour, or even two. Cold cream cheese will result in a lumpy mixture that’s difficult to fully incorporate.
- Press the Crust Lightly: When forming the graham cracker crust in the jars, resist the urge to press too firmly. A light, gentle press is all that’s needed. Over-compacting the crust can make it overly dense and hard to eat with a spoon, detracting from the overall enjoyable texture of the dessert.
- Fold Gently for Airiness: When incorporating the whipped heavy cream into the cream cheese mixture, use a rubber spatula and fold it in very gently. The goal is to preserve as much of the air whipped into the cream as possible. Over-mixing at this stage will deflate the mixture, resulting in a heavier, less airy cheesecake.
- Chill for Optimal Set: If you’re not serving the cheesecakes immediately, it’s essential to refrigerate the jars (with their lids securely on, but without toppings) for at least an hour. This chilling time allows the cheesecake filling to properly set and firm up, ensuring it maintains its delightful texture when served.
- Piping Bag for Precision: For a clean, professional look and easier distribution, transfer your cheesecake filling into a piping bag (or a large Ziploc bag with a corner snipped off) before filling the jars. This helps prevent smudging the sides of the jars and ensures even layers.
- Choose Quality Ingredients: While simple, the quality of your ingredients truly shines through in this recipe. Opt for good quality full-fat cream cheese, fresh, ripe berries, and pure vanilla extract for the best flavor experience.
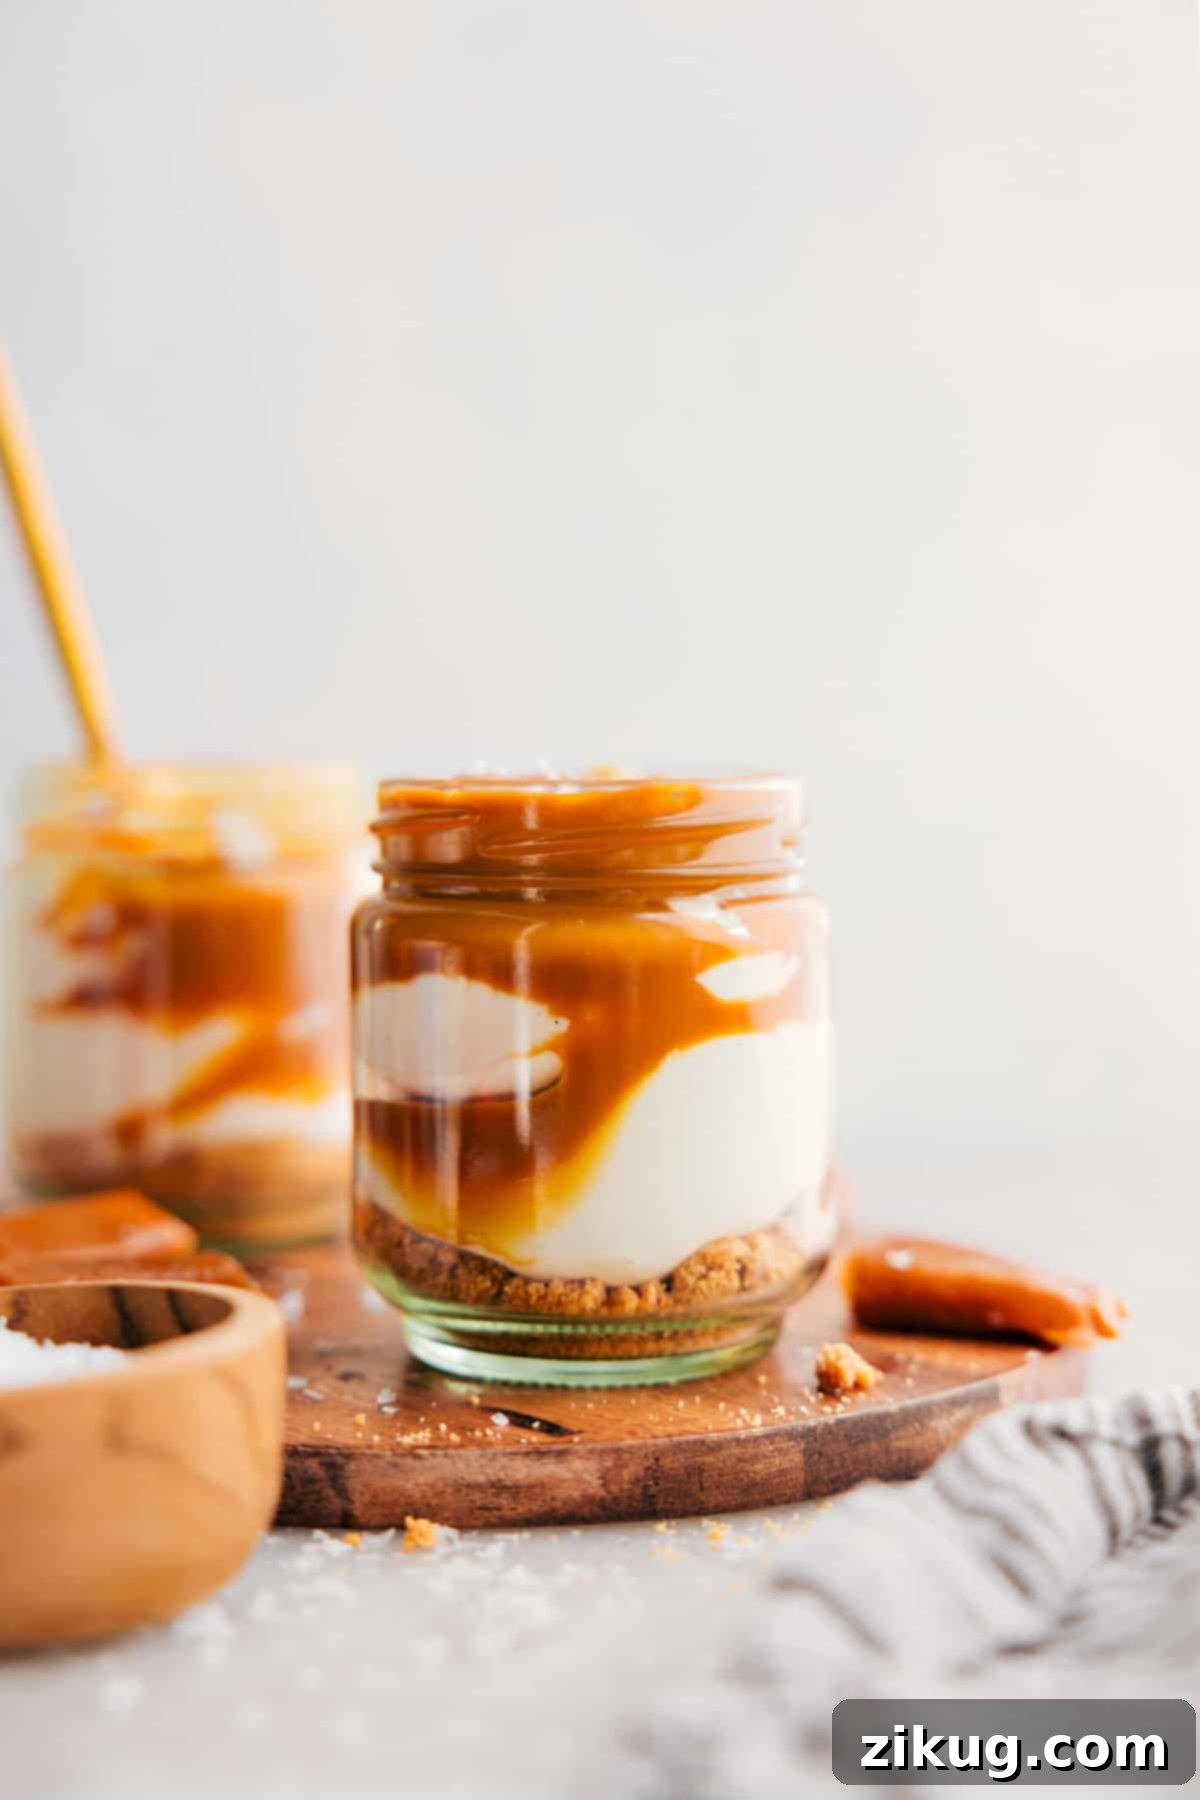
Storage and Make-Ahead Brilliance
- Make Ahead: One of the best features of this recipe is its make-ahead potential! You can easily prepare the cheesecake filling and assemble it into the jars up to 2 days before you plan to serve. This frees up valuable time on the day of your event.
- Refrigeration: For optimal freshness and texture, chill the assembled jars (covered with their lids, but crucially, without any toppings) in the refrigerator for at least 30 minutes. They can be stored like this for up to 2 days. Always add your fresh toppings just before serving to prevent them from becoming soggy or losing their vibrant appeal.
- Freezing: Freezing these cheesecakes is generally not recommended. Dairy-based fillings, especially those with whipped cream, tend to separate and become grainy or watery when frozen and then thawed, significantly altering the desirable creamy texture.
- Storing Leftovers: If you happen to have any leftovers (which is rare!), cover them tightly with their lids and store them in the fridge for 3-5 days. Be aware that the texture may slightly change, particularly if toppings containing fresh fruit or sauces were added, as they can sometimes release moisture.
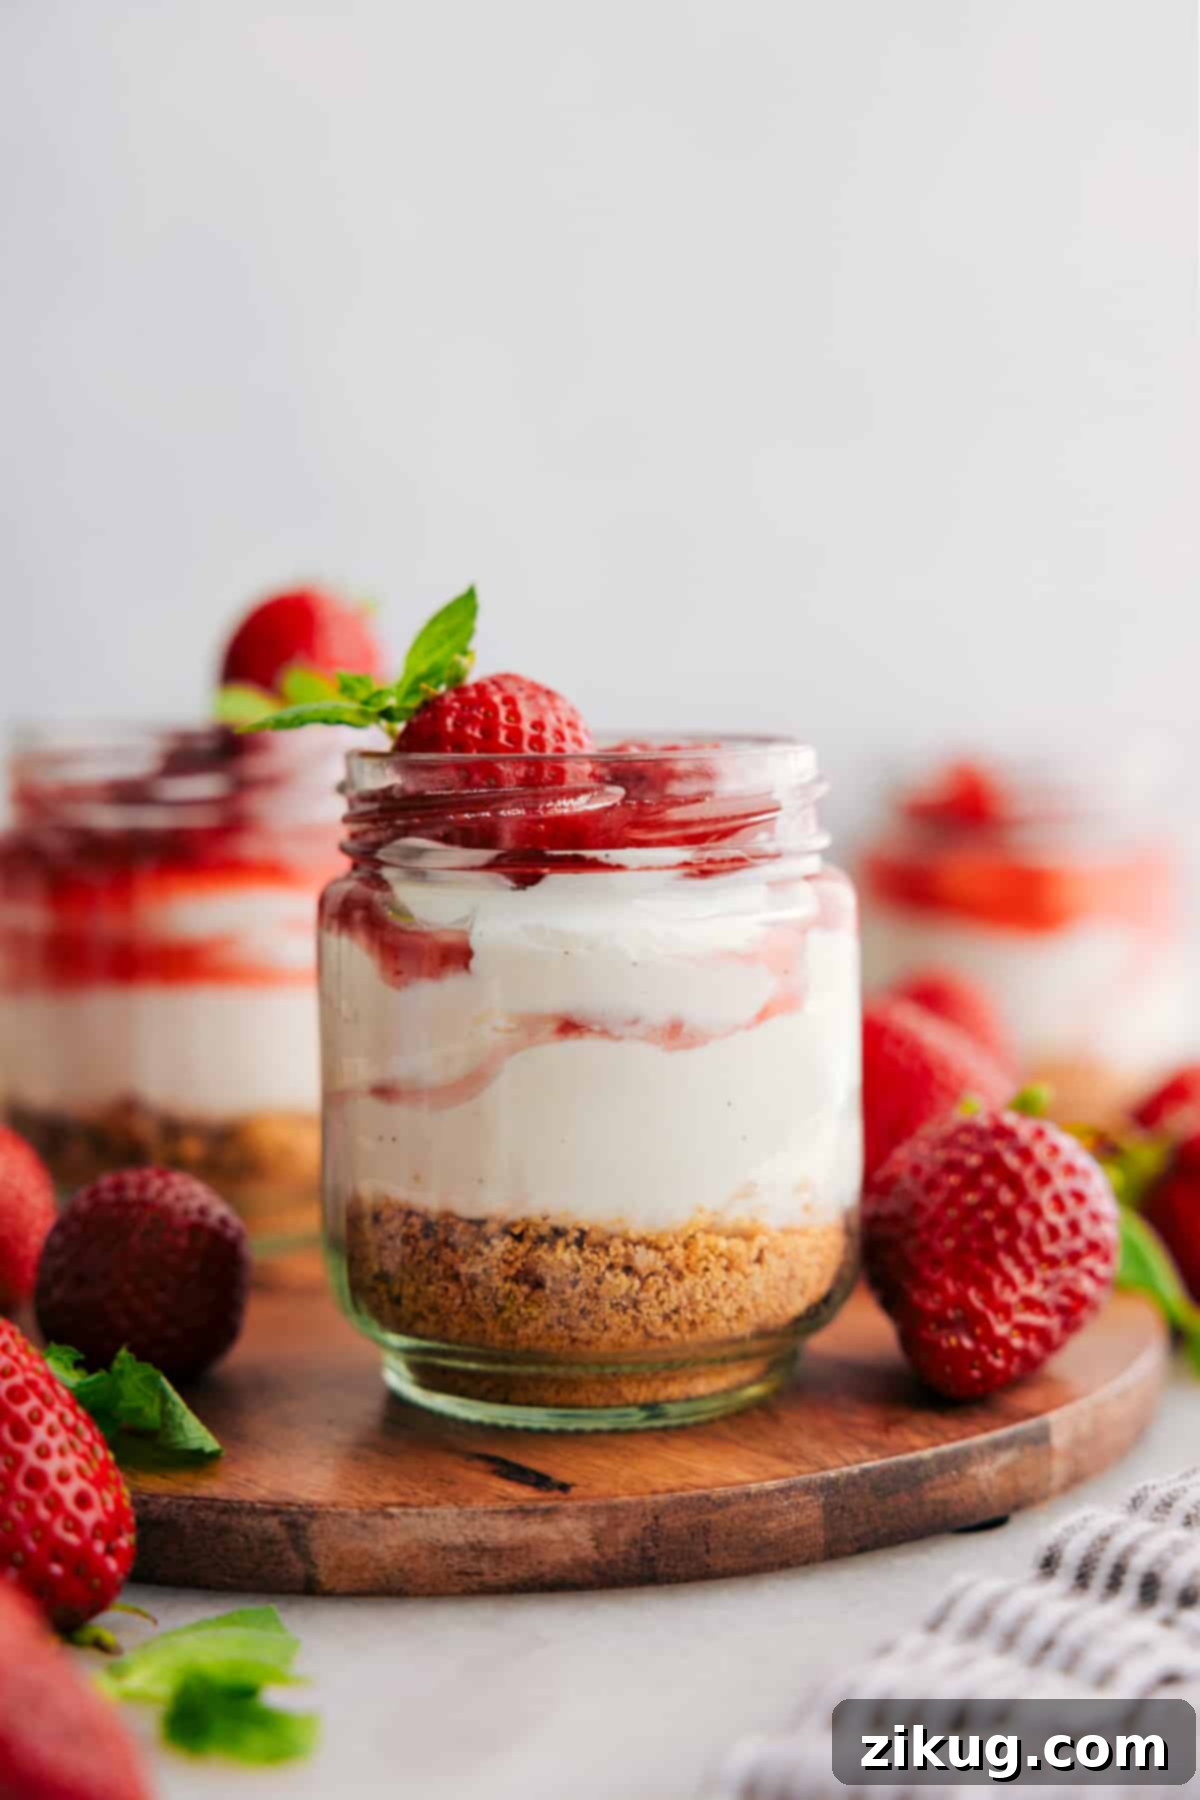
More Irresistible No-Bake Dessert Recipes Perfect For Any Party:
If you love the ease and deliciousness of no-bake desserts, be sure to explore these other fantastic recipes that are perfect for any party or casual treat:
- Fruity Pebbles Rice Krispies Treats: Loaded with extra marshmallows for an extra chewy and colorful treat!
- Classic No Bake Cookies: The timeless combination of rich chocolate and creamy peanut butter in a quick, satisfying bite.
- No Bake Peanut Butter Cheesecake: A decadent, creamy peanut butter cheesecake with a delightful Oreo crust.
- Decadent Peanut Butter Bars: Rich peanut butter bars crowned with a smooth, luscious chocolate topping.
- Fun Monster Energy Balls: A wholesome yet fun snack packed with oats, nut butter, and mini M&Ms for a delightful crunch.
Pin Recipe
Print Recipe
Cheesecake in a Jar
Chelsea Lords
30
minutes
1
hour
1
hour
30
minutes
10
cheesecakes
Recipe Video (Embed an external video player here if desired)
For a visual guide, consider watching a video tutorial on making no-bake cheesecakes in a jar!
Equipment
-
10 Wide-mouth Mason Jars (6-ounce)
-
Blender or Food Processor
-
Hand Mixer or Stand Mixer
Ingredients
- 3 tablespoons unsalted butter (melted, then slightly cooled)
- 9 full graham cracker sheets (crushed to fine crumbs, approx. 1 cup)
- 1 tablespoon white sugar
- 1/16 teaspoon salt
- 1 (8-ounce) package full-fat, brick-style cream cheese (softened to room temperature)
- 1/3 cup white sugar
- 2 tablespoons full-fat Greek yogurt (or sour cream)
- 1/16 teaspoon salt
- 1 teaspoon vanilla bean paste (or 1-1/2 teaspoon pure vanilla extract)
- 1 cup heavy cream (very cold, whipped to stiff peaks)
- (Optional for berry cheesecake: 1/4 tsp lemon zest, 1-1/2 tsp lemon juice)
- Fresh berries, berry sauces, chocolate ganache, fudge sauce, caramel sauce, sprinkles, chopped nuts, fresh mint, shredded coconut, etc.
Instructions
-
1. Prepare the Crust: Melt butter in the microwave and set aside to cool slightly. Coarsely break up graham crackers into a blender or food processor, then blend until they become fine crumbs (you should get about 1 cup). Combine the cooled melted butter, graham cracker crumbs, 1 tablespoon sugar, and 1/16 teaspoon salt. Stir until the mixture is evenly coated and resembles moist sand. Divide the crust mixture evenly among 10 mini mason jars. Use the cap of a milk bottle or a small, flat-bottomed glass to gently press down the crust; it should be loose, not overly firm!
-
2. Make the Cheesecake Filling: Using a hand mixer or a stand mixer fitted with a whisk attachment, beat the softened cream cheese, 1/3 cup sugar, Greek yogurt (or sour cream), 1/16 teaspoon salt, and vanilla (or vanilla bean paste) together on medium-high speed until completely creamy and lump-free. If you’re making a berry-flavored cheesecake, now is the time to add 1/4 teaspoon lemon zest and 1-1/2 teaspoons lemon juice to the mixture.
-
3. Whip Heavy Cream: In a separate, chilled bowl, using a hand mixer or stand mixer fitted with a whisk attachment, whip 1 cup of very cold heavy cream into stiff peaks on medium-high speed. This should take approximately 2–4 minutes.
-
4. Combine and Fill Jars: Using a rubber spatula, gently fold the whipped cream into the cream cheese mixture until just combined. Be careful not to deflate the mixture, as this keeps the cheesecake light and airy. Divide the cheesecake filling evenly among the jars, leaving some space at the top for toppings. For easier and neater filling, consider transferring the cheesecake mixture to a piping bag and cutting off about an inch from the tip.
-
5. Chill: Cover the jars with their lids and chill in the fridge for at least 1 hour to allow the cheesecake to set. Do not add toppings until you are ready to serve the cheesecakes.
-
6. Add Toppings & Serve: Just before serving, spoon your chosen toppings and garnishes on top of the cheesecake filling. Enjoy immediately!
Recipe Notes
- Fresh berries or berry sauces: Good, ripe, seasonal berries are unbeatable! You can easily make your own strawberry topping, blueberry syrup, or a zesty lemon curd, or simply use high-quality store-bought options.
- Rich sauces: Indulge with chocolate ganache, a classic fudge sauce, or a smooth caramel sauce. Again, homemade is fantastic, but store-bought works well for convenience.
- Creative garnishes: Think beyond just sauces! Add texture and visual appeal with colorful sprinkles, crunchy chopped candied nuts, a delicate sprig of fresh mint, or a sprinkle of shredded coconut.
Storage & Make-Ahead Tips: You can prepare the cheesecake filling and assemble it into jars up to 2 days before serving. Always add your toppings just before you plan to eat them. Chill the filled jars (covered with their lids but without toppings) in the refrigerator for at least 30 minutes, or for up to 2 days. Freezing is not recommended for this recipe, as the dairy components can separate and alter the texture upon thawing. Store any leftovers (covered) in the fridge for 3–5 days; however, be aware that the texture might change slightly, especially if wet toppings were added.
Nutrition
Serving:
1 serving
|
Calories:
308kcal
|
Carbohydrates:
34.5g
|
Protein:
3.9g
|
Fat:
17.6g
|
Cholesterol:
46.1mg
|
Sodium:
506.9mg
|
Fiber:
1.8g
|
Sugar:
16.8g
Nutrition information is automatically calculated and should only be used as an approximation.
Like this recipe? Leave a comment below!