
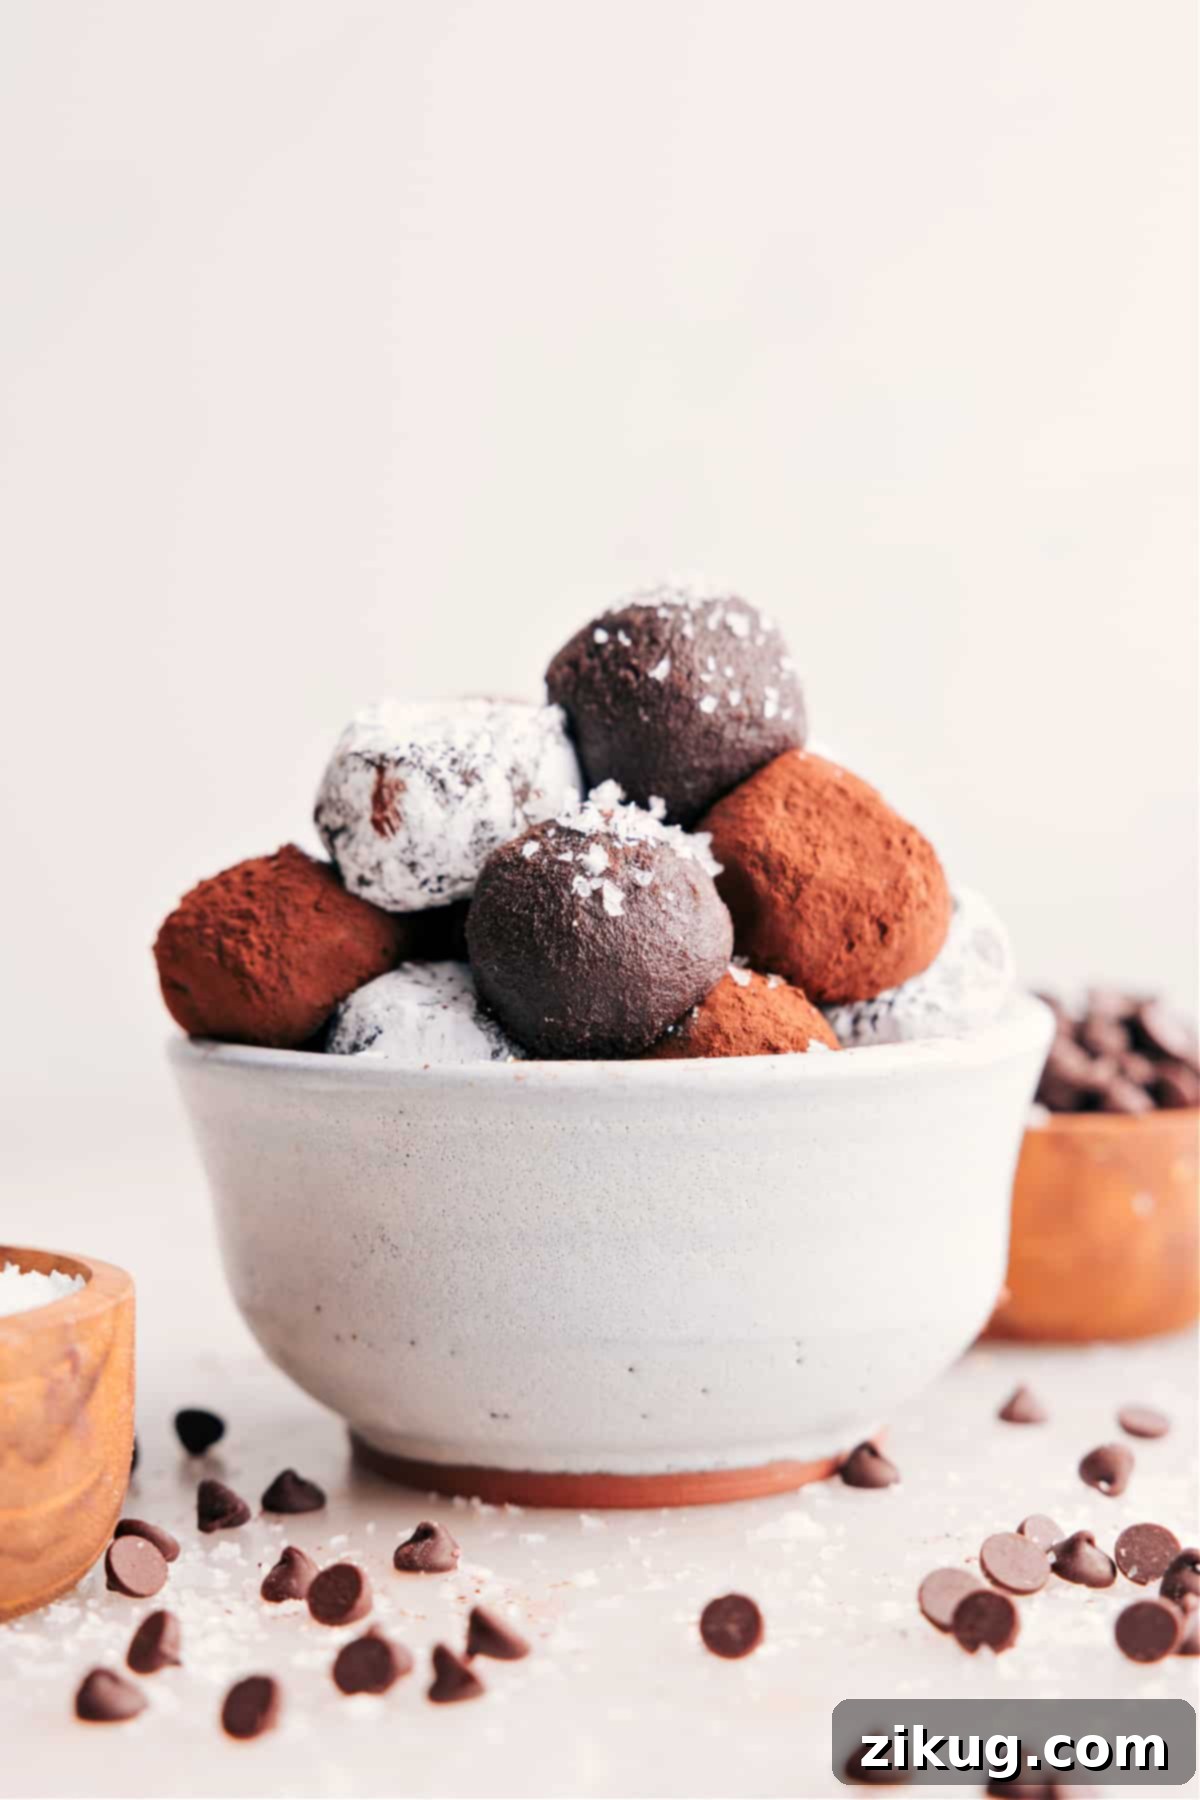
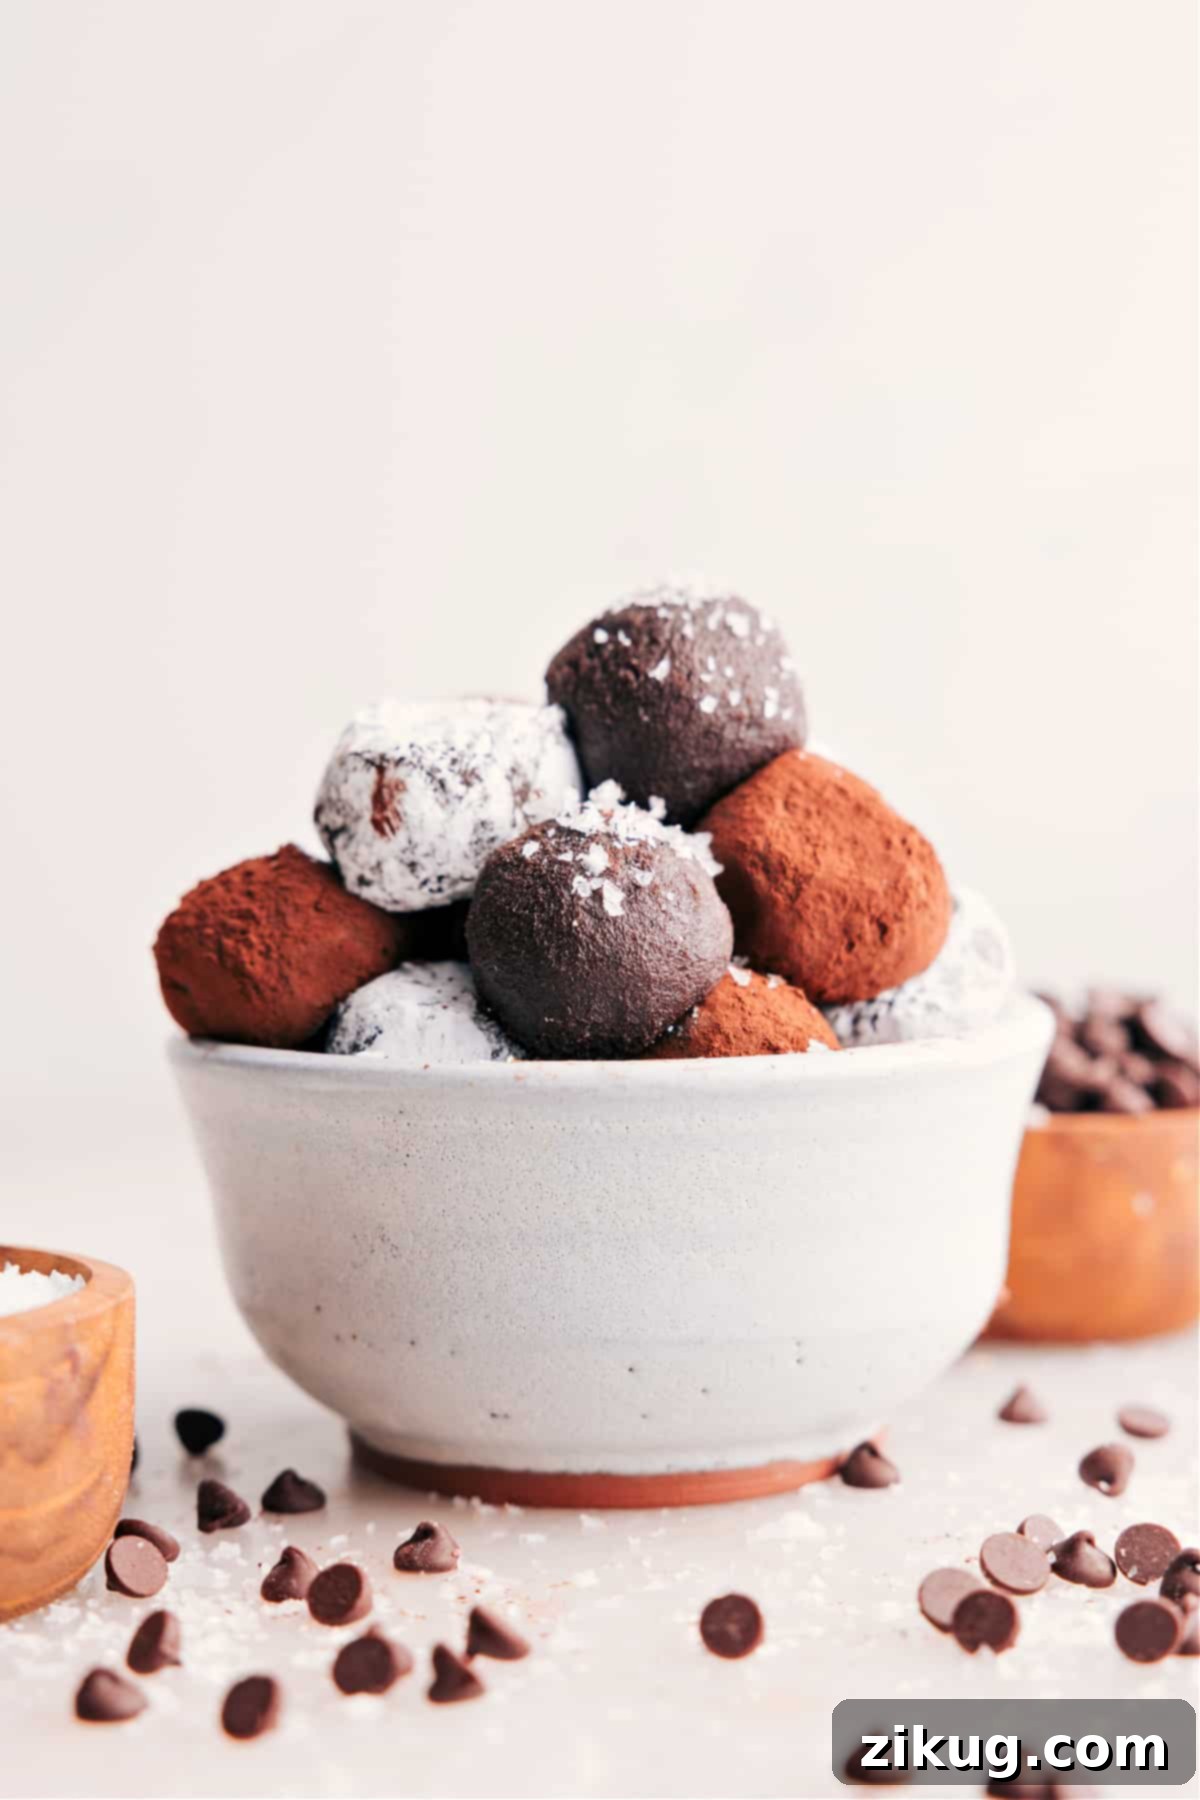
Chocolate Truffles are the epitome of simple elegance in the world of confections. These rich, smooth, and utterly delicious treats are surprisingly easy to create in your own kitchen, eliminating the need to splurge on expensive store-bought versions. Whether you’re seeking a luxurious homemade gift for loved ones, an impressive dessert to serve at your next gathering, or simply a delightful indulgence for yourself, these truffles are a perfect choice. Their deep chocolate flavor and melt-in-your-mouth texture make them an unforgettable experience, easy enough for even novice bakers to master.

Author’s Culinary Journey
Achieving Gourmet Truffles with Zero Fuss!
My childhood was filled with the delightful aroma of homemade sweets, largely influenced by my mom’s Brazilian heritage. She spent several years living in Brazil, both as a child and an adult, bringing with her the cherished tradition of making brigadeiros. These charming little chocolate truffles, crafted from sweetened condensed milk, were a staple in our home and sparked my lifelong love for rich, chocolatey confections. Today, I proudly continue this tradition, but with my own unique twist – a simplified chocolate truffle recipe that’s so straightforward, my children can actively participate in the making process.
Many people assume truffles are complex to make, a culinary feat reserved for professional chocolatiers. However, this recipe completely demystifies the process, making it unbelievably delicious and surprisingly effortless. My goal was to create a recipe that yields results comparable to high-end gourmet truffles, but without any of the usual fuss or advanced techniques. It’s a truly family-friendly activity, allowing us to bond over the joy of creating something delectable together.
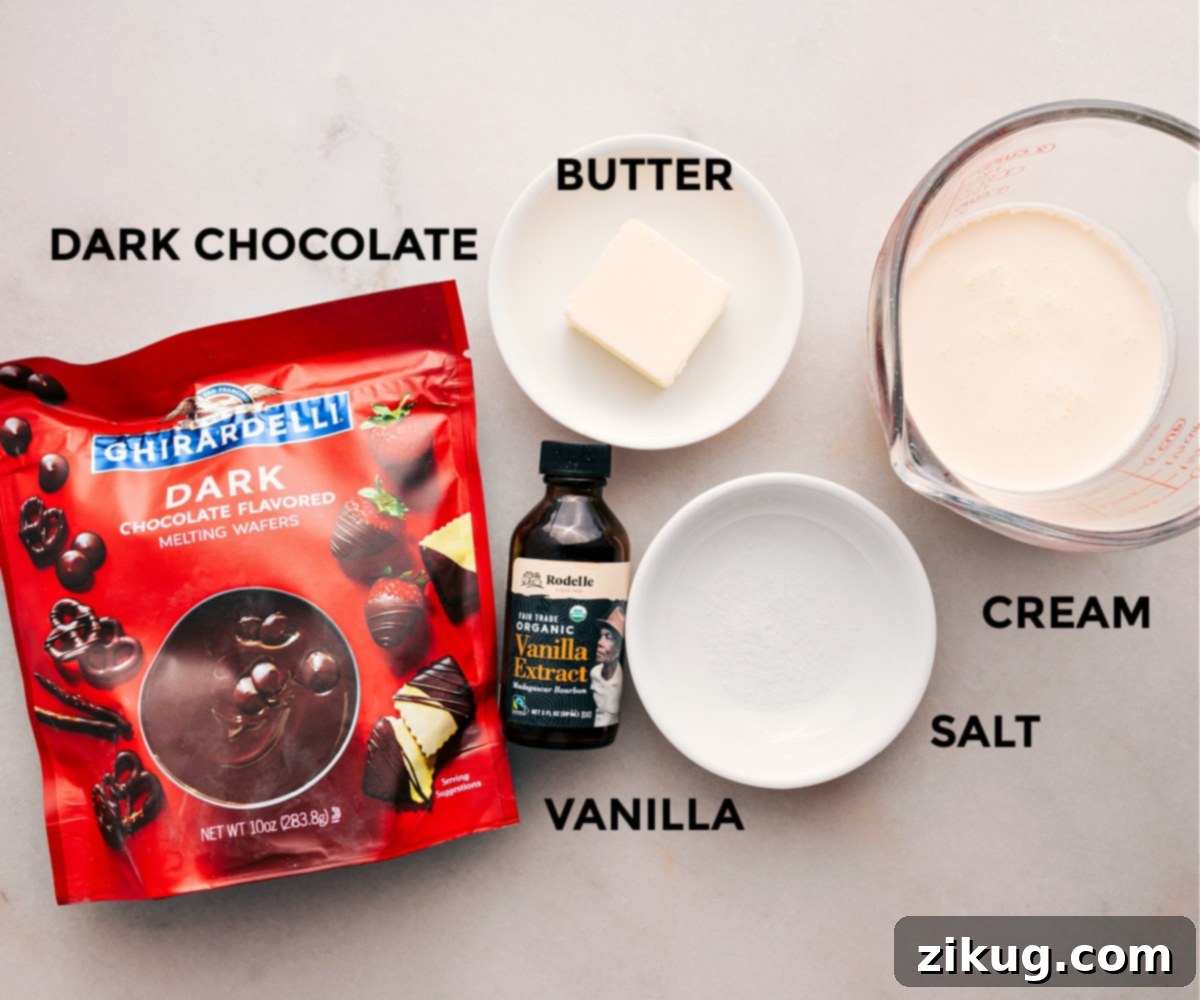
The secret ingredient that elevates these truffles from good to exceptional, while keeping the preparation simple, is Ghirardelli melting wafers. Unlike traditional chocolate chips or baking bars that often require tedious chopping and precise tempering to achieve a smooth, glossy finish, these wafers melt down beautifully. They deliver that rich, sophisticated flavor profile you’d expect from premium chocolate, all without the extra effort. This innovative shortcut ensures a perfect ganache every time, forming the velvety smooth base for our exquisite homemade truffles. It truly transforms the art of truffle making into an enjoyable and accessible experience for everyone.
Crafting Your Own Chocolate Truffles: Essential Tips for Success
Making chocolate truffles is an art, but it’s an accessible one. While the detailed steps are provided in the recipe card below, here are some invaluable tips to ensure your homemade truffles turn out perfectly smooth, rich, and utterly irresistible. These insights will guide you through the process, preventing common pitfalls and helping you achieve gourmet results every time.
- Proper Chilling is Key: Patience is a virtue when making truffles. Do not rush the chilling process of the chocolate ganache. Adequate time in the refrigerator is crucial for the mixture to firm up sufficiently, making it pliable enough to scoop and roll. If, after chilling, your mixture feels too firm, simply allow it to sit at room temperature for about 30 minutes to soften slightly before attempting to roll. This ensures a smoother, more manageable consistency.
- Avoid Freezing the Ganache: While chilling is essential, freezing is detrimental. Placing your truffle mixture in the freezer will cause the chocolate’s delicate texture to crystallize and become grainy, compromising the smooth, luxurious mouthfeel that defines a true truffle. Stick to refrigeration for optimal results.
- Choose a Wide, Shallow Bowl for Chilling: The shape of your bowl matters for efficient chilling. A wide, shallow bowl or dish allows the chocolate mixture to spread out, increasing the surface area exposed to the cold air in the refrigerator. This promotes faster and more even chilling, ensuring the entire batch firms up consistently.
- Always Cover with Plastic Wrap: To prevent a dry, unsightly film from forming on the surface of your chocolate ganache, always press plastic wrap directly onto the surface of the mixture before chilling. This creates an airtight seal, preserving the moisture and smooth texture of your ganache.
- Only Use Heavy Cream: The fat content in heavy cream is vital for achieving the correct emulsion and consistency for ganache. Lower-fat alternatives like milk or half-and-half will not thicken enough, resulting in a runny ganache that won’t hold its shape when rolled. Opt for full-fat heavy cream for that perfect, luxurious texture.
- Stick with Dark Chocolate Melting Wafers: For this specific recipe, dark chocolate melting wafers are indispensable. Their formulation ensures a stable ganache that is firm enough to roll into perfect balls. Milk chocolate, semi-sweet chocolate, or white chocolate contain different fat and sugar ratios, making them too soft and difficult to work with for rolling truffles. Dark chocolate also provides that signature rich, intense flavor.
Creative Flavor & Size Variations
One of the joys of making homemade truffles is the endless possibilities for customization. These simple variations can transform your batch into a diverse array of delightful treats, perfect for any occasion or palate.
- Miniature Truffles: For a more delicate bite or to create an impressive spread, consider making mini truffles. Instead of a full tablespoon, use a generous 1½ teaspoons of the chocolate mixture for each truffle. This yields smaller, elegant confections that are perfect for tea parties or dessert platters.
- Infuse with Diverse Extracts: Vanilla is a classic, but the world of extracts offers a spectrum of flavors to explore. Experiment by swapping vanilla extract for other delightful options like refreshing peppermint for a holiday twist, aromatic almond, tropical coconut, zesty orange, tart raspberry, or nutty hazelnut. A little goes a long way, so start with the recommended amount and adjust to your taste.
- Elevate with a Chocolate Dip: Instead of simply rolling your truffles in dry toppings, consider dipping them in melted chocolate for an extra layer of decadence. Use tempered chocolate or additional Ghirardelli melting wafers for a smooth, glossy shell. Once dipped, you can still add sprinkles, chopped nuts, or a drizzle of contrasting chocolate before the coating sets.
Optimal Storage for Long-Lasting Freshness
Proper storage ensures your chocolate truffles remain fresh, delicious, and maintain their exquisite texture for an extended period. Keep your homemade truffles in an airtight container, stored in the refrigerator. This method will preserve their quality for up to several weeks. For the ultimate tasting experience, always allow your truffles to sit at room temperature for about 15-30 minutes before eating. This brings them to their ideal consistency, ensuring that smooth, velvety, melt-in-your-mouth texture that makes them so irresistible.
My Golden Rule for Perfectly Rolled Chocolate Truffles
The most common challenge when making truffles is dealing with sticky chocolate, which can make rolling a messy and frustrating endeavor. My number one tip, a game-changer learned from fellow baking enthusiast Sally of Sally’s Baking Addiction, is to pre-chill your scooped chocolate blobs before attempting to roll them. After scooping your truffle mixture onto a parchment-lined tray, chill them for an additional 30 minutes. This crucial step allows the surface of the chocolate to firm up slightly, reducing stickiness significantly. Once firm, remove them from the fridge and roll them straight away. You’ll find the process much cleaner and easier, resulting in perfectly round, smooth truffles.
Quick Troubleshooting Tip for Sticky Truffles
If, despite pre-chilling, you find your truffle mixture still too sticky or it becomes sticky as you work, don’t despair! Simply return the tray to the fridge for another 10-15 minutes to firm up further. Another excellent trick is to cool your hands. You can do this by holding a freezer bag filled with ice, a bag of frozen vegetables, or even just rinsing your hands under cold water and drying them thoroughly before rolling. Cold hands prevent the chocolate from melting too quickly from your body heat, making rolling a breeze.
More Indulgent Dessert Recipes to Satisfy Your Sweet Cravings
If you’re a fan of rich, decadent desserts, explore these other irresistible recipes that are sure to delight:
- Decadent Chocolate Cheesecake with a rich chocolate cookie crust, a true chocolate lover’s dream.
- Elegant Chocolate Covered Strawberries with a delicate white chocolate drizzle, perfect for a romantic treat.
- Classic Bakery Style Chocolate Cookies loaded with extra chocolate chips for that ultimate chewy texture.
- Addictive Buttercrunch Candy a delightful peanut butter and chocolate confection that crunches with every bite.
- Creamy Chocolate Peanut Butter Pie featuring a luscious chocolate cookie crust, a harmonious blend of two beloved flavors.
Print Recipe
Rich Homemade Chocolate Truffles
Video Overview
Essential Equipment
-
Large microwave-safe bowl
-
Sheet pan (approximately 15″ x 10″) lined with parchment paper
Ingredients
- 1 (10-ounce) bag dark chocolate melting wafers (see note 1 below for important chocolate type information)
- 2 tablespoons unsalted butter
- 1/2 cup heavy cream
- 1/8 teaspoon fine sea salt
- 1/2 teaspoon vanilla bean paste or pure vanilla extract (see note 2 for flavor variations)
- Truffle coating (your choice; see note 3 for suggestions)
Step-by-Step Instructions
-
In a large, microwave-safe bowl, combine the dark chocolate melting wafers, unsalted butter, heavy cream, and salt. Heat this mixture in the microwave using short, controlled bursts. Microwave for 30 seconds, then remove and stir vigorously for about 20 seconds. Repeat this process until the mixture is mostly melted – typically around 90 seconds total, but watch it closely to avoid scorching. It’s perfectly fine if a few small lumps of chocolate remain; the residual heat will melt them. Once mostly melted, give it a final stir, then cover the bowl with a plate or plastic wrap and let it stand undisturbed for 5 minutes. This allows the heat to evenly distribute and fully melt any remaining chocolate pieces, ensuring a smooth ganache.
-
After the 5-minute resting period, remove the cover and stir the chocolate mixture thoroughly until it is completely smooth and homogeneous. The ganache should be glossy and free of any lumps. At this point, incorporate the vanilla bean paste or vanilla extract, mixing it in until fully combined. Next, cover the surface of the ganache directly with plastic wrap, pressing it down so it touches the chocolate and prevents a skin from forming. Transfer the bowl to the refrigerator and chill for a minimum of 4 to 6 hours. This extended chilling time is crucial for the ganache to firm up properly for rolling. Do not attempt to freeze the mixture, as this will negatively impact its texture.
-
Prepare a baking tray by lining it with parchment paper. Once your truffle mixture is thoroughly chilled and firm, use a tablespoon measuring spoon to scoop out individual portions of the ganache. To help release the sticky chocolate from the spoon, use another small spoon or a clean finger to gently coax each scoop onto the prepared tray, forming small, rough blobs. Arrange them with a little space in between.
-
Place the tray of scooped chocolate blobs back into the refrigerator for an additional 30 minutes, this time leaving them uncovered. This secondary chilling step is vital. It allows the exterior of the chocolate blobs to dry out and firm up slightly, making them significantly less sticky and much easier to roll into perfectly smooth balls without adhering to your hands.
-
After the 30-minute chill, remove the tray from the fridge. Working quickly, roll each chocolate blob between your palms to form smooth, uniform balls. If at any point the chocolate starts to become too sticky or difficult to shape, immediately return the entire tray to the refrigerator for another 10-15 minutes to re-firm. Once each truffle is perfectly rolled, place it back on the parchment-lined sheet pan. When all the truffles have been rolled, return the entire pan to the fridge for a final 10-minute chill. This brief chill helps them set their shape before coating.
-
While the rolled truffle balls are firming up for their last 10 minutes in the fridge, set out your chosen coatings in several small, shallow bowls. I personally love the variety of rolling some in finely shredded coconut for a tropical note, rich Dutch-process cocoa powder for a classic look, and delicate powdered sugar for a sweet, snowy finish. Once the truffles are firm, remove them from the fridge and gently roll each one in your desired topping until fully coated. Arrange the finished truffles on a serving platter and allow them to come to room temperature for the best velvety texture before serving. Enjoy your gourmet homemade chocolate truffles!
Recipe Notes & Expert Advice
Note 2: Creative Flavor Enhancements: While vanilla is a wonderful classic, feel free to unleash your creativity by incorporating different extracts or emulsions into your ganache. Consider peppermint extract for a festive winter treat, coconut or almond extract for a nutty twist, or vibrant orange, raspberry, or hazelnut extracts for a burst of fruity or earthy notes. Add these flavorings along with the vanilla in the last step of ganache preparation to ensure they are well integrated.
Note 3: Exciting Truffle Coating Options: The final coating adds both visual appeal and textural contrast to your truffles. Beyond the classic cocoa powder and powdered sugar, here are some delightful options: blended sweetened coconut (for a subtle sweetness and chew), finely crushed nuts (like pecans, walnuts, or pistachios for a satisfying crunch), colorful sprinkles (perfect for celebrations), or crushed candy cane for a festive touch. Get creative and mix and match!
Note 4: Chilling Duration Flexibility: The initial chilling time of 4-6 hours is a guideline. It’s perfectly fine, and often beneficial, to chill the ganache longer, even overnight. If your truffle mixture becomes too firm to scoop out easily after an extended chill, simply let it rest at room temperature for approximately 30 minutes. This will allow it to soften to a workable consistency, making it much easier to scoop and shape without compromising the final texture.
Storage: Keeping Your Truffles Fresh: To maintain their optimal freshness and delicious taste, store your homemade Chocolate Truffles in an airtight container in the refrigerator. Properly stored, they can last for several weeks, making them an excellent make-ahead treat or gift. When you’re ready to indulge, remember the golden rule: allow them to come to room temperature first. This brings out their full flavor and ensures that luxurious, velvety smooth, melt-in-your-mouth texture that makes truffles so special.
Nutrition Information
Nutrition information is automatically calculated, so should only be used as an approximation.