
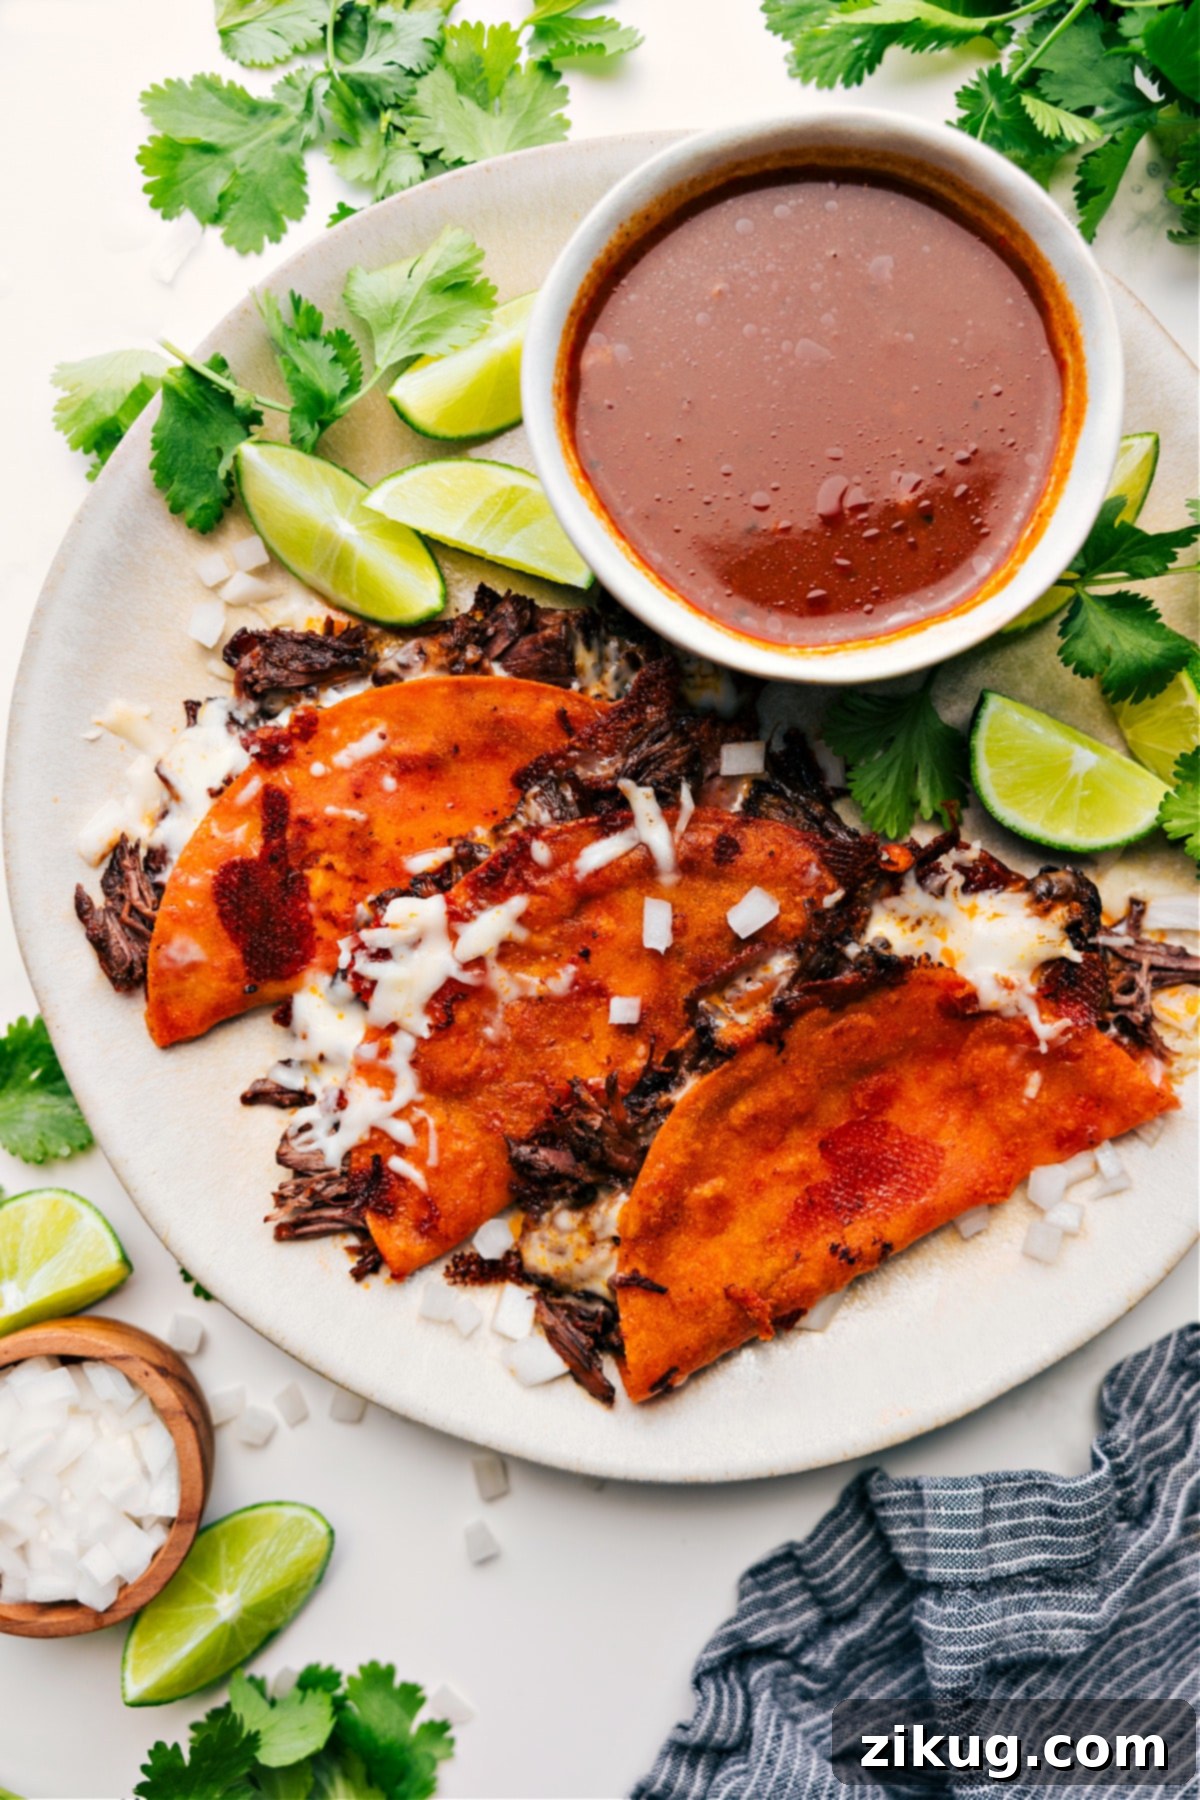
Quesabirria Tacos: The Ultimate Culinary Experience You Can Make at Home
Embark on a culinary journey with Quesabirria Tacos, a dish that has captivated food enthusiasts worldwide with its irresistible blend of tender, slow-cooked beef, rich consomé, and perfectly crispy, cheese-filled tortillas. This isn’t just a meal; it’s an experience, offering an explosion of savory flavors and delightful textures in every bite. Whether you’re a seasoned chef or a home cook eager to try something new, our accessible recipe will guide you to create these sensational tacos, guaranteed to become a new favorite in your dinner rotation.

Author’s Notes
My Journey to Crafting the Perfect Quesabirria Tacos
For months, I’ve been dedicated to perfecting this Quesabirria recipe. My goal was simple: to create a version that delivers incredible, authentic flavor without requiring a hunt for dozens of specialty ingredients. After countless tests and refinements, my husband declared this the “best beef he’s ever had.” That’s high praise, and it confirms this recipe truly hits the mark.
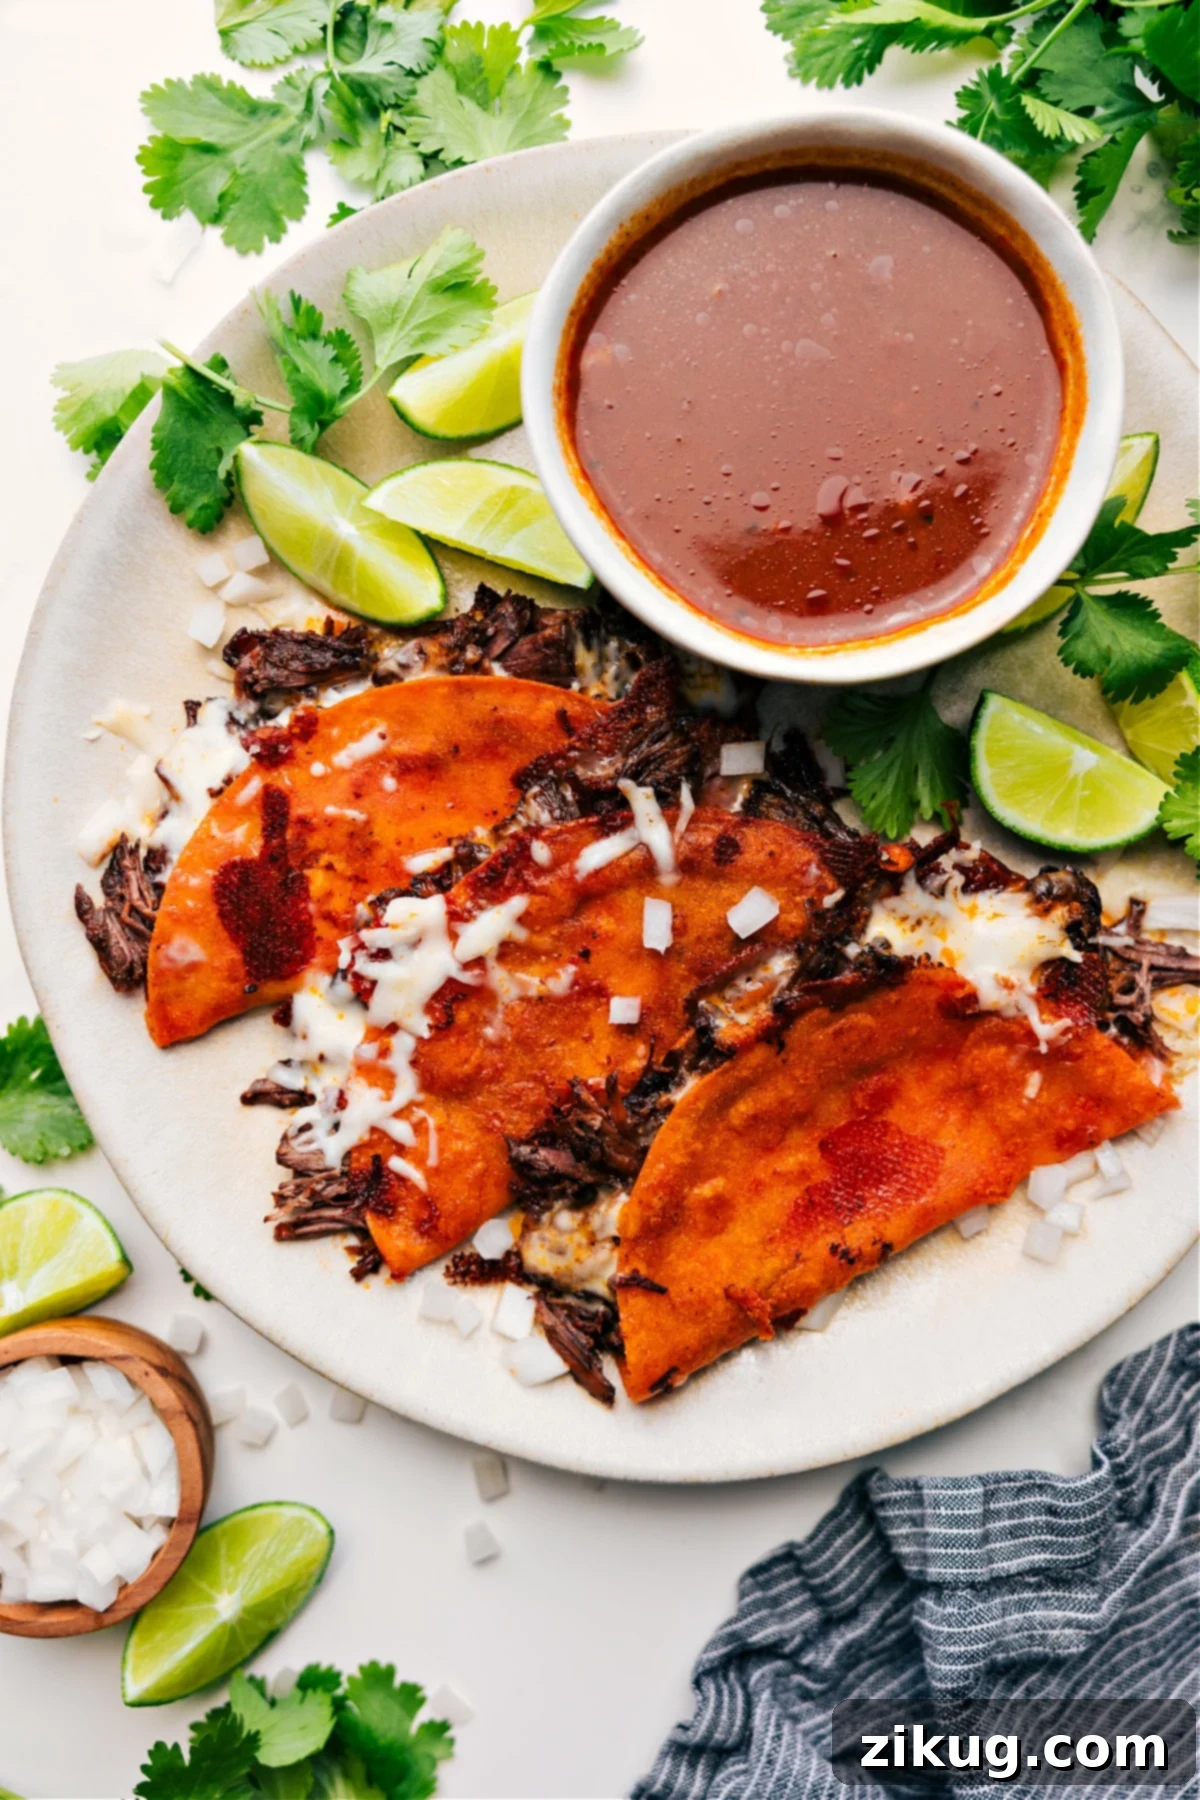
The magic of these tacos lies in the combination of intensely flavorful, fall-apart tender beef, generously layered with melty cheese inside a corn tortilla, then pan-fried until golden and gloriously crisp. The real game-changer is dipping each taco into the rich, aromatic consomé – a deeply savory broth that elevates every bite. This dish has rightfully earned a permanent place in our family’s meal plans.
While many Birria and Quesabirria Taco recipes exist, I focused on making this one as
accessible and straightforward as possible, without ever compromising on the robust, complex flavor profile
this dish is known for. You might need to order a specific type of chile online, but the rest of the ingredients are generally easy to find at your local grocery store. And instead of using an extensive array of dried chiles, this streamlined version achieves exceptional depth of flavor with just one key chile variety, making it far less intimidating for the home cook. Get ready to impress yourself and your loved ones!
What Exactly Are Quesabirria Tacos?
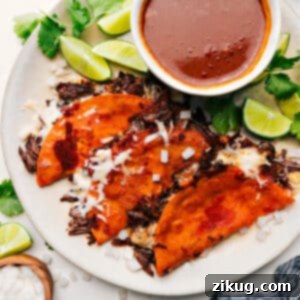
Quesabirria tacos are a revolutionary take on traditional birria. They feature succulent, slow-braised beef (birria) and generous amounts of melted cheese, encased in corn tortillas that are first dipped in the rich, flavorful beef juices (consomé) and then pan-fried until beautifully golden and crisp. The result is a profoundly flavorful, cheesy, and texturally satisfying taco, famously served with a side of the savory consomé for an unbeatable dipping experience. It’s a symphony of flavors and textures in every bite!
Key Ingredients for the Best Quesabirria Tacos
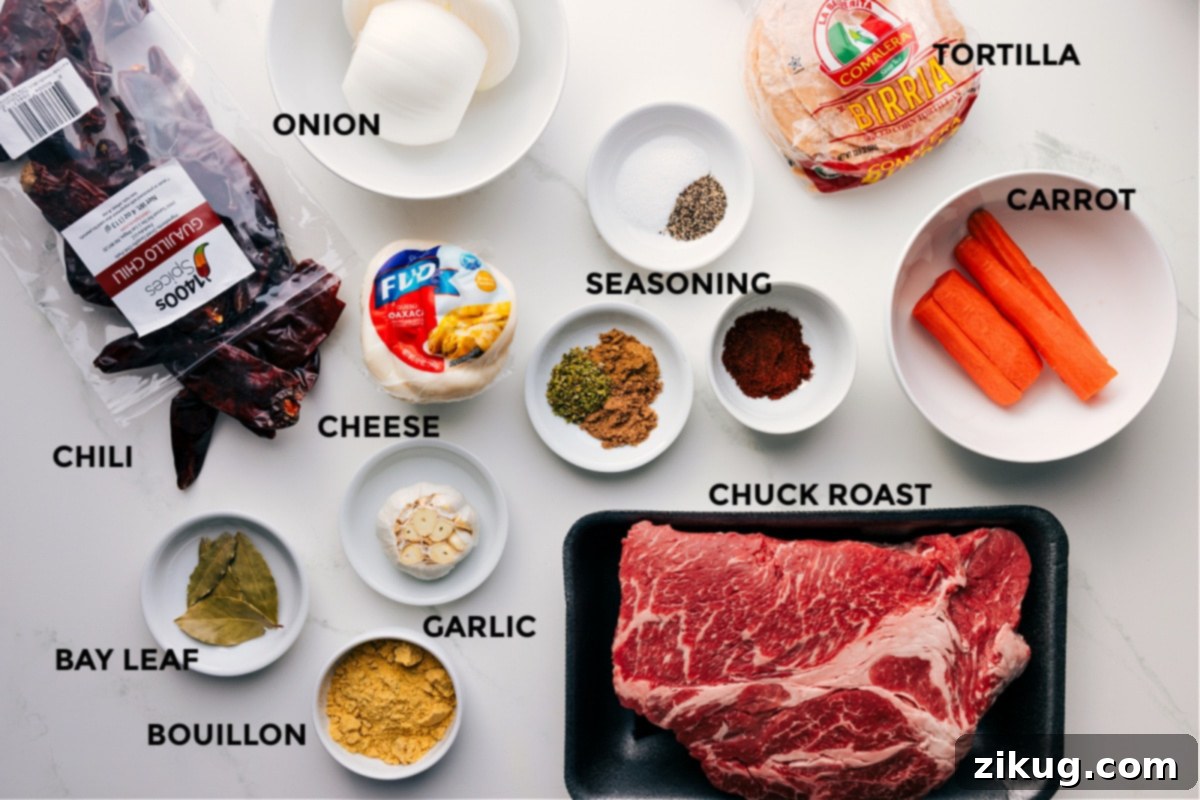
Crafting exceptional Quesabirria begins with selecting the right ingredients. Each component plays a vital role in building the layered flavors that make this dish so iconic. Below is a detailed list of what you’ll need, along with insights into why each ingredient is important. The full recipe with precise measurements is provided further down the page.
-
Beef chuck roast
: This is the star of the show. Opt for a cut with good marbling, which ensures the meat becomes incredibly juicy, tender, and flavorful after hours of slow cooking. The fat renders down, infusing the broth with richness. -
Onion, garlic, and carrot
: These aromatic vegetables form the foundational “soffritto” for the consomé. They slowly caramelize and break down, building a sweet, savory, and robust base that is essential for the depth of flavor in the broth. -
Guajillo chiles
: These mild, dried peppers are critical for the distinct flavor and color of birria. Guajillos impart a deep, fruity, and slightly tangy flavor with minimal heat, creating a rich red hue in the consomé. If you can’t find them locally, they are easily available
online
or at Mexican markets. -
Oregano, cumin, coriander, chili powder
: This warm and earthy spice blend provides the backbone of the birria’s seasoning. Mexican oregano is often preferred for its distinct citrusy, floral notes compared to Mediterranean oregano. Cumin and coriander add depth, while chili powder offers a gentle kick and enhances the overall chili profile. Feel free to adjust these to suit your personal taste preferences. -
Oaxaca cheese
: This semi-hard, white, string cheese is a staple in Mexican cuisine and perfect for quesabirria. It melts incredibly smoothly and stretches beautifully, similar to mozzarella but with a slightly more savory, buttery flavor. If Oaxaca cheese is unavailable, shredded Monterey Jack or a blend of mozzarella and cheddar can be good substitutes. -
Chicken bouillon powder
: A secret weapon for intensifying the savory notes and overall umami in the consomé, providing a shortcut to a deeply rich broth without needing hours of simmering bones. -
Corn tortillas
: The traditional choice for quesabirria. They hold up well to dipping and frying, developing a fantastic crisp texture and a distinct corn flavor that complements the rich beef.
Essential & Optional Toppings for Your Quesabirria Tacos
While Quesabirria tacos are incredibly flavorful on their own, the right toppings can elevate the experience, adding layers of freshness, crunch, and heat. Experiment with these suggestions to customize your perfect taco:
-
Finely chopped white onion
: Adds a sharp, pungent bite and a delightful textural crunch that cuts through the richness of the beef and cheese. -
Fresh cilantro and lime wedges
: A classic combination that brightens and balances the deep, savory flavors. The herbaceous freshness of cilantro and the zesty tang of fresh lime juice are indispensable. -
Sliced radishes or shredded cabbage
: For an extra layer of crunch and a refreshing, peppery note (from radishes) or a crisp, mild counterpoint (from cabbage). -
Hot sauce or
salsa
: If you crave more heat, a drizzle of your favorite hot sauce or a dollop of fresh salsa will do the trick. A smoky chipotle salsa or a vibrant pico de gallo works wonderfully. -
Sour cream or Mexican crema
: For a cool, creamy finish that mellows the spice and adds a touch of indulgence. Crema is thinner and slightly less tangy than sour cream, offering a more authentic Mexican touch.
Expert Tips for Making the Best Quesabirria Tacos
Achieving that perfect balance of tender meat, rich broth, and crispy tortilla requires a few key techniques. Follow these expert tips to ensure your homemade Quesabirria tacos are nothing short of spectacular:
-
Properly sear the beef without crowding the pot
: When browning your beef chuck roast, it’s crucial to work in batches if necessary. Overcrowding the pot lowers the temperature, causing the meat to steam instead of sear. A deep, dark sear on all sides develops a rich flavor crust (Maillard reaction) that is foundational to the consomé’s taste. -
Blend the sauce until absolutely smooth
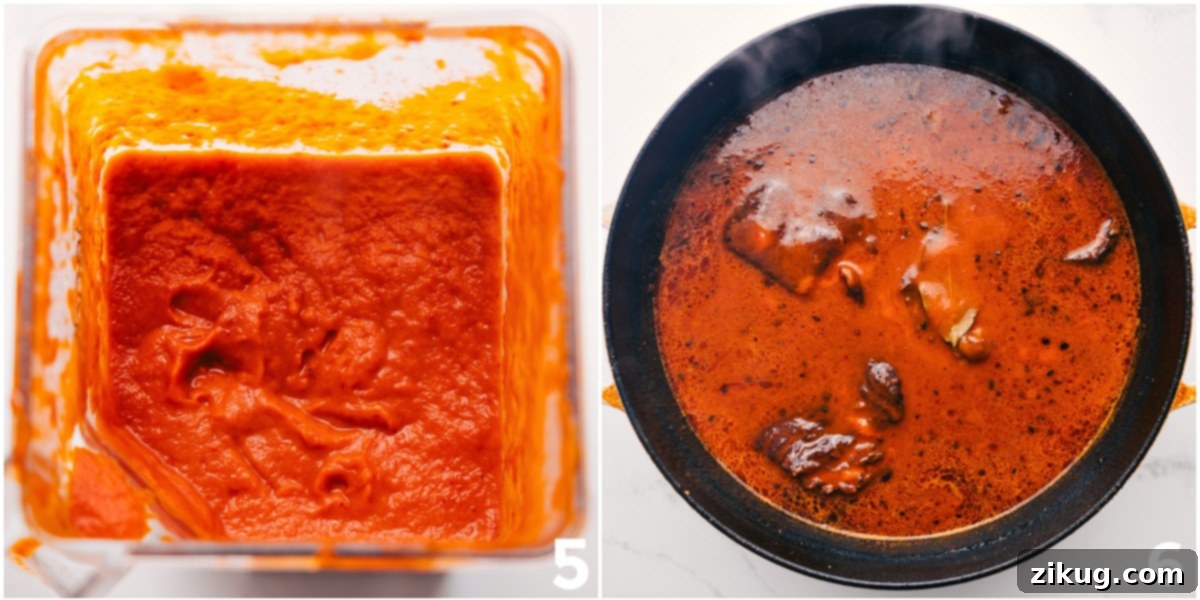
: After simmering, the chiles, onion, garlic, and carrots are blended into the broth to create the consomé. Take your time with this step, blending for at least 2 minutes. A silky-smooth sauce is essential; any grittiness will detract from the luxurious texture of the dipping broth. -
Press the tacos while cooking for optimal crispness
: Once filled with beef and cheese, press the folded tacos firmly with a spatula as they cook on the griddle. This ensures maximum contact with the hot surface, helping the cheese melt evenly and the tortilla become wonderfully golden and crispy. -
Maintain medium heat on the griddle
: The perfect heat setting is medium. If the heat is too high, the tortillas will burn quickly before the cheese has a chance to fully melt and become gooey. Too low, and they won’t achieve that desirable crisp texture. Patience is key for perfectly fried tortillas. -
Add a touch of broth inside the taco for extra succulence
: For an extra layer of flavor and moisture, add a small spoonful of the rich consomé directly over the shredded beef and cheese before folding the tortilla. This infuses the filling with even more savory goodness, making each bite incredibly juicy. -
Prepare your dried chiles correctly
: Before blending, rehydrate your guajillo chiles by simmering them in hot water for about 15-20 minutes until softened. Always remove the stems and as many seeds as possible to avoid bitterness and excessive heat.
Storage & Make-Ahead Strategies for Quesabirria
Quesabirria is an excellent dish to prepare in advance, allowing the flavors to meld even further and making weeknight assembly a breeze. Proper storage also ensures you can enjoy delicious leftovers.
-
Make ahead
: The birria meat and consomé can be cooked and prepared several days in advance. Once cooked, shred the meat and store it separately from the broth. I highly recommend using mason jars for storing the broth; as it cools, the flavorful fat will rise to the top and solidify. This rendered fat, often called “manteca roja,” is liquid gold for frying your tortillas and adding incredible flavor. Scoop it off and reserve it in a separate container for frying the tacos later. This step is crucial for authentic quesabirria flavor and crispness. -
Fridge storage
: Store the shredded beef and the consomé (with its reserved fat) in separate airtight containers in the refrigerator for up to 4 days. -
Freezer storage
: For longer preservation, let both the meat and broth cool completely. Then, freeze them separately in freezer-safe containers for up to 3 months. Thaw overnight in the refrigerator before reheating. -
Reheating for fresh tacos
: When ready to enjoy, gently warm the shredded beef and the consomé (with its reserved fat) on the stovetop. Once warm, proceed with assembling and frying your quesabirria tacos fresh, dipping the tortillas in the warmed fat and broth mixture for that signature crispy, flavorful result.
What to Serve with Your Perfect Quesabirria Tacos: Complementary Sides
Quesabirria tacos are a meal in themselves, but pairing them with a few well-chosen side dishes can elevate your Mexican feast. Here are some fantastic options that beautifully complement the rich flavors of your tacos:
Dinner
Authentic Mexican Rice Recipe
Side Dishes
Flavorful Black Beans (Instant Pot or Slow Cooker)
Dips
Classic Guacamole Recipe
Salads
Refreshing Mexican Salad
Saved
Pin
Quesabirria Tacos
Chelsea Lords
House Of Yumm
.
30
minutes
3
hours
3
hours
30
minutes
6
servings
Video
Equipment
-
Dutch oven
or any 7–8 quart pot with a lid -
Blender
-
Electric griddle
or large skillet, for crisping tacos
Ingredients
-
4
pounds
beef chuck roast
cut into 4 large chunks for even searing -
Salt and freshly ground black pepper -
2
tablespoons
olive oil -
1
large
white onion
peeled and cut in half -
1
whole
garlic bulb
slice off the top; no need to peel cloves -
1
large
carrot
cut in half and then half again -
5
dried
bay leaves
-
8
dried
guajillo chiles
stems cut off and most seeds removed -
3
tablespoons
chicken bouillon powder -
1
teaspoon
dried oregano
(Mexican oregano preferred for authentic flavor) -
1
teaspoon
ground cumin -
1
teaspoon
ground coriander
-
2
teaspoons
chili powder
plus more to taste -
8
cups
water -
14
corn tortillas
-
2
cups
shredded Oaxaca cheese
-
Toppings as desired
(refer to the “Toppings” section for ideas)
Instructions
-
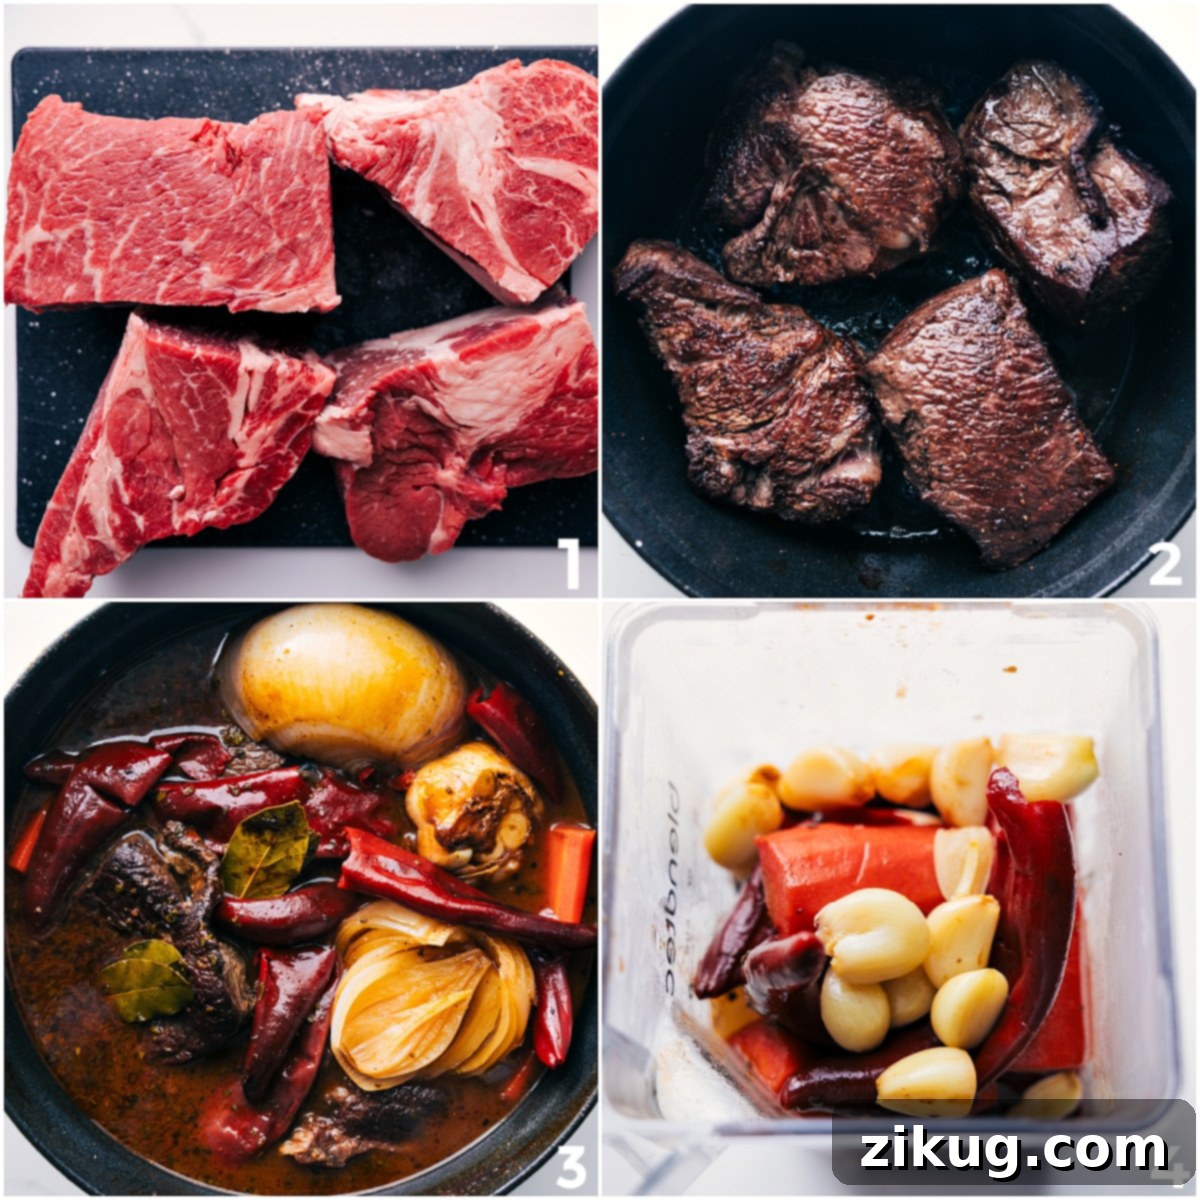
Begin by preparing the beef: Pat the chuck roast pieces thoroughly dry with paper towels. Season generously all over with salt and pepper (I recommend about 1 teaspoon of salt and ½ teaspoon of black pepper). Heat the olive oil in a large Dutch oven or heavy-bottomed pot over medium-high heat until shimmering. Carefully add the beef pieces, ensuring they are spaced apart to avoid crowding. Sear on all sides for 2–4 minutes per side, until a deep, rich brown crust forms. The beef should release easily from the pot when it’s ready to flip. If needed, sear in batches to ensure proper browning.
-
To the pot with the seared beef, add the halved white onion, the whole garlic bulb (top sliced off), the halved carrot pieces, bay leaves, guajillo chiles (stems removed and most seeds discarded), chicken bouillon powder, dried oregano, ground cumin, ground coriander, and chili powder. Pour in the 8 cups of water. Bring the mixture to a rolling boil over high heat. Boil vigorously for 30 minutes to allow the chiles and vegetables to soften and release their flavors into the broth.
-
After 30 minutes of boiling, carefully remove the softened guajillo chiles, onion halves, garlic bulb (squeeze out the tender garlic cloves and discard the papery skins), and carrot pieces from the pot using tongs or a slotted spoon. Transfer these ingredients to a blender. Add about ½ cup of the flavorful cooking broth from the pot to the blender. Blend on high speed for approximately 2 minutes, or until the mixture is completely smooth and no visible chunks remain. Pour this rich, blended sauce back into the Dutch oven with the beef and stir well to combine.
-
Reduce the heat to low, cover the Dutch oven tightly, and let the birria simmer gently for 3 hours. Stir the contents every 45 minutes to prevent sticking and ensure even cooking. The beef is ready when it is incredibly tender and easily falls apart with a fork. Taste the consomé at this point and adjust the seasoning as needed with additional salt, pepper, or chili powder to reach your preferred flavor balance. (If you prefer to serve this as a Birria stew instead of tacos, see Recipe Note 2 for serving suggestions.)
-
Once the birria is cooked, use a spoon or ladle to skim the vibrant red grease (manteca roja) that has risen to the top of the broth. Transfer this flavorful fat into a small bowl. This seasoned fat is absolutely essential for frying the tortillas, imparting incredible flavor and a beautiful crispness to your quesabirria tacos.
-
Carefully remove the tender beef chunks from the consomé. Using two forks, shred the beef until it’s in fine, manageable pieces. You can also roughly chop it if you prefer slightly larger pieces. Set the shredded beef aside.
-
To assemble and fry the tacos: Heat an electric griddle or a large skillet over medium heat. Take a corn tortilla and dip it thoroughly into the reserved red grease, ensuring both sides are coated. Place the grease-dipped tortilla onto the hot cooking surface. As soon as it begins to bubble slightly (after about 30 seconds to 1 minute), flip it over. Immediately add a generous portion of the shredded beef and a sprinkle of Oaxaca cheese onto one half of the tortilla. Once the cheese begins to melt and the tortilla gets crispy, fold the tortilla in half to create a taco shape and press down firmly with a spatula. Cook until golden brown and crispy on one side (approximately 2–3 minutes), then flip and cook the other side until equally golden and crisp. Add more of the reserved red grease to the griddle as needed to maintain crispness. Let the finished tacos cool slightly for a minute or two before serving, as the cheese will be extremely hot.
-
Serve your freshly made Quesabirria tacos immediately. Garnish generously with your desired toppings such as finely chopped cilantro, a squeeze of fresh lime juice, and diced white onion. Provide a small bowl of the warm, rich consomé on the side for dipping, which is truly the highlight of the quesabirria experience. Enjoy every savory, cheesy, crispy bite!
Recipe Notes
Note 1: Topping Suggestions:
Enhance your tacos with fresh toppings like finely chopped white onion, fresh cilantro leaves, zesty lime wedges, thinly sliced radishes, or crisp shredded cabbage. For extra flavor and a creamy texture, consider a dash of hot sauce or a dollop of Mexican crema or sour cream.
Note 2: Birria Stew Option:
If you prefer to enjoy the birria as a comforting stew, simply serve generous chunks of the tender beef in a bowl. Ladle plenty of the rich consomé over the top, and finish with a sprinkle of diced white onion, fresh cilantro, and a squeeze of lime juice. It’s a hearty meal on its own!
Note 3: Make Ahead & Storage:
Quesabirria is fantastic for meal prepping! Cook and shred the beef, then store it separately from the rich consomé. Mason jars are perfect for the broth; the flavorful fat will naturally rise to the top and solidify, making it easy to scoop off and save (this “manteca roja” is crucial for frying the tortillas later). Store both the meat and broth in separate airtight containers in the refrigerator for up to 4 days, or freeze them for up to 3 months. To reheat, warm the meat and broth, then assemble and fry the quesabirria tacos fresh for the best crispy results.
Nutrition
Serving:
1
serving
|
Calories:
706
kcal
|
Carbohydrates:
3
g
|
Protein:
65
g
|
Fat:
50
g
|
Saturated Fat:
21
g
|
Polyunsaturated Fat:
3
g
|
Monounsaturated Fat:
25
g
|
Cholesterol:
188
mg
|
Sodium:
311
mg
|
Potassium:
799
mg
|
Fiber:
1
g
|
Sugar:
0.05
g
|
Vitamin A:
240
IU
|
Vitamin C:
0.1
mg
|
Calcium:
149
mg
|
Iron:
6
mg
Nutrition information is automatically calculated and should be used as an approximation only.
Love this recipe? Share your thoughts below!