
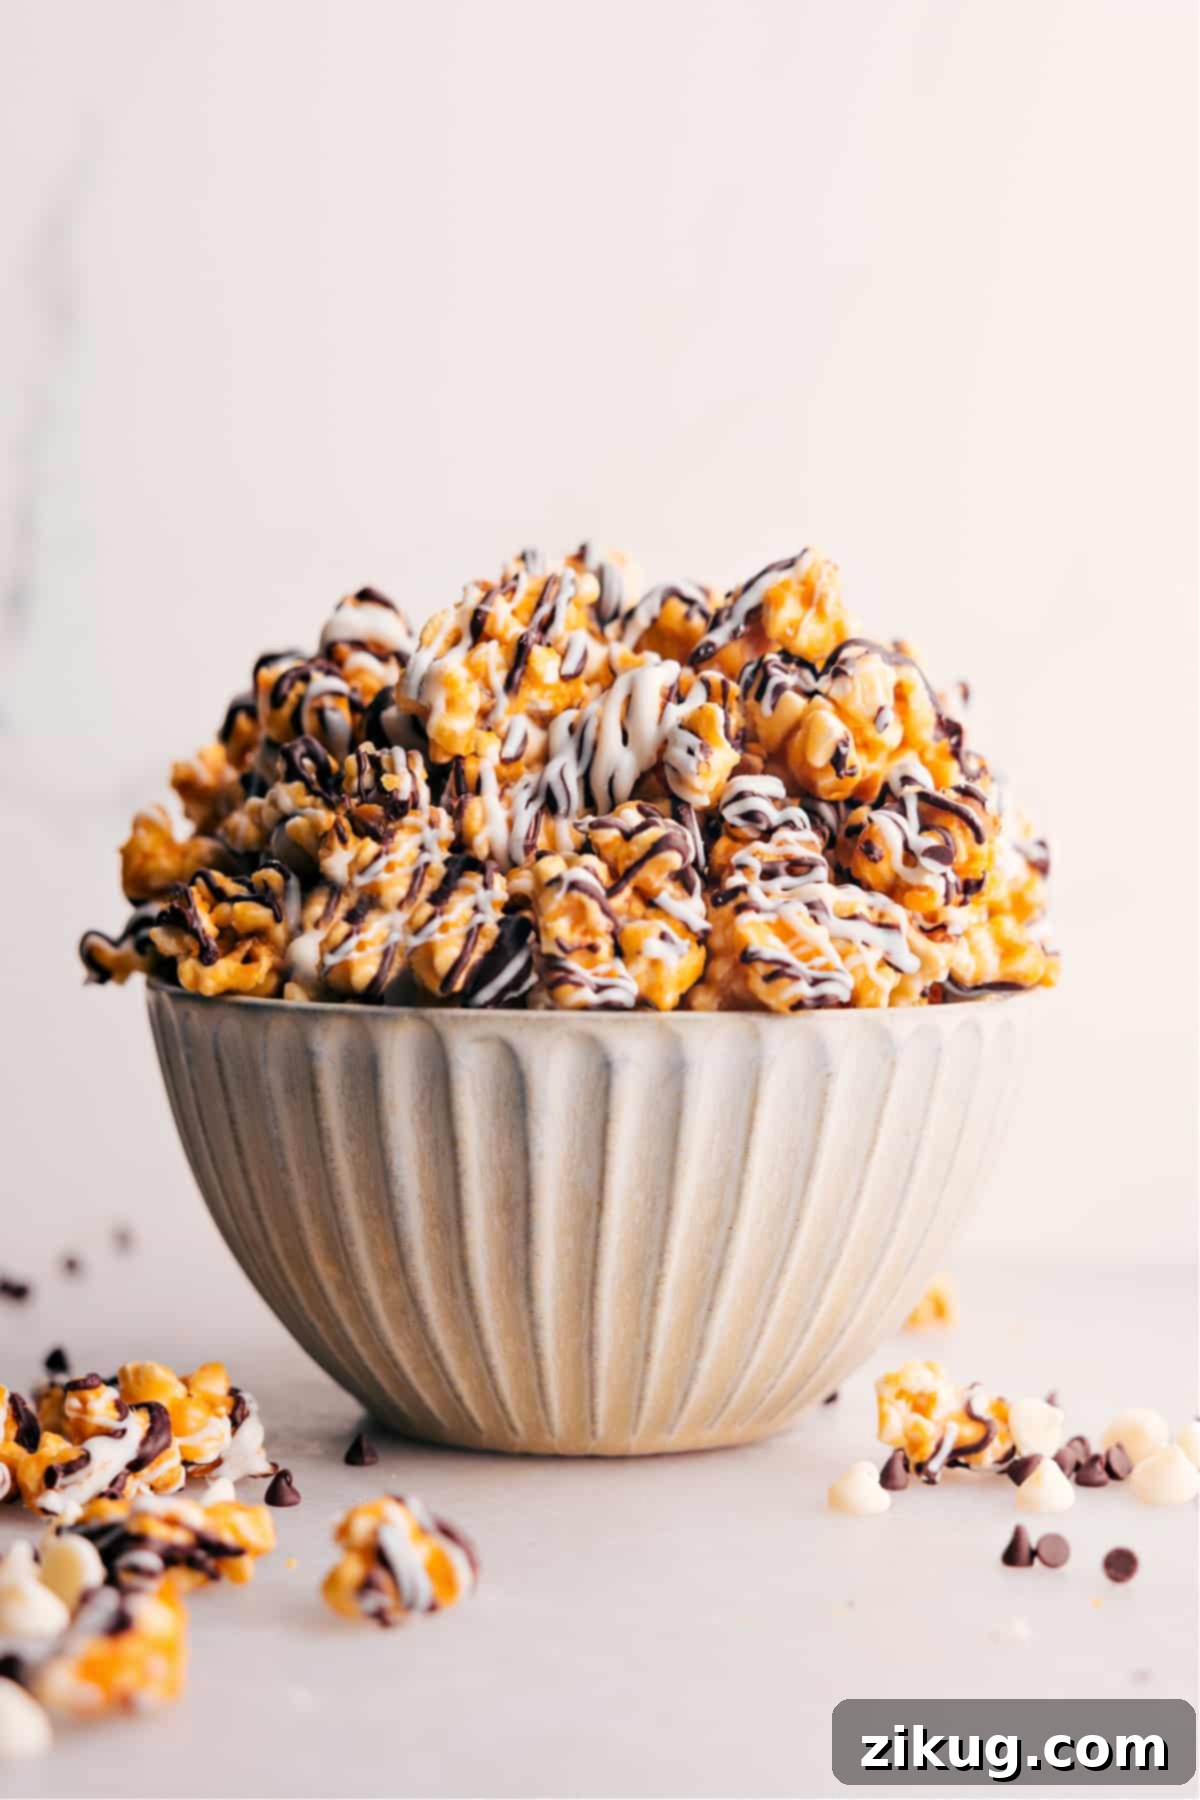
Zebra Popcorn is an irresistible treat that perfectly blends the classic sweetness of crunchy caramel corn with the rich indulgence of melted white and dark chocolate. This delightful snack isn’t just a feast for the taste buds; its signature striped pattern makes it a visually appealing addition to any gathering. Whether you’re planning a party, looking for a unique homemade gift, or simply craving a sweet and salty snack, this recipe offers a delicious and surprisingly easy way to create a memorable confection.
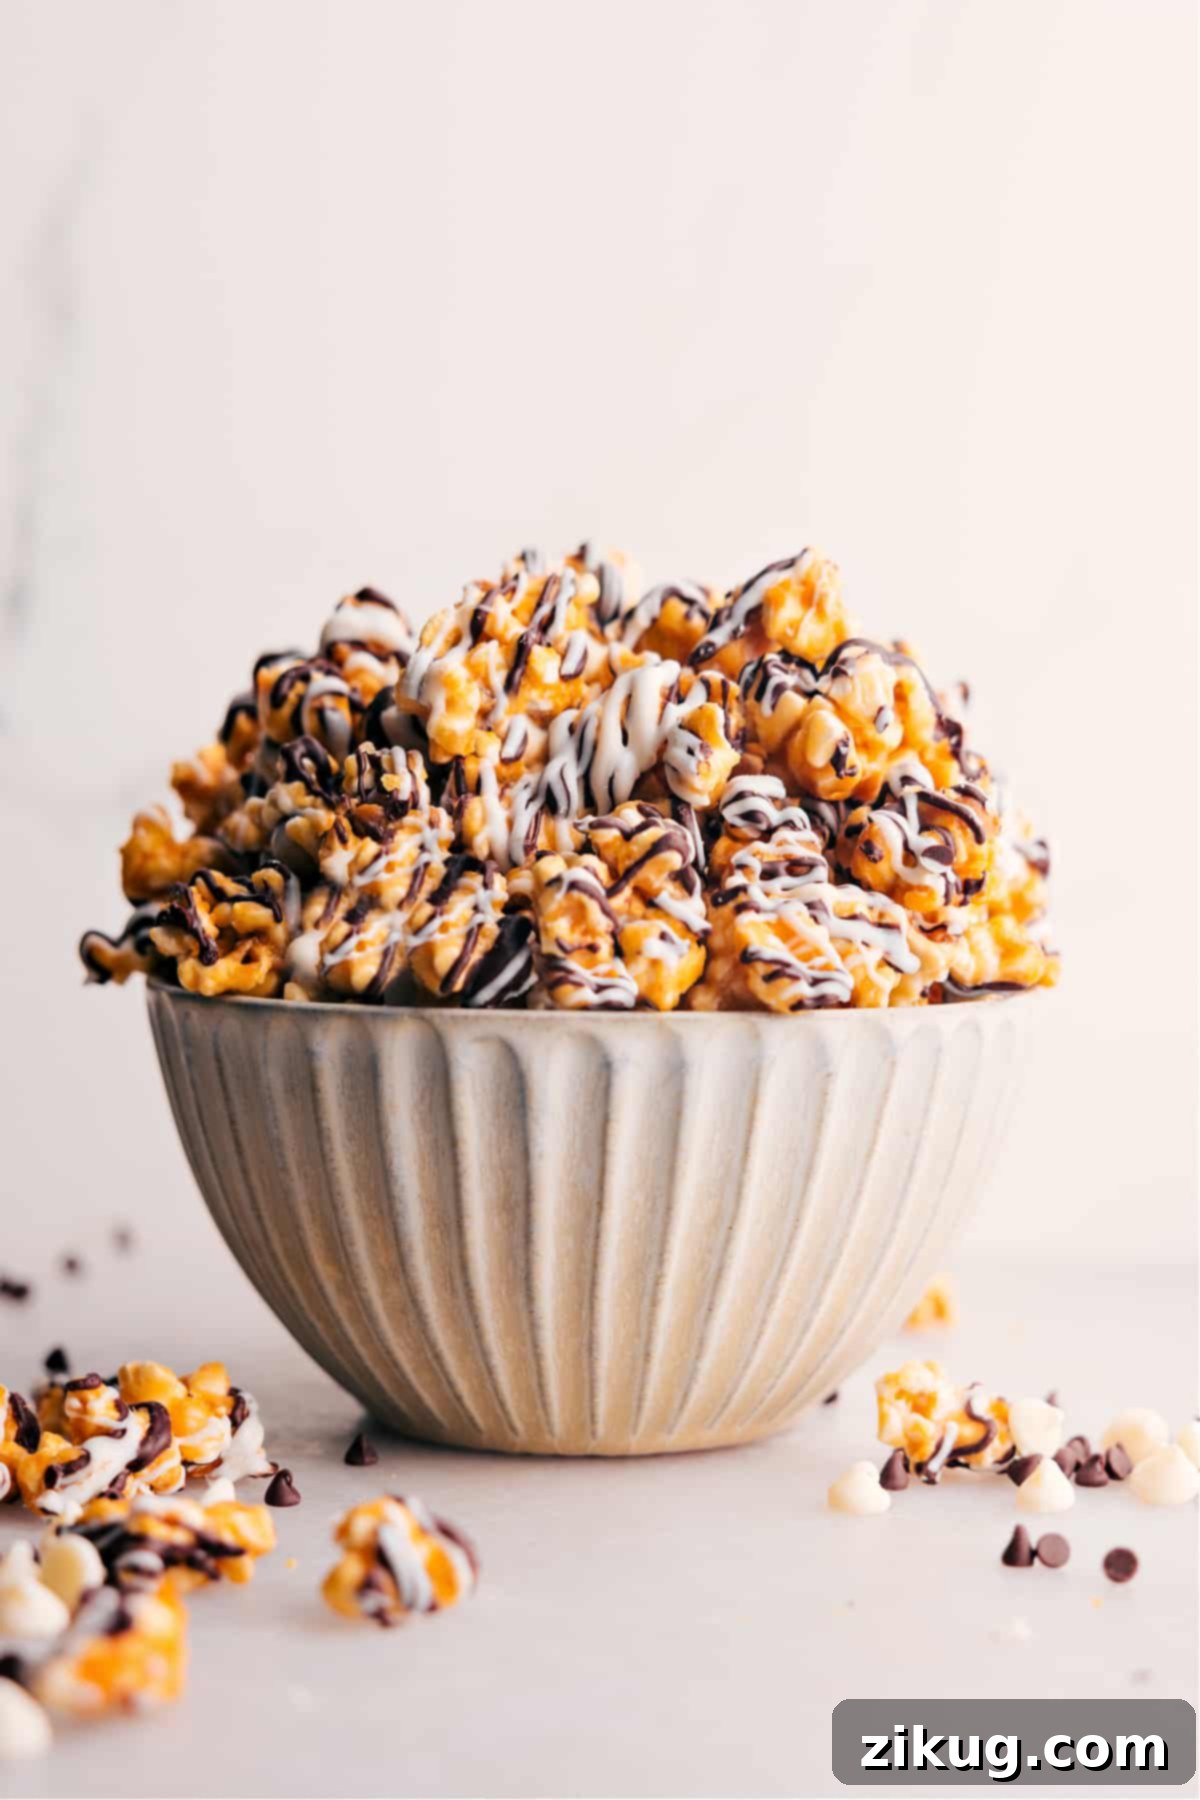
Homemade Zebra Popcorn: A Sweet & Salty Delight
As a passionate advocate for homemade snacks, I’ve always found joy in crafting popcorn recipes. While caramel corn held the top spot in my heart for years, the addition of velvety melted chocolate transformed it into an entirely new culinary experience. This isn’t just any chocolate-covered popcorn; it’s Zebra Popcorn—a harmonious blend of sweet, crunchy caramel corn elegantly striped with both white and dark chocolate, mimicking the striking pattern of a zebra.
You might have encountered store-bought versions of this popular treat, but nothing compares to the freshness, cost-effectiveness, and superior flavor of a batch made right in your own kitchen. This recipe elevates simple popcorn to gourmet status, making it ideal for a myriad of occasions. Imagine serving it at festive parties, bringing it to casual potlucks, or packaging it beautifully as thoughtful holiday or birthday gifts. It’s a versatile indulgence that promises to impress.
Why You’ll Love This Homemade Zebra Popcorn Recipe
Beyond its incredible taste, there are numerous reasons why making Zebra Popcorn at home is a fantastic idea. Firstly, the freshness is unmatched. Popcorn made from scratch, coated in freshly prepared caramel, and drizzled with melted chocolate has a vibrant flavor and satisfying crunch that pre-packaged alternatives simply can’t replicate. Secondly, it’s surprisingly economical. Buying the ingredients to make a large batch is often far cheaper than purchasing a comparable quantity of specialty popcorn from a store, allowing you to enjoy more of this delicious snack without breaking the bank.
Furthermore, homemade means customization. You have complete control over the quality of your ingredients, from the type of popcorn kernels to the brand of chocolate. This also opens up a world of possibilities for variations, allowing you to tailor the recipe to your preferences or specific dietary needs. It’s a fun and engaging kitchen project that yields a truly rewarding result—a confection that tastes as good as it looks.
Essential Ingredients for Perfect Zebra Popcorn
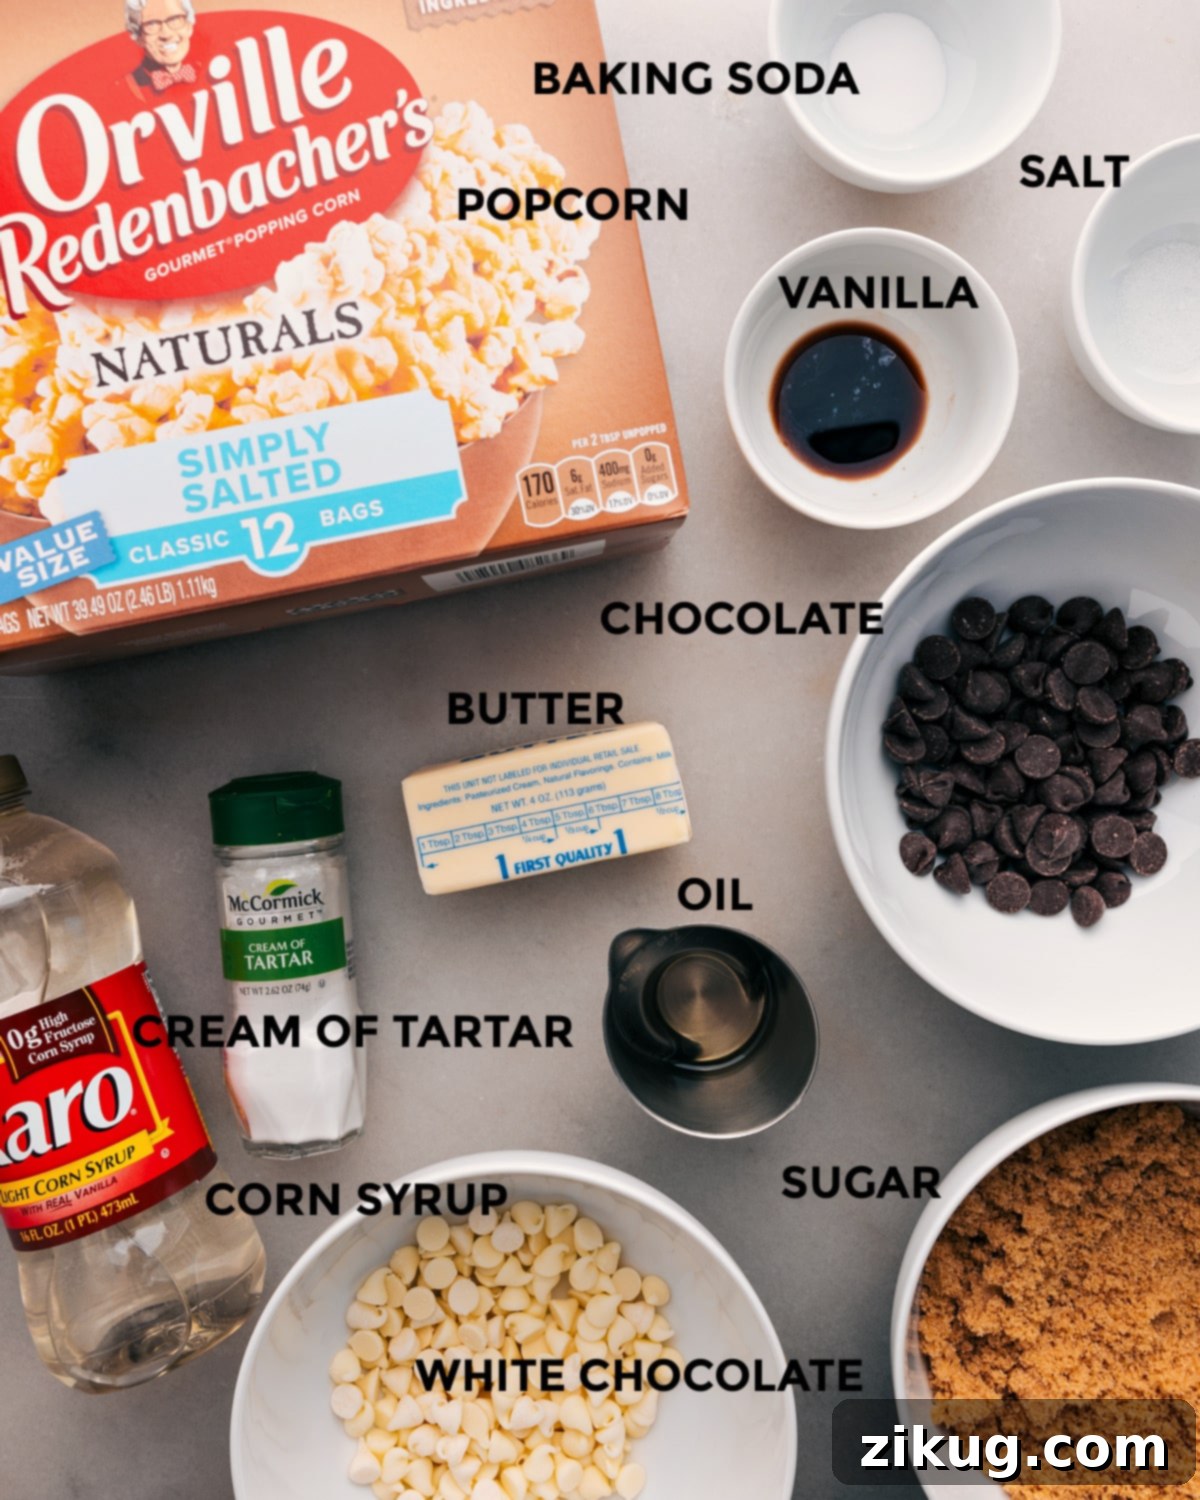
Crafting exceptional Zebra Popcorn begins with selecting the right components. Here’s a detailed look at what you’ll need and why each ingredient plays a crucial role in achieving that perfect sweet and crunchy balance:
- Plain Popped Popcorn: The foundation of our treat. It’s vital to use plain popcorn, free from butter or excessive salt, to allow the caramel and chocolate flavors to shine. You can pop your own kernels using an air popper, stovetop, or even a microwave with plain kernels, or opt for a convenient bag of pre-popped, unseasoned popcorn from the store. Aim for a light, airy texture.
- Unsalted Butter: This is the heart of our rich caramel sauce. Using unsalted butter allows you to control the overall saltiness of the dish. Cutting it into slices before melting helps it liquefy more quickly and evenly, preventing scorching.
- Light Corn Syrup: A crucial component for caramel making. Corn syrup acts as an invert sugar, preventing the caramel from crystallizing and becoming grainy. It ensures a beautifully smooth, glossy, and pliable caramel coating that adheres wonderfully to the popcorn.
- Light Brown Sugar: Provides the primary sweetness and a distinct, mellow caramel flavor that’s more complex than granulated sugar alone. Its molasses content contributes to the caramel’s color and depth. Ensure it’s firmly packed when measuring for accuracy.
- Salt: A pinch of salt is essential to balance the intense sweetness of the caramel and chocolate, enhancing all the flavors. If your popcorn has any residual salt, adjust the amount added to the caramel accordingly to prevent over-salting.
- Cream of Tartar: While optional, this ingredient is highly recommended. Cream of tartar is an acidic salt that works as a stabilizing agent, further preventing sugar crystallization in the caramel. It contributes to a consistently smooth and professional-looking caramel.
- Baking Soda: This might seem unusual for caramel, but baking soda is the secret to achieving that wonderfully light and crunchy caramel texture. When added, it reacts with the acid in the brown sugar and cream of tartar, creating tiny air bubbles that puff up the caramel, making it less dense and easier to chew.
- Vanilla Extract: A touch of vanilla extract rounds out the flavors, adding a warm, aromatic depth that complements both the caramel and chocolate beautifully. Add it at the end to preserve its delicate flavor.
- Dark and White Chocolate Melting Wafers: These are the stars of the “zebra” stripe. High-quality melting wafers (or chocolate chips) melt smoothly and set up quickly, providing a rich, sweet, and creamy counterpoint to the caramel corn. Using both varieties creates the iconic contrasting stripes.
- Vegetable Oil: A small amount of neutral-flavored vegetable oil, like canola or sunflower oil, helps achieve the perfect consistency for drizzling. It thins the melted chocolate slightly, making it smoother and easier to work with, ensuring elegant, unbroken stripes.
Expert Tips for Making Perfect Zebra Popcorn
Achieving perfectly coated, crunchy, and beautifully striped Zebra Popcorn is simpler with a few key techniques:
- Preparation is Key (Mise en Place): Before you even turn on the stove, measure out all your ingredients and have them ready. Caramel-making moves quickly, and you won’t have time to search for ingredients once it starts boiling. This prevents the caramel from overcooking or burning.
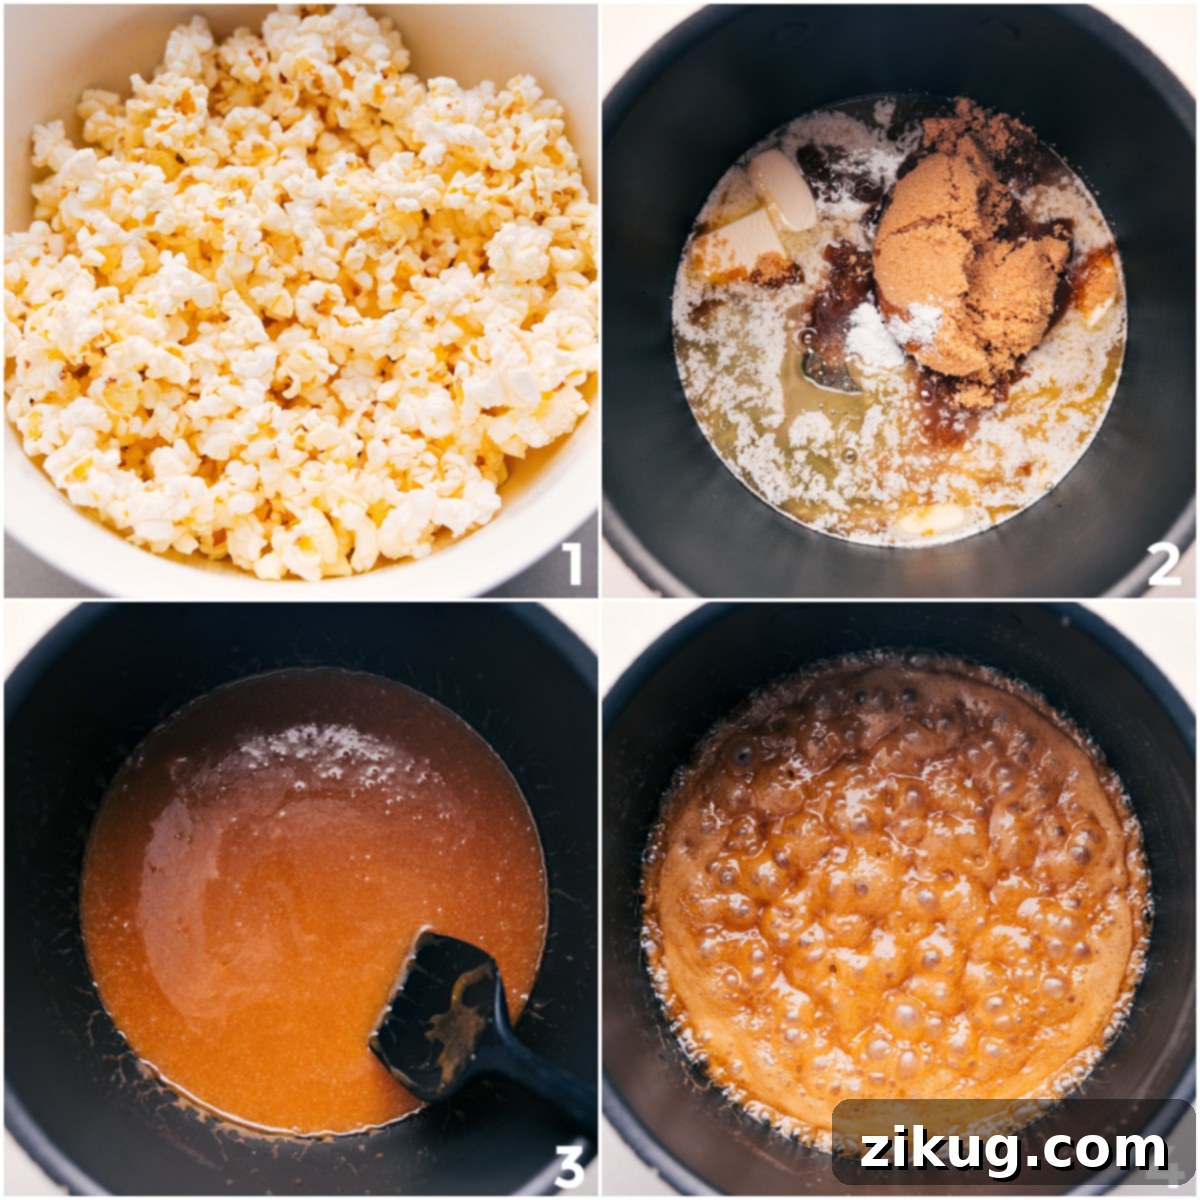
- Precise Caramel Boiling Time or Temperature: Boiling the caramel for exactly 5 minutes (after it reaches a full rolling boil) is critical. This timing ensures the caramel reaches the “soft ball” stage, giving it the right consistency once cooled. If you have a candy thermometer, aim for 235°F (113°C) for consistent results. Too short, and the caramel will be sticky; too long, and it will be brittle or hard.
- Maintain Medium Heat: Cook the caramel mixture over a consistent medium heat. Rushing the process by increasing the heat can lead to uneven cooking, sugar crystallization, or a scorched flavor. Patience yields the best caramel.
- Gentle Chocolate Melting: Melt your dark and white chocolate slowly and carefully. Use microwave-safe bowls and heat in short bursts (15-30 seconds), stirring thoroughly after each interval. This prevents the chocolate from seizing or burning, ensuring a smooth, drizzly consistency.
- Remove Unpopped Kernels: Always inspect your popped popcorn and remove any un-popped kernels or ‘old maids’. Biting into a hard kernel can be an unpleasant surprise and distracts from the enjoyment of your delicious treat.
- Act Fast When Combining: Once the baking soda and vanilla are stirred into the caramel, it will foam up. Immediately and quickly pour this mixture over the popcorn and toss vigorously with a heat-resistant spatula. The caramel sets rapidly as it cools, so fast, even coating is essential.
- Cool Completely Before Chocolating: Resist the urge to drizzle chocolate onto warm popcorn. The popcorn must cool entirely after baking, ideally for about an hour at room temperature. Applying chocolate to warm popcorn will cause it to melt and absorb rather than form distinct stripes.
- Drizzle with Precision: For those classic zebra stripes, use a resealable plastic bag with a tiny corner snipped off, or a piping bag. This allows for controlled, thin lines of chocolate. Alternate between white and dark chocolate for maximum visual appeal.
Variations to Make It Uniquely Yours
Feel free to get creative with your Zebra Popcorn! Add colorful sprinkles for holidays or special events, use different types of chocolate like milk chocolate, or even flavored melts. A dash of cinnamon in the caramel, a sprinkle of sea salt after the chocolate, or mixing in some chopped nuts can also elevate this already fantastic snack.
Essential Tools for Your Zebra Popcorn Adventure
Having the right tools on hand makes the Zebra Popcorn-making process much smoother and more enjoyable:
- Large Mixing Bowl: A very large glass or ceramic bowl is essential for tossing the popcorn with the caramel. Metal bowls can sometimes impart a metallic taste or react with ingredients, so non-metal is preferred. Ensure it’s spacious enough for thorough mixing.
- Sheet Pan(s): One large (15″ x 21″) or two standard-sized baking sheets are necessary to spread the caramel-coated popcorn in a single layer for baking. This ensures even cooking and crispness. Crowding the popcorn will result in a chewy, rather than crunchy, texture.
- Baking Mats or Parchment Paper: Silicone baking mats or parchment paper are invaluable for preventing the sticky caramel corn from adhering to the baking sheets. They also make cleanup significantly easier.
- Medium Nonstick Saucepan: A sturdy, medium-sized nonstick saucepan is ideal for preparing the caramel sauce. Its nonstick surface helps prevent the sugar from burning and sticking during the boiling process.
- Heat-Resistant Spatula: A durable, heat-resistant spatula is perfect for mixing the hot caramel into the popcorn evenly and for stirring the popcorn during baking. Silicone spatulas are excellent for this task.
- Candy Thermometer (Optional, but Recommended): While not strictly mandatory, a candy thermometer provides precise temperature control for the caramel, ensuring it reaches the perfect “soft ball” stage. This significantly reduces the guesswork and increases your chances of caramel success.
- Microwave-Safe Bowls: Several small glass bowls are perfect for melting the dark and white chocolates in the microwave. Glass heats evenly and makes stirring easy.
- Resealable Plastic Bags or Piping Bags: These are crucial for creating the iconic zebra stripes. Simply snip a tiny corner off a resealable bag or use a dedicated piping bag for controlled, elegant drizzling of the melted chocolate.
Storage for Lasting Freshness
To preserve the delightful crunch and flavor of your homemade Zebra Popcorn, store any leftovers in an airtight container at room temperature. A cool, dry place away from direct sunlight is ideal. When stored correctly, it typically stays fresh and wonderfully crispy for 3-4 days. Beyond that, the chocolate may begin to soften the popcorn, altering its texture, but it will still be delicious!
More Decadent Chocolate Treats to Explore
If you have a passion for chocolate, these other delightful recipes are sure to satisfy your sweet cravings:
- Chocolate Covered Oreos with an elegant white chocolate topping – a classic favorite!
- Almond Joy Cookies featuring a rich coconut frosting that evokes the beloved candy bar.
- Decadent Chocolate Truffles coated in fine sugar for a sophisticated bite.
- White Chocolate Chex Mix, a delightful and addictive chocolate-coated snack mix perfect for sharing.
- Golden Oreo Truffles brightened with colorful sprinkles – a festive and easy treat!

Pin
Zebra Popcorn Recipe
Zebra Popcorn begins with irresistibly sweet and crunchy caramel corn, elegantly drizzled with contrasting white and dark chocolate. This delightful recipe is perfect for parties, game day snacks, or as a thoughtful homemade gift!
Equipment
- Large sheet pan (15″ x 21″)
- Large ceramic bowl
- Saucepan
- Spatula
- Candy thermometer (optional)
- Microwave-safe bowls
- Plastic bags or piping bags
Ingredients
- Cooking spray
- 10 cups plain popped popcorn (see note 1)
- 8 tablespoons unsalted butter (cut into tablespoons)
- 1/4 cup light corn syrup
- 1 cup light brown sugar (firmly packed)
- 1/4 teaspoon salt (see note 2)
- 1/8 teaspoon cream of tartar (optional, see note 3)
- 1/2 teaspoon baking soda
- 1 teaspoon vanilla extract
- 1/2 cup dark chocolate melting wafers
- 1/2 cup white chocolate melting wafers
- 1 teaspoon vegetable oil (divided)
Instructions
- Line a large cookie sheet (15×21-inch) or two standard sheets with parchment paper or silicone baking mats. Preheat the oven to 225°F (107°C). Spray a large, non-metal mixing bowl with nonstick spray. Sift baking soda to prevent clumps.
- Pop the popcorn and carefully remove any unpopped kernels. Measure 10 cups of popped popcorn and transfer to the greased bowl.
- In a medium saucepan, combine the sliced unsalted butter, light corn syrup, light brown sugar, cream of tartar (if using), and salt. Stir constantly over medium heat until the butter melts and the mixture is smooth and combined. Bring the mixture to a full rolling boil, then stop stirring. Allow it to boil for 5 minutes without stirring, or until it reaches 235°F (113°C) on a candy thermometer.
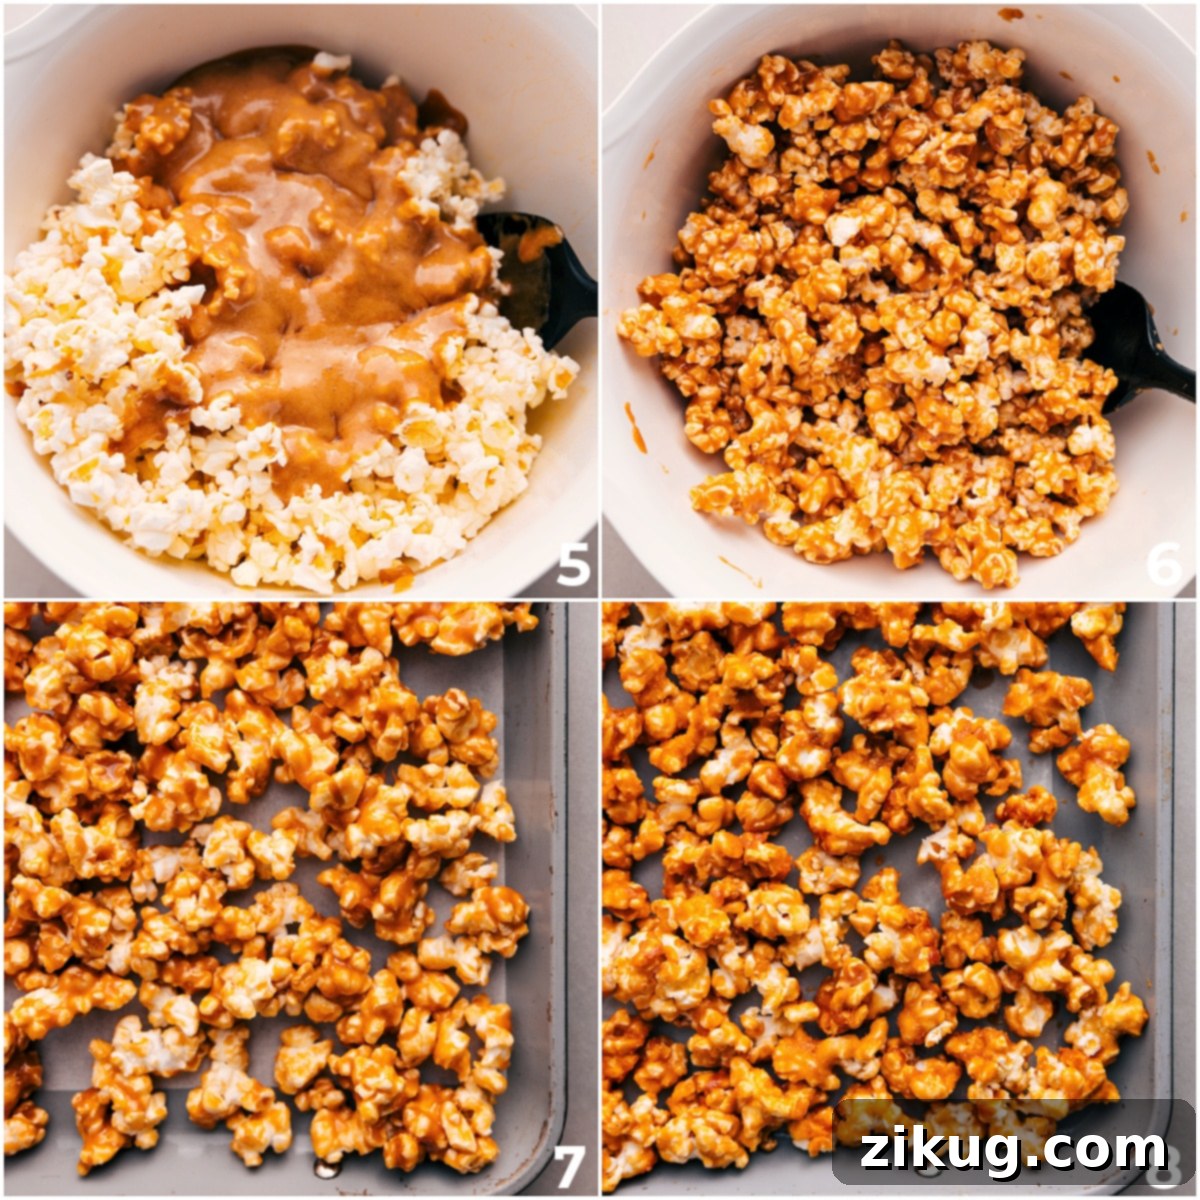
- Remove the saucepan from the heat. Quickly stir in the sifted baking soda and vanilla extract until they are fully combined. The mixture will foam up considerably. Immediately pour this hot caramel mixture over the popcorn in the greased bowl. Toss with a heat-resistant spatula for about 2 minutes, ensuring the popcorn is evenly coated before the caramel begins to set.
- Spread the caramel-coated popcorn in a single layer onto the prepared cookie sheet(s). Bake for 45 minutes, stirring the popcorn gently every 15 minutes to ensure even baking and crispness. If using two sheets, remember to rotate them between oven racks halfway through baking.
- Remove the popcorn from the oven and let it cool completely at room temperature for approximately 1 hour. It must be fully cool before adding chocolate.
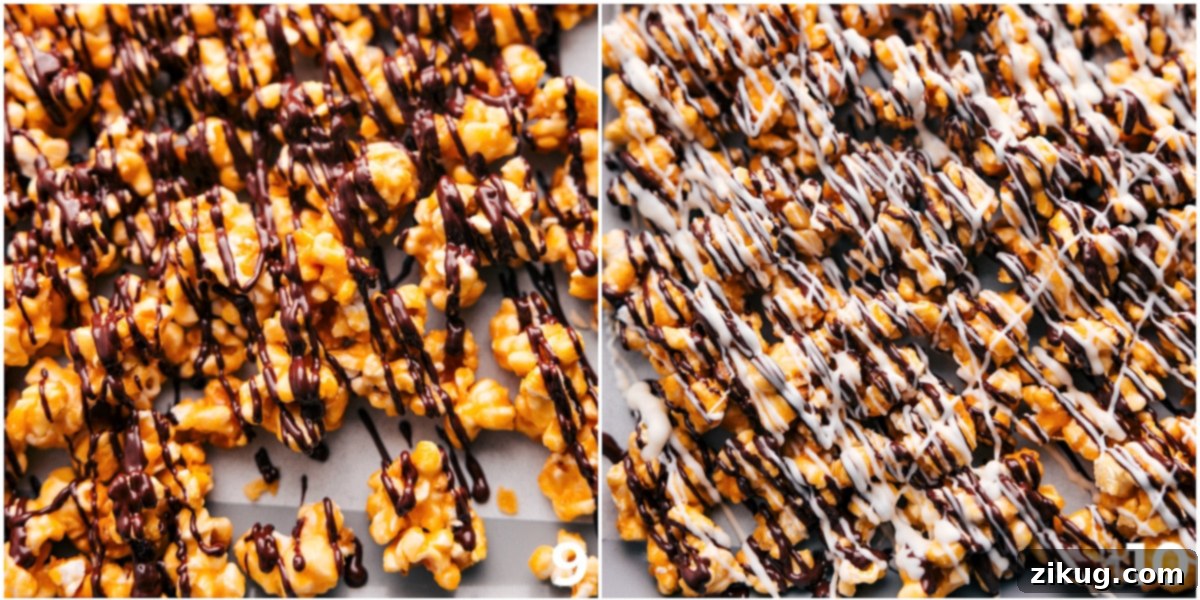
- Melt the white chocolate melting wafers with 1/2 teaspoon of vegetable oil in a microwave-safe bowl, heating in short bursts and stirring until smooth. Transfer the melted white chocolate to a resealable plastic bag and snip a small tip off one corner. Drizzle it artistically over the cooled popcorn. Repeat this process with the dark chocolate melting wafers and the remaining 1/2 teaspoon of vegetable oil. Allow the chocolate to harden at room temperature for about 1 hour.
- Once the chocolate has fully set, break the popcorn into delicious clusters and transfer them to a large serving bowl. Enjoy your homemade Zebra Popcorn!
Recipe Notes
Note 1: For convenience, you can use pre-popped popcorn that is plain and unsalted. Alternatively, pop plain kernels yourself using a stovetop, popcorn machine, or plain (unbuttered and unsalted or lightly salted) microwave packets.
Note 2: If your popcorn already contains salt, it’s advisable to reduce or completely omit the added salt in the caramel mixture to avoid an overly salty flavor.
Note 3: Cream of tartar is optional but highly recommended. It acts as an anti-crystallization agent, helping to ensure your caramel remains smooth and doesn’t become grainy. It’s a small addition that makes a big difference in caramel texture.
Storage: To store leftover Zebra Popcorn, place it in an airtight container (such as mason jars or Weck® mold jars). Keep the container in a cool, dry place at room temperature for up to a week. The popcorn is best enjoyed within 3-4 days to maintain its optimal crunch, as the chocolate can eventually start to soften the kernels.
Nutrition Information
Nutrition information is automatically calculated and should only be used as an approximation.