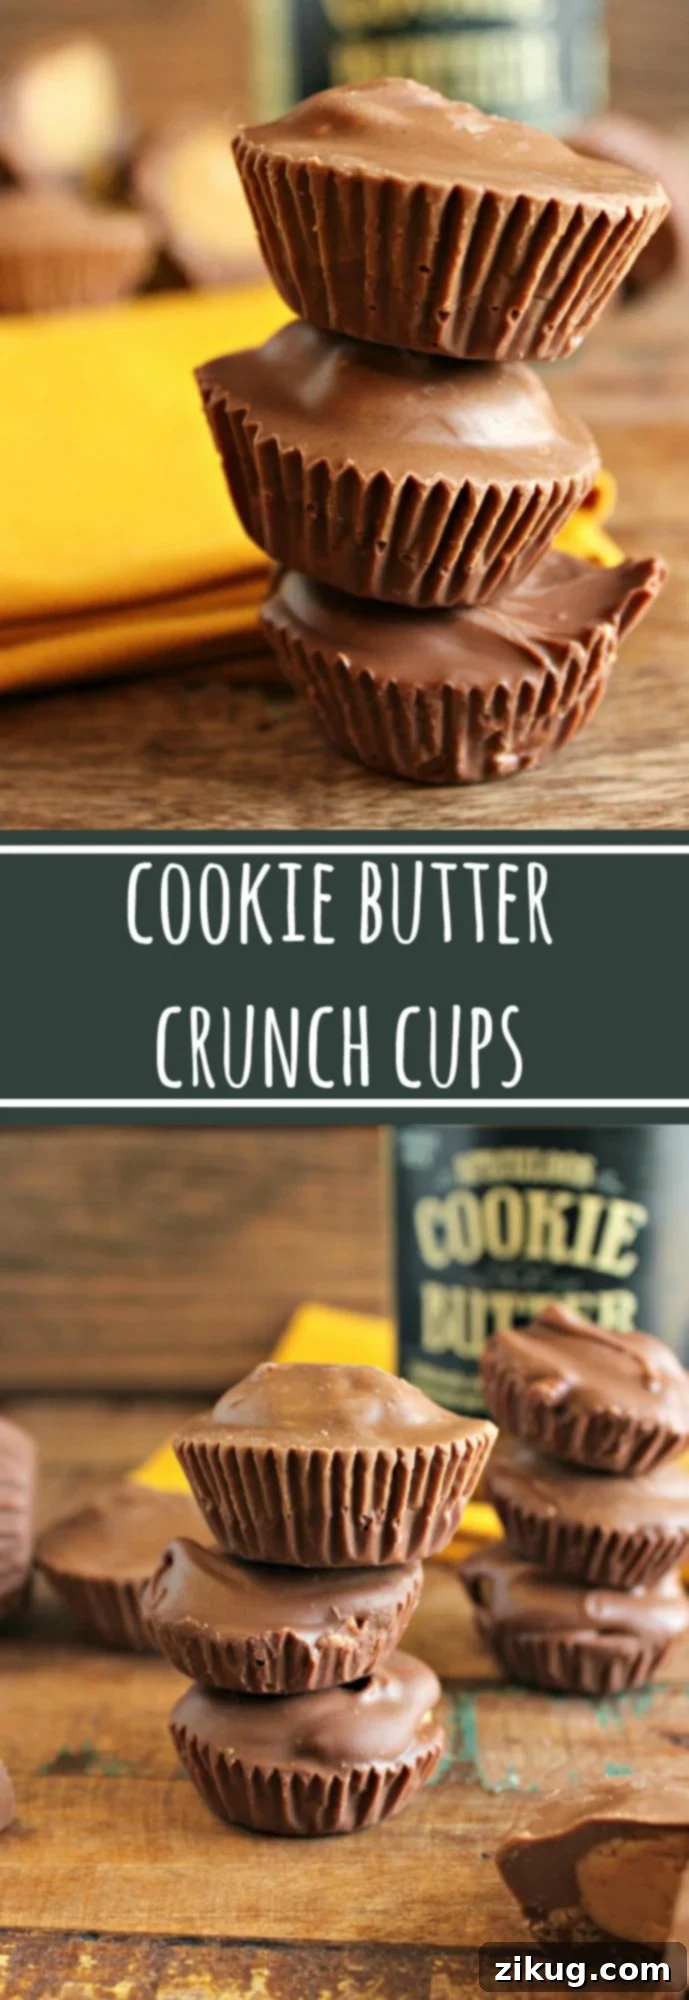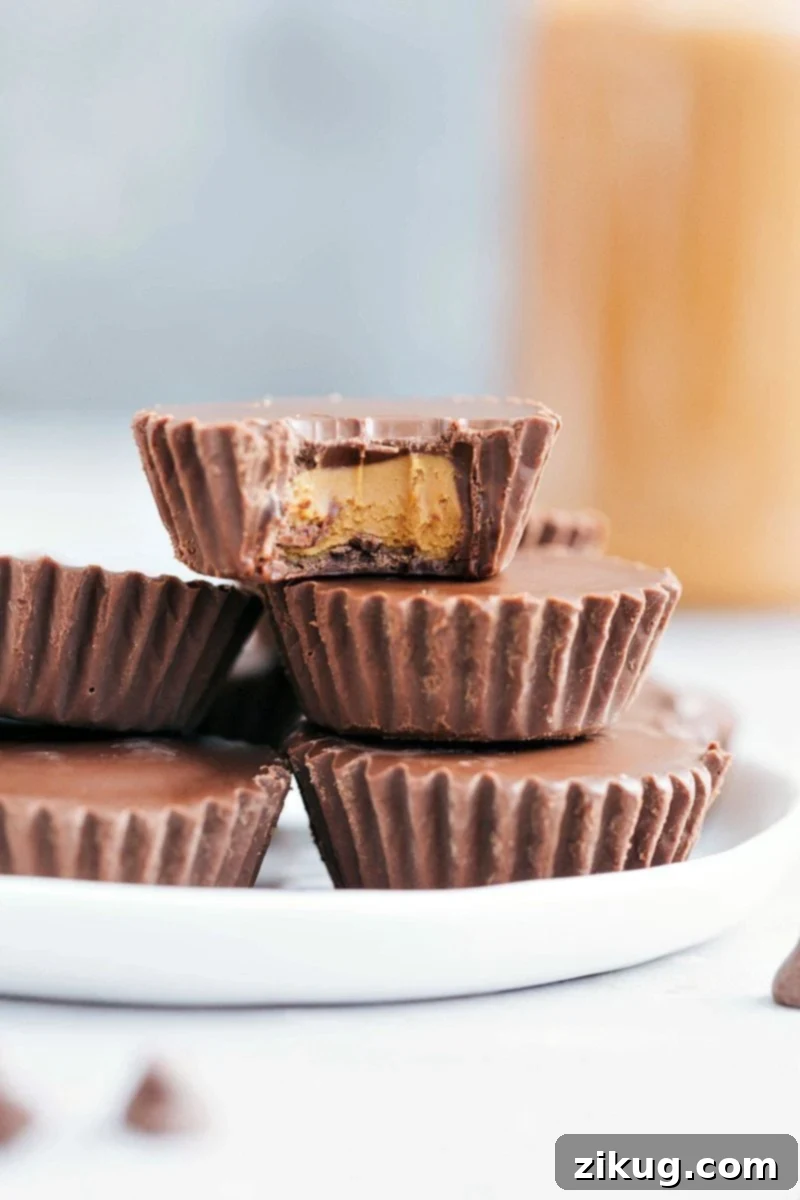
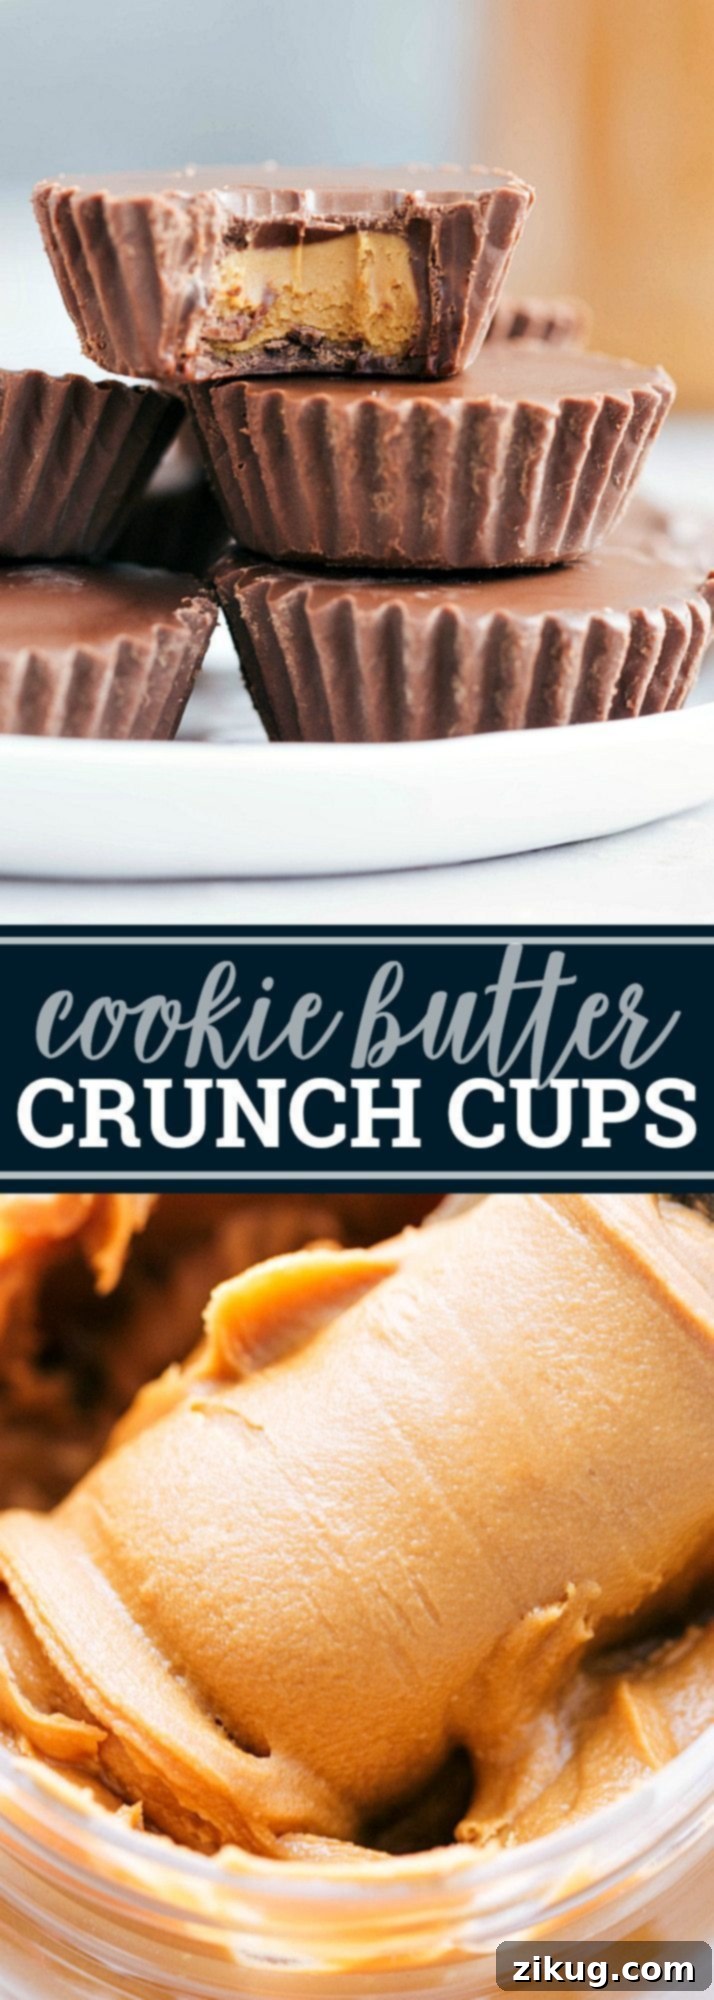
Indulge in these delicious milk chocolate cookie butter cups – requiring only 6 ingredients and minimal effort!
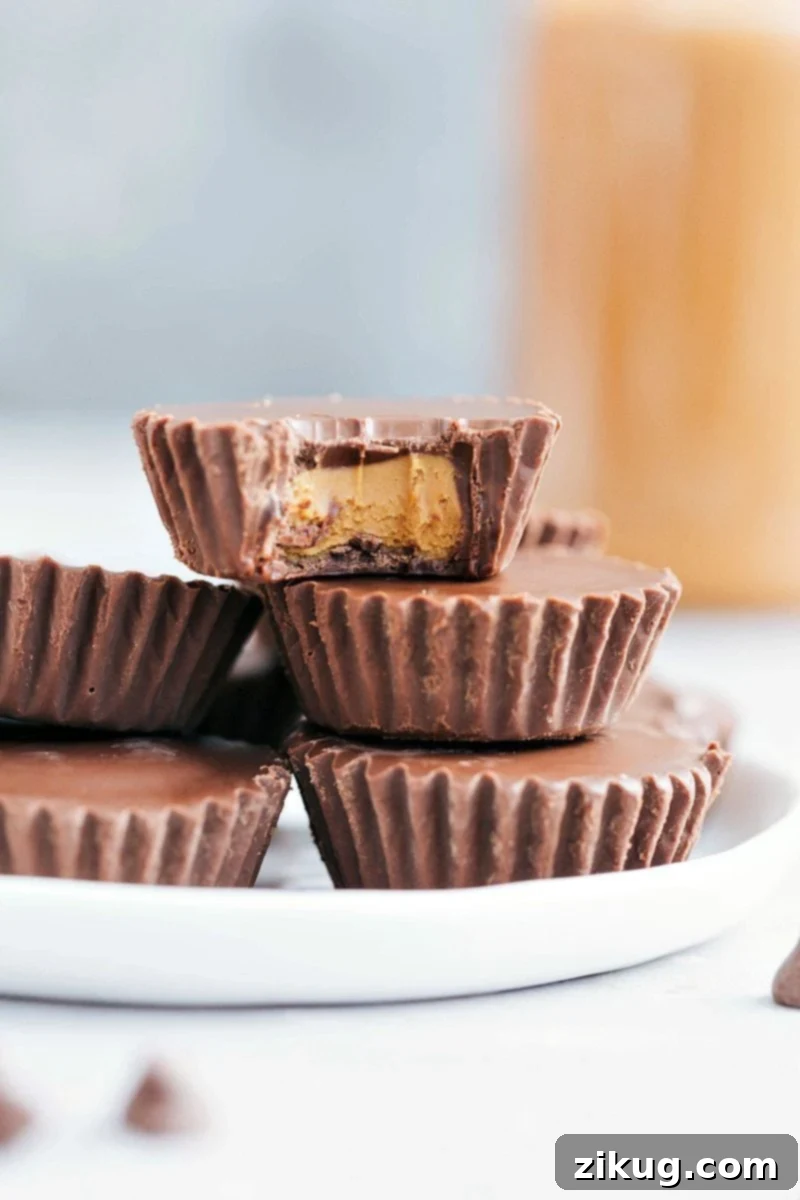
Ultimate Cookie Butter Crunch Cups: Your New Favorite No-Bake Treat
Forget the calendar and let’s dive headfirst into a world where creamy, crunchy, and utterly irresistible treats reign supreme! While store-bought candies have their charm, nothing beats a homemade delight that combines familiar favorites with a unique twist. Today, we’re unveiling the secret to our sensational Cookie Butter Crunch Cups – a blissful fusion that delivers the best of a Reese’s Peanut Butter Cup and a classic Crunch Bar, but with a dreamy, spiced cookie butter core.
Imagine biting into a rich, velvety milk chocolate shell, perfectly studded with crispy rice cereal, giving you that satisfying “crunch” you crave. Then, your teeth sink further, revealing a smooth, sweet, and wonderfully spiced cookie butter filling that melts in your mouth. This isn’t just another dessert; it’s an experience, a harmony of textures and flavors that will redefine your sweet tooth expectations. Best of all? These heavenly treats come together with just six simple ingredients and a mere 10 minutes of active prep time, making them the ultimate easy no-bake dessert for any occasion.
Whether you’re looking for a quick pick-me-up, a dazzling addition to a party spread, or a thoughtful homemade gift, these Cookie Butter Crunch Cups are guaranteed to impress. They’re so simple to make, even beginner bakers (or non-bakers!) can achieve perfection. Prepare to captivate your taste buds and earn rave reviews!
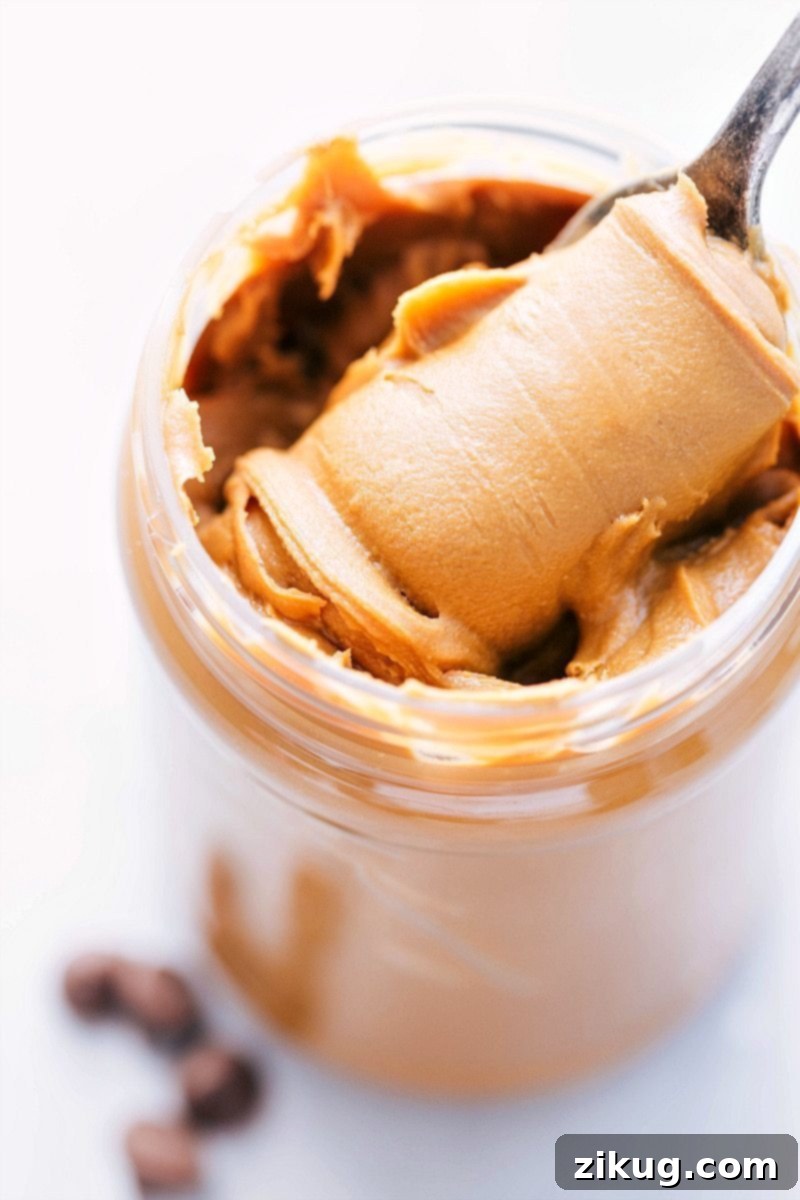
What Makes These Cookie Butter Cups Irresistible?
The magic of these crunch cups lies in their simplicity and the brilliant combination of flavors and textures. We’re talking about a culinary mash-up that rivals the best candy bar creations on the market, but with a unique homemade charm. Here’s why these treats are about to become your go-to recipe:
A Flavor Combination Like No Other
While Reese’s Peanut Butter Cups are a beloved classic, and Crunch bars offer that satisfying textural contrast, our Cookie Butter Crunch Cups elevate the concept. Instead of peanut butter, we use rich, creamy cookie butter – a spread made from crushed spiced speculoos biscuits. This provides a distinct, caramelized, and slightly gingerbread-like flavor that pairs exquisitely with the sweetness of milk chocolate. The addition of crispy rice cereal to the chocolate shell ensures every bite delivers that delightful “crunch” without compromising the creamy interior.
Effortless & Accessible: The No-Bake Advantage
One of the biggest appeals of this recipe is its incredible ease. There’s no oven required, making it perfect for hot summer days, busy holidays, or whenever you need a quick dessert fix. With only six ingredients, most of which are pantry staples, you won’t need a special trip to the store. The entire process, from melting chocolate to forming the cookie butter filling, is straightforward and forgiving, making it an ideal recipe for cooks of all skill levels.
Perfect for Any Occasion
These Cookie Butter Crunch Cups are incredibly versatile. They’re fantastic for:
- Party Platters: Their miniature size makes them perfect bite-sized treats for entertaining.
- Homemade Gifts: Package them beautifully for a thoughtful and delicious present.
- Quick Cravings: Whip up a batch whenever a sweet craving strikes.
- Kid-Friendly Fun: A great activity to get children involved in the kitchen (with adult supervision for melting chocolate).
Their universal appeal ensures they’ll be a hit wherever they’re served.
How to Make These Delectable Cookie Butter Crunch Cups
Crafting these delightful treats is a straightforward and enjoyable process. Follow these detailed steps to ensure perfectly formed and incredibly tasty cookie butter cups every time.
-
Prepare Your Chocolate Base with a Crunch: Begin by melting a portion of your milk chocolate chips with a touch of coconut oil in a microwave-safe bowl. Coconut oil helps the chocolate achieve a silky smooth consistency that sets beautifully. Melt in short intervals (e.g., 30 seconds, stir, then 15 seconds, stir) to prevent burning. Once smooth, stir in the crispy rice cereal. This is the secret to getting that beloved “Crunch” bar texture. Spoon an equal amount of this chocolate-rice-krispie mixture into the bottom of each mini muffin liner. After filling, gently tap the muffin tin on your counter a few times. This crucial step helps release any trapped air bubbles and ensures a smooth, even chocolate layer at the bottom of each cup. Place the tin in the refrigerator or freezer to set while you prepare the filling.
-
Crafting the Creamy Cookie Butter Filling: In a separate bowl, combine the cookie butter, powdered sugar, and vanilla extract. At first, the mixture might appear quite powdery and challenging to stir. Don’t be discouraged! Continue mixing and pressing the ingredients together with a spoon or spatula. The warmth from your hands and the action of stirring will eventually incorporate the powdered sugar, transforming it into a thick, pliable, and rich cookie butter dough. The key here is patience – keep working it until you achieve a smooth, uniform consistency.
-
Shaping the Cookie Butter Discs: This is where a little self-control comes in, as the cookie butter dough is incredibly tempting! Pinch off small, equal portions of the dough, roughly enough for 12 cups. Roll each portion into a small ball, then gently flatten it between your fingers to create a disc shape. Two important tips for success: First, aim for an even disc shape rather than perfectly round balls; this helps them fit neatly into the cups. Second, ensure these cookie butter discs are slightly smaller in diameter than the top edges of your mini muffin liners. This allows the final chocolate layer to completely encapsulate the cookie butter, creating a fully sealed and professional-looking cup.
-
The Final Chocolate Layer and Chill: Once your bottom chocolate layers are set and the cookie butter discs are in place, melt the remaining milk chocolate chips with the remaining coconut oil using the same microwave method. Pour an even amount of this melted chocolate over each cookie butter disc, ensuring it completely covers the filling and reaches the edges of the muffin liner. Again, gently tap the muffin pan on the counter a couple of times to smooth out the top chocolate layer and eliminate any remaining air bubbles. Finally, place the entire muffin tin back into the refrigerator for at least 30 minutes, or until the chocolate is fully set and firm. Once chilled, these perfect little delights are ready to be unwrapped and enjoyed!
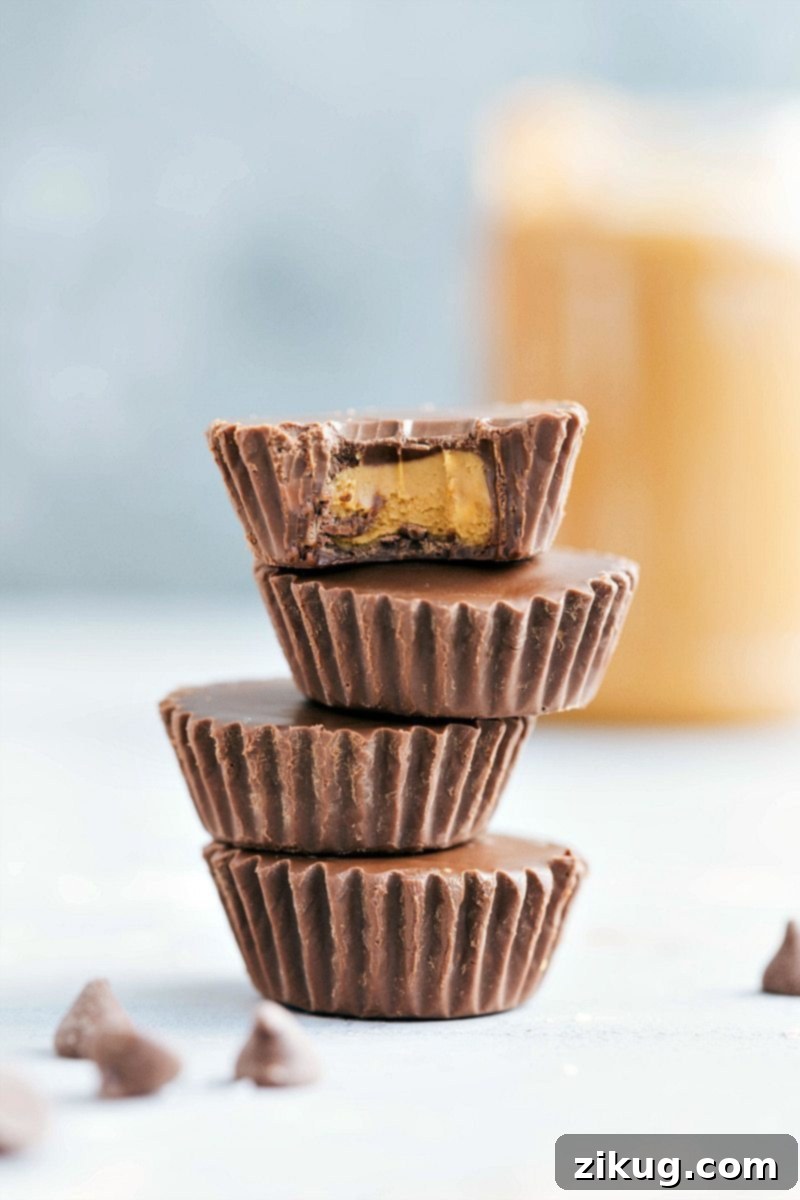
Pro Tips for Perfect Cookie Butter Cups
Achieving bakery-quality results at home is easier than you think with these simple tips:
- Melting Chocolate Mastery: When melting chocolate, always use a microwave-safe bowl and melt in short bursts (30 seconds, stir, then 15 seconds, stir). Chocolate can seize and burn easily, so gentle heating and thorough stirring are key to a smooth, pourable consistency. The coconut oil aids in this process, ensuring a glossy finish and a pleasant mouthfeel.
- The Role of Coconut Oil: Don’t skip the coconut oil (or shortening/vegetable oil). It’s crucial for achieving that snap in the chocolate shell and for easy release from the muffin liners once chilled. It also helps in creating a smoother, more palatable chocolate texture compared to just melted chips.
- Cookie Butter Consistency: If your cookie butter dough feels too crumbly, you might need to work it a little longer with your hands, or add a tiny drop more vanilla extract or even a fraction of a teaspoon of additional melted coconut oil to help bind it. If it’s too sticky, a tiny bit more powdered sugar can help, but generally, working it with your hands is enough.
- Shaping for Success: Making sure the cookie butter discs are slightly smaller than the muffin liner’s diameter is vital for a clean, fully enclosed cup. If the cookie butter touches the sides of the liner, the top chocolate layer might not seal properly.
- Patience with Chilling: While 30 minutes is a minimum, allowing the cups to chill for an hour or more will ensure they are perfectly firm and easy to handle when you unwrap them. A well-chilled cup provides the best texture contrast between the firm chocolate and the creamy filling.
Delicious Variations and Customizations
While the classic Cookie Butter Crunch Cup is a showstopper on its own, don’t hesitate to get creative and customize them to your liking. Here are a few ideas to inspire you:
- Chocolate Choices: Experiment with different types of chocolate! Dark chocolate chips offer a richer, less sweet alternative that perfectly balances the sweetness of the cookie butter. White chocolate chips can create a beautiful contrast in flavor and color, offering a creamier, milder profile. You could even use a mix of chocolates for a marbled effect.
- Extra Crunch Power: Want even more crunch? Add a pinch of finely chopped nuts (like pecans or almonds) to your rice krispie mixture. Or, for a different texture, try crushed pretzels for a sweet and salty twist!
- Salty-Sweet Perfection: A tiny sprinkle of flaky sea salt on top of the final chocolate layer before it sets can elevate the flavors, creating a gourmet salty-sweet experience that truly makes the cookie butter sing.
- Festive Flair: For holidays or special occasions, add colorful sprinkles on top of the wet chocolate layer. This is especially fun for seasonal treats!
- Larger Cups: If you prefer a more substantial treat, you can use a standard-sized muffin tin instead of a mini one. Just be sure to adjust the ingredient quantities proportionally to ensure you have enough chocolate and cookie butter for the larger cups. The chilling time might also need to be extended slightly.
- Flavor Boosters: A dash of cinnamon or nutmeg can enhance the spiced notes of the cookie butter, making them even more aromatic and comforting.
These variations allow you to tailor the Cookie Butter Crunch Cups to your personal preferences or to match the theme of any event. Don’t be afraid to experiment and discover your own signature twist!
More No-Bake Desserts You’ll Love:
- Smores Bars
- Puppy Chow
- White Chocolate Chex Mix
- Chocolate Popcorn
- Edible Cookie Dough

Cookie Butter Cups
Equipment
-
Mini muffin pan with liners
Ingredients
- 1/4 cup cookie butter or Biscoff spread
- 1/4 teaspoon vanilla extract
- 2 tablespoons powdered sugar
- 1 cup milk chocolate chips divided
- 2 tablespoons rice krispies cereal
- 1/2 teaspoon coconut oil divided
Instructions
-
Line a mini muffin pan with mini muffin cups and set aside.
-
Combine the cookie butter with the vanilla extract and powdered sugar. Stir until a thick dough is formed.
-
Pinch off small bits of the dough and make 12 little balls. Flatten the balls with two fingers to get a flatter disc shape.
-
In a small microwave-safe bowl, melt 1/2 cup + 2 tablespoons chocolate chips with 1/4 tsp coconut oil. (I microwave for 30 seconds, stir for 30 seconds, microwave for 15 seconds, stir, and it’s ready!)
-
Combine the melted chocolate with the rice krispies. Stir well, then spoon an even amount of chocolate mixture into the bottom of each of the muffin cups.
-
Place the flattened balls of cookie butter dough on top of the melted chocolate mixture.
-
In the same bowl, melt the remaining chocolate chips and remaining 1/4 tsp coconut oil.
-
Pour an even amount of chocolate over all the cookie butter cups. Tap the muffin pan on the counter gently a few times to get the chocolate smooth.
-
Chill in the fridge for at least 30 minutes.
Recipe Notes
Storage: Store in an airtight container in the fridge for up to 1 week.
Nutrition
Nutrition information is automatically calculated, so should only be used as an approximation.