Main dishes
Easy Ham & Cheddar Potluck Sandwiches - Easy Make Ahead Recipe
Few things disappear from a potluck table faster than a tray of warm ham and cheddar sliders. They're easy to transport, easy to serve straight from the pan, and nobody needs a fork or a plate balanced on their knee to…
- 4 min read
- Main dishes
- Jump to the recipe

Few things disappear from a potluck table faster than a tray of warm ham and cheddar sliders. They're easy to transport, easy to serve straight from the pan, and nobody needs a fork or a plate balanced on their knee to eat one. This recipe has been a go-to for potlucks, picnics, and family gatherings for years, and it's just as simple today as it always was.
The best part about potluck sandwiches like these is how much of the work happens before you ever leave the house. Assemble the whole tray a day or two ahead, keep it in the fridge (or the freezer, if you're planning further out), and all that's left to do when you arrive is slide it into the oven.

This recipe was contributed by Candi from Make Ahead Meal Mom back in 2019. The article has been updated, but it remains as delicious as ever!
These sandwiches start with a handful of simple ingredients — sweet rolls, deli ham, sliced cheddar, and a honey dijon mustard that gives them a little kick — brushed with a butter, minced onion, and poppy seed topping that turns golden and fragrant in the oven.
Key Ingredients & Substitutions
- Sweet dinner rolls — Hawaiian rolls work great here too, and add a little extra sweetness against the salty ham.
- Deli ham — smoked deli turkey or roast beef are easy swaps if that's what you have on hand.
- Sliced cheddar cheese — Swiss, provolone, or pepper jack (for a little heat) all melt well in this recipe.
- Honey dijon mustard — regular dijon or yellow mustard both work if you want to dial back the sweetness.
- Butter, minced onion & poppy seeds — brushed on top before baking; this is what gives the rolls their golden color and savory flavor.
Helpful Tips
Pull the rolls out of their package and cut them as one big slab, so you end up with one top "piece" and one bottom "piece" rather than cutting each roll individually. Spread both cut sides with a layer of honey dijon mustard, then layer cheese on both halves and ham on the bottom half.
How you layer the ham and cheese depends on where the sandwiches are headed. If you're serving them at home, it's fine to lay the cheese and ham out to cover the whole slab and cut the sandwiches apart before serving. If you're taking them to a potluck or picnic, layer the cheese and ham separately over each individual roll section instead — that way guests can pull the rolls apart into individual sandwiches at the destination, no cutting required.
For potlucks and other gatherings, a disposable aluminum foil pan makes cleanup and transport a lot easier. Look for one labeled "roaster" or "roasting pan" rather than a cake or lasagna pan — those tend to run a little shallow for a full tray of sandwiches.
Once assembled, brush the tops generously with the melted butter, minced onion, and poppy seed mixture before baking. That topping is what gives these their golden color and most of their flavor, so don't skimp on it.
Variations
- Swap the ham for turkey, roast beef, or a mix of deli meats.
- Use Swiss, provolone, or pepper jack in place of the cheddar.
- Add a layer of thinly sliced dill pickles for extra tang.
- Stir a spoonful of poppy seed dressing into the butter topping for a sweeter glaze.
- Leave out the meat and add a second layer of cheese and sautéed mushrooms for a vegetarian version.
Serving Ideas
These potluck sandwiches pair well with something light and fresh on the side. Our Best Fruit Salad and Heirloom Tomato Salad are all easy summer sides that round out the tray without adding much extra work.
Storing & Freezing
Once assembled, cover the tray tightly with aluminum foil and refrigerate for up to 3 days before baking. Label it with the contents and date so it doesn't get lost behind everything else in the fridge.
To freeze, cover and freeze the assembled (unbaked) tray for up to a month. Move it to the refrigerator the night before you plan to serve it so it has time to thaw, then bake as directed. When you're ready to make them, bake the tray covered in a 400°F oven for 20–25 minutes, until the cheese is fully melted and the sandwiches are warmed through.

More Potluck-Friendly Recipes
Looking for more dishes that travel well and disappear fast? Try our DIY Pasta Bar, our Homemade Fried Mozzarella Sticks, or browse 15+ Easy Slow Cooker Dinner Ideas for even more crowd-pleasing options.
Recipe

Recipe
Easy Ham & Cheddar Potluck Sandwiches
- Yield Servings 12 sandwiches
- Prep Prep Time 10 mins
- Cook Cook Time 20 mins
- Total Total Time 30 mins
Ingredients
- 1 pkg. sweet dinner rolls
- 10 slices cheddar cheese
- 9 oz. thin-sliced deli ham
- ½ cup honey dijon mustard
For butter topping:
- 2 tablespoons butter, melted
- 1 teaspoon dry minced onion
- ¼ teaspoon poppy seeds
Instructions
- 1
Remove rolls from package and slice horizontally, as if you were cutting one big roll, so that you have one large top portion, and one large bottom portion.
- 2
Spread mustard over both halves of rolls.
- 3
Cut cheese slices into quarters and arrange two quarters over each individual roll, for both the top and bottom sections.
- 4
Layer 2 pieces of ham, folding as needed, over each individual roll, on the bottom section only.
- 5
Carefully flip top section over on top of bottom section, lining up individual rolls.
- 6
Place entire rectangle of sandwiches into a disposable aluminum roasting or steam table pan (make sure it is about 3 inches deep).
- 7
Combine ingredients for topping and gently brush over top of sandwiches.
- 8
Cover pan with aluminum foil. Refrigerate for up to 3 days, or freeze for up to 1 month. (If freezing, be sure to pull the pan out to thaw overnight in the refrigerator before baking.)
- 9
Bake, covered, in a 400 degree Fahrenheit oven for 20-25 minutes, until the cheese is fully melted and sandwiches are heated through.
Notes. This recipe was contributed by Candi from makeaheadmealmom.com .
More recipes
Twelve more recipes from the rest of the kitchen.
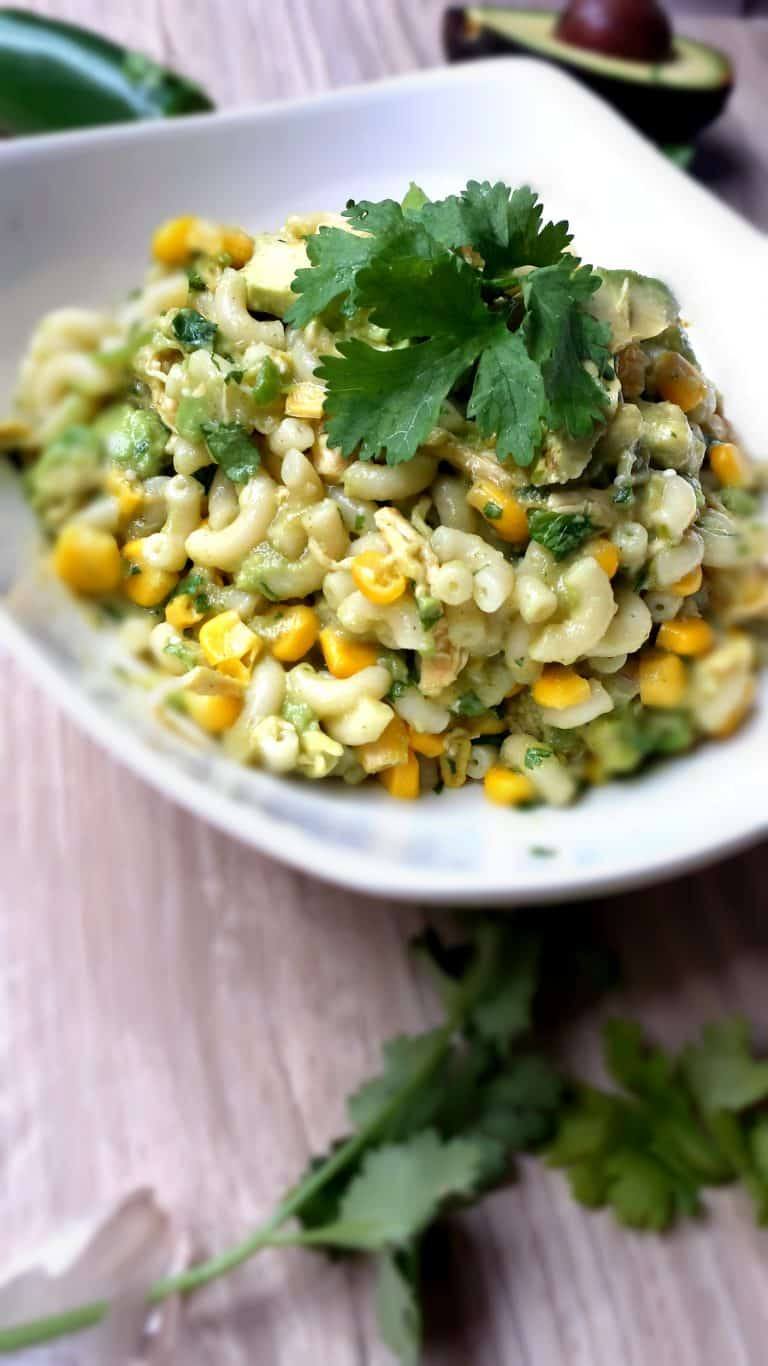 Side DishesSalsa Verde Mexican Pasta SaladMost people think of pasta salad as an All-American kind of food. Living in Mexico I often got asked, "Well, what's an American dish?" and I never…
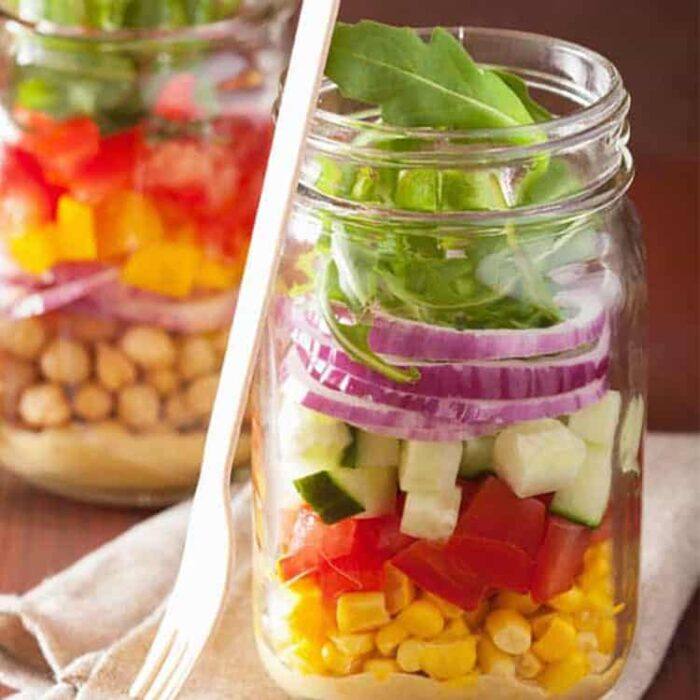 AppetizersMason Jar Salad - Ideas for Salad in a JarMason Jar Salad is a genius way to conveniently pack multiple salads at once, plus they're pretty fun to look at (and eat!). Read this post for tons…
 Main dishesLemon Pepper Chicken Wings - Easy Baked Chicken Wings RecipeThere is something about a simple Lemon Pepper Chicken Wings recipe that screams comfort food. Maybe its the vision chowing down on heaps of wings…
 DessertsEaster Egg Rice Krispie TreatsMaking these egg-shaped Easter Rice Krispie treats is a fun and easy way to celebrate the holiday. Colorful, chewy, and sweetly flavored Rice…
 BreakfastFunfetti PancakesWake up and celebrate - these Funfetti Pancakes are loaded with rainbow sprinkles and big birthday vibes in every bite. The ultimate feel-good…
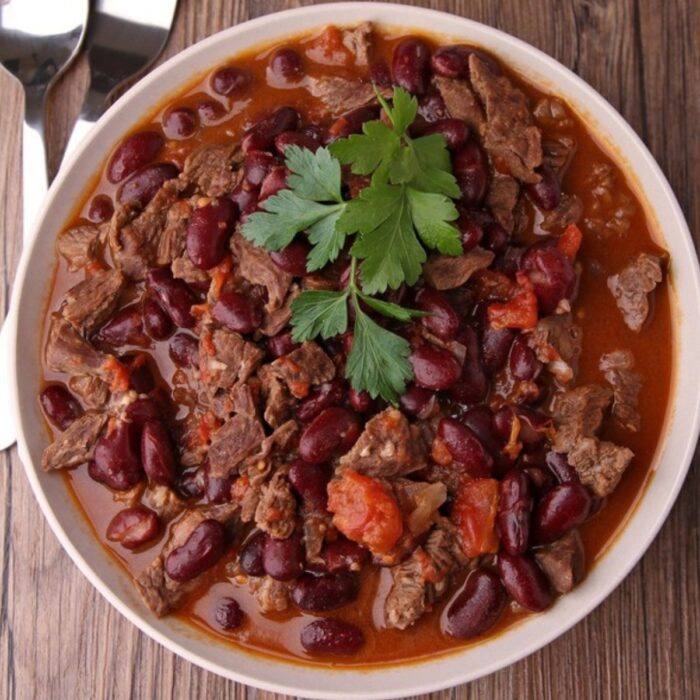 Main dishesWeight Watchers ChiliCraving a big bowl of chili? This Weight Watchers chili gives you all the cozy, spicy comfort of a classic beef and bean chili, made lighter with…
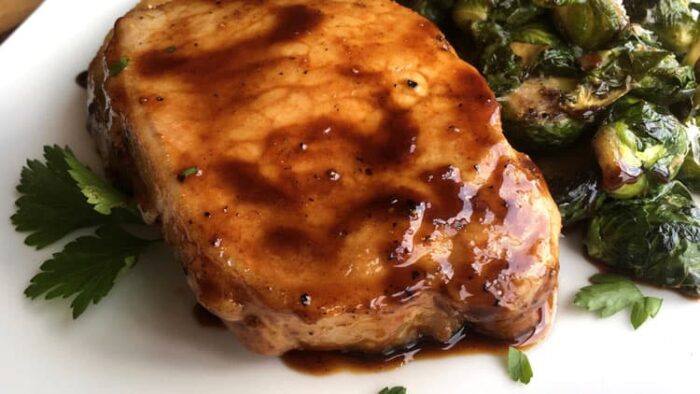 Main dishesMaple and Balsamic Pork ChopsMaple and Balsamic Pork Chops might sound fancy, but don't be deceived. This easy pork chops recipe requires only a few ingredients and can be made…
 Main dishesChicken Pot Pie Weight WatchersChicken Pot Pie Recipe One of the best comfort meals to be had is a good Chicken Pot Pie. It's a little bit of savory warmth in every single bite…
 CakesPeek-A-Boo Cake for St. Patrick's DayYou're going to love this peek-a-boo cake! Are you searching for a delicious St. Patrick's Day cake? It's so much fun to make green desserts for St…
 CakesConfetti Cupcakes with Orange Cream Cheese FrostingLooking for a tasty treat? These confetti cupcakes with orange cream cheese frosting are perfect for any time of the year, but top them with adorable…
 SoupsDaikon Noodle SoupThis Daikon Noodle Soup swaps regular pasta for tender, spiralized daikon noodles and floats them in a savory broth loaded with deeply caramelized…
 Main dishesMama's MeatballsQuick Easy Meatballs Recipe simple meatball sauce recipe, homemade spaghetti meatballs recipe, quick Easy recipes are the best, and this quick easy…