
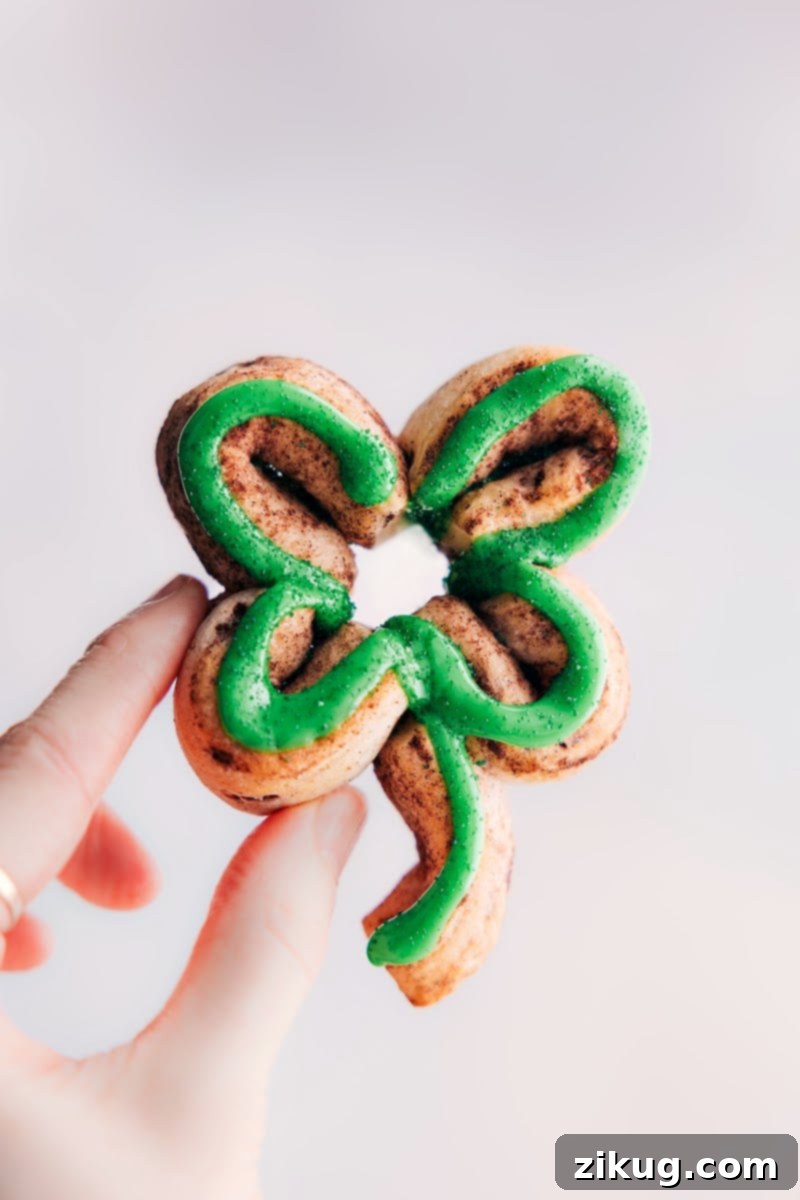
Whip Up Festive Fun with Easy Shamrock Cinnamon Rolls for St. Patrick’s Day!
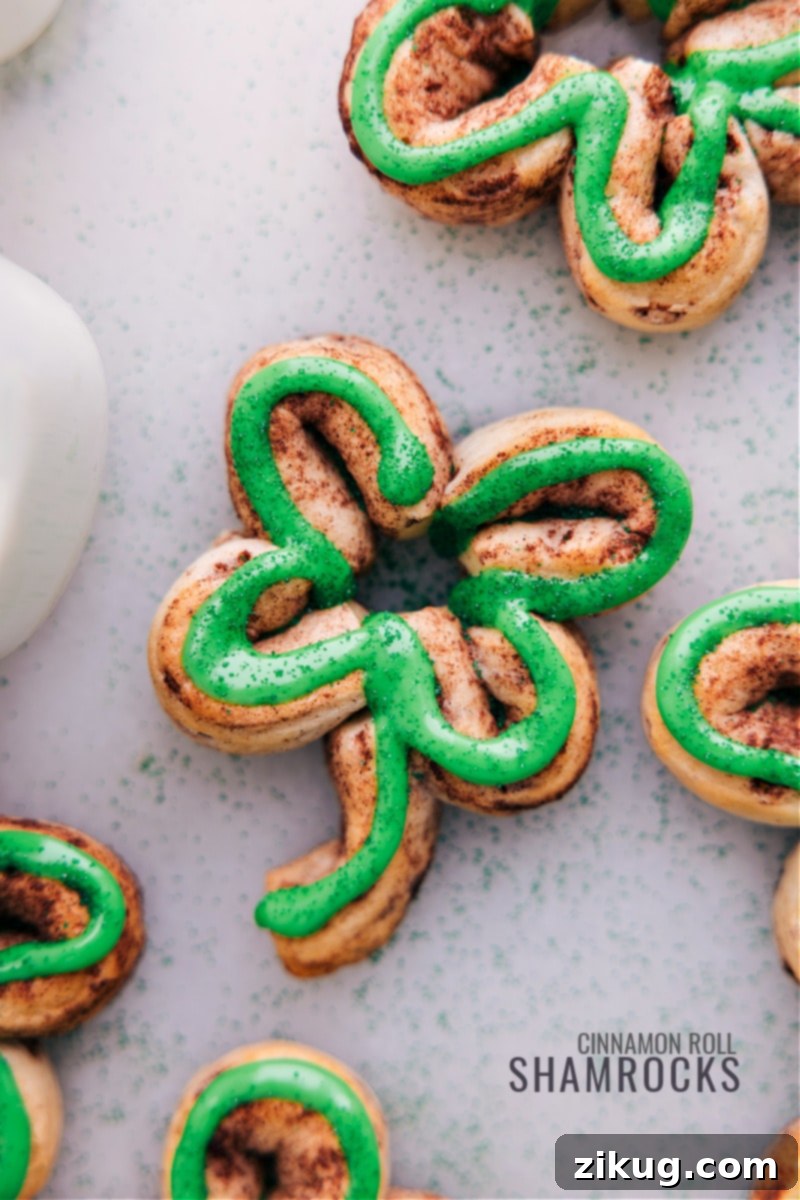
As St. Patrick’s Day draws near, the air buzzes with excitement for all things green and festive! What better way to immerse yourself in the spirit of the Emerald Isle than by serving up some delightful and incredibly easy Shamrock Cinnamon Rolls? These charming treats are more than just a breakfast pastry; they’re a celebration in every bite. With minimal effort and just a handful of ingredients, you can transform a classic, comforting cinnamon roll into a vibrant, holiday-themed masterpiece that will enchant both children and adults alike. Get ready to add a touch of luck and deliciousness to your St. Paddy’s Day spread!
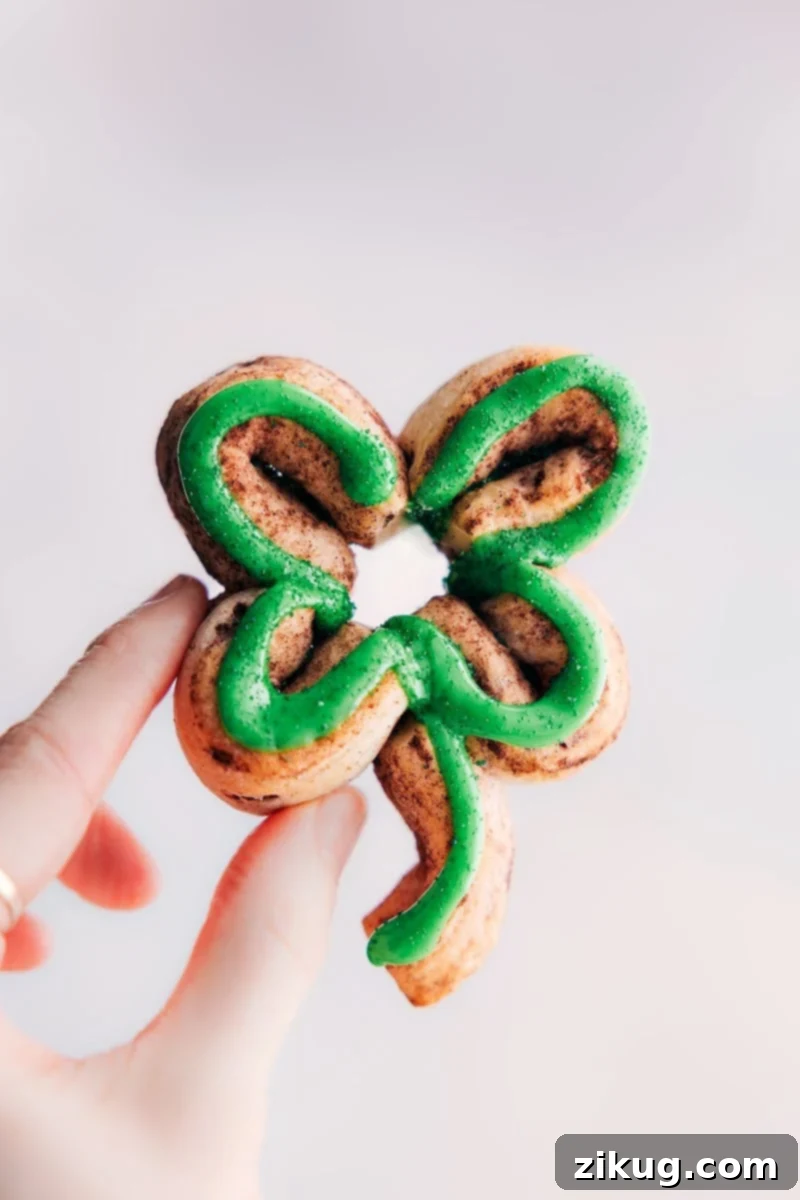
Shamrock Cinnamon Rolls: Your Go-To St. Patrick’s Day Delight
These festive Shamrock Cinnamon Rolls are truly a fantastic way to embrace the St. Paddy’s Day spirit without the stress of extensive preparation or a hefty grocery bill. They embody everything you want in a holiday treat: they’re festive, undeniably adorable, and remarkably quick and easy to prepare. The secret lies in using packaged cinnamon rolls, which cleverly bypasses the need for making dough from scratch or spending countless hours in the kitchen. This smart shortcut allows you to focus on the fun part – shaping and decorating – ensuring a delightful experience from start to finish.
Beyond their charming appearance, these rolls are incredibly versatile. They are perfect for a speedy, themed breakfast to kick off the holiday, a sweet and satisfying snack for an afternoon pick-me-up, or a whimsical dessert to cap off your St. Patrick’s Day feast. Their cute, creative design and irresistible flavor are guaranteed to be a huge hit with everyone who tries them, making them a memorable addition to any festive gathering. Prepare for smiles and compliments when you present these green-tinted, clover-shaped delights!
Selecting the Perfect Cinnamon Rolls for Shamrocks
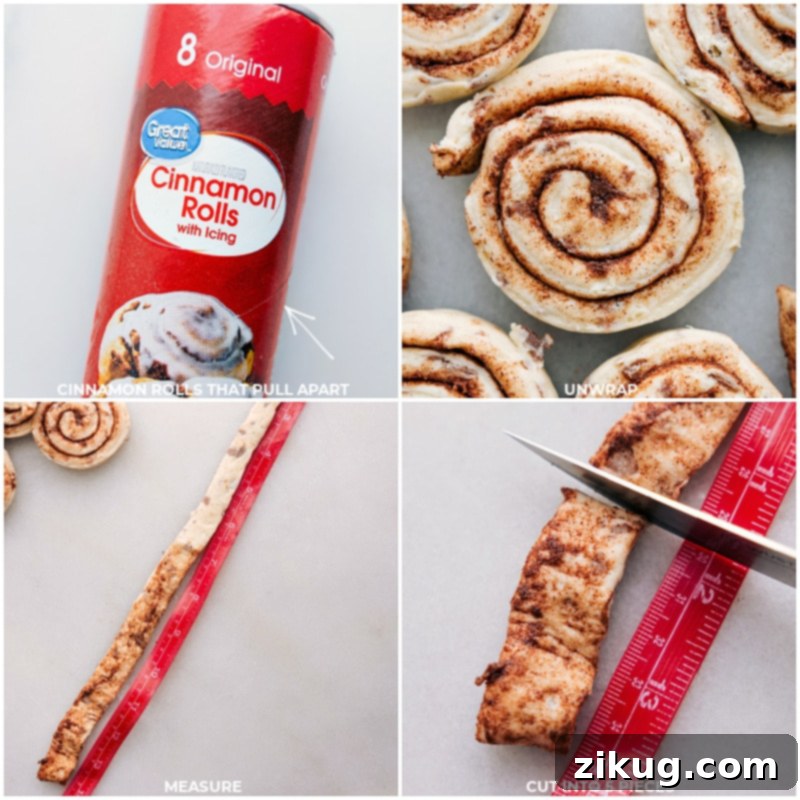
The success of your Shamrock Cinnamon Rolls hinges significantly on your choice of refrigerated cinnamon rolls. It’s absolutely crucial to select a package where the dough can be carefully unrolled into a long spiral. Many popular brands of packaged cinnamon rolls are designed to remain in a tight, circular coil and simply won’t unroll, making them unsuitable for shaping into shamrocks.
Before you buy, take a moment to inspect the packaging. Look for clear indications or illustrations that show the cinnamon rolls can be unwound. If the packaging isn’t explicit, a quick online search for reviews or images of the specific brand and type can confirm whether other bakers have successfully unrolled them. This small step can save you a lot of frustration!
For this particular recipe, we’ve found that Great Value® Original Cinnamon Rolls from Walmart work exceptionally well because their dough unrolls beautifully. Many name-brand canned cinnamon rolls, such as certain varieties of Pillsbury, tend to be pre-cut in a way that prevents unrolling, leaving them in their original circular form. Always double-check to ensure your chosen brand will allow you to achieve those perfect shamrock shapes!
Pro Baker’s Tip
If you’re an avid baker with a little extra time and a passion for homemade goodness, consider making cinnamon rolls from scratch! While our recipe focuses on convenience, homemade dough offers a unique texture and flavor. This is our favorite Easy Cinnamon Roll Recipe – and the best part is, it requires absolutely no kneading!
Crafting Your Own Shamrock Cinnamon Rolls: A Simple Guide
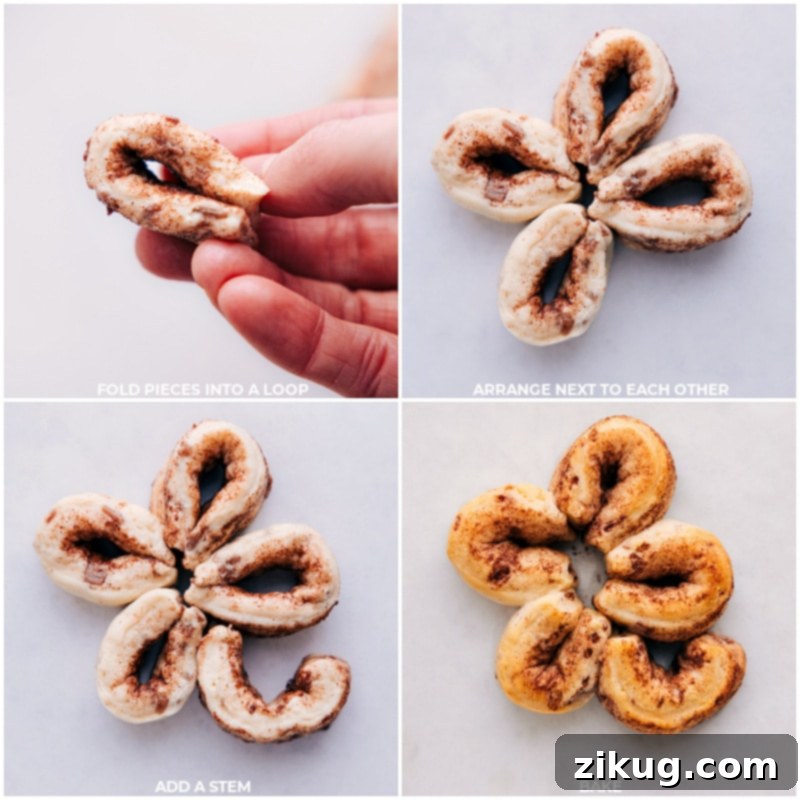
Creating these charming Shamrock Cinnamon Rolls is surprisingly straightforward, turning a simple baking project into a fun, festive activity. The process begins by carefully unrolling each individual cinnamon roll from its spiral. Once unrolled, you’ll cut the dough ropes into segments, which you’ll then artfully shape into four-leaf clovers. After your clovers are perfectly formed, they’ll be baked according to the package directions, filling your kitchen with an irresistible aroma.
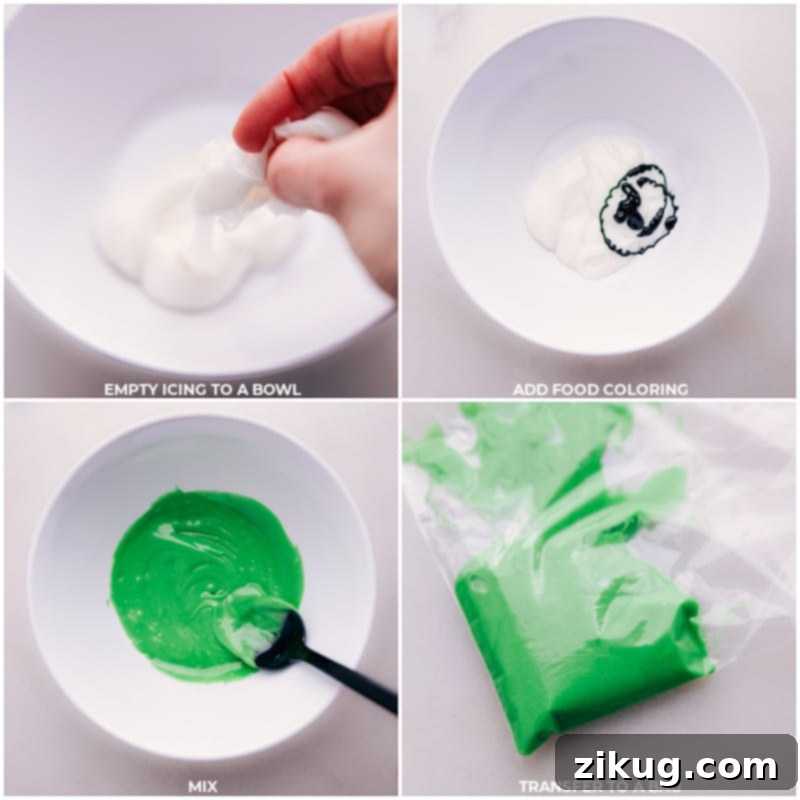
While your shamrocks are baking to golden perfection, you’ll prepare the vibrant green frosting. Simply empty the accompanying frosting into a bowl and add a few drops of green food coloring, stirring until you achieve your desired shade. For a neat and professional finish, transfer the dyed icing to a small plastic bag, snip off a tiny corner of the tip, and pipe the frosting gracefully over your baked clovers. Alternatively, for a quicker approach, you can simply spread the green icing onto the warm rolls with a knife. Yes, it truly is that simple to create such a festive and impressive treat!
Precision Shaping Tip
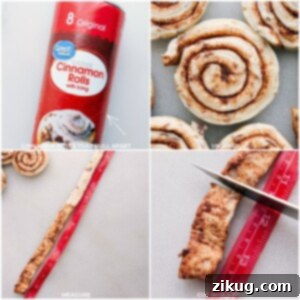
To ensure each shamrock is uniform in size and looks its best, use a measuring tape or a ruler to measure out five equal pieces from each unrolled cinnamon roll dough rope. This helps create consistently sized “leaves” for your clovers.
Expert Tips for Perfect Shamrock Cinnamon Rolls
Achieving perfectly shaped and delicious Shamrock Cinnamon Rolls is easy with a few key techniques. Follow these tips to ensure your festive treats turn out beautifully every time:
- Handle the Dough Gently: When you’re shaping the individual cinnamon roll pieces into clovers, resist the urge to over-handle the dough or press it down too firmly. Excess handling can make the dough tough and less tender after baking. A light, delicate touch is all that’s needed to form the loops.
- Ensure Adequate Spacing on the Baking Sheet: As the cinnamon rolls bake, they will expand and rise. It’s important to leave sufficient space between each shamrock on the baking sheet. This prevents them from sticking together and allows for even heat circulation, resulting in perfectly baked, individual clovers.
- Monitor Baking Closely: Oven temperatures can vary, and pre-packaged doughs can bake surprisingly quickly. Keep a watchful eye on your cinnamon rolls as they bake. They can transition from a lovely golden brown to slightly over-baked in a matter of minutes. Begin checking for doneness a few minutes before the recommended baking time on the package. Look for a light golden color and a slightly puffed texture.
- Always Use a Lined Baking Sheet: To prevent your delicate shamrock shapes from sticking to the pan and potentially breaking apart when removed, always line your baking sheet. Parchment paper or a silicone baking mat are excellent choices, providing a non-stick surface that ensures easy transfer and maintains the integrity of your beautiful clovers.
- Use a Wide Metal Spatula for Transfer: Once baked, the shamrock shapes can be somewhat fragile. To move them from the hot baking sheet to a cooling rack or serving plate without them breaking apart, employ a wide metal spatula. Its broad surface provides better support, minimizing the risk of breakage.
- Get Creative with Toppings: While the vibrant green frosting is a hallmark of Shamrock Cinnamon Rolls, don’t hesitate to experiment with other festive toppings! You could sprinkle on some shimmering green sanding sugar for extra sparkle, add a scattering of cheerful green sprinkles for a playful touch, or even a light dusting of powdered sugar for a more subtle elegance. Edible glitter or a drizzle of white chocolate could also elevate your treats.
- Dough Temperature Matters: Ensure your refrigerated cinnamon rolls are at a cool, but not ice-cold, temperature when you unroll them. If they are too cold, the dough can be brittle and prone to tearing. If they’re too warm, they might become sticky and harder to handle. A brief moment out of the fridge (5-10 minutes) can make them more pliable.
- Pre-Portioning Frosting: If you’re making a large batch, consider dividing the frosting into smaller bowls and coloring each one separately. This prevents cross-contamination and ensures a consistent green hue across all your rolls.
Storage Tips
Like most baked goods made from canned cinnamon rolls, these delightful shamrocks are truly at their absolute best when savored fresh, straight out of the oven. The warmth, softness, and fresh frosting are unmatched.
If you happen to have any leftovers, store them in an airtight container at room temperature for up to 1-2 days. For longer storage, you can refrigerate them for up to 3-4 days. When reheating, a quick 10-15 seconds in the microwave can help restore some of their original tenderness, making them almost as good as fresh!
Even More St. Patrick’s Day Fun: Festive Recipes to Try!
Looking for more ways to celebrate St. Patrick’s Day with delicious, themed treats? We’ve got you covered with these other fantastic and easy recipes that are perfect for adding extra luck and flavor to your holiday festivities:
- Fruit Rainbow Tray with a vibrant, three-ingredient fruit dip – a healthy and colorful option!
- Leprechaun Thumbprints – adorable and incredibly easy with only three ingredients!
- Pretzel Shamrocks – a simple, sweet-and-salty snack that’s fun for kids to help make.
- Shamrock Shake – a classic minty milkshake that brings nostalgic joy to everyone.
- Lucky Charms Bars – gooey marshmallow bars packed with everyone’s favorite magical cereal.

Print Recipe
Shamrock Cinnamon Rolls
Chelsea Lords
10 minutes
13 minutes
23 minutes
8 shamrock cinnamon rolls
Video
Ingredients
- 1 can (12.4 oz) refrigerated cinnamon rolls with frosting (see Note 1)
- Green food coloring
- Green sanding sugar optional, for decoration
Instructions
-
PREP: Begin by following the package directions to preheat your oven to the specified temperature. Next, line a large sheet pan with either parchment paper or a silicone baking mat. This crucial step is important to ensure your delicate cinnamon-roll clovers do not stick to the pan and break apart when you try to remove them after baking!

-
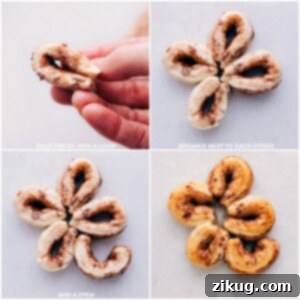
FORM CLOVERS: Carefully open the can of cinnamon rolls. Gently unroll each individual cinnamon roll spiral until you have a long rope of dough. Use a measuring tape or ruler to divide each cinnamon roll “rope” into five equal pieces (each piece should be approximately three inches long). To form a leaf, pinch two ends of one dough piece together to create a loop. Arrange four of these loops in a circular pattern to form the main clover shape. Take an additional small piece of dough and attach it as a stem to complete your shamrock. Carefully place each finished shamrock onto your prepared baking pan, ensuring adequate space between them.
-
BAKE: Place the pan in the preheated oven and bake the cinnamon rolls according to the package directions. Keep an eye on them towards the end of the baking time to prevent over-baking. They should be golden brown and puffed up when ready.
-
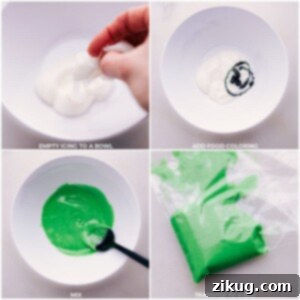
PREPARE FROSTING: While your shamrocks are baking, empty the included frosting into a small bowl. Add a few drops of green food coloring, stirring well until you achieve your desired vibrant green color. For easy application, transfer the dyed icing to a small plastic bag, seal it, making sure to push out excess air, then snip off a tiny bit of the tip of one corner.
-
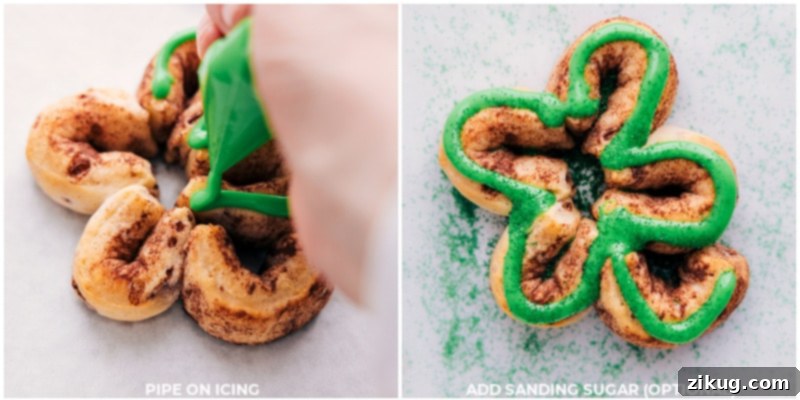
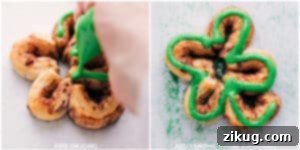
DECORATE & SERVE: Once the cinnamon rolls are baked and slightly cooled, pipe the green icing over the top of each shamrock (or spread it on evenly with a knife for a simpler approach). If desired, add a light sprinkle of green sanding sugar for extra sparkle and texture. Serve immediately and enjoy your festive Shamrock Cinnamon Rolls promptly!
Recipe Notes
Cutting the Rolls for Uniformity: Each roll is approximately 3 inches (7.6 cm) long when fully unrolled. When divided into five equal segments, each piece will be roughly 6/10 of an inch (1.52 cm) long, helping you create consistent clover leaves.
Nutrition
Carbohydrates: 22g |
Protein: 2g |
Fat: 7g |
Saturated Fat: 3g |
Trans Fat: 0.5g |
Sodium: 315mg |
Sugar: 10g |
Iron: 1mg
Nutrition information is automatically calculated, so should only be used as an approximation.
Love this recipe? Share your thoughts below!