
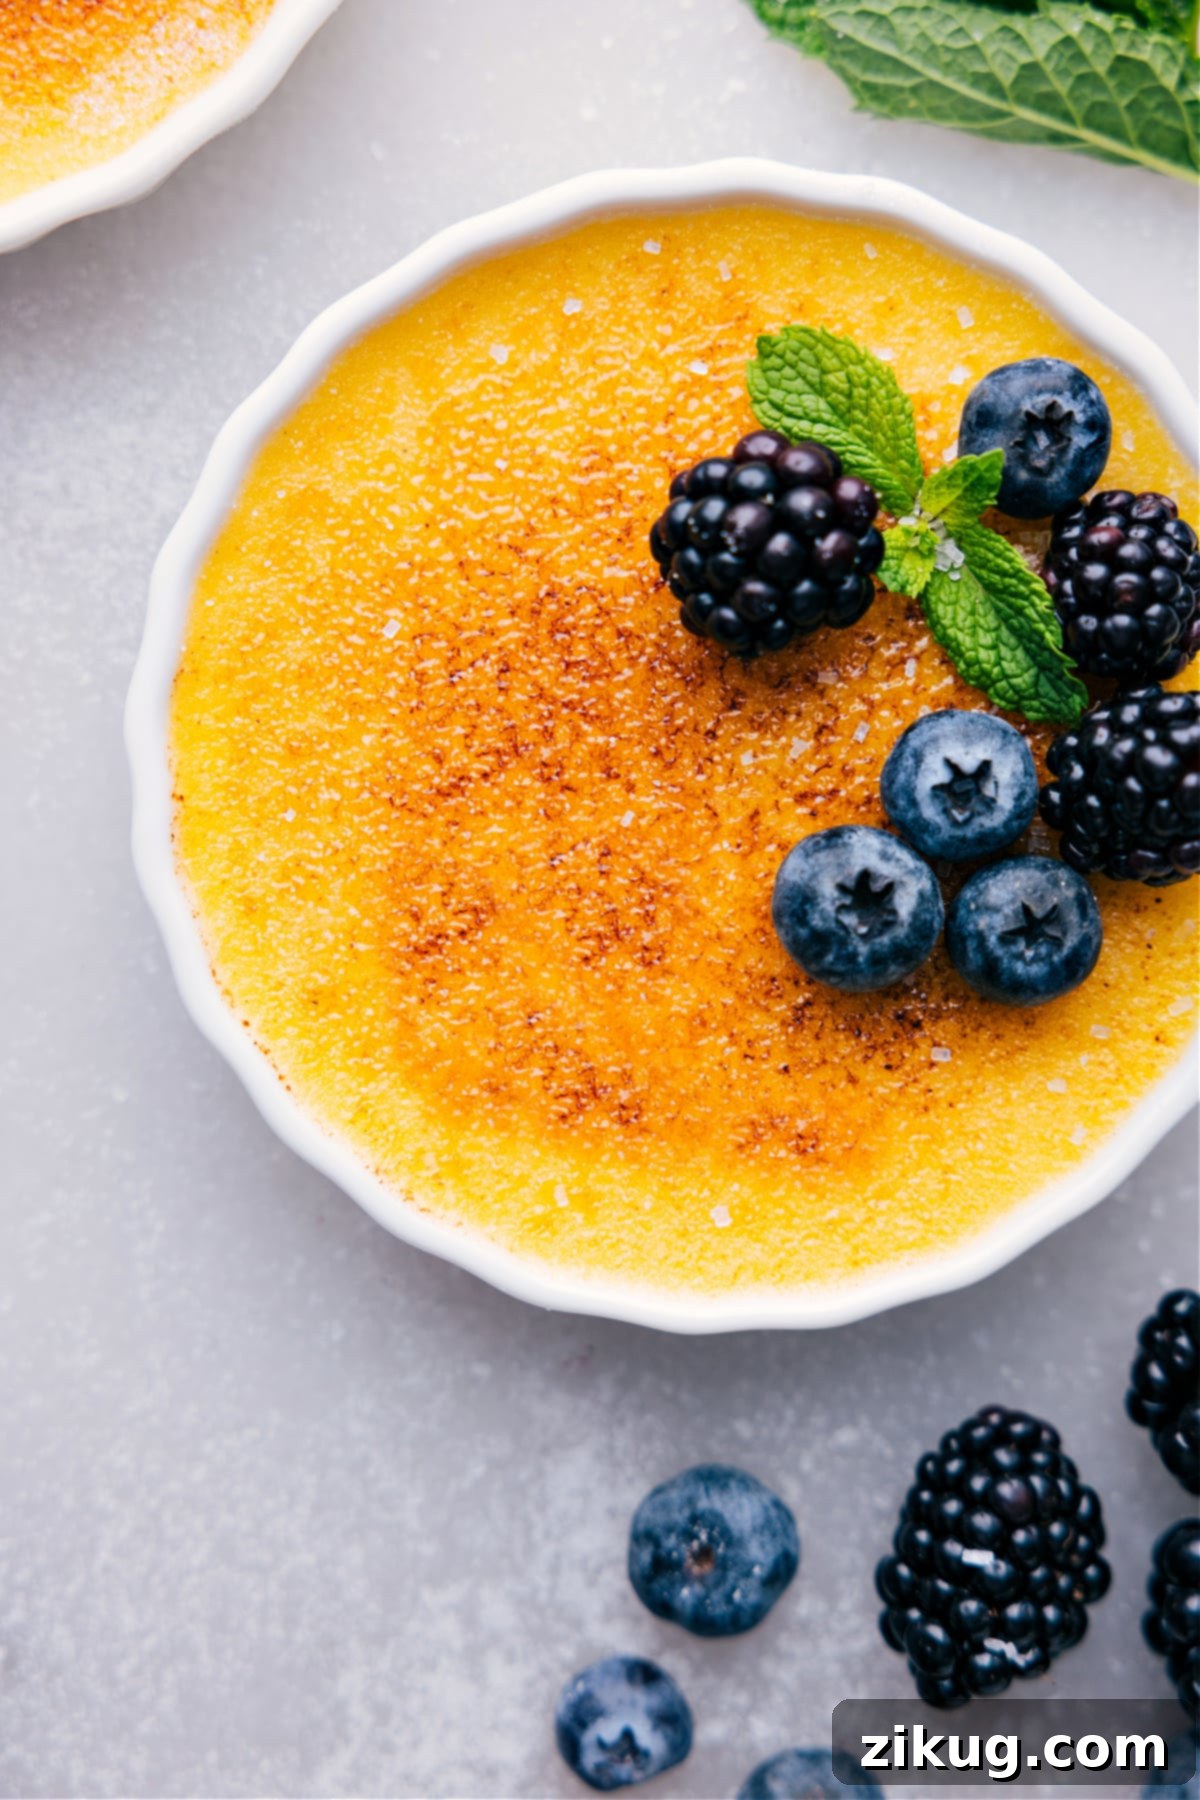
Embark on a culinary journey to master the art of this classic French dessert. Our **Best Crème Brûlée Recipe** unveils the secrets to achieving a luxuriously creamy custard and a perfectly crisp, caramelized sugar topping, transforming what seems like a complex pastry into an effortlessly elegant treat. This comprehensive guide, infused with professional pastry chef techniques, promises a dazzling dessert experience that’s both simple to create and unforgettable to taste.
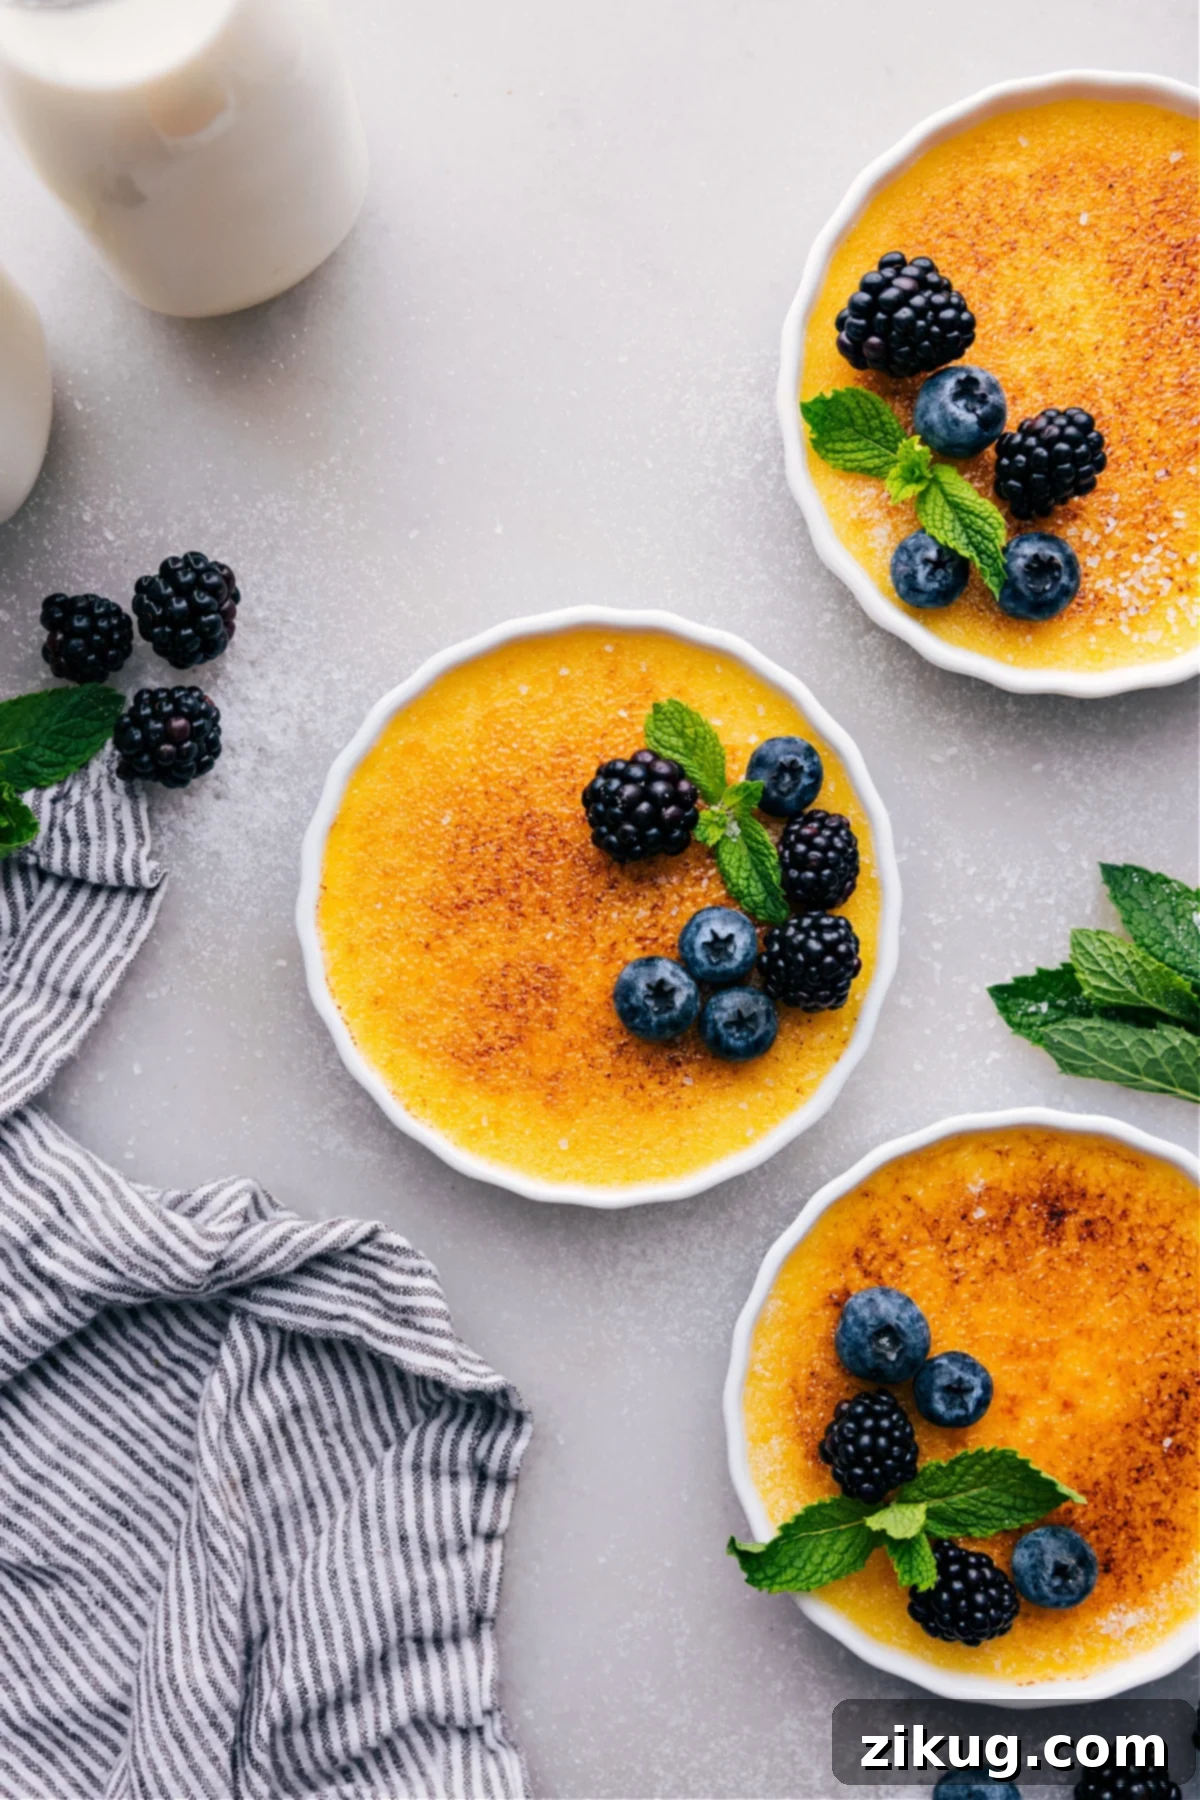

Author’s Note
Recipe Straight From A Pastry Chef!
During my formative years working in a bustling fine dining restaurant, I was incredibly fortunate to learn under the guidance of a truly remarkable pastry chef. He was renowned throughout the culinary scene for his flawless crème brûlée, a dessert that consistently stole the show. I distinctly remember the very first night he entrusted me with the kitchen torch to caramelize the sugar topping. The idea of wielding such a fiery tool felt daunting at first, a moment of exhilarating trepidation. However, with just a few expert pointers and a bit of practice, I quickly grasped the simplicity and immense satisfaction of creating that iconic crackle.
That same exceptional chef generously shared the fundamental secrets to his “foolproof” crème brûlée recipe, and I’ve cherished and perfected them ever since. What truly astonished me then, and continues to impress me today, is just **how uncomplicated the entire process truly is**. You need only five staple ingredients, a gentle baking method in a water bath, and a swift, satisfying torching at the very end. This recipe has since become my absolute go-to whenever I want to deliver a show-stopping dessert that leaves a lasting impression, all without demanding hours upon hours in the kitchen.
Beyond its elegant appearance and exquisite taste, this crème brûlée is also the ultimate **make-ahead dessert solution**. The creamy custard can be prepared well in advance – a day or even several days before your event – allowing you to reduce last-minute stress. Then, just before your guests arrive or right before serving, you add that iconic, shatteringly crisp sugar topping, ensuring maximum freshness and theatrical flair. It’s an elegant, surprisingly easy, and consistently crowd-pleasing dessert that never fails to delight!
Best Crème Brûlée Recipe Ingredients
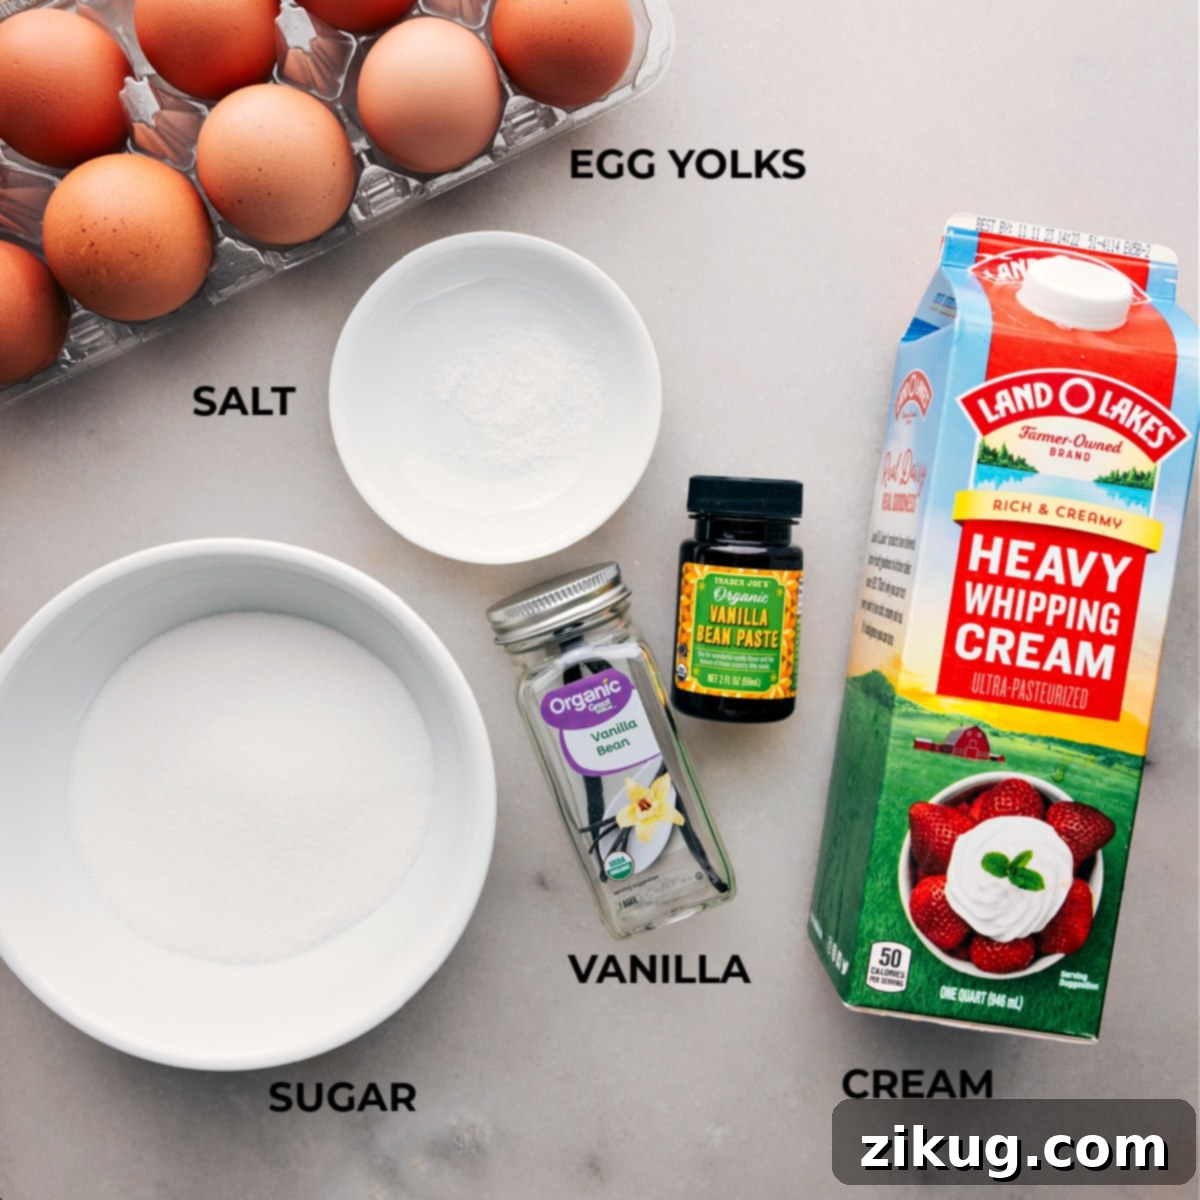
Crafting the perfect crème brûlée requires just a handful of quality ingredients. Each component plays a crucial role in developing that rich, velvety custard and the signature caramelized crust.
| Ingredient | Notes & Swaps for Perfection |
|---|---|
| Heavy Cream | This is the foundation of your silky, rich custard. Full-fat heavy cream (at least 36% milk fat) is essential for the custard to set properly and achieve that luxurious mouthfeel. Avoid lighter alternatives like half-and-half or light cream, as they lack the necessary fat content and won’t yield the desired consistency. |
| Egg Yolks | The egg yolks provide the primary thickening agent for the custard, giving it body, structure, and an incredible richness. They also contribute to the beautiful pale yellow hue. For best results, ensure your egg yolks are at room temperature. You can use leftover egg whites in recipes like meringue cookies or omelets. |
| Granulated Sugar | Sugar serves two purposes: sweetening the custard and forming that signature caramelized crust. While regular granulated sugar works well for the custard base, **superfine sugar** is highly recommended for the topping. Its finer granules melt and caramelize more evenly and quickly, leading to a consistently crisp layer. |
| Vanilla | Vanilla is the soul of crème brûlée, imparting its characteristic warm, aromatic flavor. A real vanilla bean, split and scraped, offers the most profound and authentic vanilla experience, often leaving tiny black specks that signify its quality. However, high-quality vanilla paste or pure vanilla extract are excellent and convenient alternatives. |
| Salt | Just a tiny pinch of salt is vital. It doesn’t make the dessert salty, but rather enhances and balances the sweetness of the sugar and the richness of the cream, ensuring a more complex and satisfying flavor profile. |

How To Make The Best Crème Brûlée Recipe
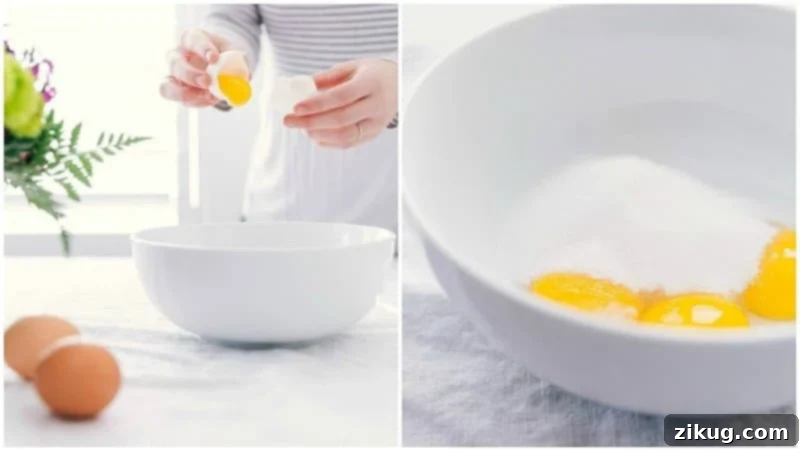
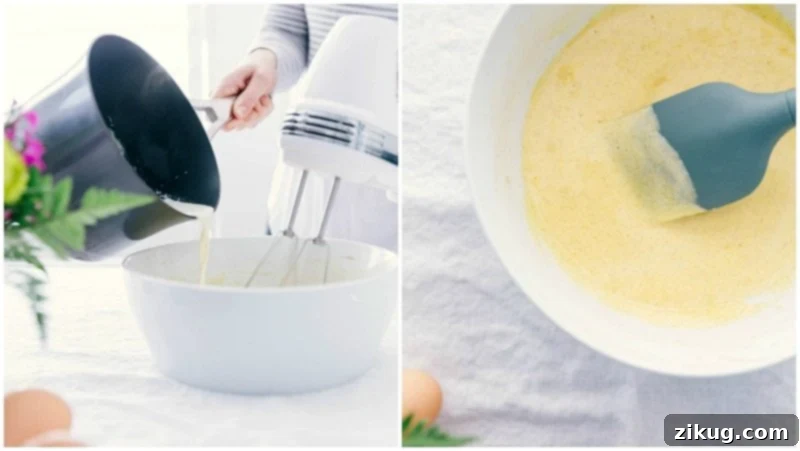
Creating homemade crème brûlée might seem intricate, but with these clear steps and helpful insights, you’ll find the process remarkably straightforward and rewarding. Follow along to achieve that perfect, velvety custard and crisp sugar crust.
- **Prepare Vanilla Infusion:** If using a vanilla bean, carefully split it lengthwise with a sharp knife and scrape out the aromatic seeds. Place both the seeds and the empty pod into a medium pot. If using vanilla paste or extract, you’ll add it later.
- **Infuse the Cream:** Add the heavy cream and a pinch of salt to the pot with the vanilla bean (or just cream and salt if using extract/paste). Gently heat the mixture over low heat until it just begins to simmer and is fragrant, about 10 minutes. Do not allow it to boil vigorously. Remove the pot from the heat and discard the vanilla pod. If using vanilla extract or paste, stir it in now. This infusion step allows the vanilla flavor to fully develop in the cream.
- **Prepare the Egg Base:** In a separate large bowl, whisk together the egg yolks and 1/2 cup of granulated sugar until they are well combined and slightly pale. Whisking by hand is recommended to avoid incorporating too much air, which can lead to bubbles in the finished custard.
- **Temper the Eggs:** This is a crucial step to prevent the eggs from scrambling. While continuously whisking the egg yolk and sugar mixture at a slow, steady pace, gradually pour about a quarter of the warm (not boiling) cream mixture into the egg mixture. Mix thoroughly until combined. Then, slowly add the remaining warm cream mixture, whisking constantly to ensure a smooth, homogeneous custard base.
- **Ready the Water Bath:** Preheat your oven to 325°F (160°C). Arrange your ramekins in a 9×13-inch baking pan. Carefully pour the custard mixture into the ramekins, filling each almost to the top. Next, gently pour hot (preferably boiling) water into the larger baking pan, around the ramekins, until the water level reaches about halfway up the sides of the ramekins. A water bath (bain-marie) ensures even, gentle cooking, preventing the custards from curdling or cracking.
- **Bake and Chill:** Carefully transfer the baking pan with the ramekins and water bath to the preheated oven. Bake for approximately 30-35 minutes. The custards are done when the edges are set, but the center still has a slight, delicate jiggle when gently shaken. Remove the ramekins from the water bath and allow them to cool completely to room temperature. Once cooled, cover each ramekin with plastic wrap and refrigerate for a minimum of 6-8 hours, or ideally, overnight. Chilling is essential for the custard to fully set and achieve its signature firm-yet-creamy texture.
- **Caramelize and Serve:** Just before serving, sprinkle the remaining 1/4 cup of granulated sugar (superfine sugar works best here) evenly over the top of each chilled custard. Swirl the ramekin gently to ensure an even coating, tipping any excess sugar into the next ramekin. Using a kitchen torch, carefully caramelize the sugar until it melts, bubbles, and turns a beautiful golden amber color, or slightly charred to your preference. This creates the iconic crispy, glassy crust. Garnish with fresh berries if desired and serve immediately to enjoy the contrast between the warm, crisp topping and the cool, creamy custard.
Quick Tip: Understanding Crème Brûlée Texture
A perfectly executed Crème Brûlée should boast a thick, luxurious custard-like consistency, akin to a rich, full-fat Greek yogurt. Its texture should be impeccably velvety, melt-in-your-mouth creamy, and profoundly rich. The center, once chilled, should be tender and yielding, yet fully set, without any liquidness.
Tips For Success: Achieving Crème Brûlée Perfection
To ensure your crème brûlée turns out absolutely perfect every single time, pay close attention to these expert tips. They address common pitfalls and guide you toward a dessert that rivals any professional patisserie.
- Ramekin Size Matters: The size of your ramekins directly impacts baking time and custard thickness. For optimal results, use 4-, 5-, or 6-ounce ramekins. Larger ramekins will naturally create a thicker custard and require a longer baking time, so adjust accordingly. Consistency in size helps ensure even cooking.
- Quality Egg Yolks: The color and richness of your custard are heavily influenced by the quality of your egg yolks. Opt for organic, free-range eggs whenever possible; their yolks often have a deeper, more vibrant color, contributing to a visually appealing and richer-tasting custard.
- The Essence of Vanilla: While vanilla extract or paste are acceptable, a genuine vanilla bean provides the most exceptional flavor and a beautiful visual touch with its tiny black specks. If using a bean, ensure you infuse both the scraped seeds and the pod into the cream for maximum flavor extraction.
- Mastering Egg Tempering: This step is non-negotiable for a smooth custard. Slowly adding the hot cream to the whisked eggs and sugar, while continuously whisking, gradually raises the temperature of the eggs without cooking them too quickly. This prevents the yolks from curdling and forming lumps, ensuring a flawlessly smooth custard.
- The Perfect Sugar Topping: For that ultimate, shatteringly crisp caramel layer, **superfine sugar** is your best friend. Its finer granules melt and caramelize more rapidly and evenly than regular granulated sugar, reducing the risk of burning and creating a consistently smooth, glassy crust.
- The Indispensable Water Bath: Baking your custards in a water bath (bain-marie) is critical. The water bath creates a gentle, moist, and even cooking environment, preventing the custards from overbaking, becoming rubbery, or developing cracks on their surface. Always ensure no water splashes into the ramekins during transfer.
- Patient Chilling is Key: Do not rush the chilling process! Crème brûlée requires ample time in the refrigerator—at least 6–8 hours, though overnight is truly best. This extended chilling period allows the custard to fully set, firm up, and achieve its ideal, luscious texture. The flavor also deepens as it chills.
Crème Brûlée Tools
While the recipe itself is simple, Crème Brûlée does require a few specific tools to achieve professional results. These are exactly what I use in my kitchen to ensure perfection every time:
- Ramekins: These individual ceramic dishes are essential for baking and serving crème brûlée. Their sturdy construction and heat-retention properties are ideal for the water bath method.
- Kitchen Torch: A kitchen torch is crucial for creating that signature caramelized sugar crust. It provides precise, intense heat to melt and brown the sugar quickly, without heating the custard underneath.
- 9×13-Inch Baking Pan: This larger pan is used to create the water bath, providing an even and gentle cooking environment for your ramekins, ensuring a silky-smooth custard without cracks.
What To Serve With Crème Brûlée:
Desserts
How to Make Whipped Cream
Desserts
Shortbread Cookies
Desserts
Vanilla Frozen Yogurt
Best Crème Brûlée Recipe

Rated 4.93 out of 5 stars by 56 users.
By Chelsea Lords
The best Crème Brûlée recipe may seem fancy, but it’s surprisingly easy to make! With its creamy custard and perfectly caramelized sugar top, it’s a true showstopper. This beloved recipe comes directly from a pastry chef renowned for creating exquisite Crème Brûlée!
- Prep Time: 20 minutes
- Cook Time: 30 minutes
- Chilling Time: 8 hours
- Total Time: 8 hours 50 minutes
- Servings: 5 (5-ounce) ramekins, or 6 (4-ounce) ramekins, or 4 (6-ounce) ramekins
- Pin Recipe
- Print Recipe
Video Guide
Watch a step-by-step video demonstration for making this incredible crème brûlée recipe. The video titled “Creme Brulee” guides you through creating creamy custard filling and a caramelized sugar topping. You can find a thumbnail of the video here. The full video is available via AdThrive (external service).
Equipment
- Ramekins (see note 1 for size recommendations)
- Kitchen torch (or use oven broiler method, see note 1)
- Medium pot
- 9 x 13-inch baking pan
- Whisk
- Large mixing bowl
Ingredients
- 1 full vanilla bean (or 1/2 tablespoon vanilla extract or 1 teaspoon vanilla bean paste)
- 1/4 teaspoon salt
- 2 cups heavy cream
- 5 large egg yolks (must be at room temperature, see note 2)
- 3/4 cup granulated sugar (divided, or superfine sugar if you have it!)
- 6 cups water (for the water bath)
- Fresh berries (optional, for serving)
Instructions
- Preheat oven to 325°F (160°C).
- If using a vanilla bean, slice it open lengthwise and scrape out the seeds. Place the seeds in a large bowl. Put the empty pod in a medium pot and combine it with the salt and heavy cream.
- Heat the cream mixture on the stove over low heat until it simmers gently, without coming to a rolling boil (approximately 10 minutes). Remove from heat; discard the vanilla pod. If you are using vanilla extract or paste, stir those in now.
- Meanwhile, in the bowl with the vanilla seeds (if used), add the egg yolks and 1/2 cup of the granulated sugar. Whisk the mixture by hand until it is well combined and slightly lighter in color. Simultaneously, bring 6 cups of water to a boil for the water bath.
- When whisking the egg yolk mixture, do not whisk too briskly, as this can incorporate too much air, leading to a custard that rises excessively and then falls, or has an abundance of bubbles on the surface. While whisking at a slow and steady pace, gradually pour about 1/4 of the warmed cream mixture into the egg and sugar blend. Mix until fully combined, then slowly continue to add the remaining cream mixture, maintaining consistent whisking until the custard base is smooth and well-integrated.
- Position your ramekins (4-, 5-, or 6-ounce) in a 9×13-inch baking pan. Carefully pour the prepared custard mixture into each ramekin, filling them almost to the top. Using a glass liquid measuring cup, carefully scoop the boiling water into the larger baking pan around the ramekins, ensuring the water level comes approximately halfway up the sides of the ramekins. Be very careful not to get any water into the custard.
- Carefully transfer the baking pan to the preheated oven. Bake for 30–35 minutes until the custards are set around the edges but still have a slight, delicate jiggle in the center when gently shaken. This slight jiggle indicates perfect doneness, as they will firm up further upon cooling. Remove the ramekins from the water bath and allow them to cool completely to room temperature. Once cool, chill them in the refrigerator for 6–8 hours (or ideally, overnight, and up to 4–5 days).
- When you are ready to serve, sprinkle the remaining 1/4 cup of granulated sugar (preferably superfine sugar) evenly over the top of each chilled custard. Gently swirl the ramekin to ensure an even coating of sugar, tipping any excess into the next ramekin. Using a kitchen torch, caramelize the sugar until it melts, bubbles, and turns a rich golden-amber or slightly charred color, to your preference. Garnish with fresh berries if desired and serve immediately to enjoy the delightful contrast of the warm, crisp topping and cool, creamy custard.
- Alternative Caramelization (No Torch Method): If you don’t have a kitchen torch, you can still achieve a beautiful caramelized crust using your oven’s broiler. First, ensure your crème brûlées are thoroughly chilled for at least 24 hours. Adjust your oven rack to the topmost position and set your oven to a high broil setting. Place the sugar-topped custards on a baking tray on the top shelf and broil for 1–3 minutes, watching them very closely and without distraction to prevent burning. Remove them as soon as the sugar is caramelized. Then, refrigerate the brûlées for another 10–20 minutes to allow the custard to re-firm slightly after the brief warmth from the broiler.
Recipe Notes
Note 1: For ramekins, I highly recommend these ramekins which I use and adore for their consistent performance. This kitchen torch is my personal favorite for achieving that perfect crackly topping.
Note 2: To quickly bring cold eggs to room temperature, simply immerse the un-cracked eggs in a bowl of warm (not hot) water for 3–5 minutes. Alternatively, you can separate cold eggs and allow the yolks to sit in a bowl at room temperature for about 15-20 minutes. Room temperature yolks emulsify better and create a smoother custard.
Note 3: Storage: Once cooled to room temperature, cover each crème brûlée dish tightly with plastic wrap. Store them in the refrigerator for up to 2-3 days. Avoid caramelizing the sugar topping until just before serving for the best texture.
Nutrition Information
| Per Serving | |
|---|---|
| Calories: | 500 kcal |
| Carbohydrates: | 33g |
| Protein: | 5g |
| Fat: | 40g |
| Saturated Fat: | 24g |
| Cholesterol: | 315mg |
| Sodium: | 175mg |
| Potassium: | 90mg |
| Sugar: | 30g |
| Vitamin A: | 1645 IU |
| Vitamin C: | 1mg |
| Calcium: | 92mg |
| Iron: | 1mg |
Nutrition information is automatically calculated and should only be used as an approximation.
Like this recipe? Leave a comment below and share your experience!
Best Crème Brûlée Recipe FAQs
Is Crème Brûlée Served Hot?
Crème Brûlée is traditionally served cool or at room temperature. The rich custard base is thoroughly chilled in the refrigerator for several hours (or overnight) to allow it to set perfectly. The iconic sugar topping is then caramelized using a kitchen torch just before serving, creating a warm, crisp layer over the cool custard. The contrast in temperature and texture is a key part of its appeal, so it’s definitively not served hot throughout.
When Is Crème Brûlée Custard Done Baking?
The crème brûlée custard is done baking when the edges appear set and firm, but the center still retains a slight, delicate jiggle. This gentle movement in the middle indicates that the custard is cooked through but not overbaked. Overbaked custard will be completely firm and potentially curdled or rubbery. The residual heat will continue to cook the custard slightly as it cools, and it will firm up further and fully set during the essential chilling period in the refrigerator.
Can You Make Crème Brûlée Without A Torch?
Absolutely! While a kitchen torch is the preferred method for its speed and precision, you can successfully caramelize your crème brûlée in the oven using the broiler function. To do this, ensure your custards are thoroughly chilled for at least 24 hours. Position an oven rack at the topmost position in your oven and preheat your broiler to its highest setting. Sprinkle the superfine sugar evenly over the chilled custards. Place the ramekins on a baking tray on the top shelf and broil for approximately 1-3 minutes. It’s crucial to watch them very closely and continuously, as sugar can burn quickly under the broiler. Remove them as soon as the sugar melts, bubbles, and turns golden amber. After broiling, refrigerate the brûlées for another 10-20 minutes to allow the custard to re-firm slightly and the caramelized sugar to harden into its crisp crust.